Hiking

Taranaki - My Fave Three Hikes Under 3hrs

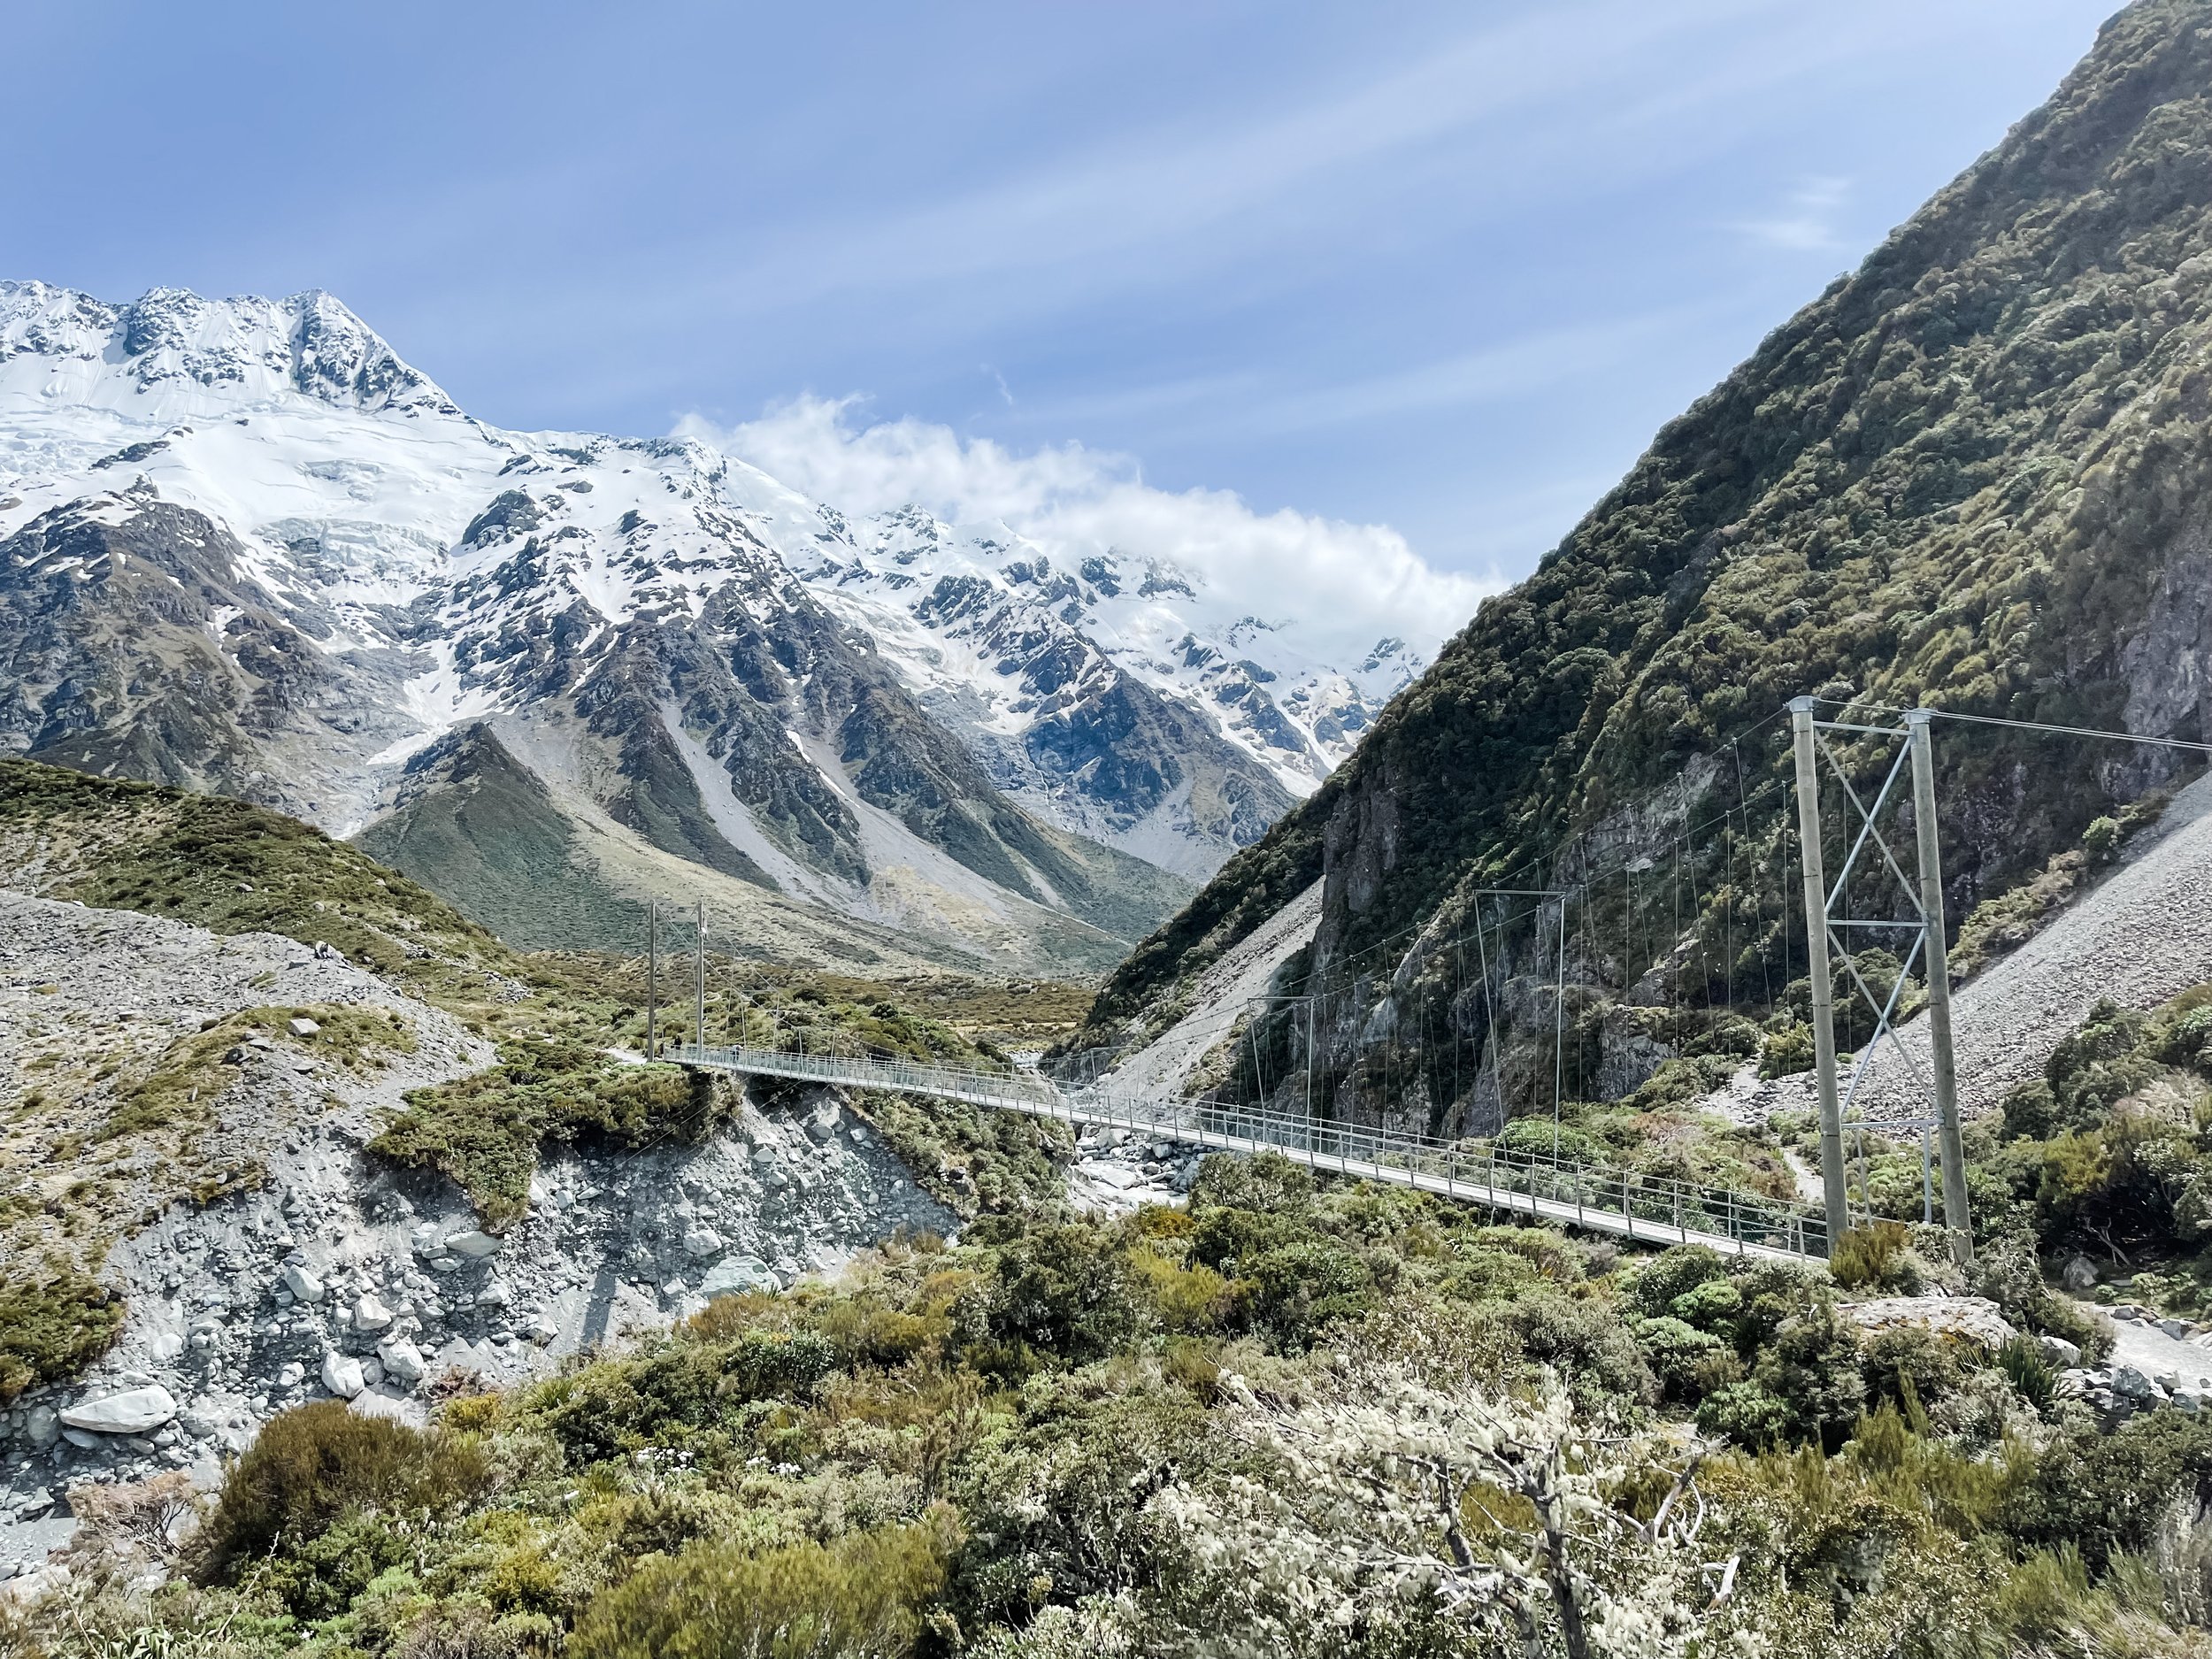
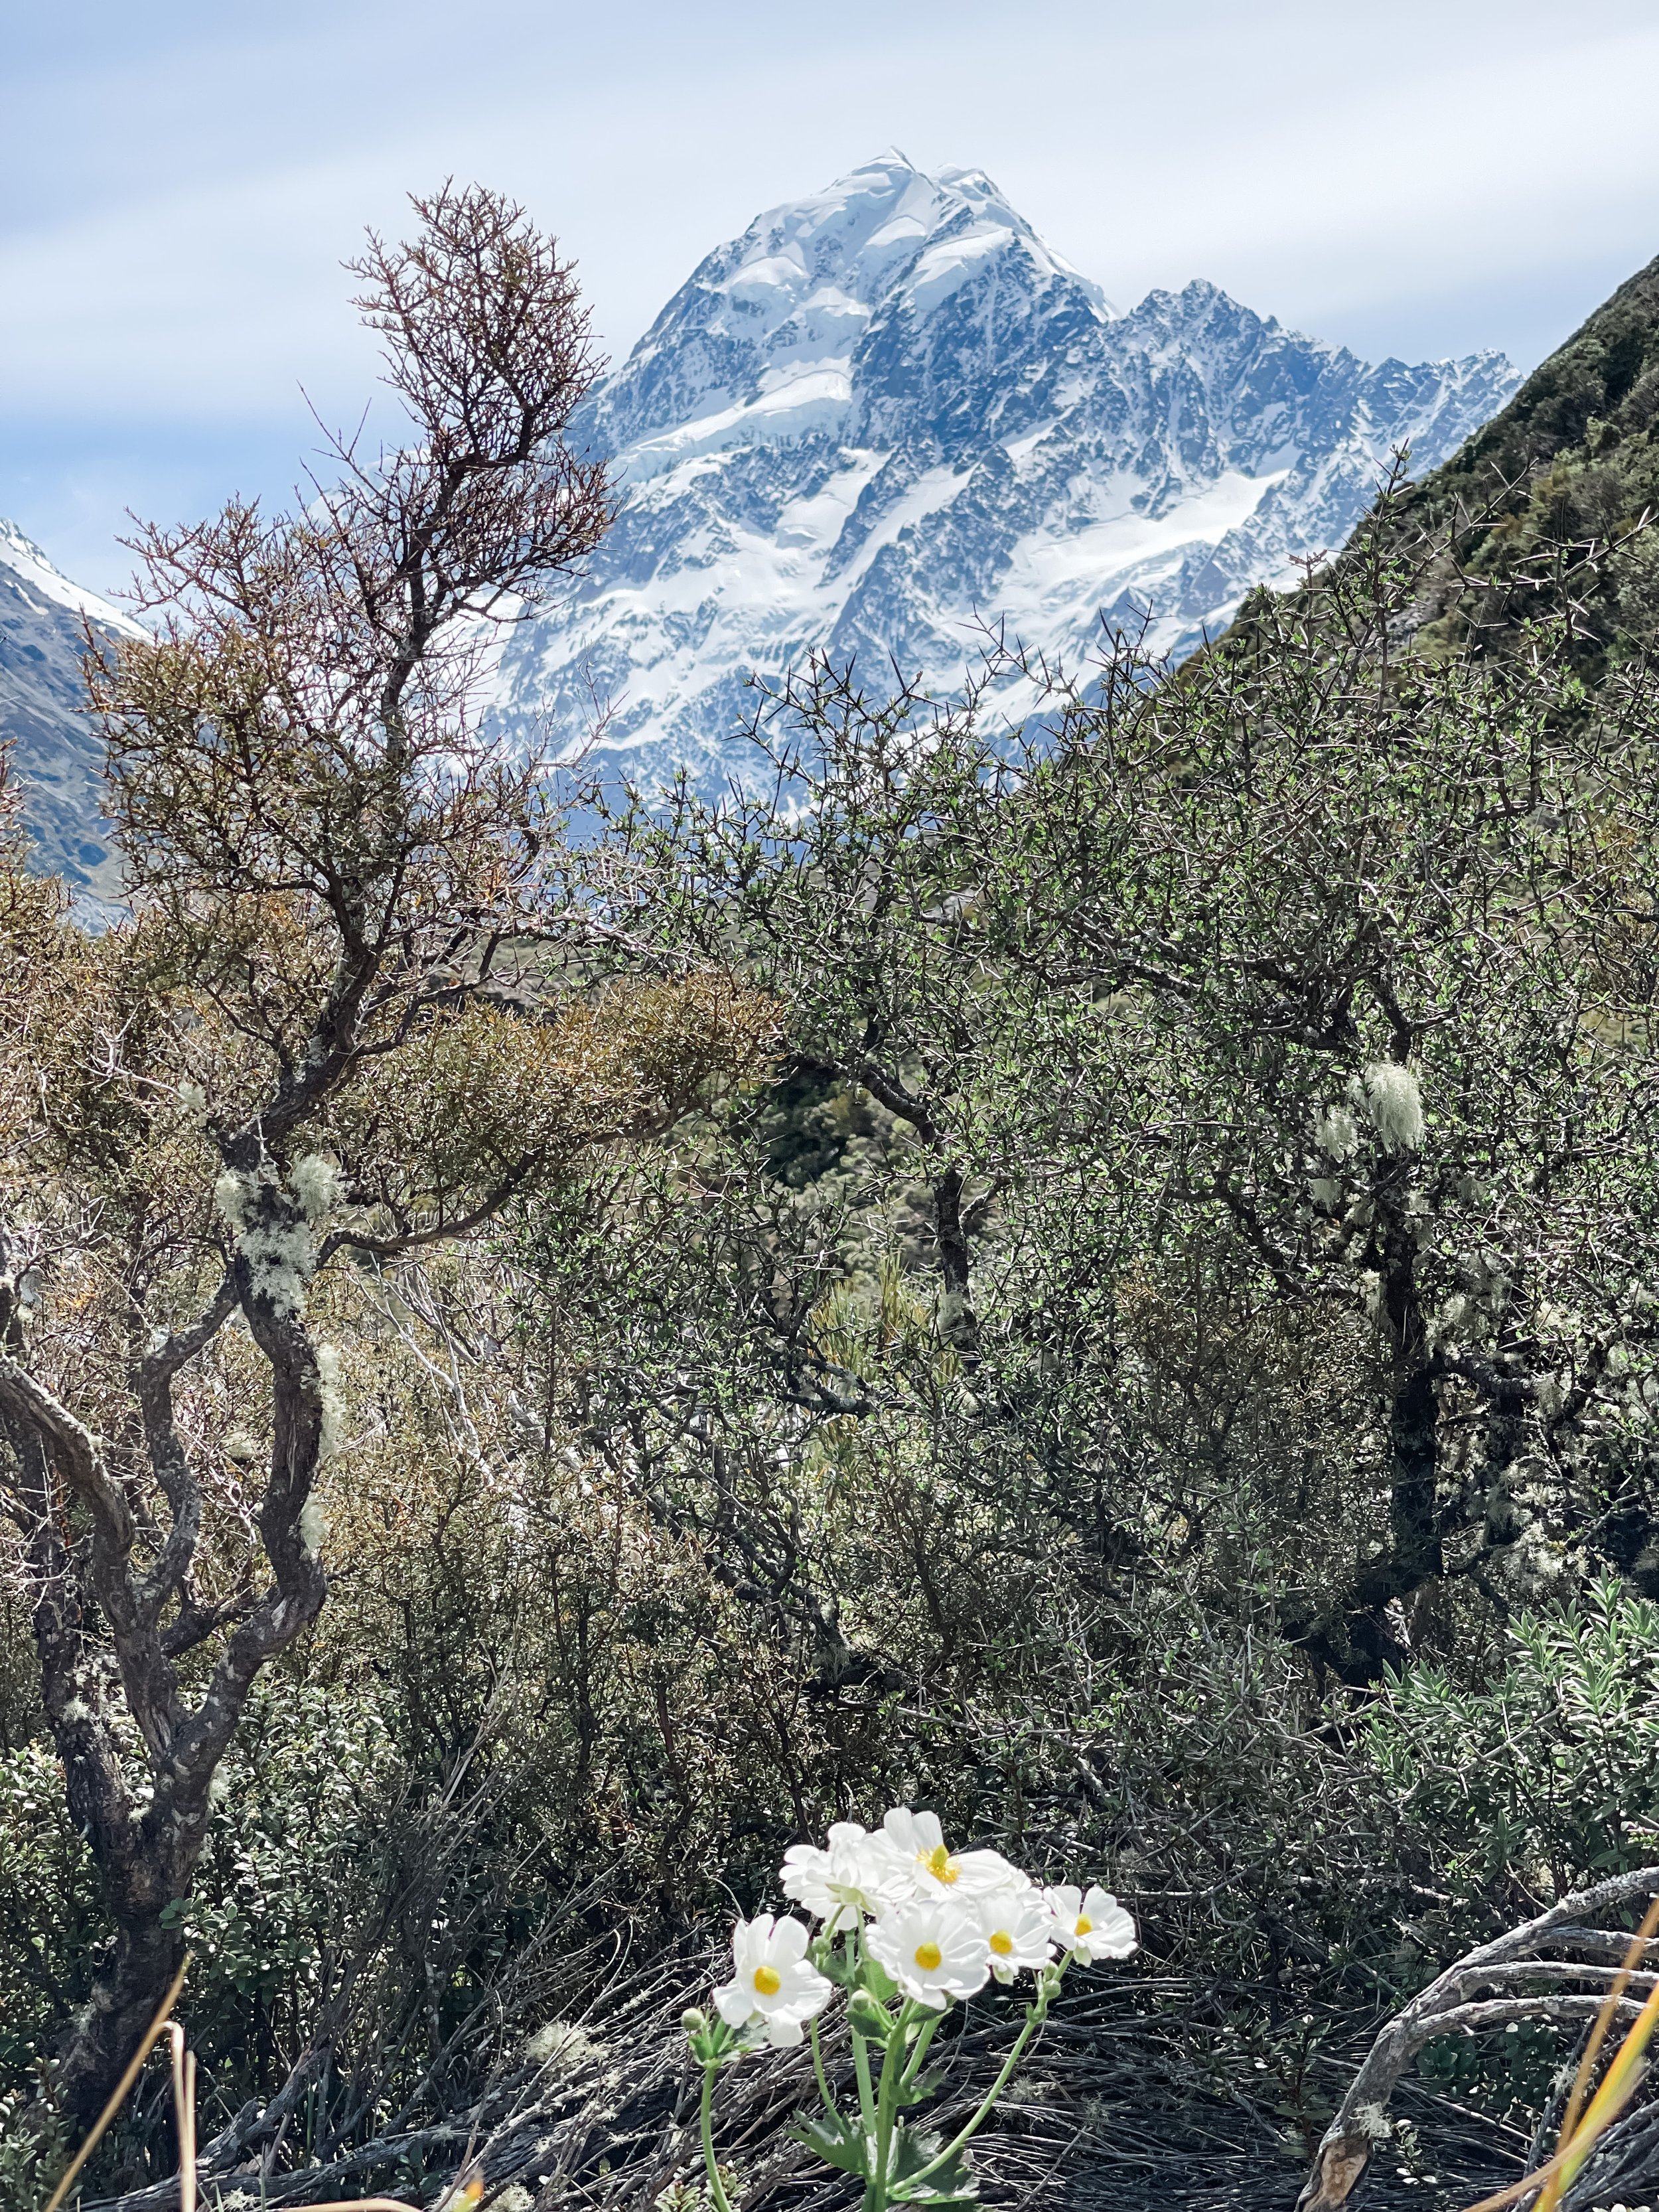
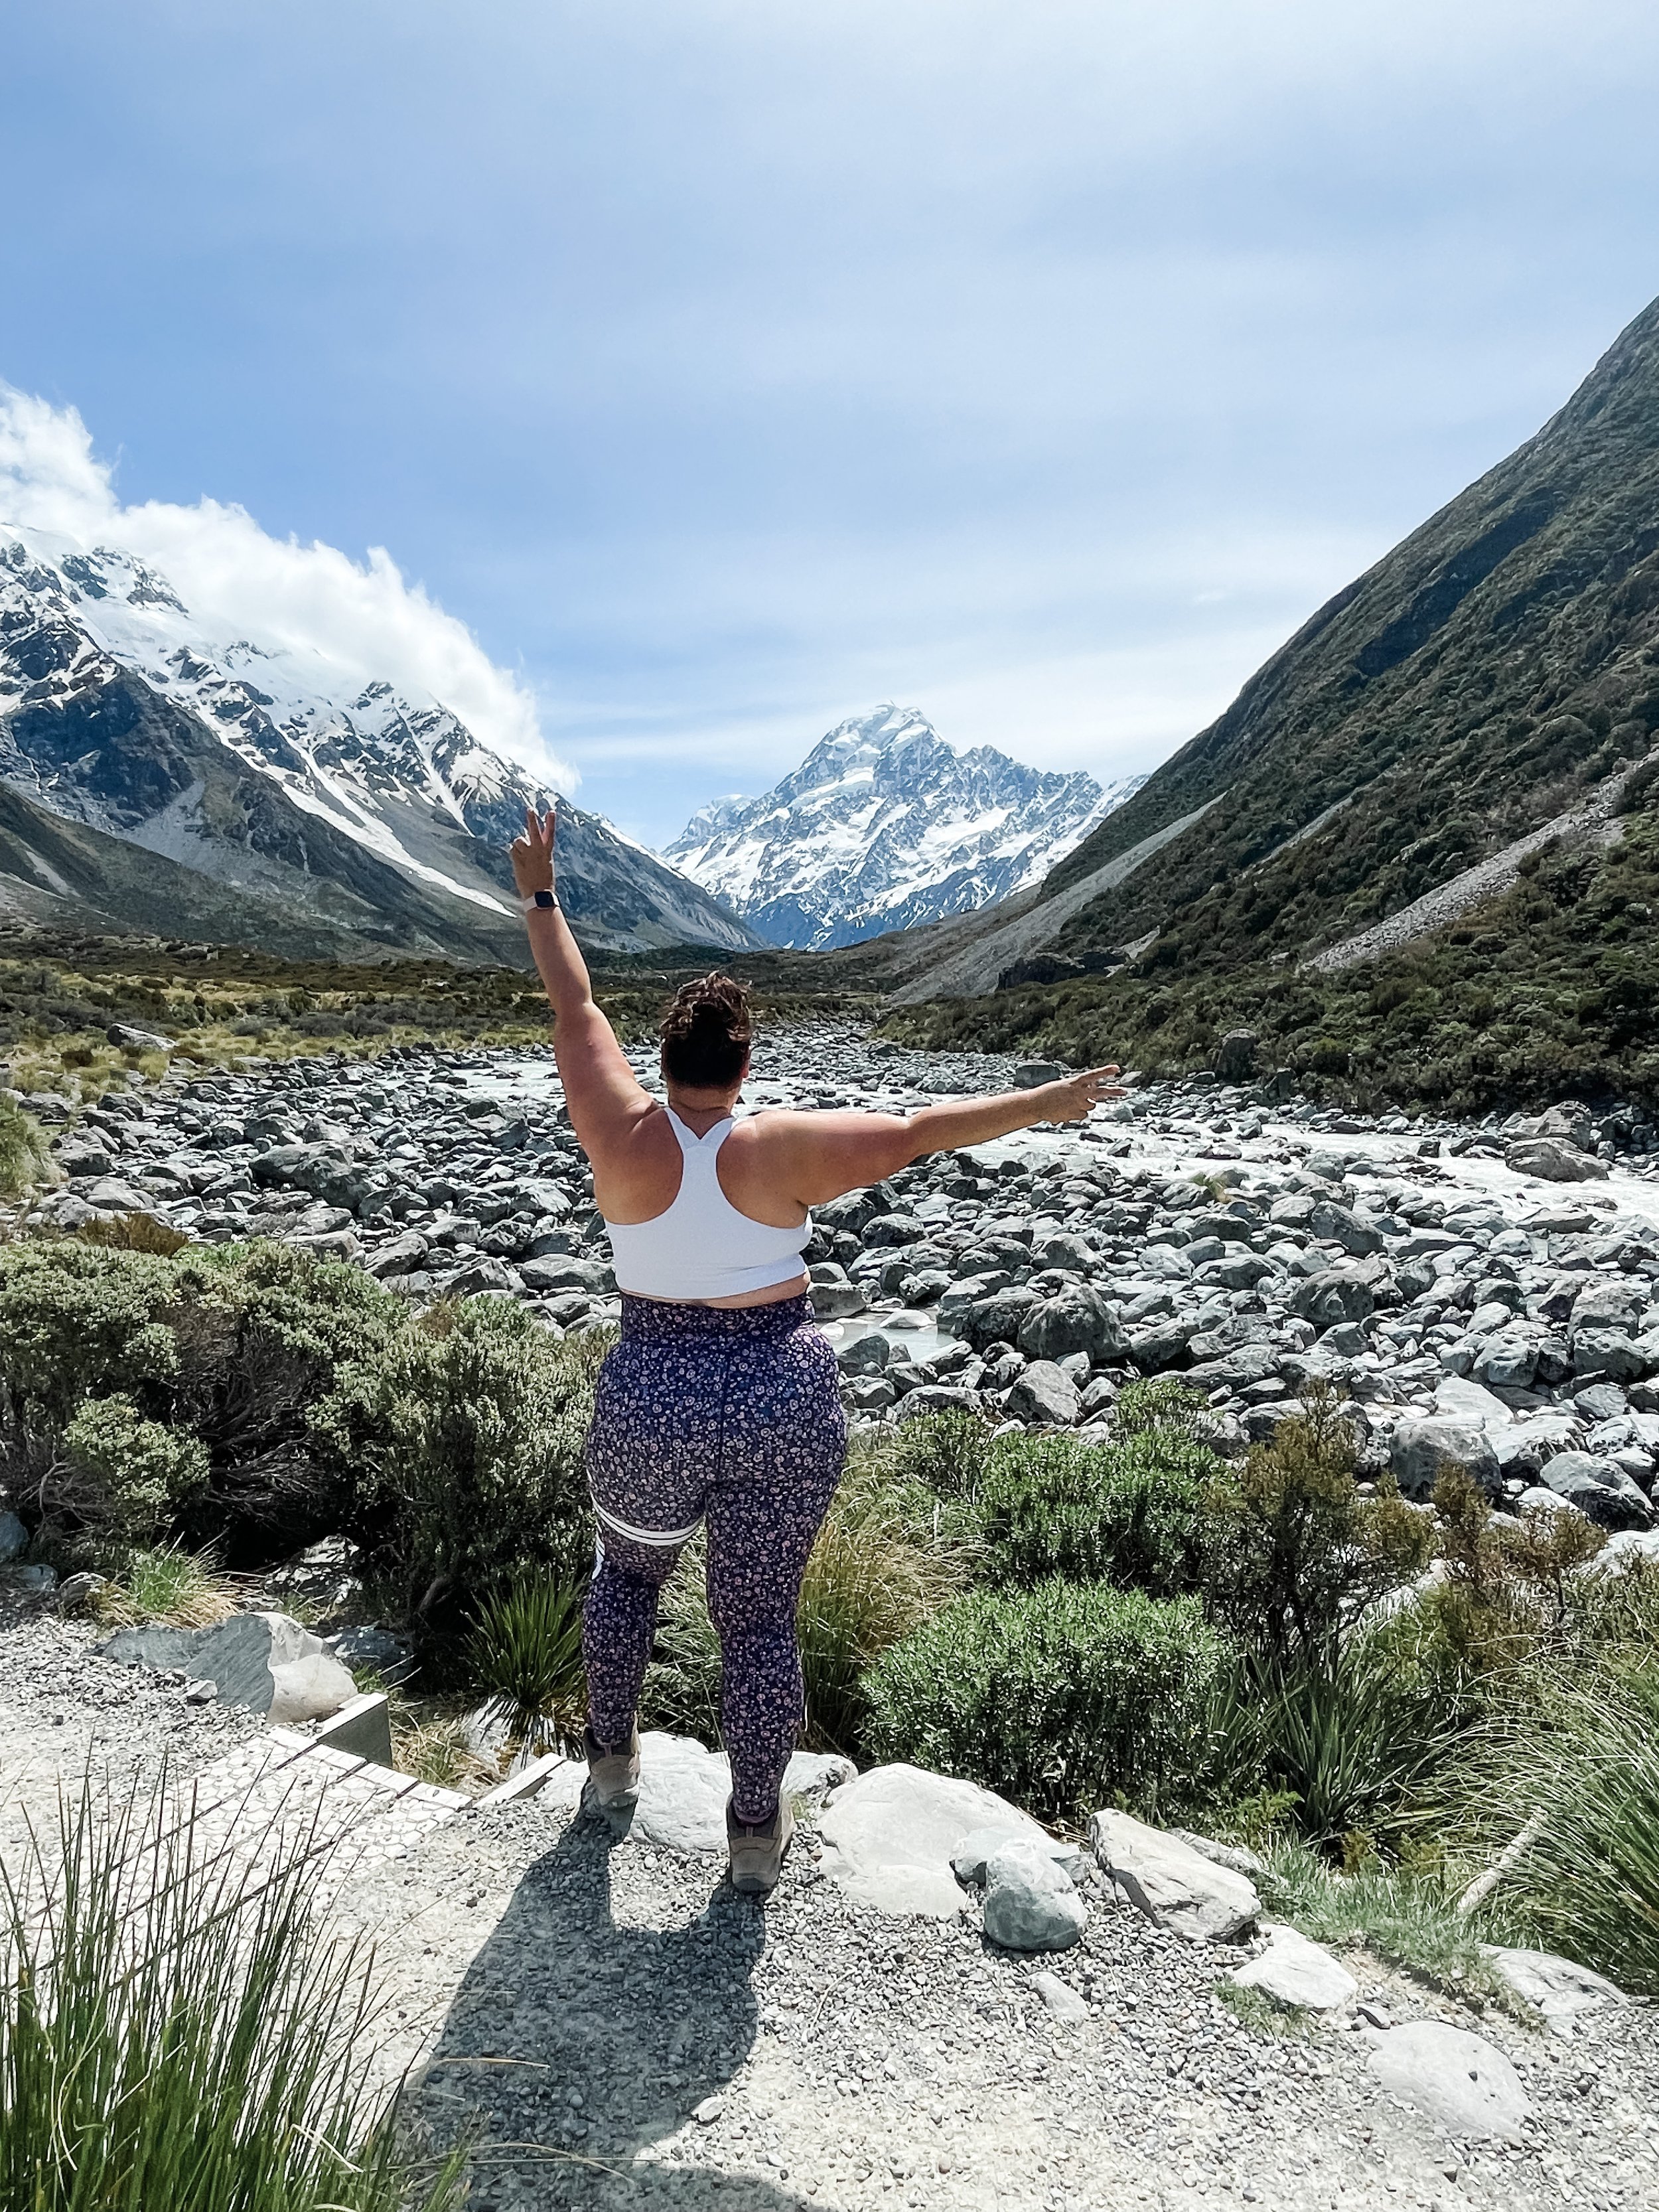
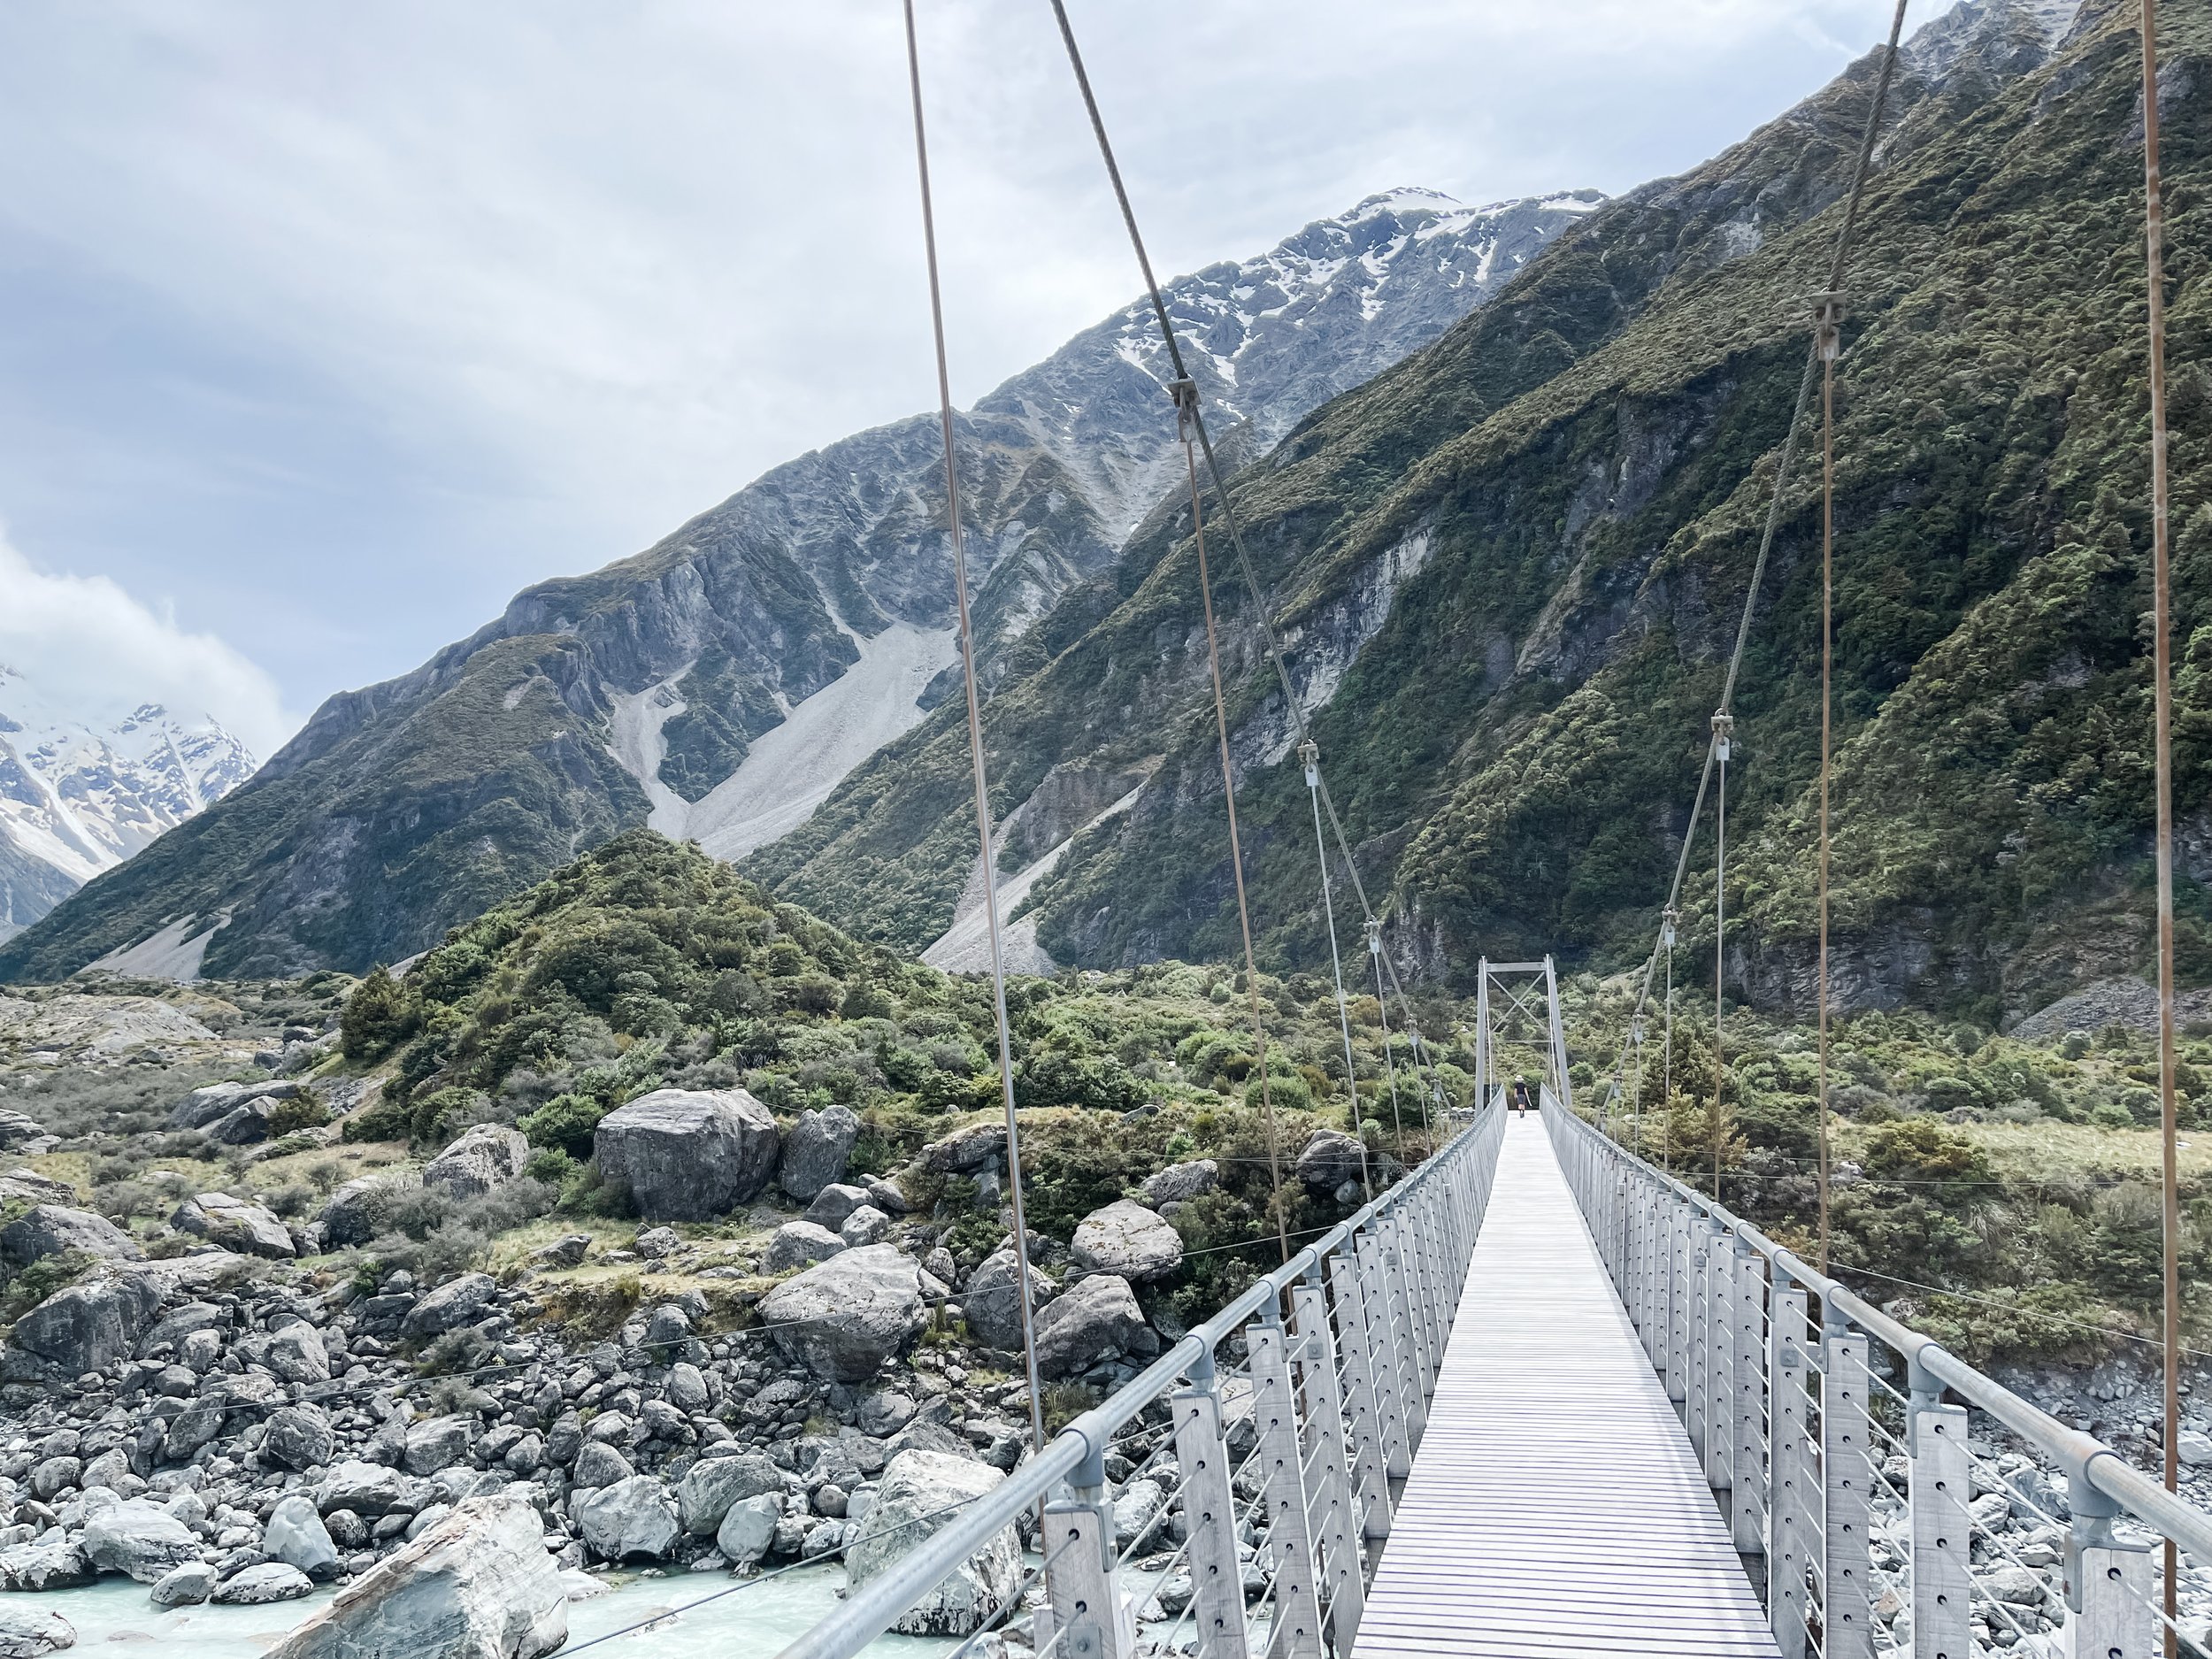
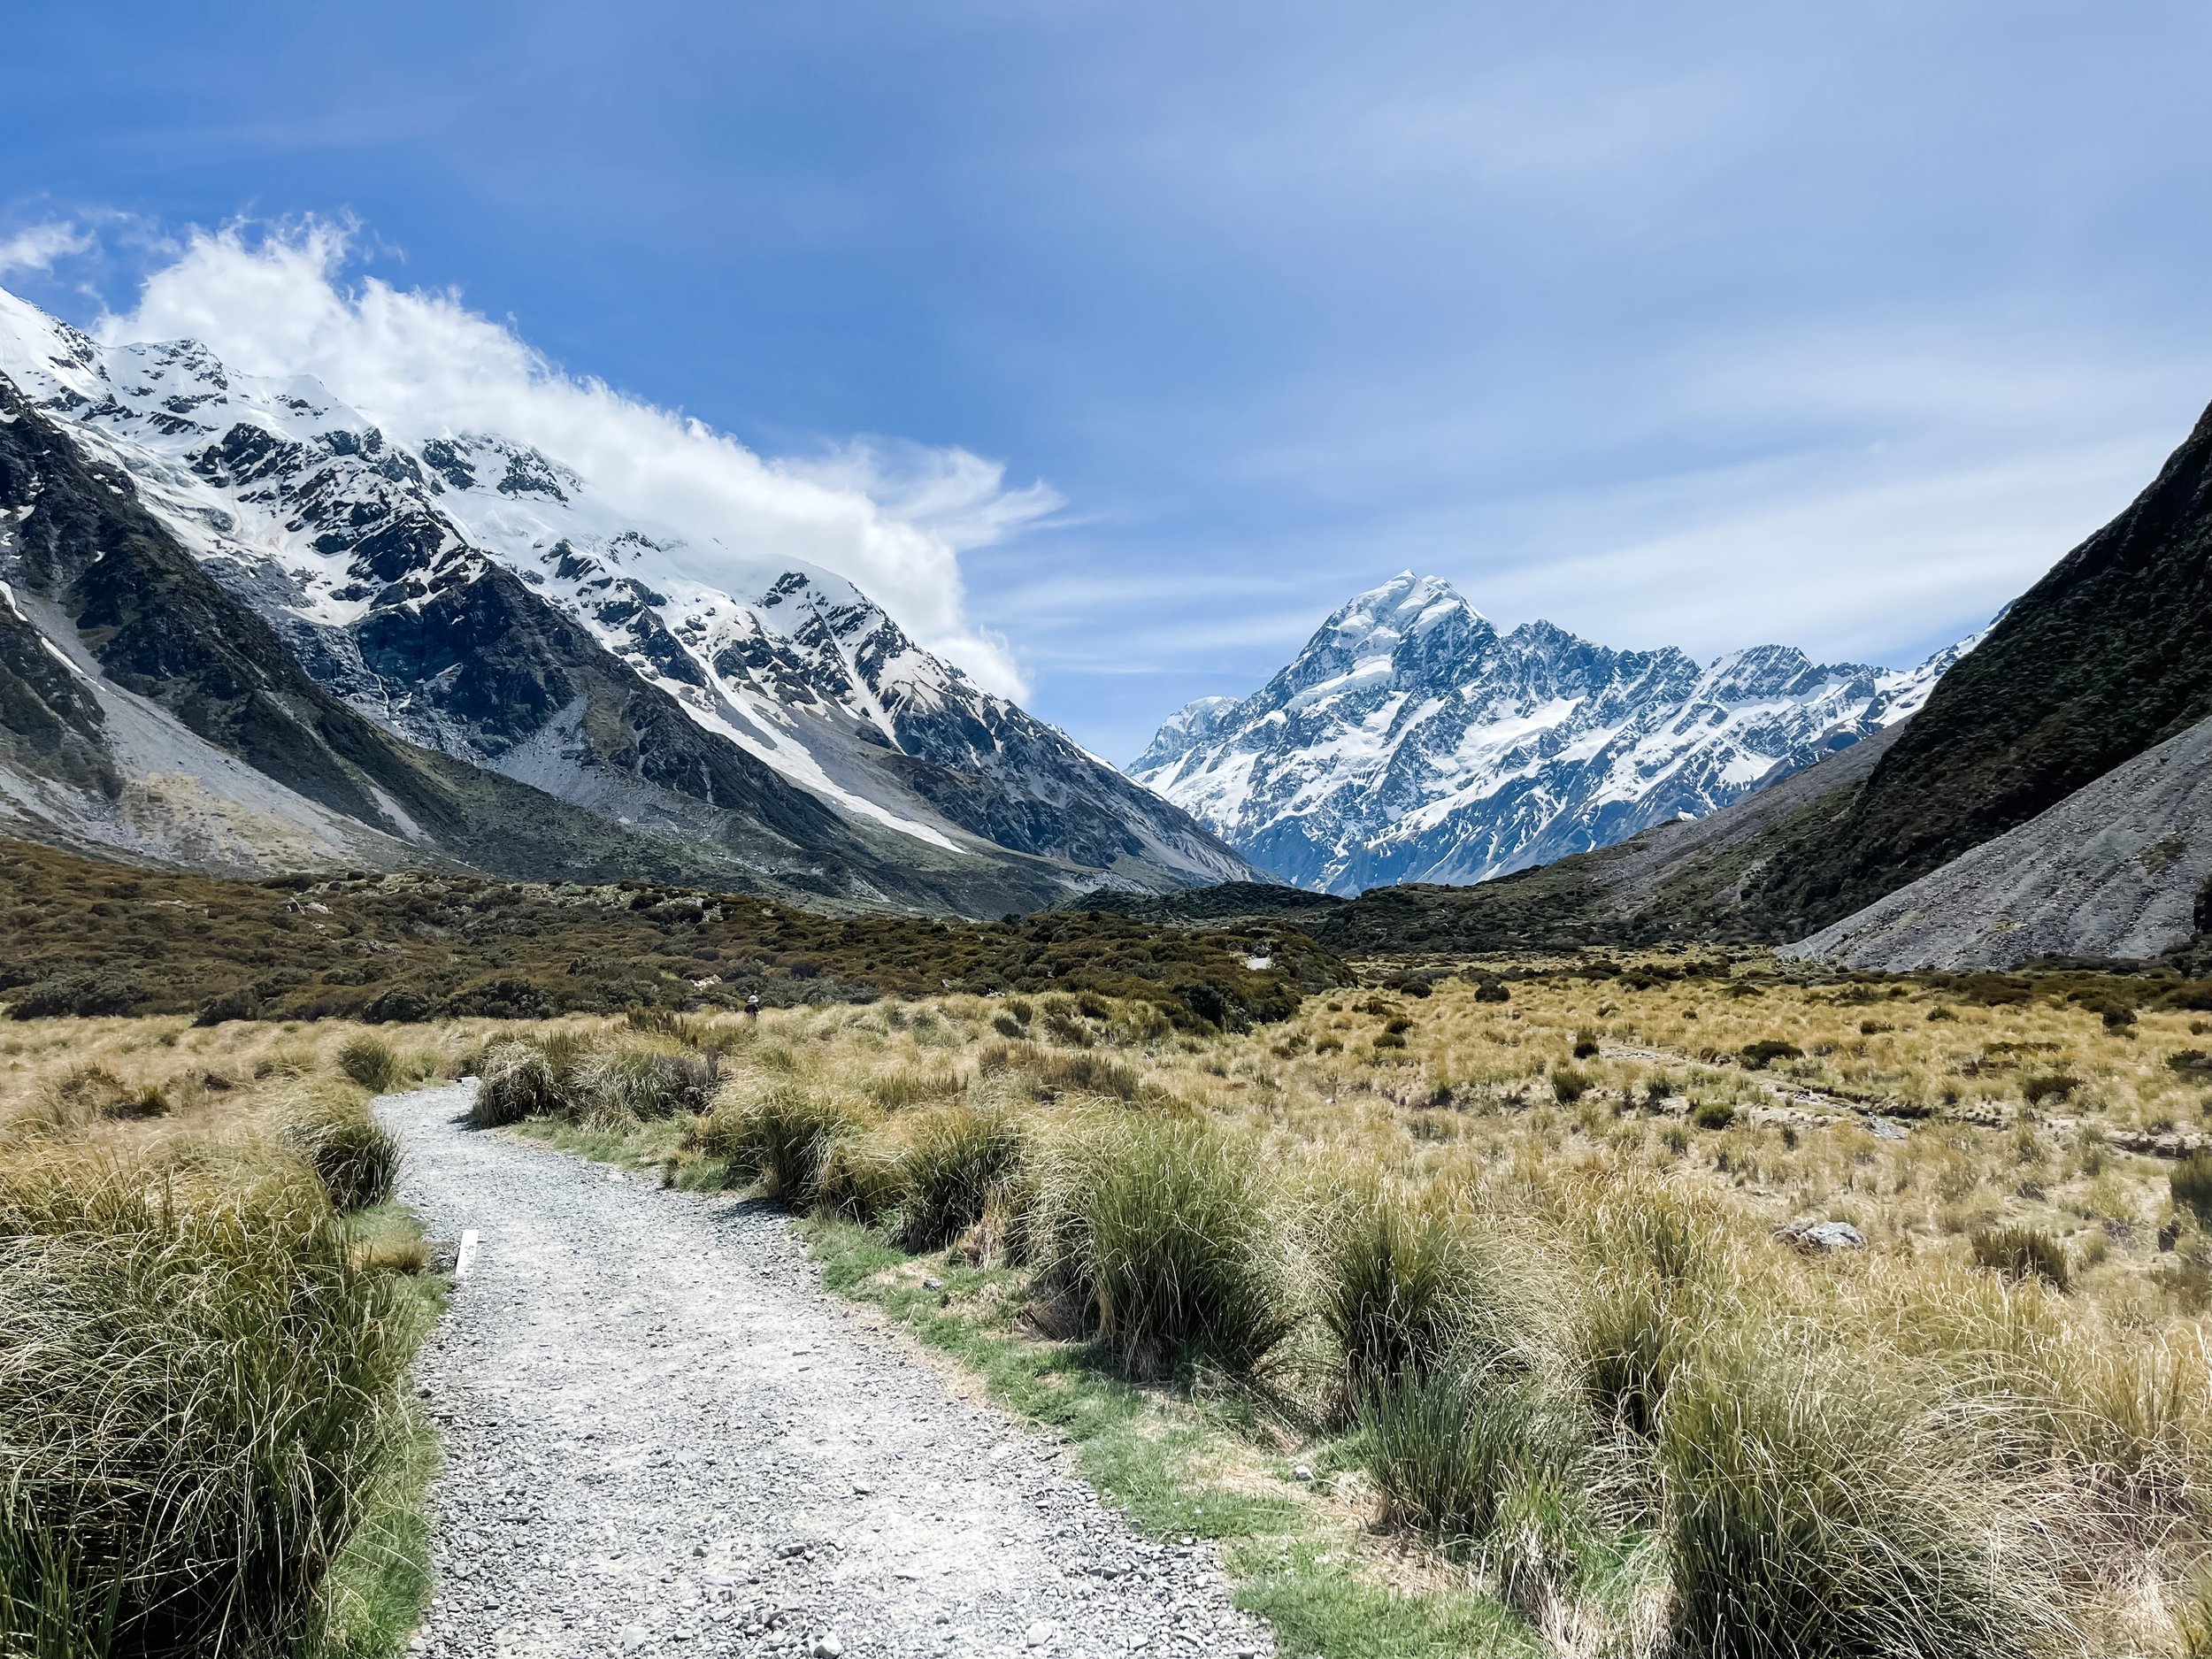
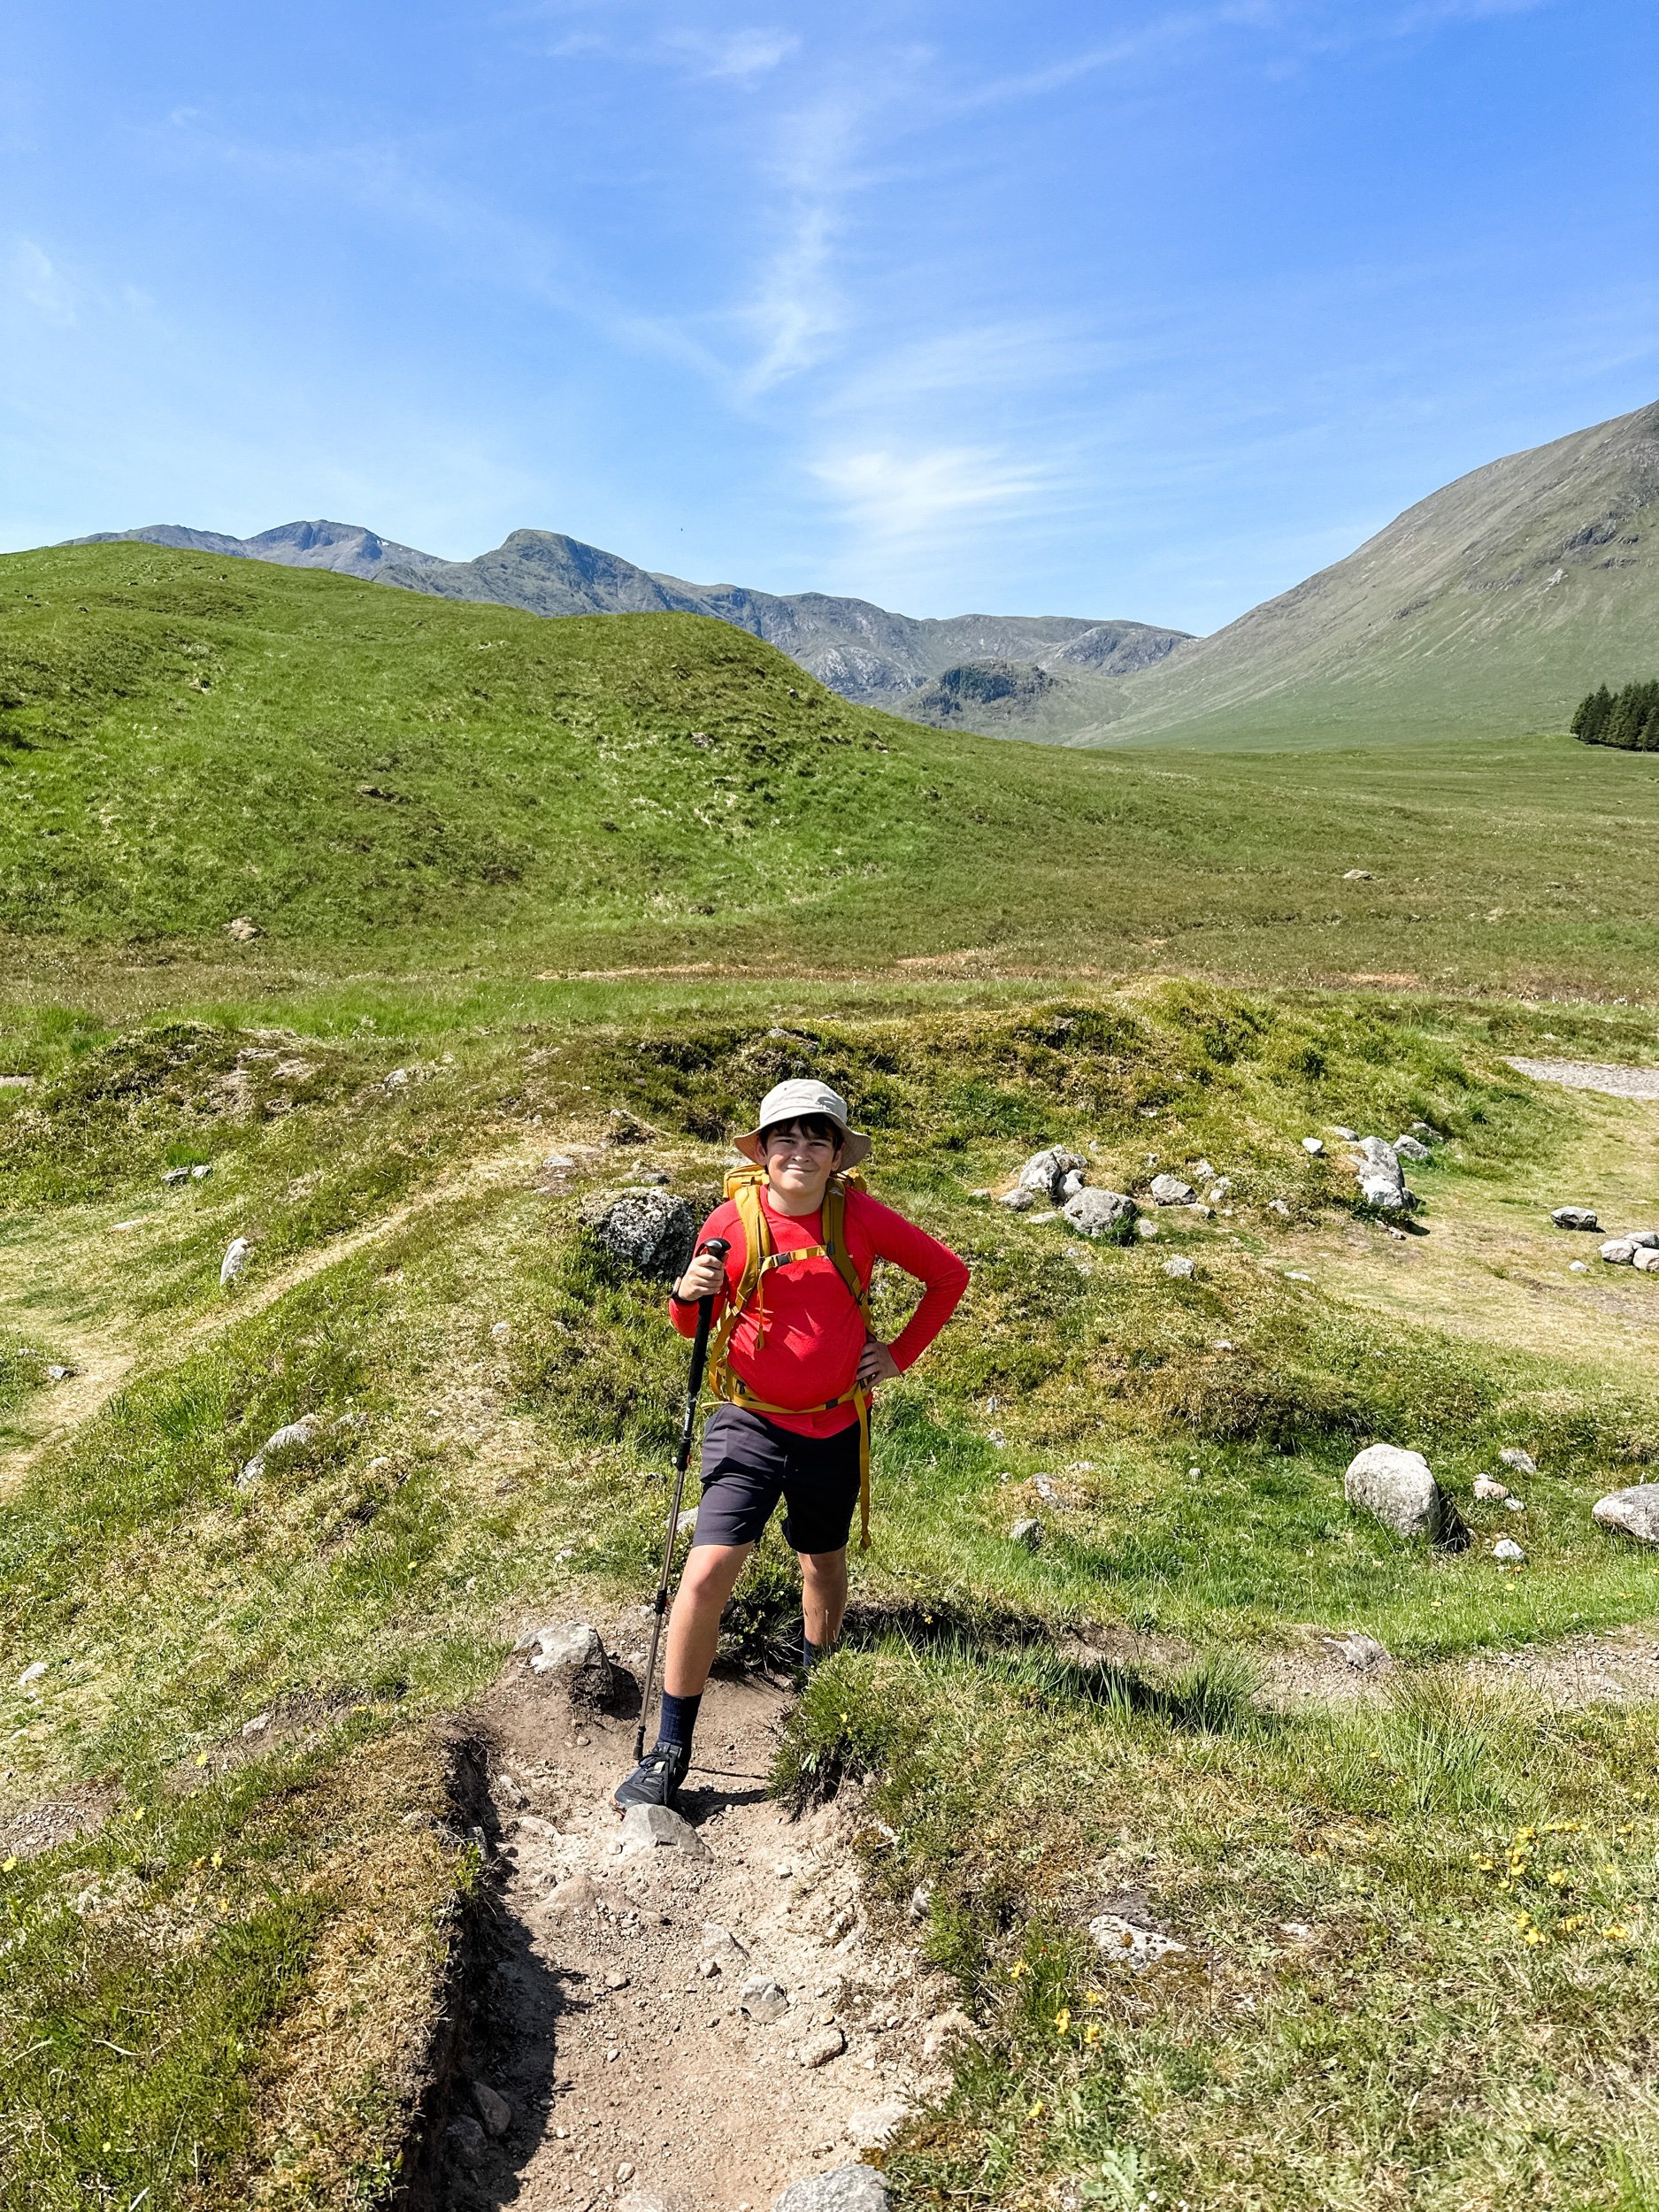
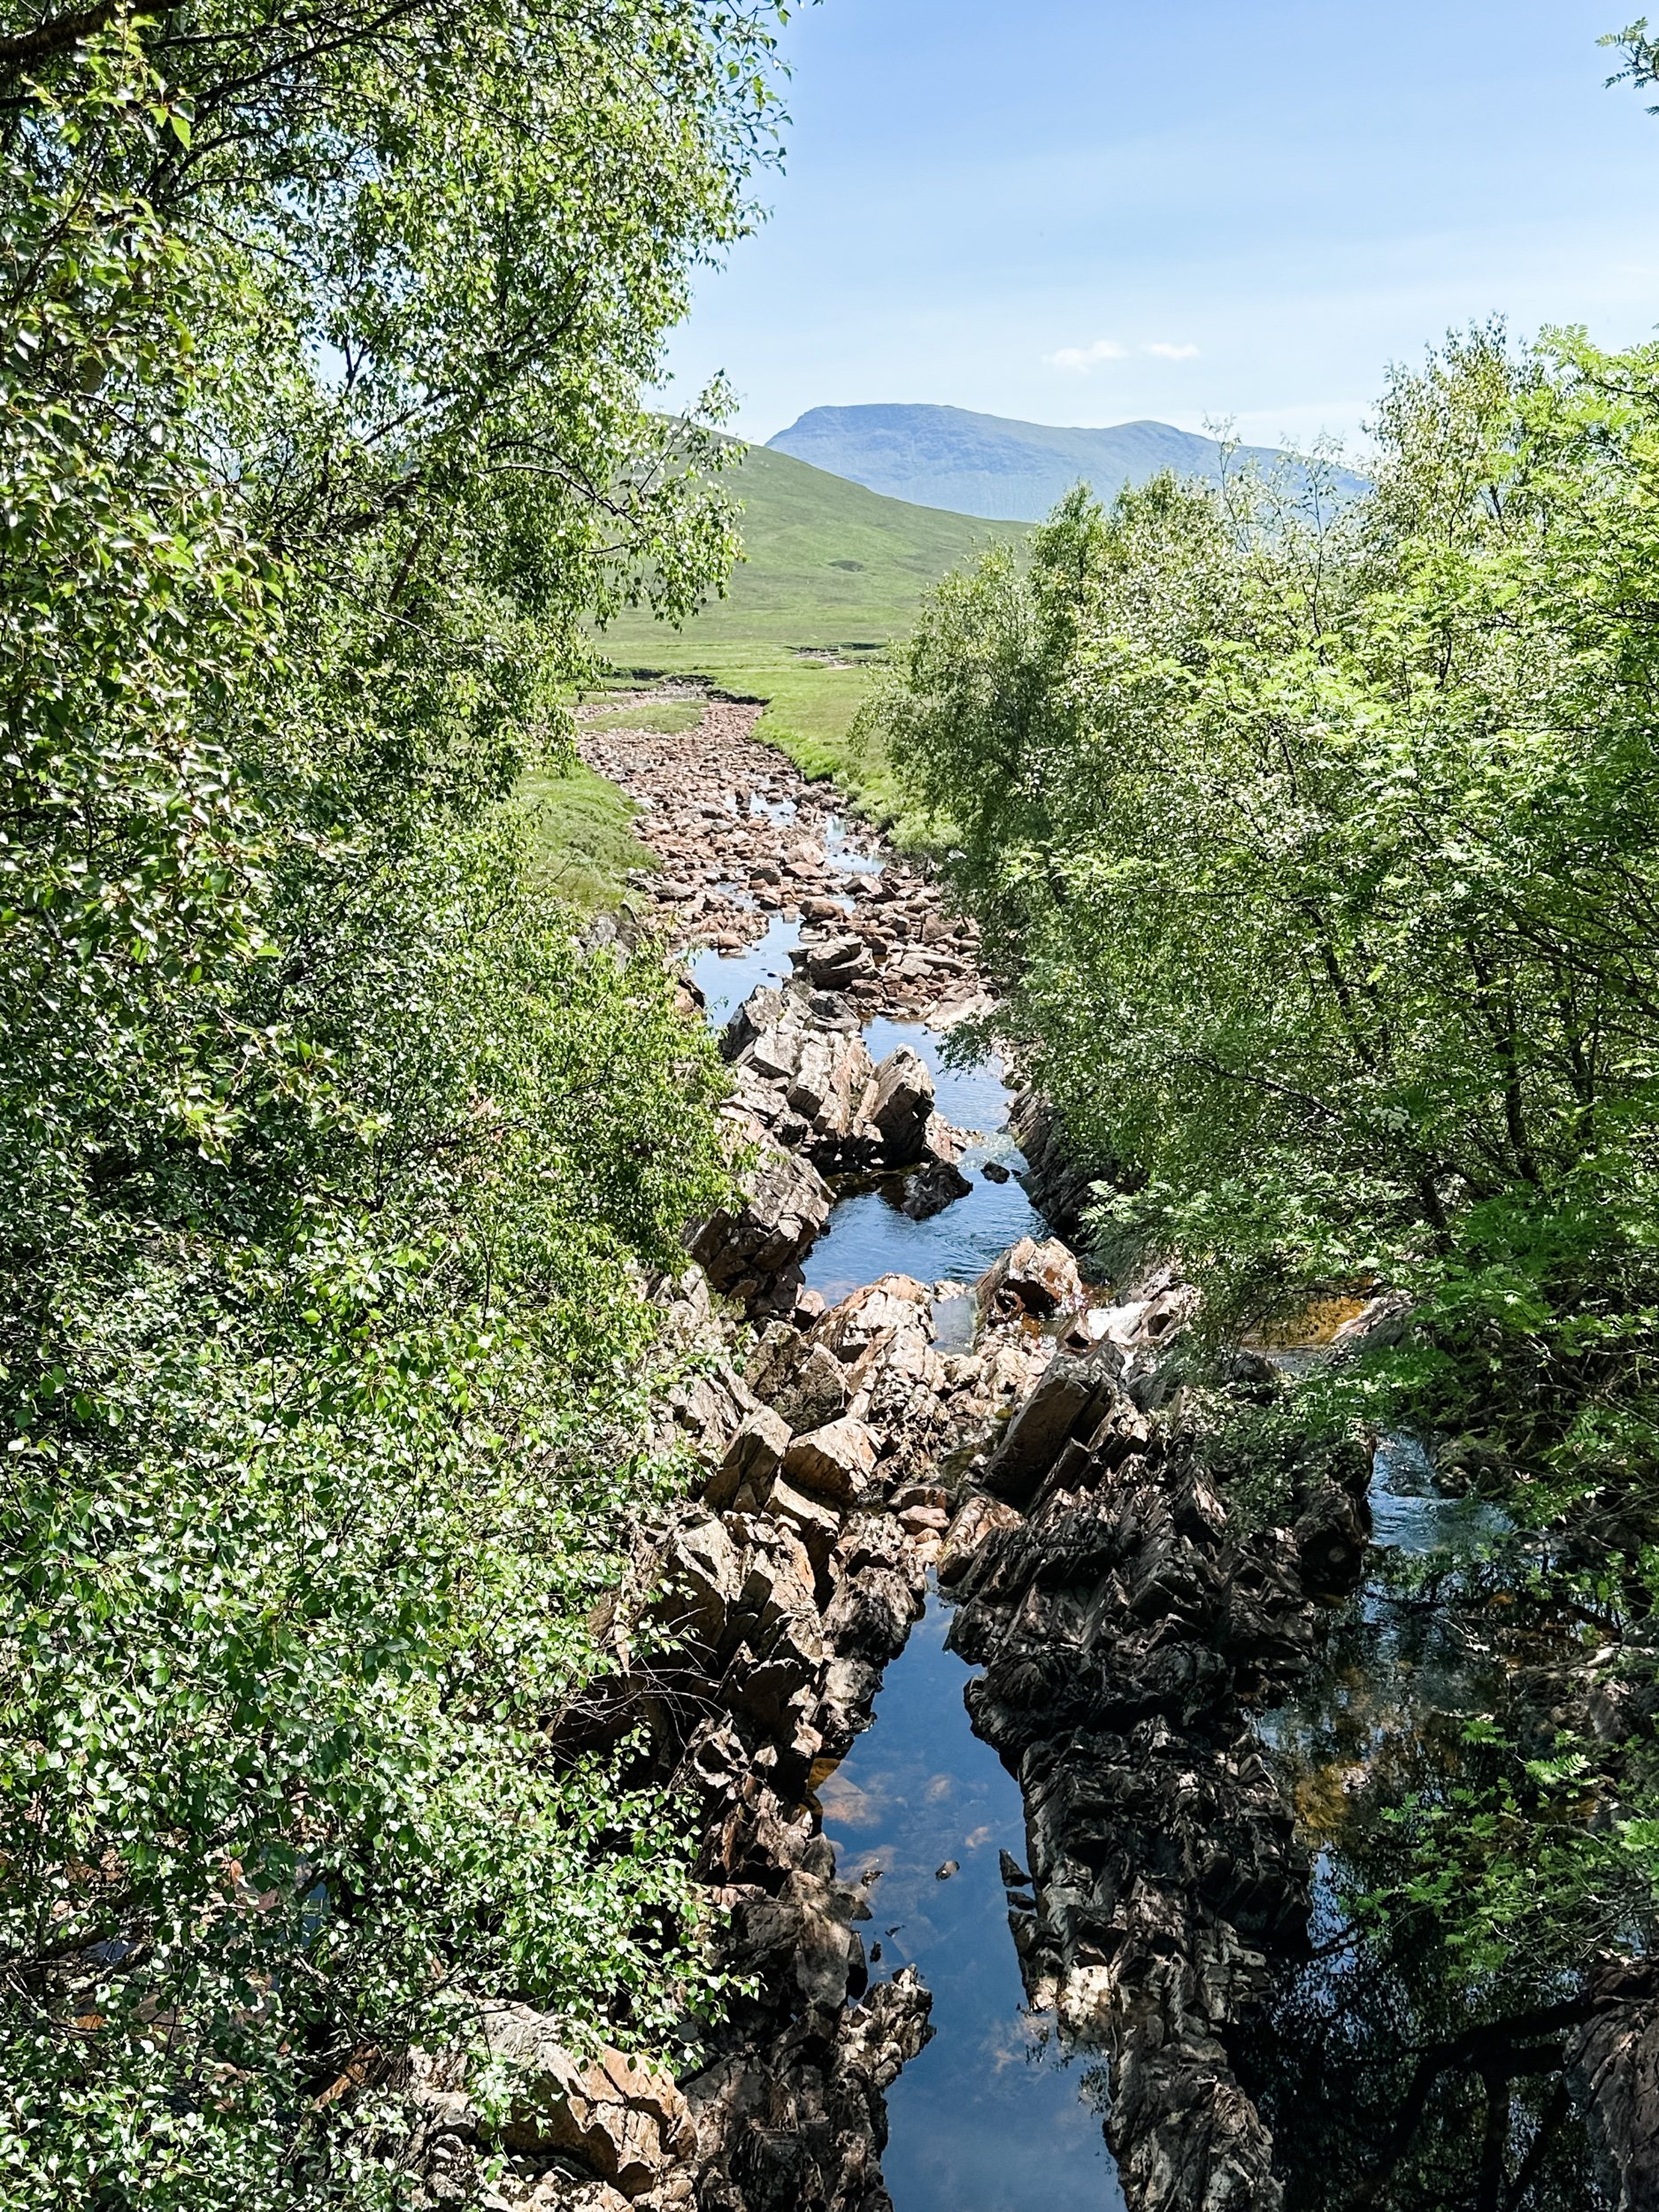
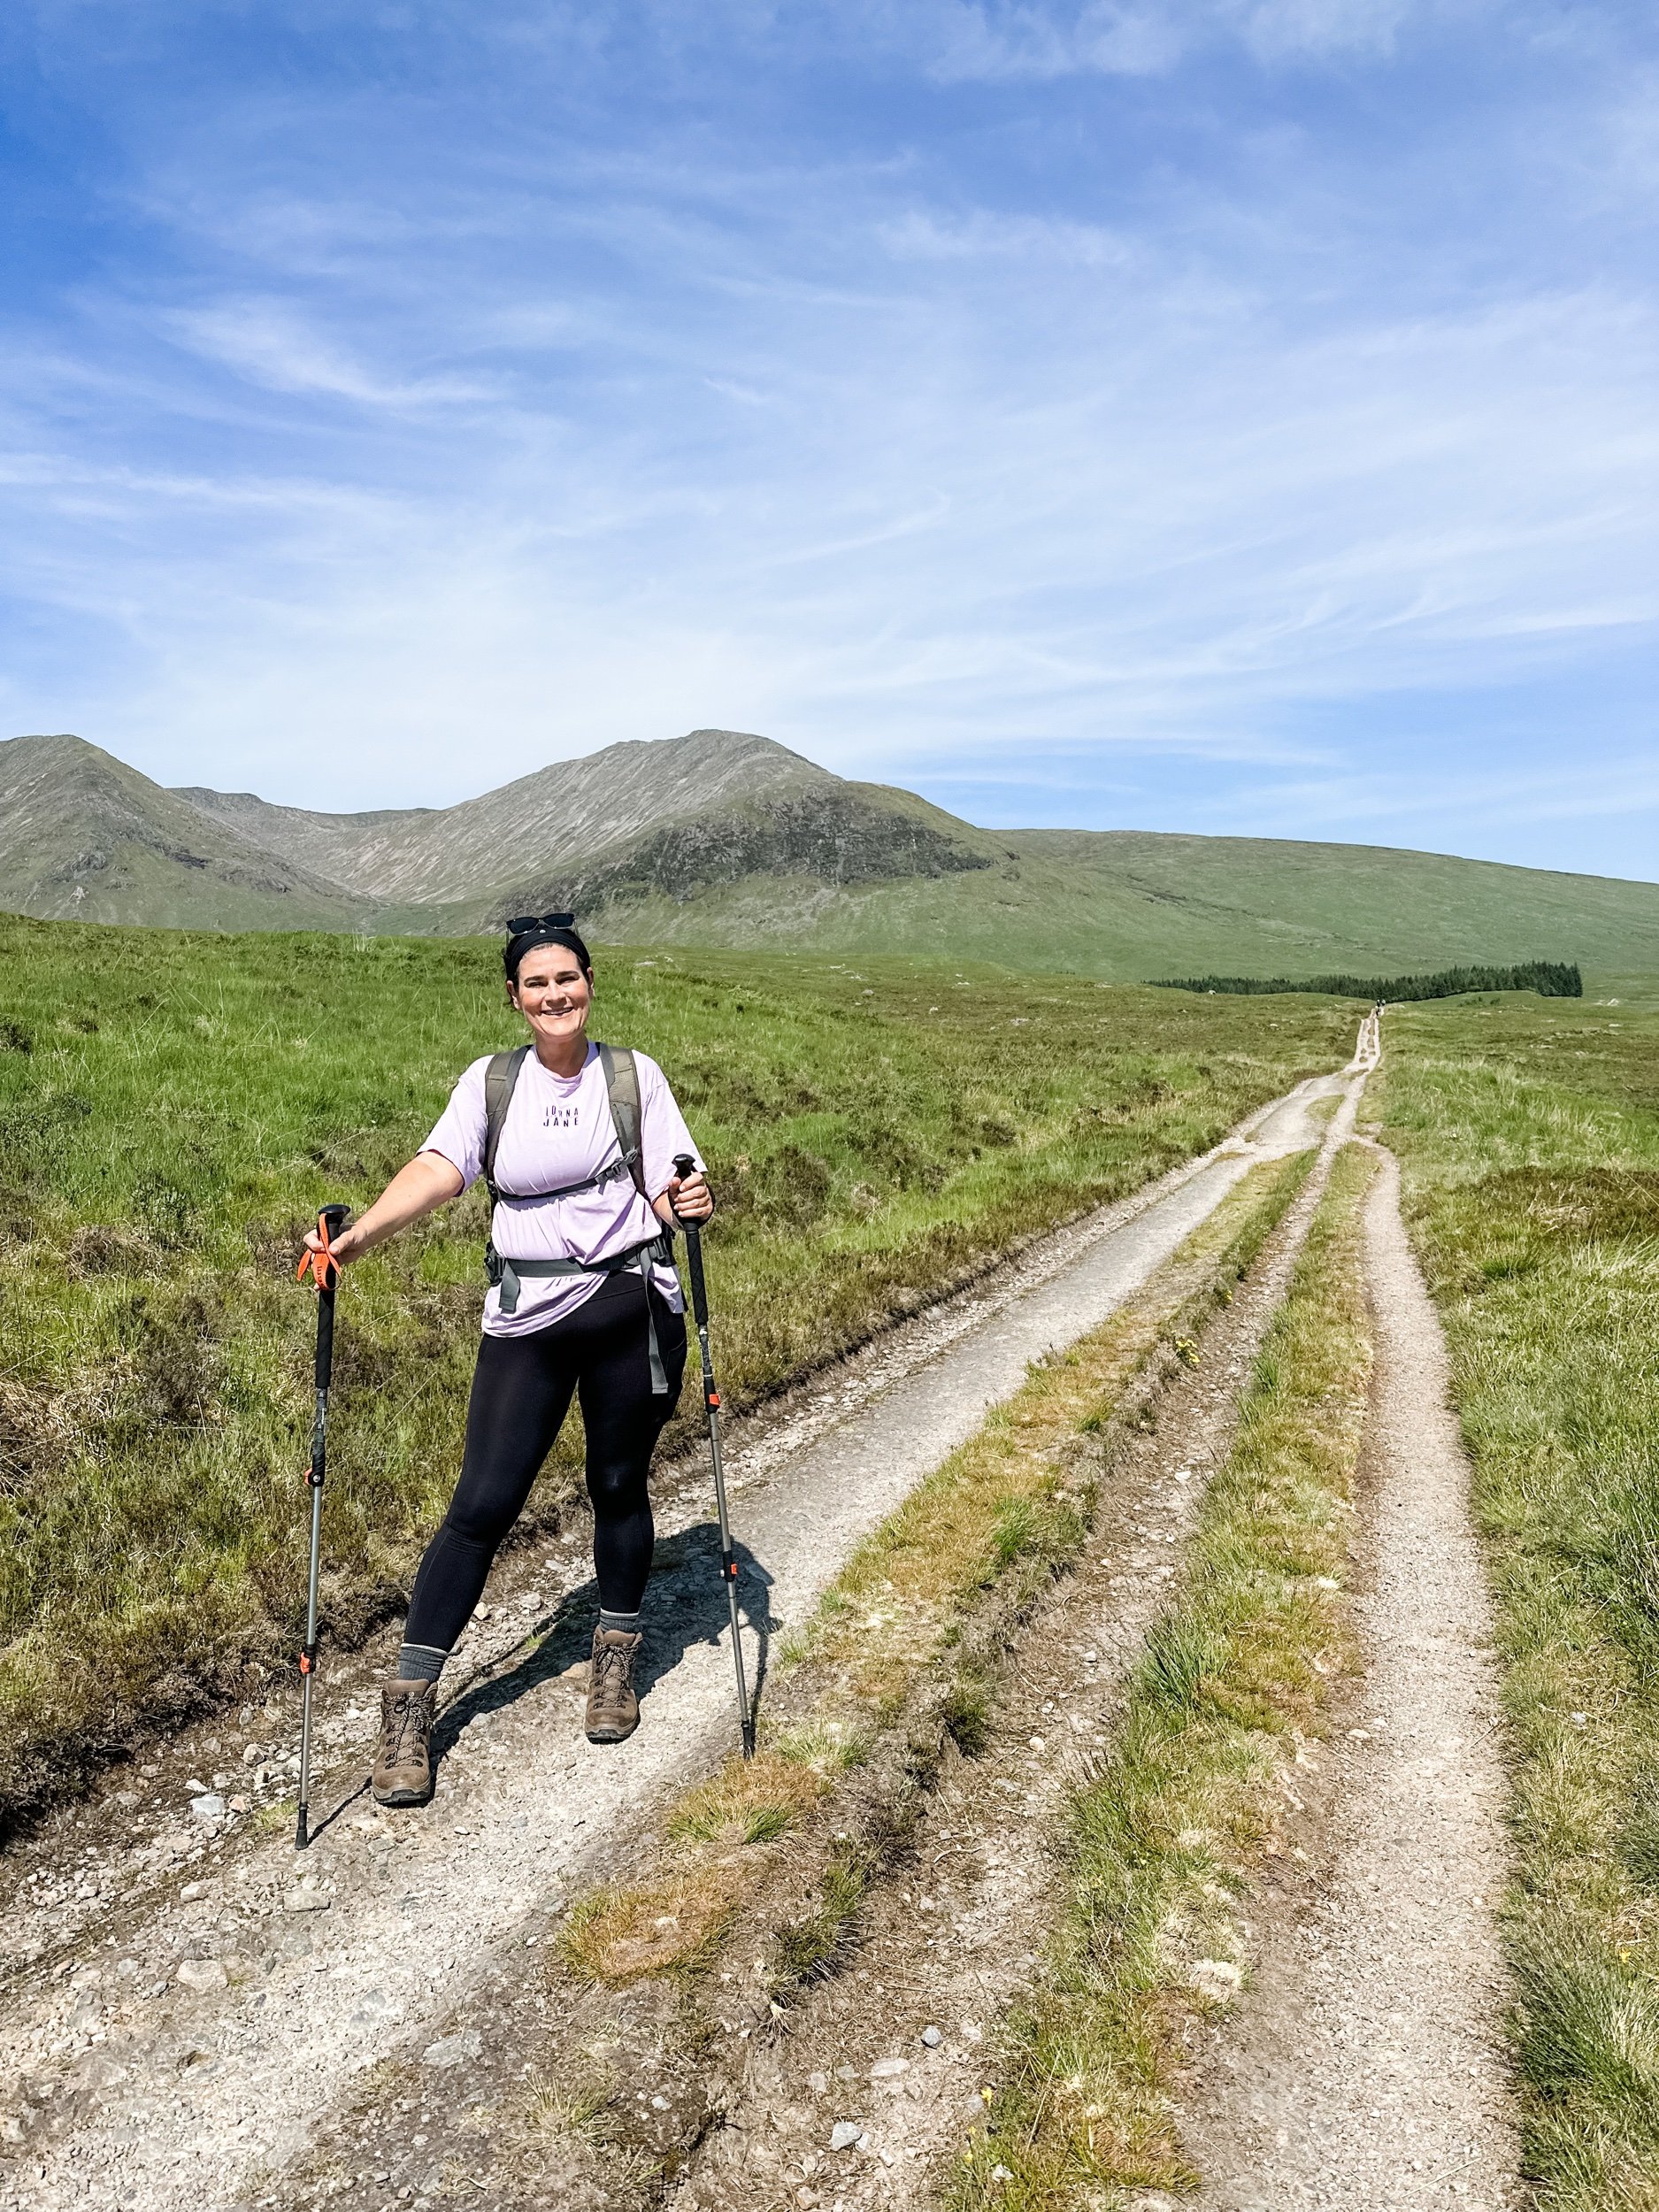
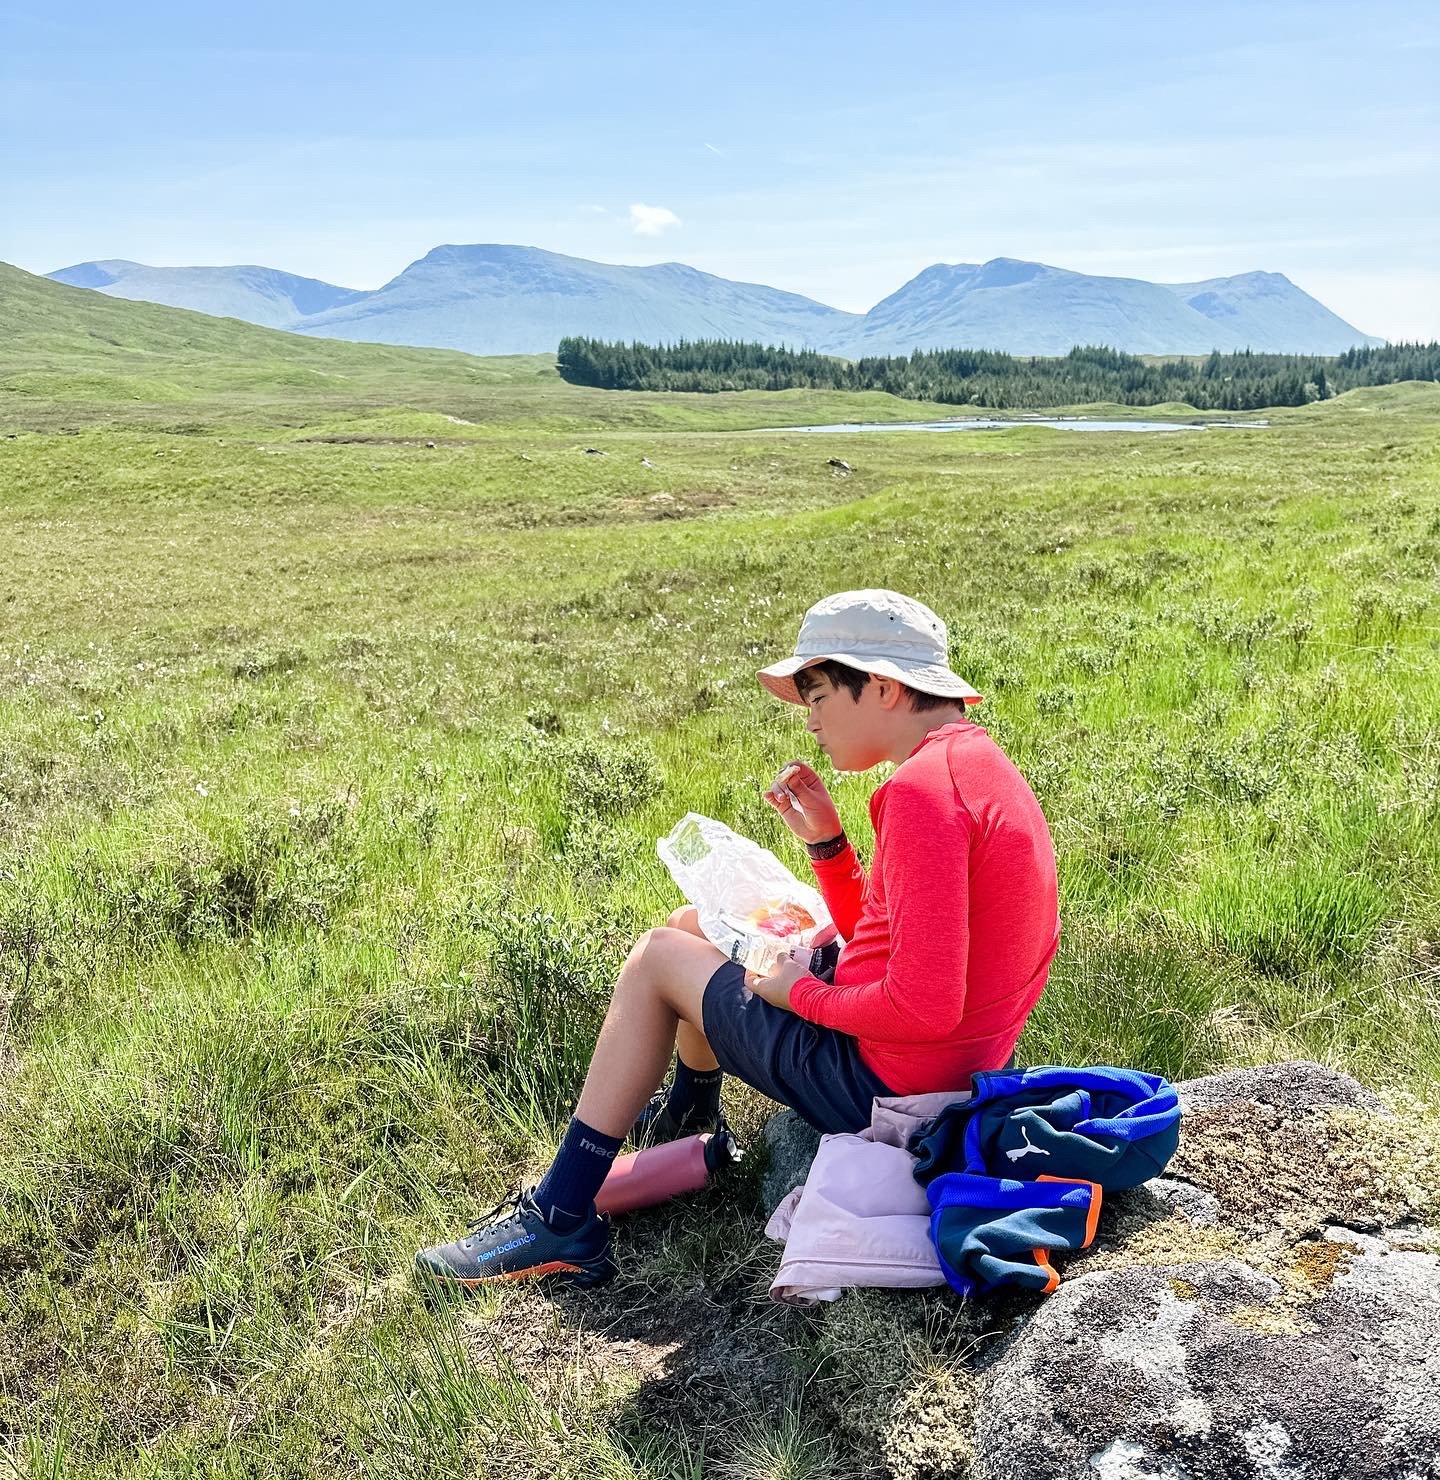
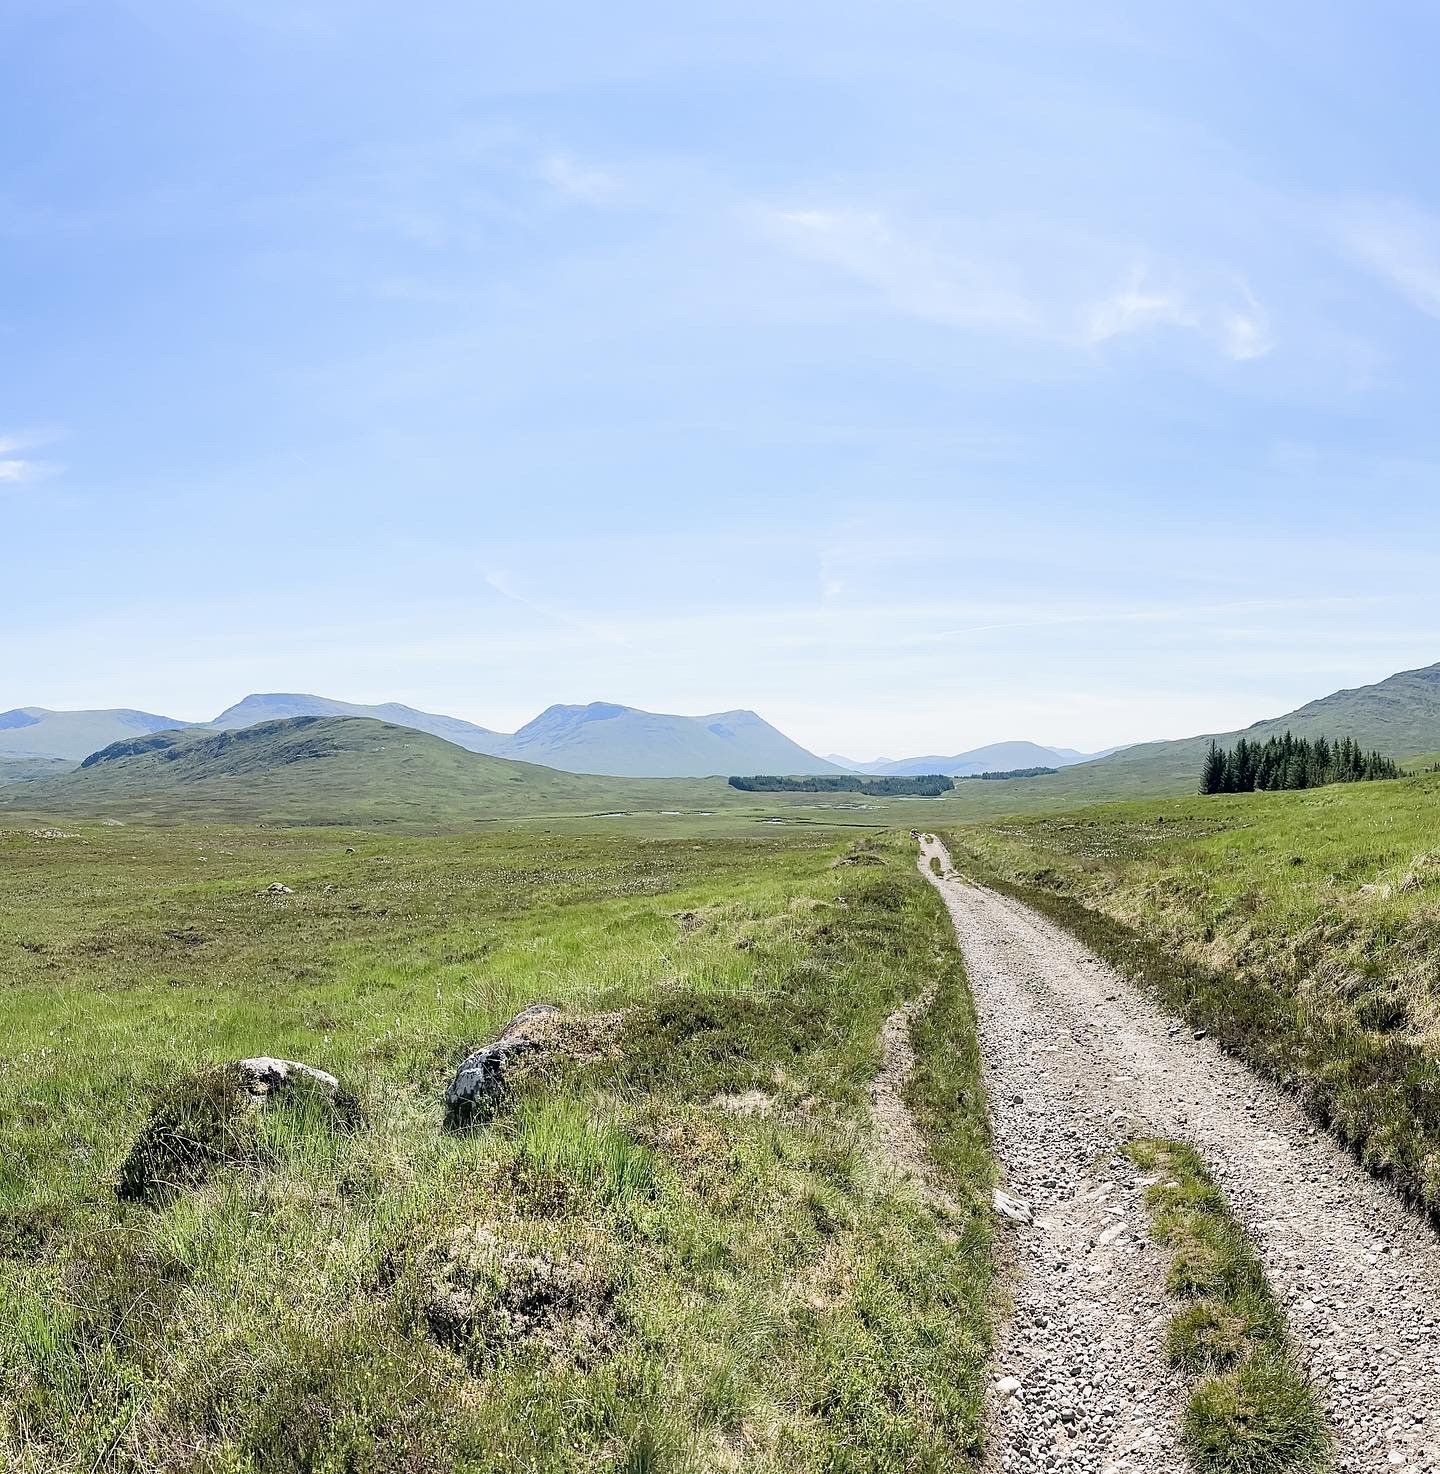
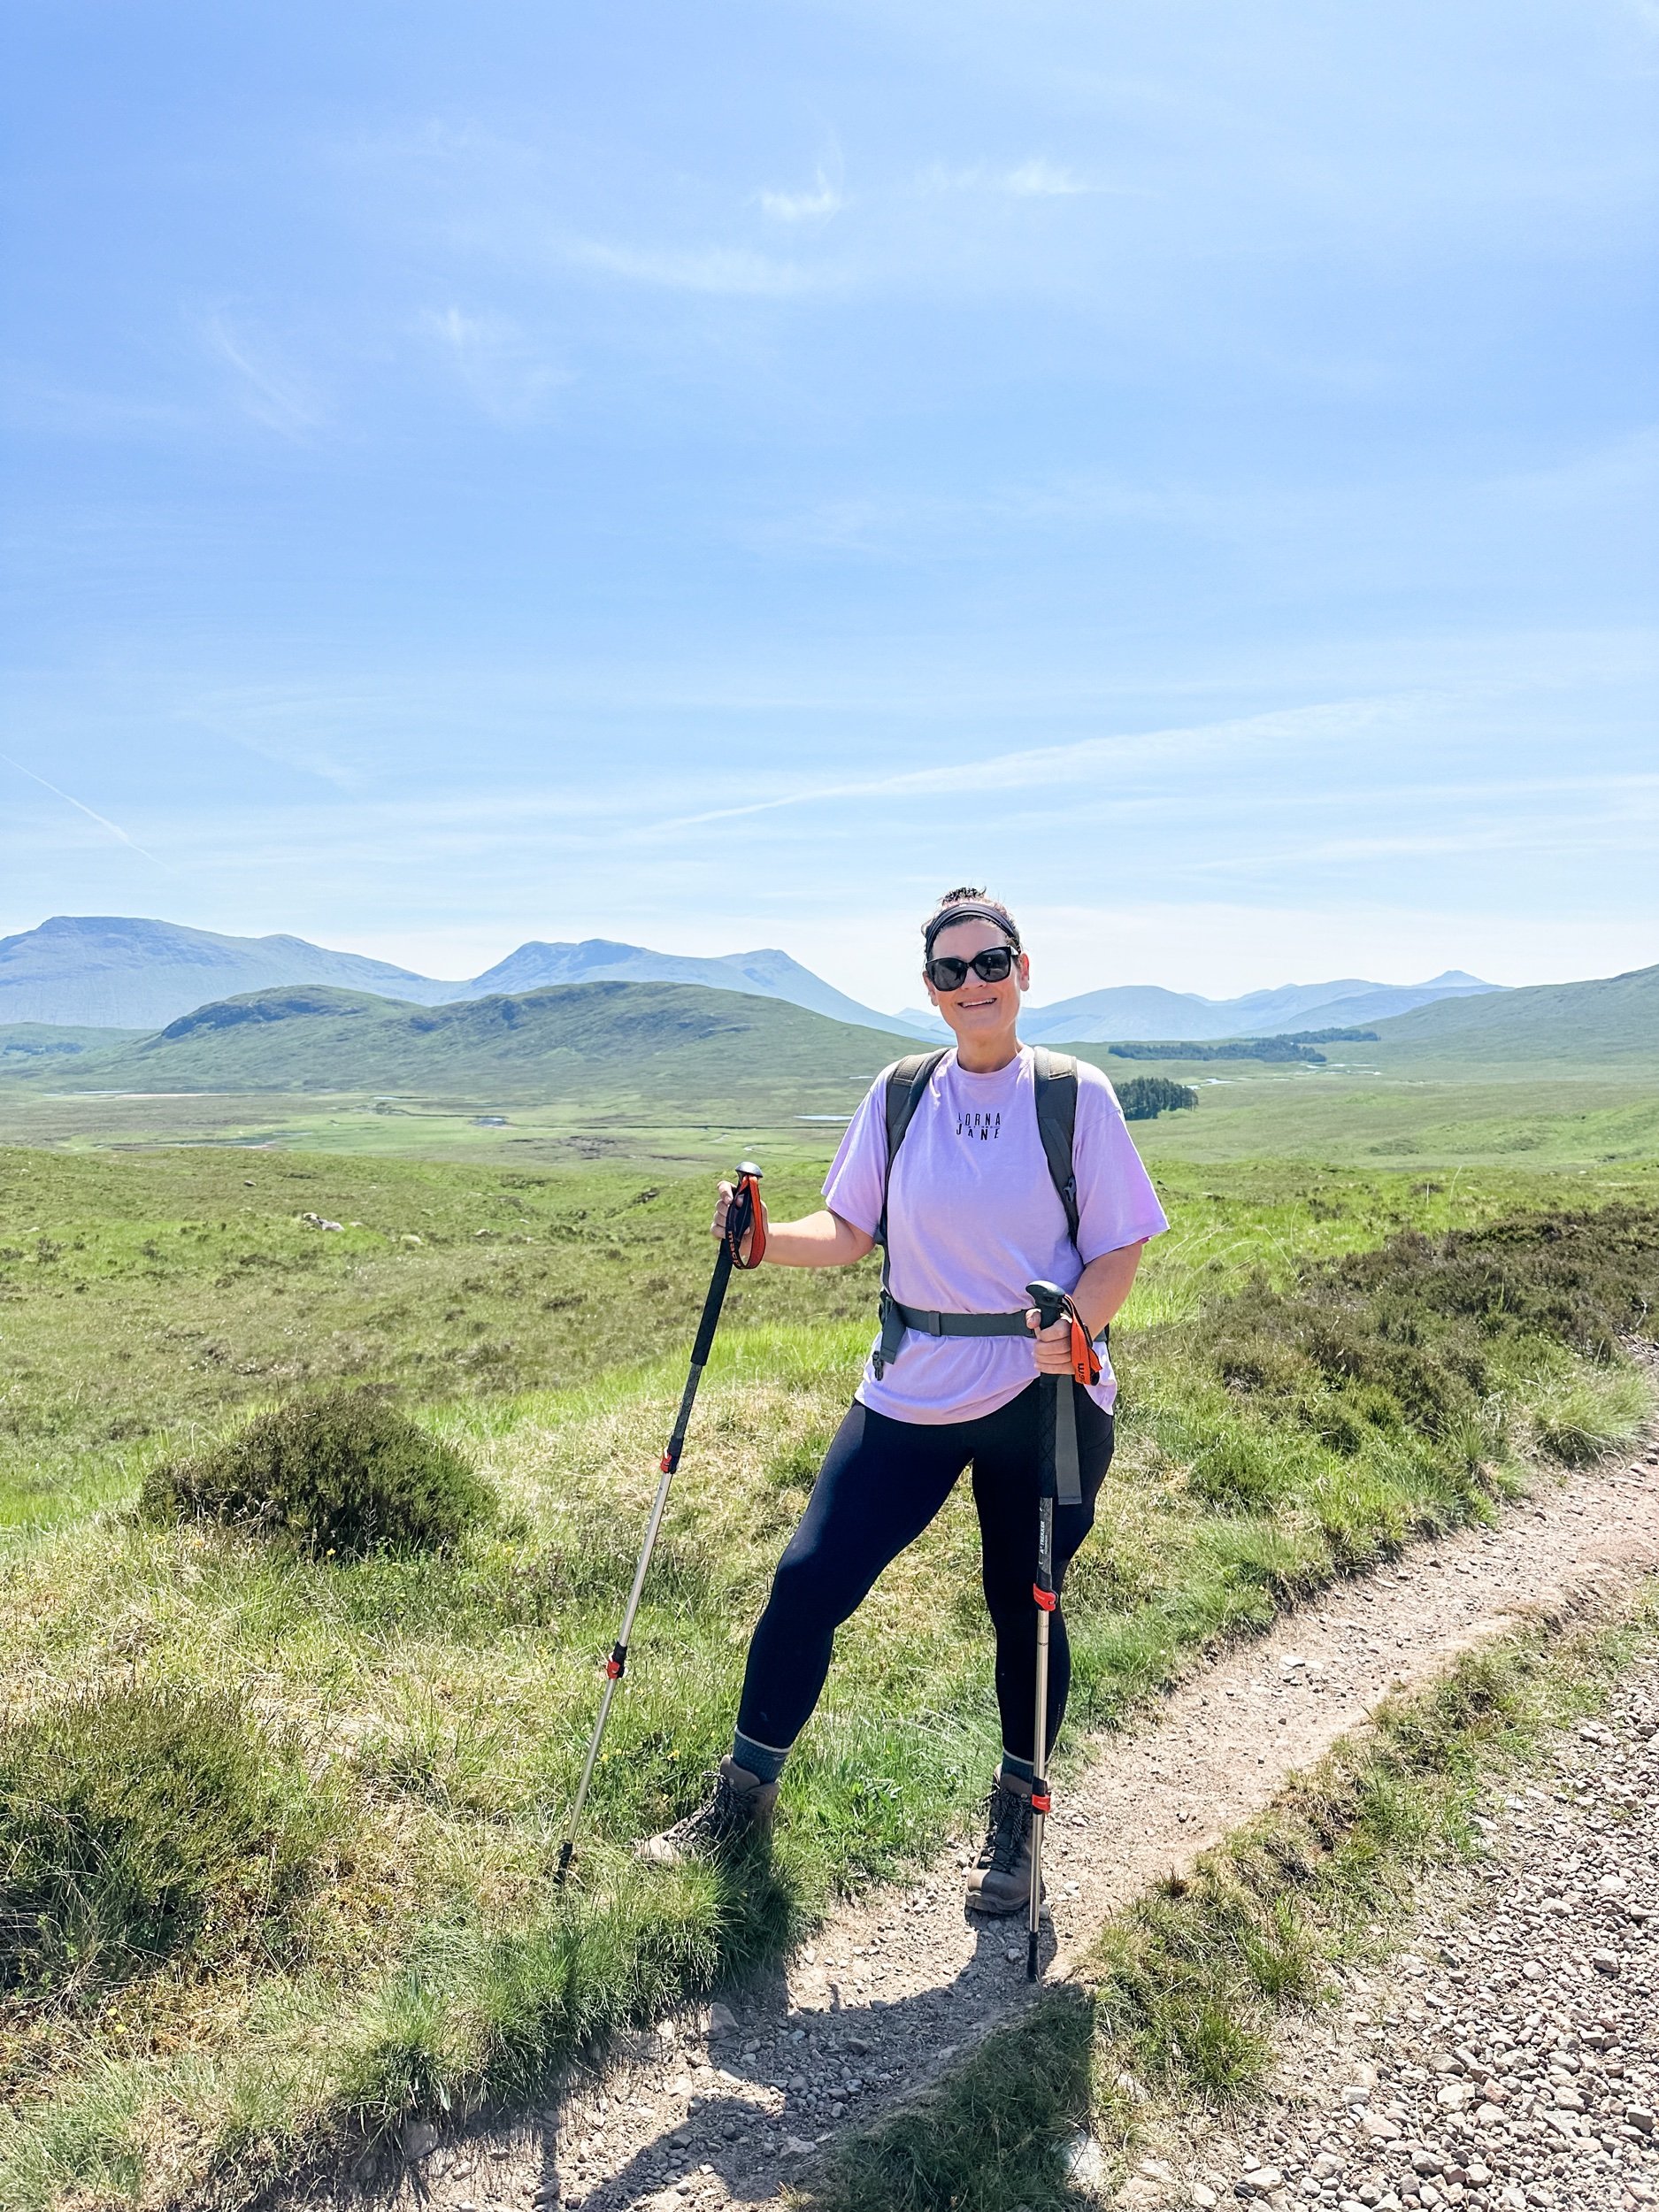
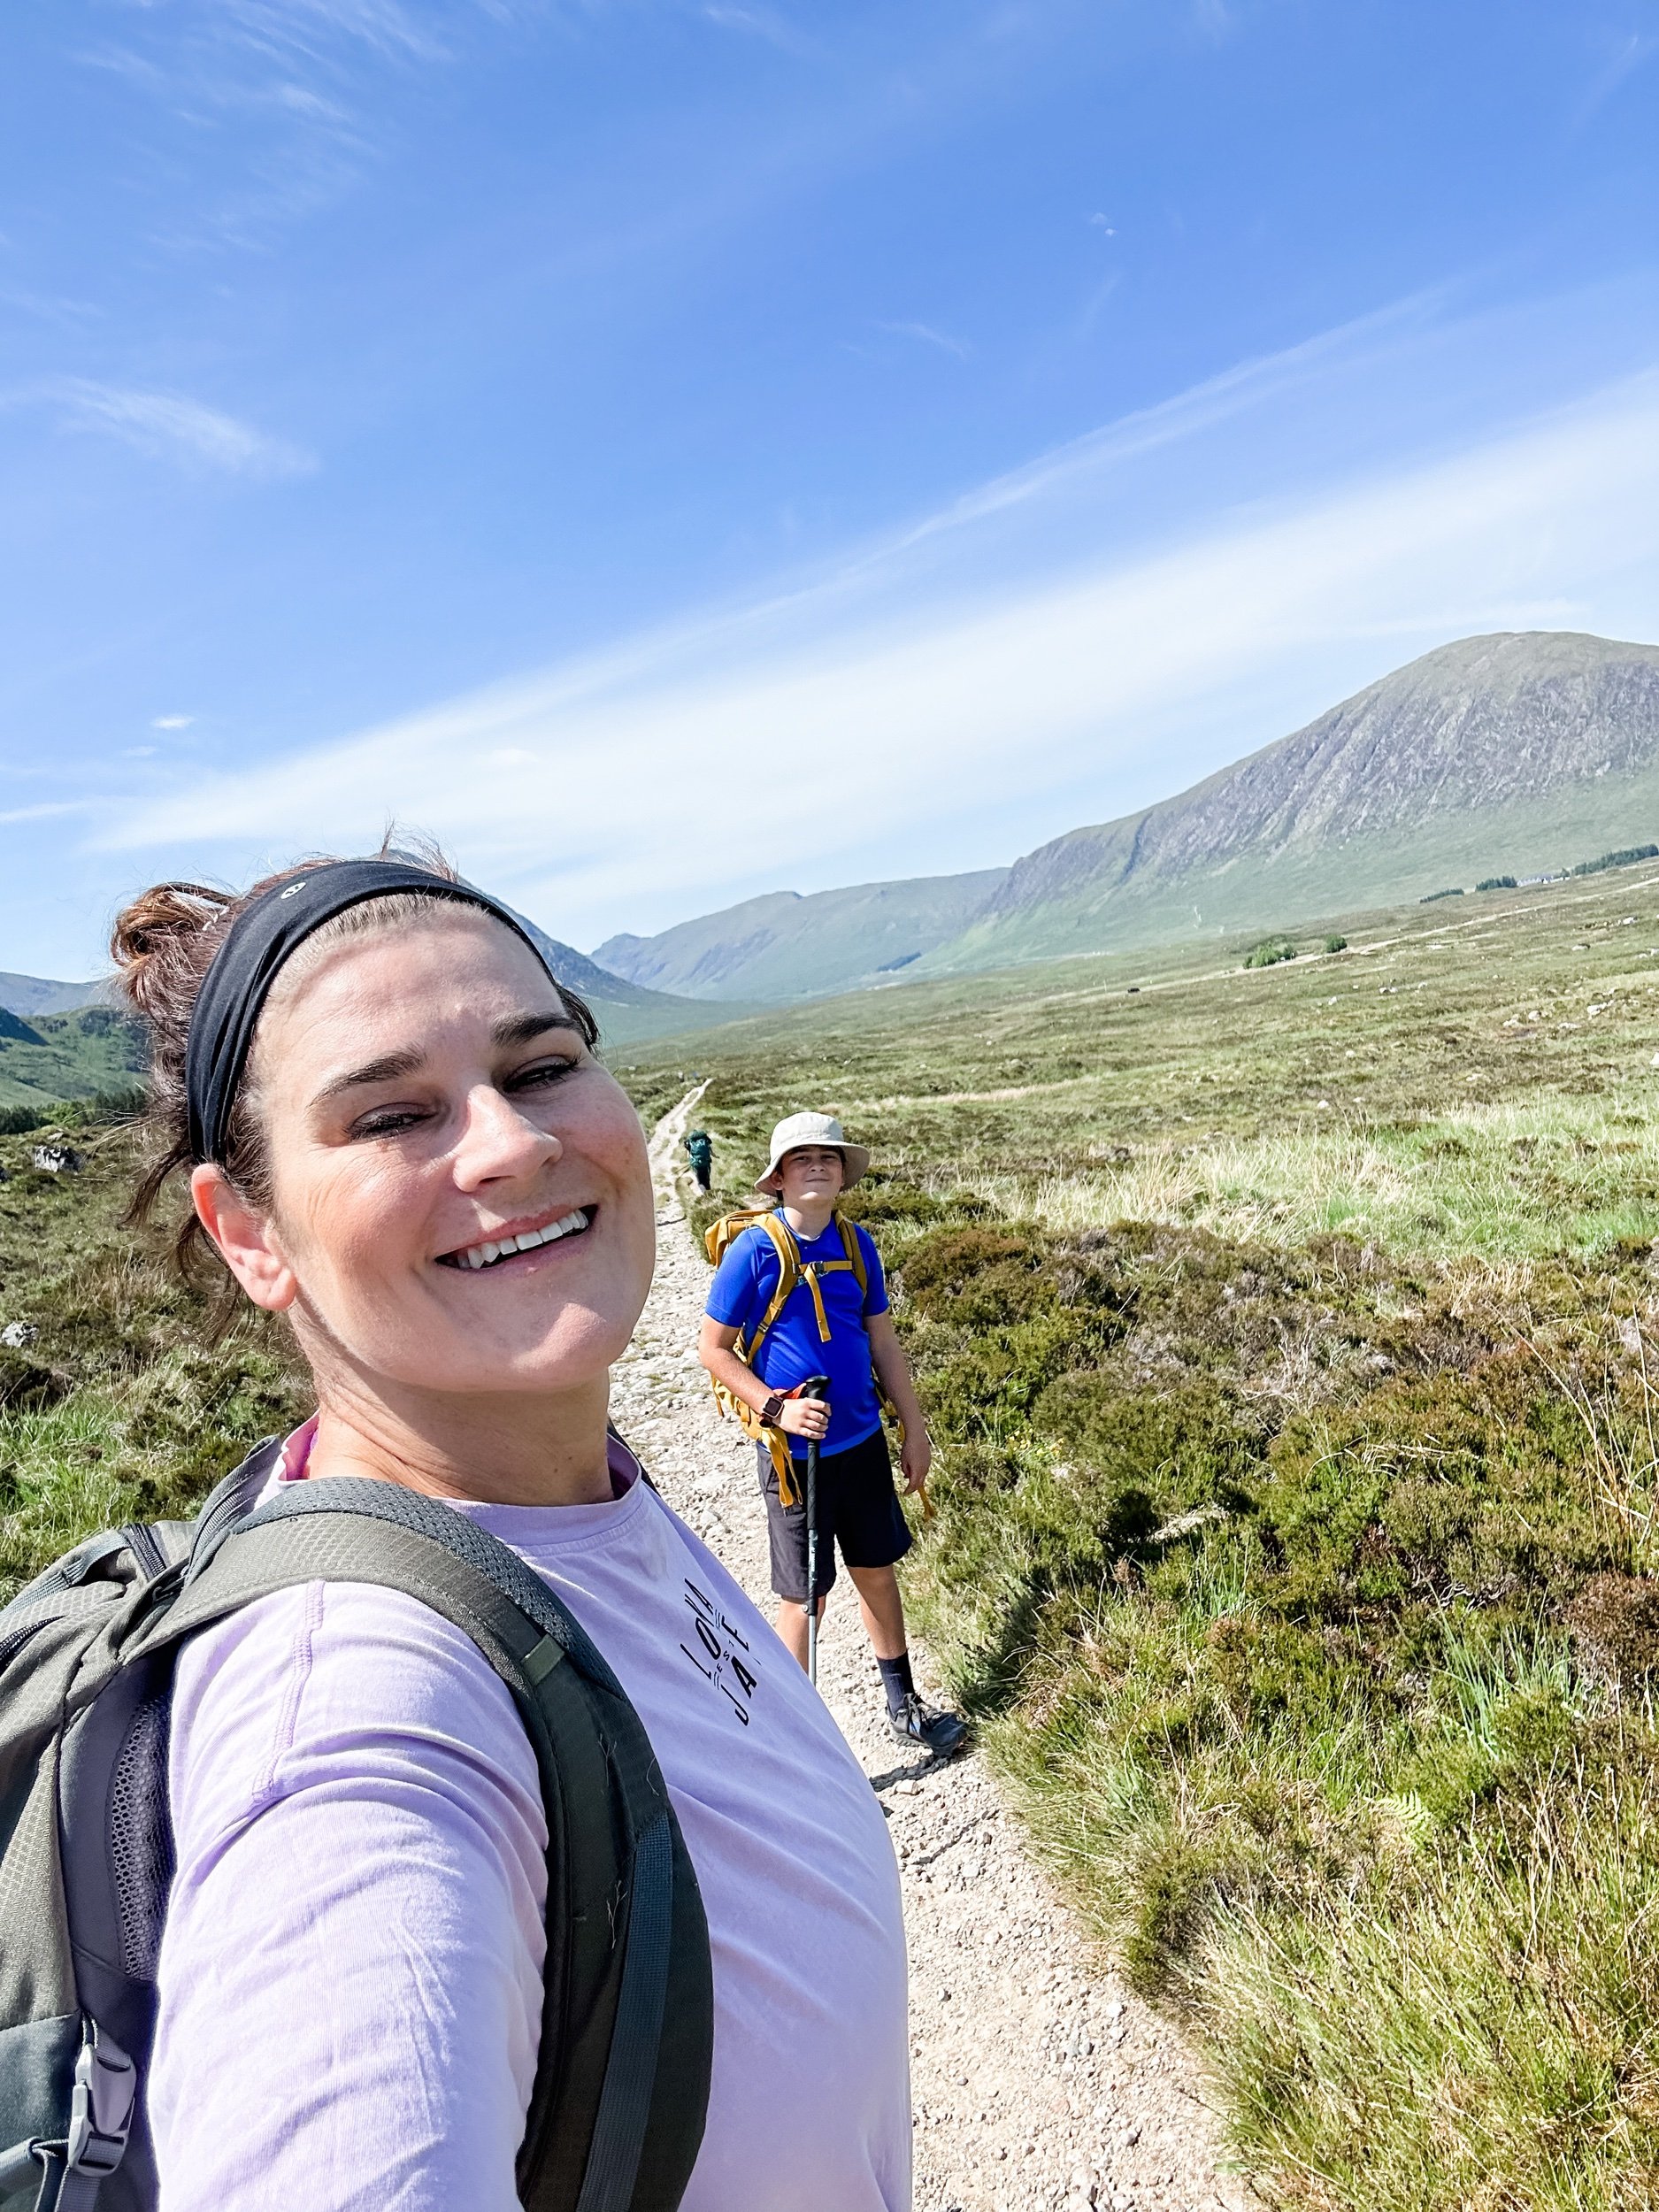
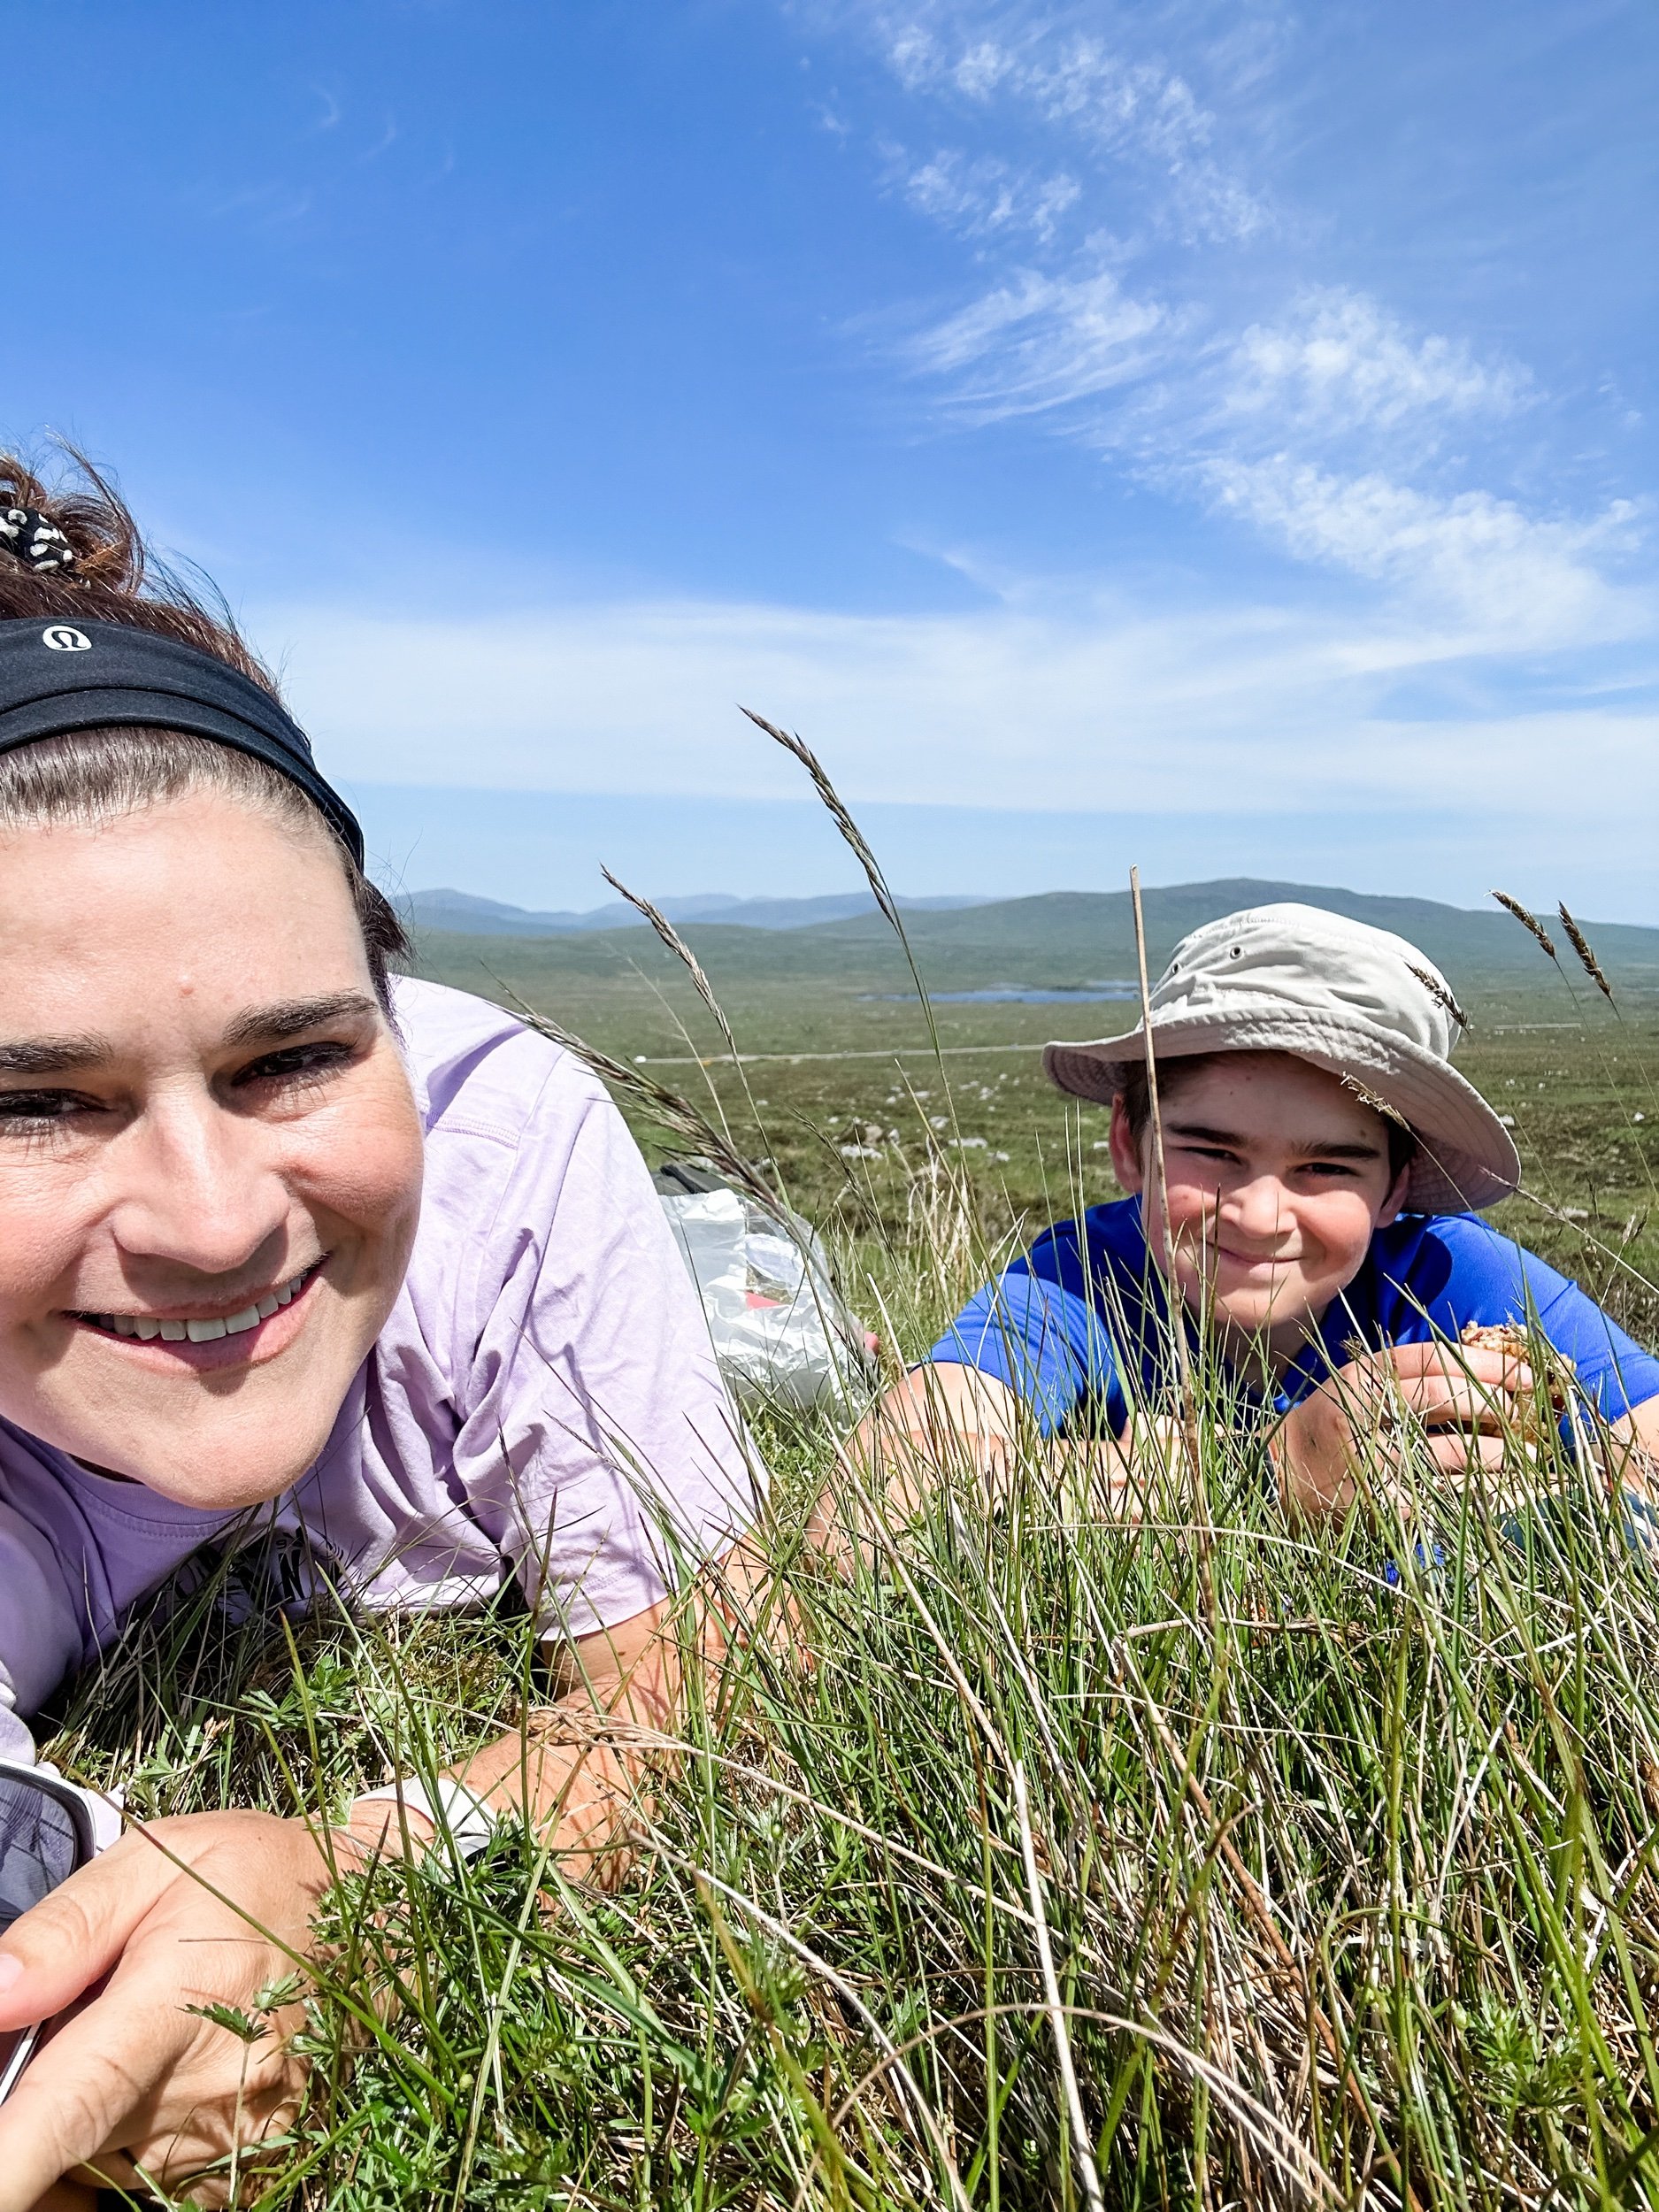
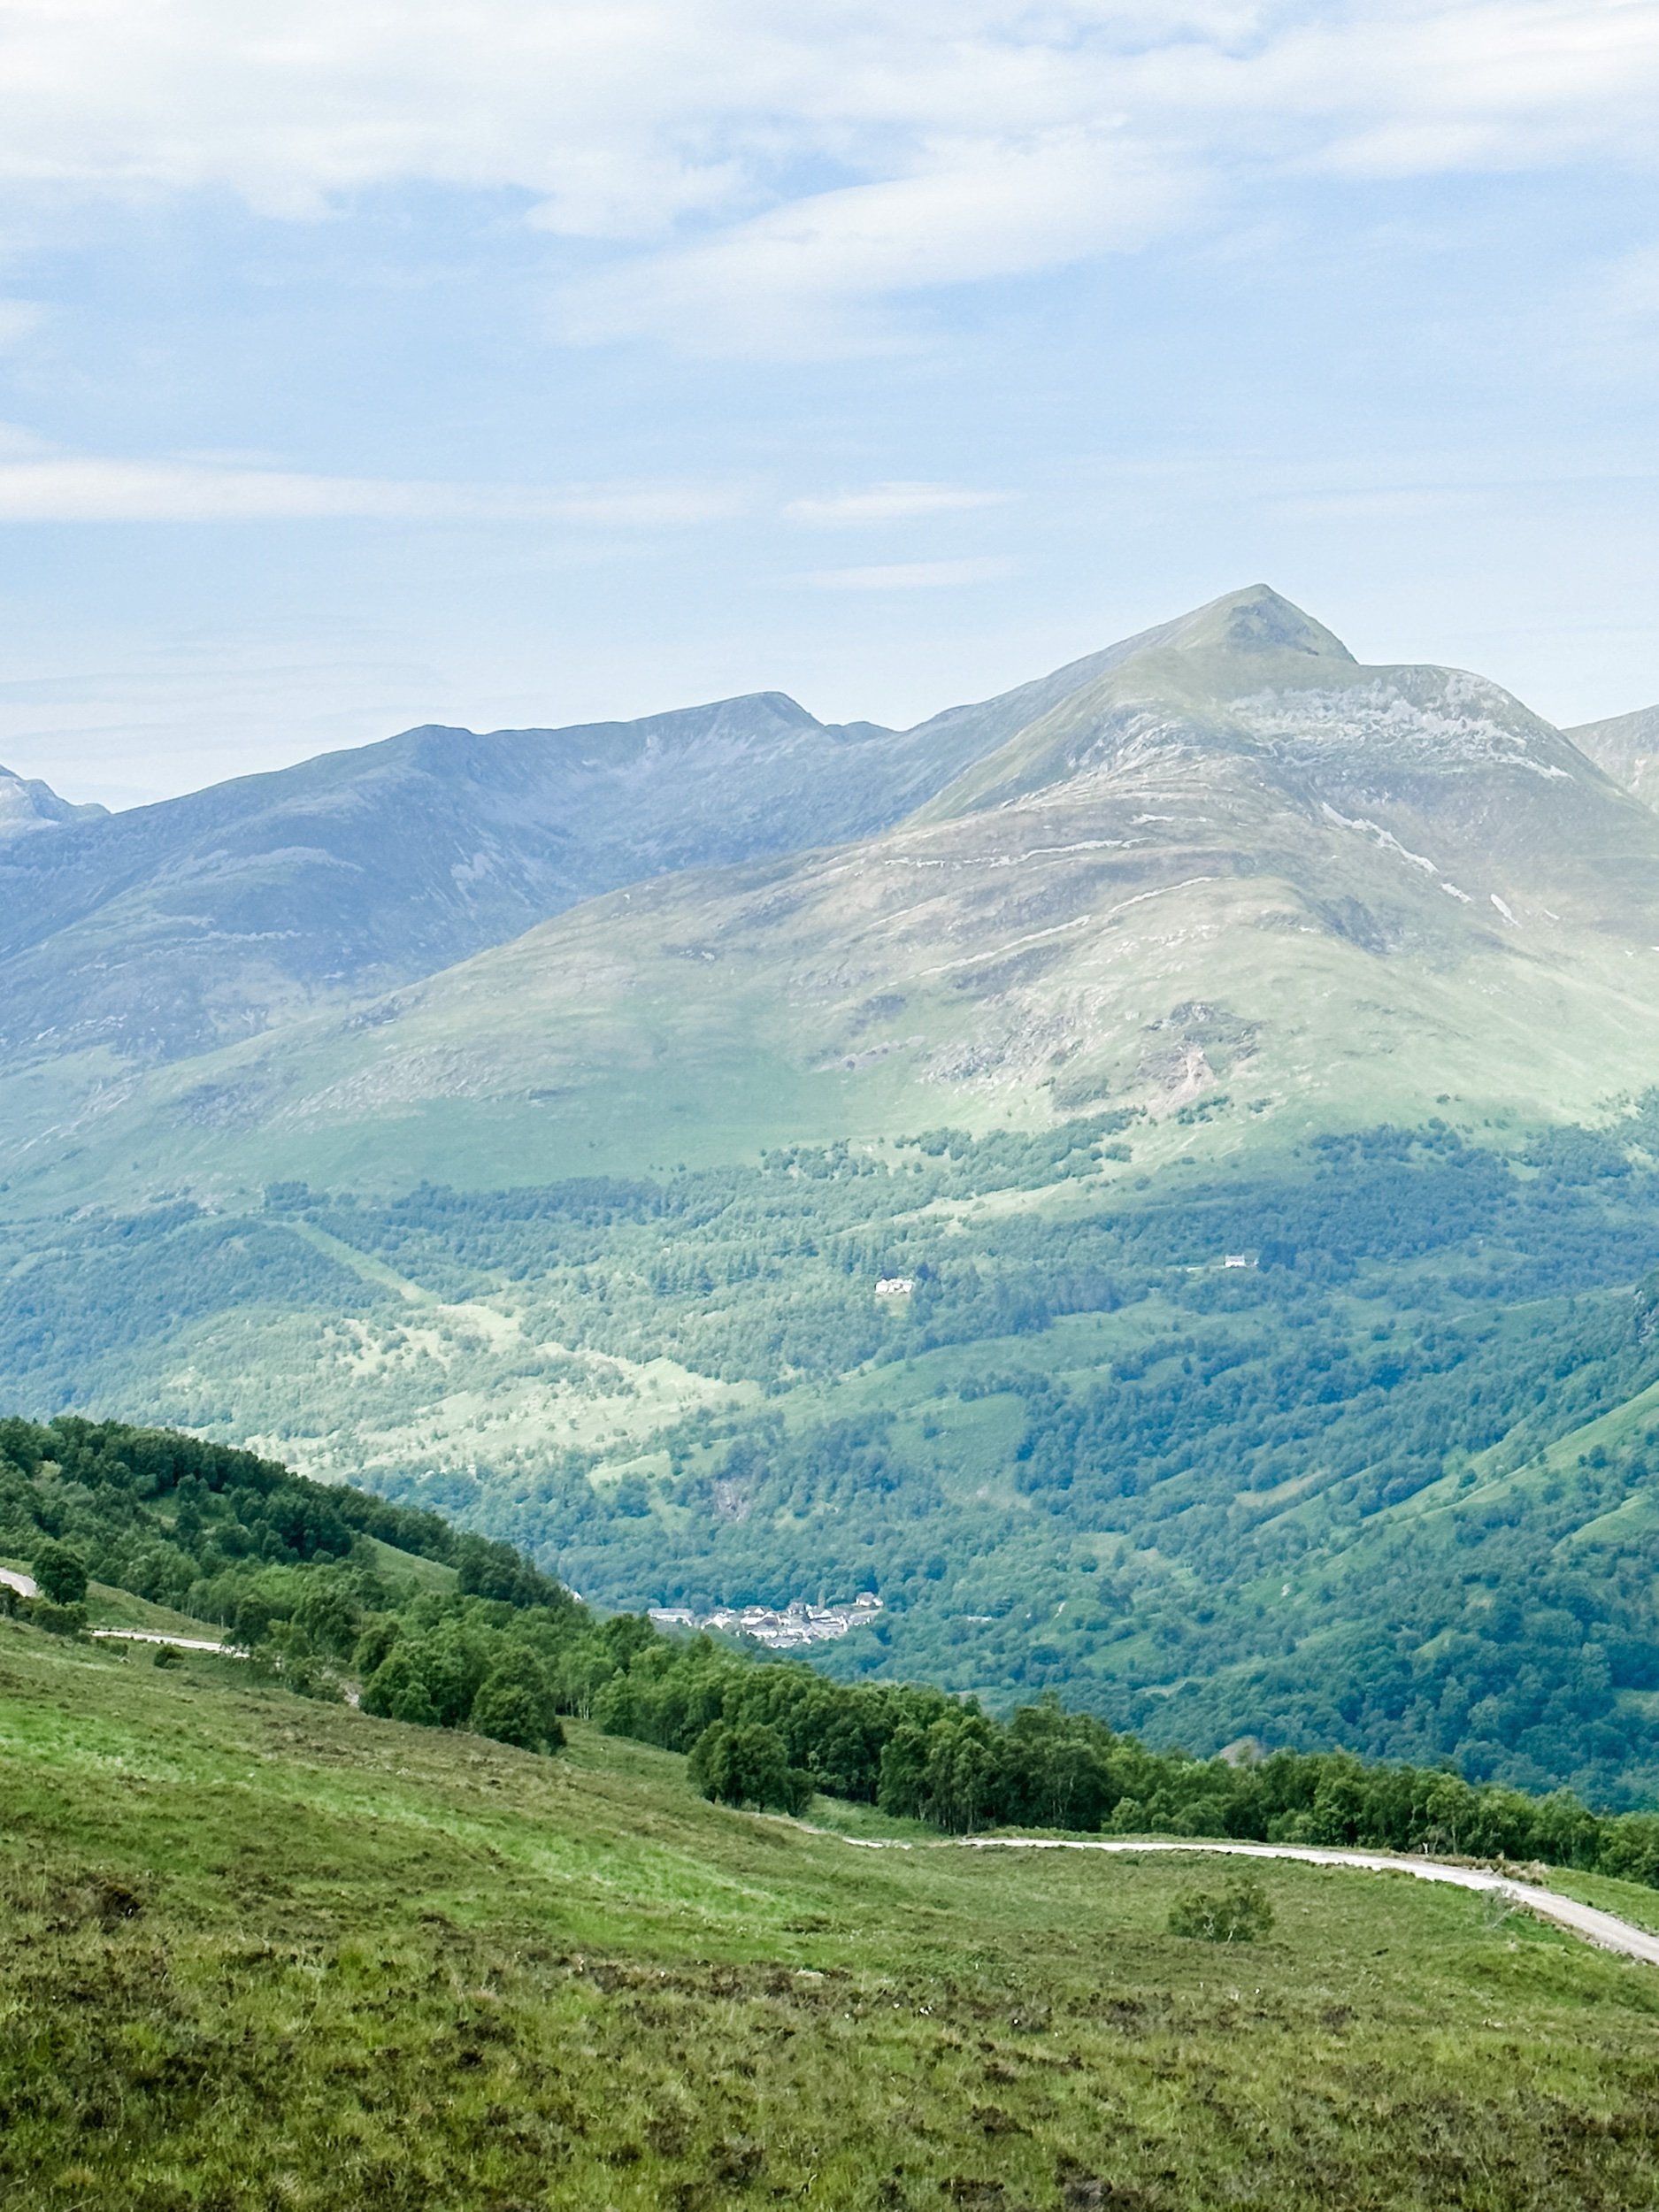
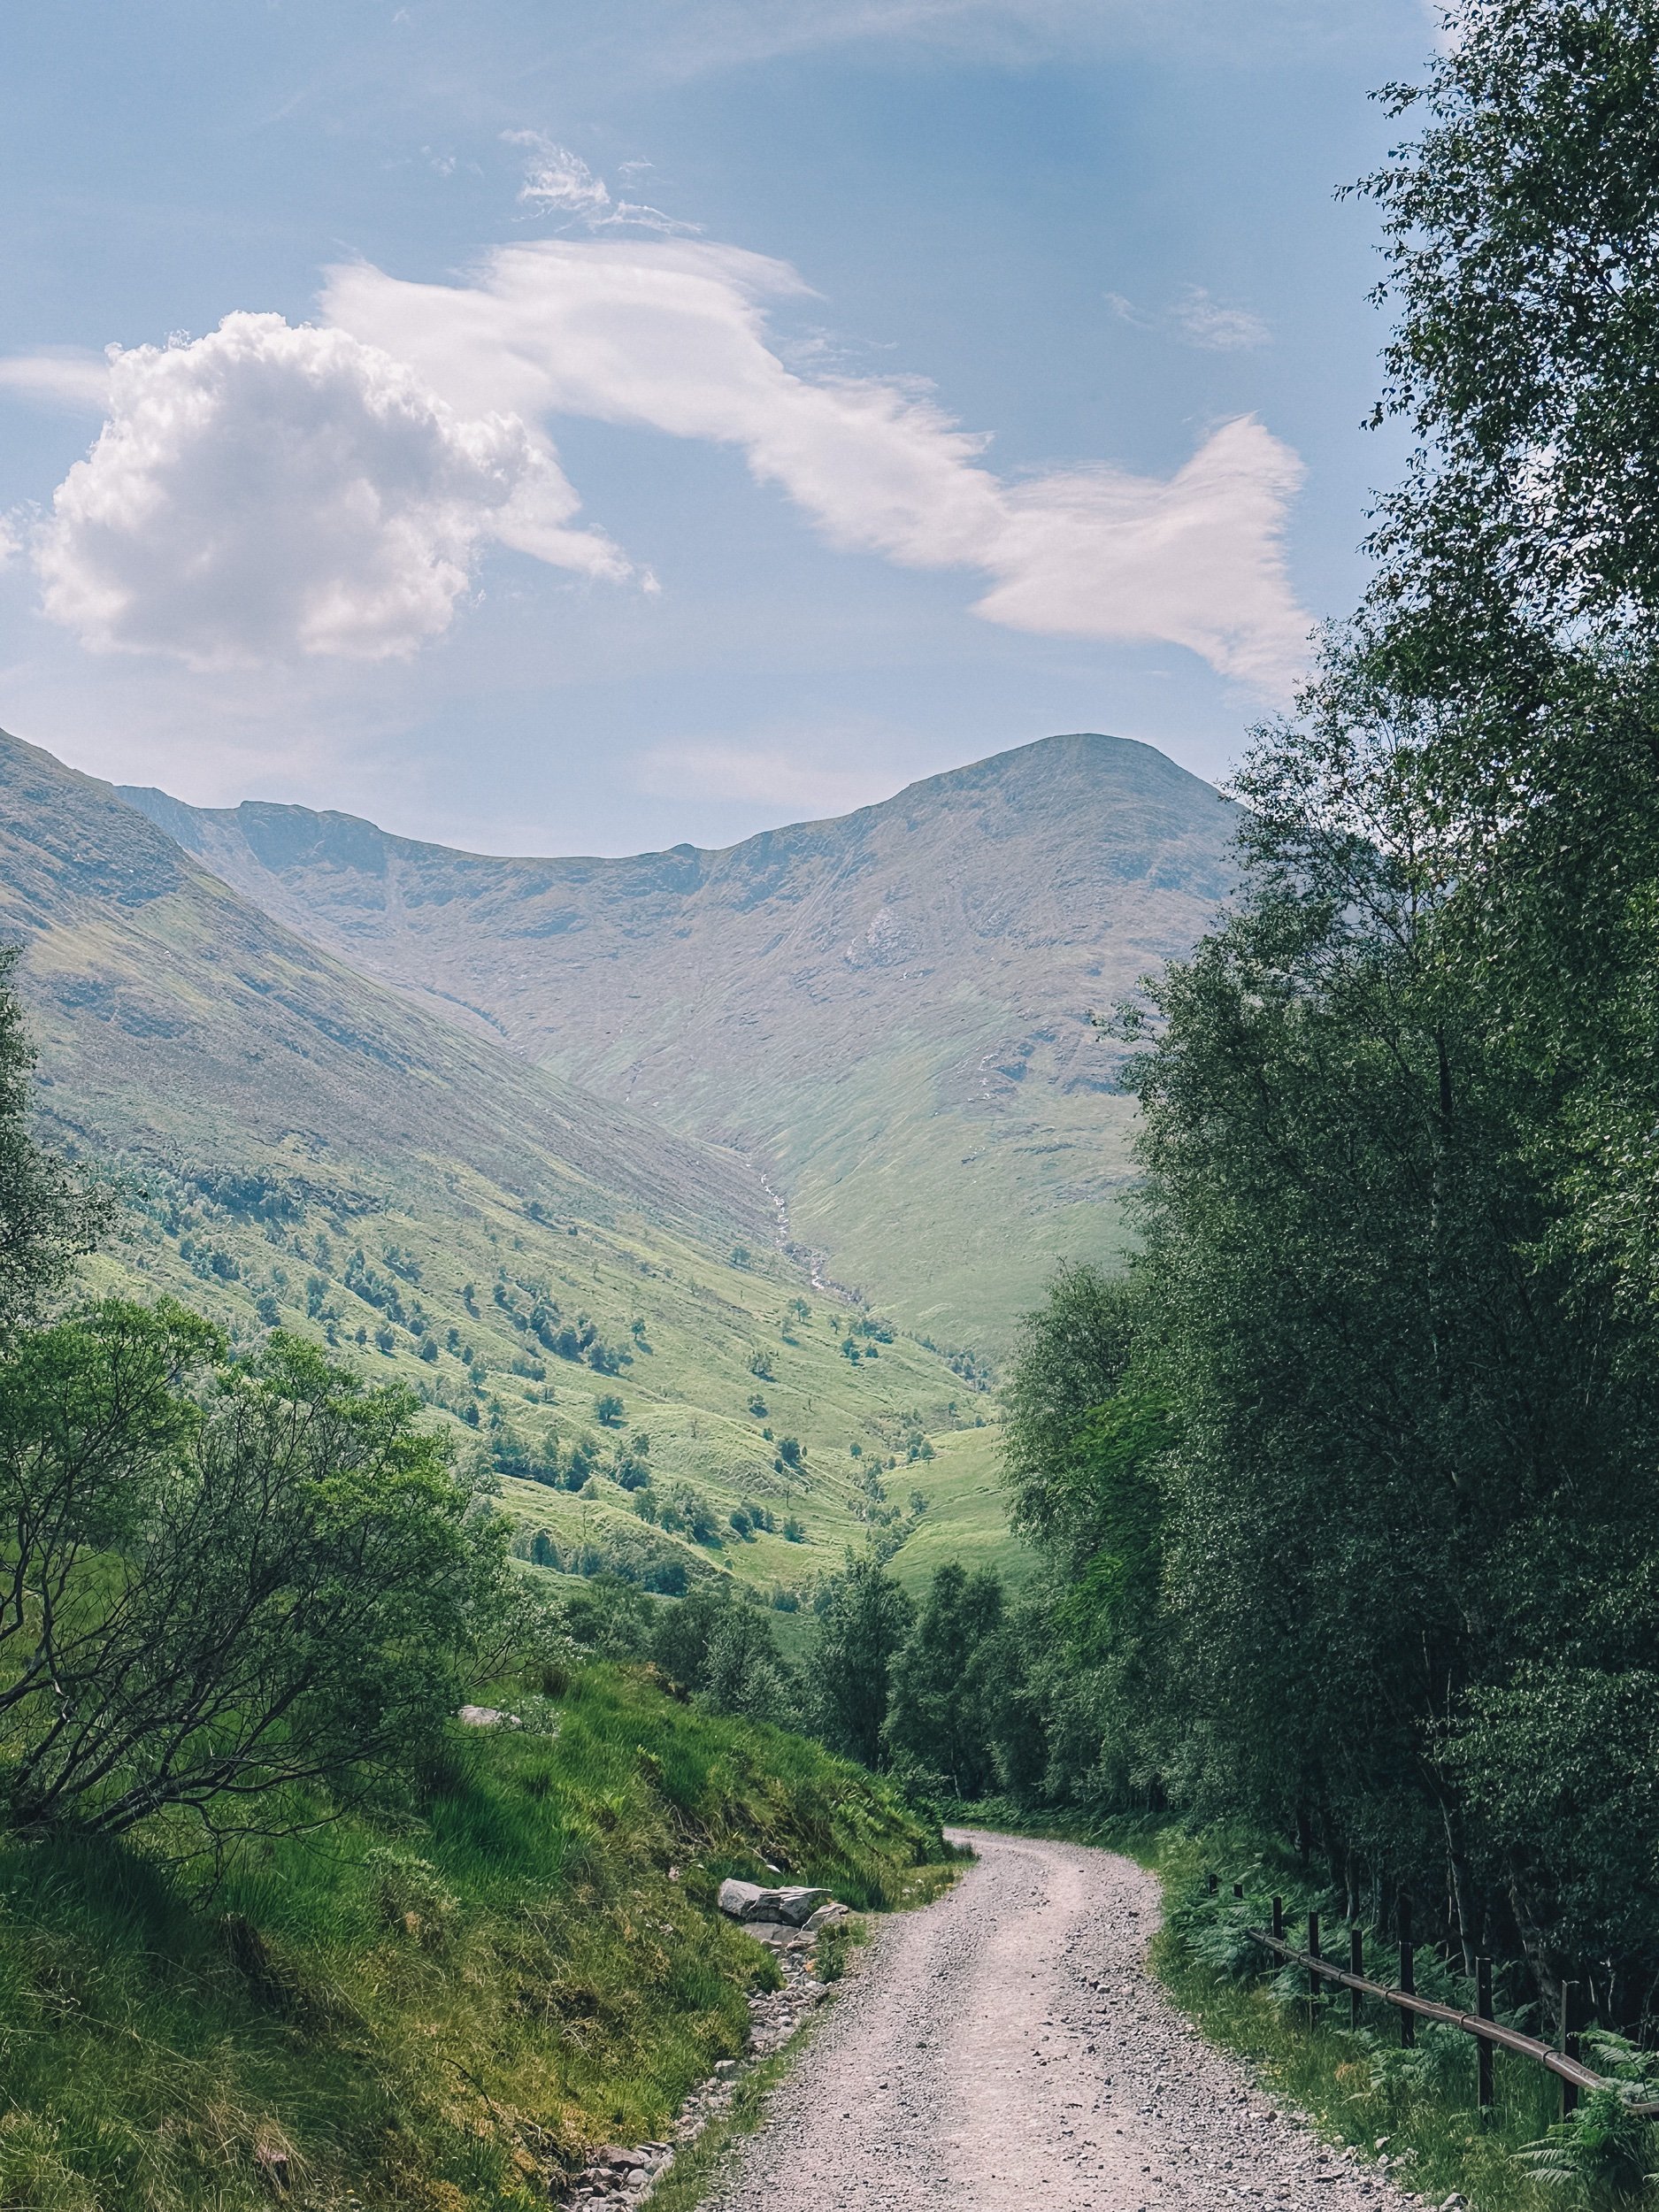
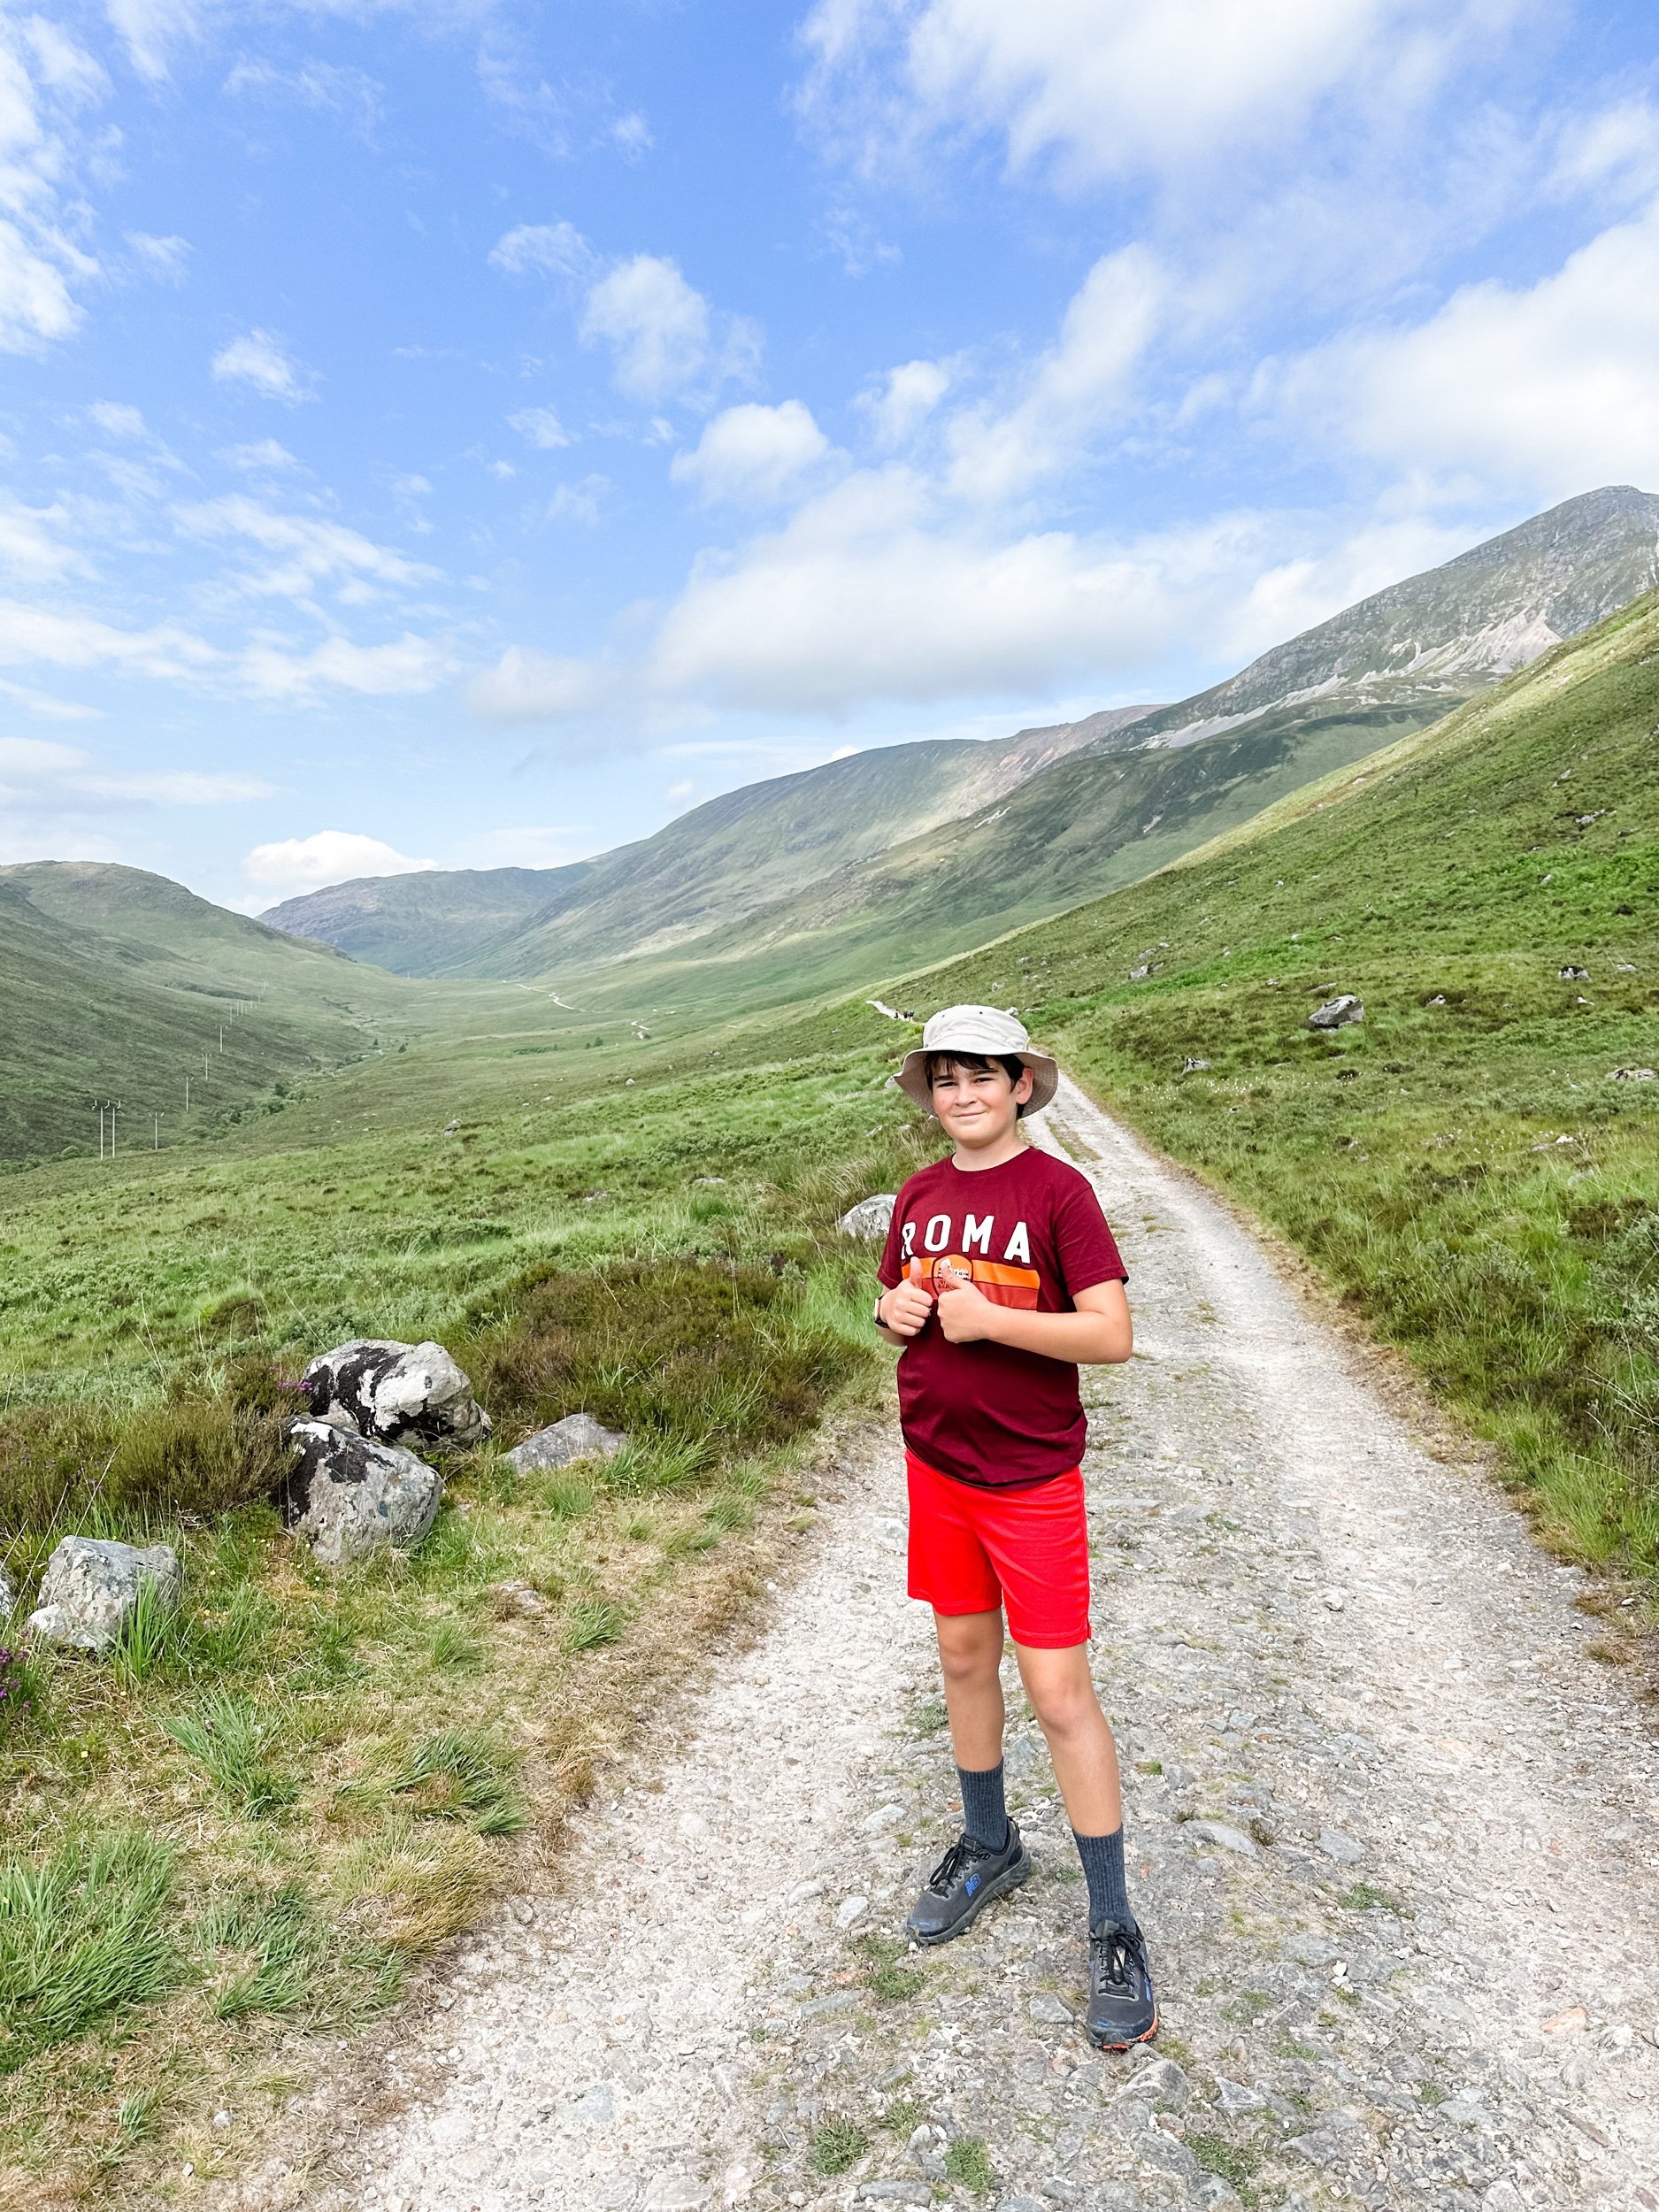
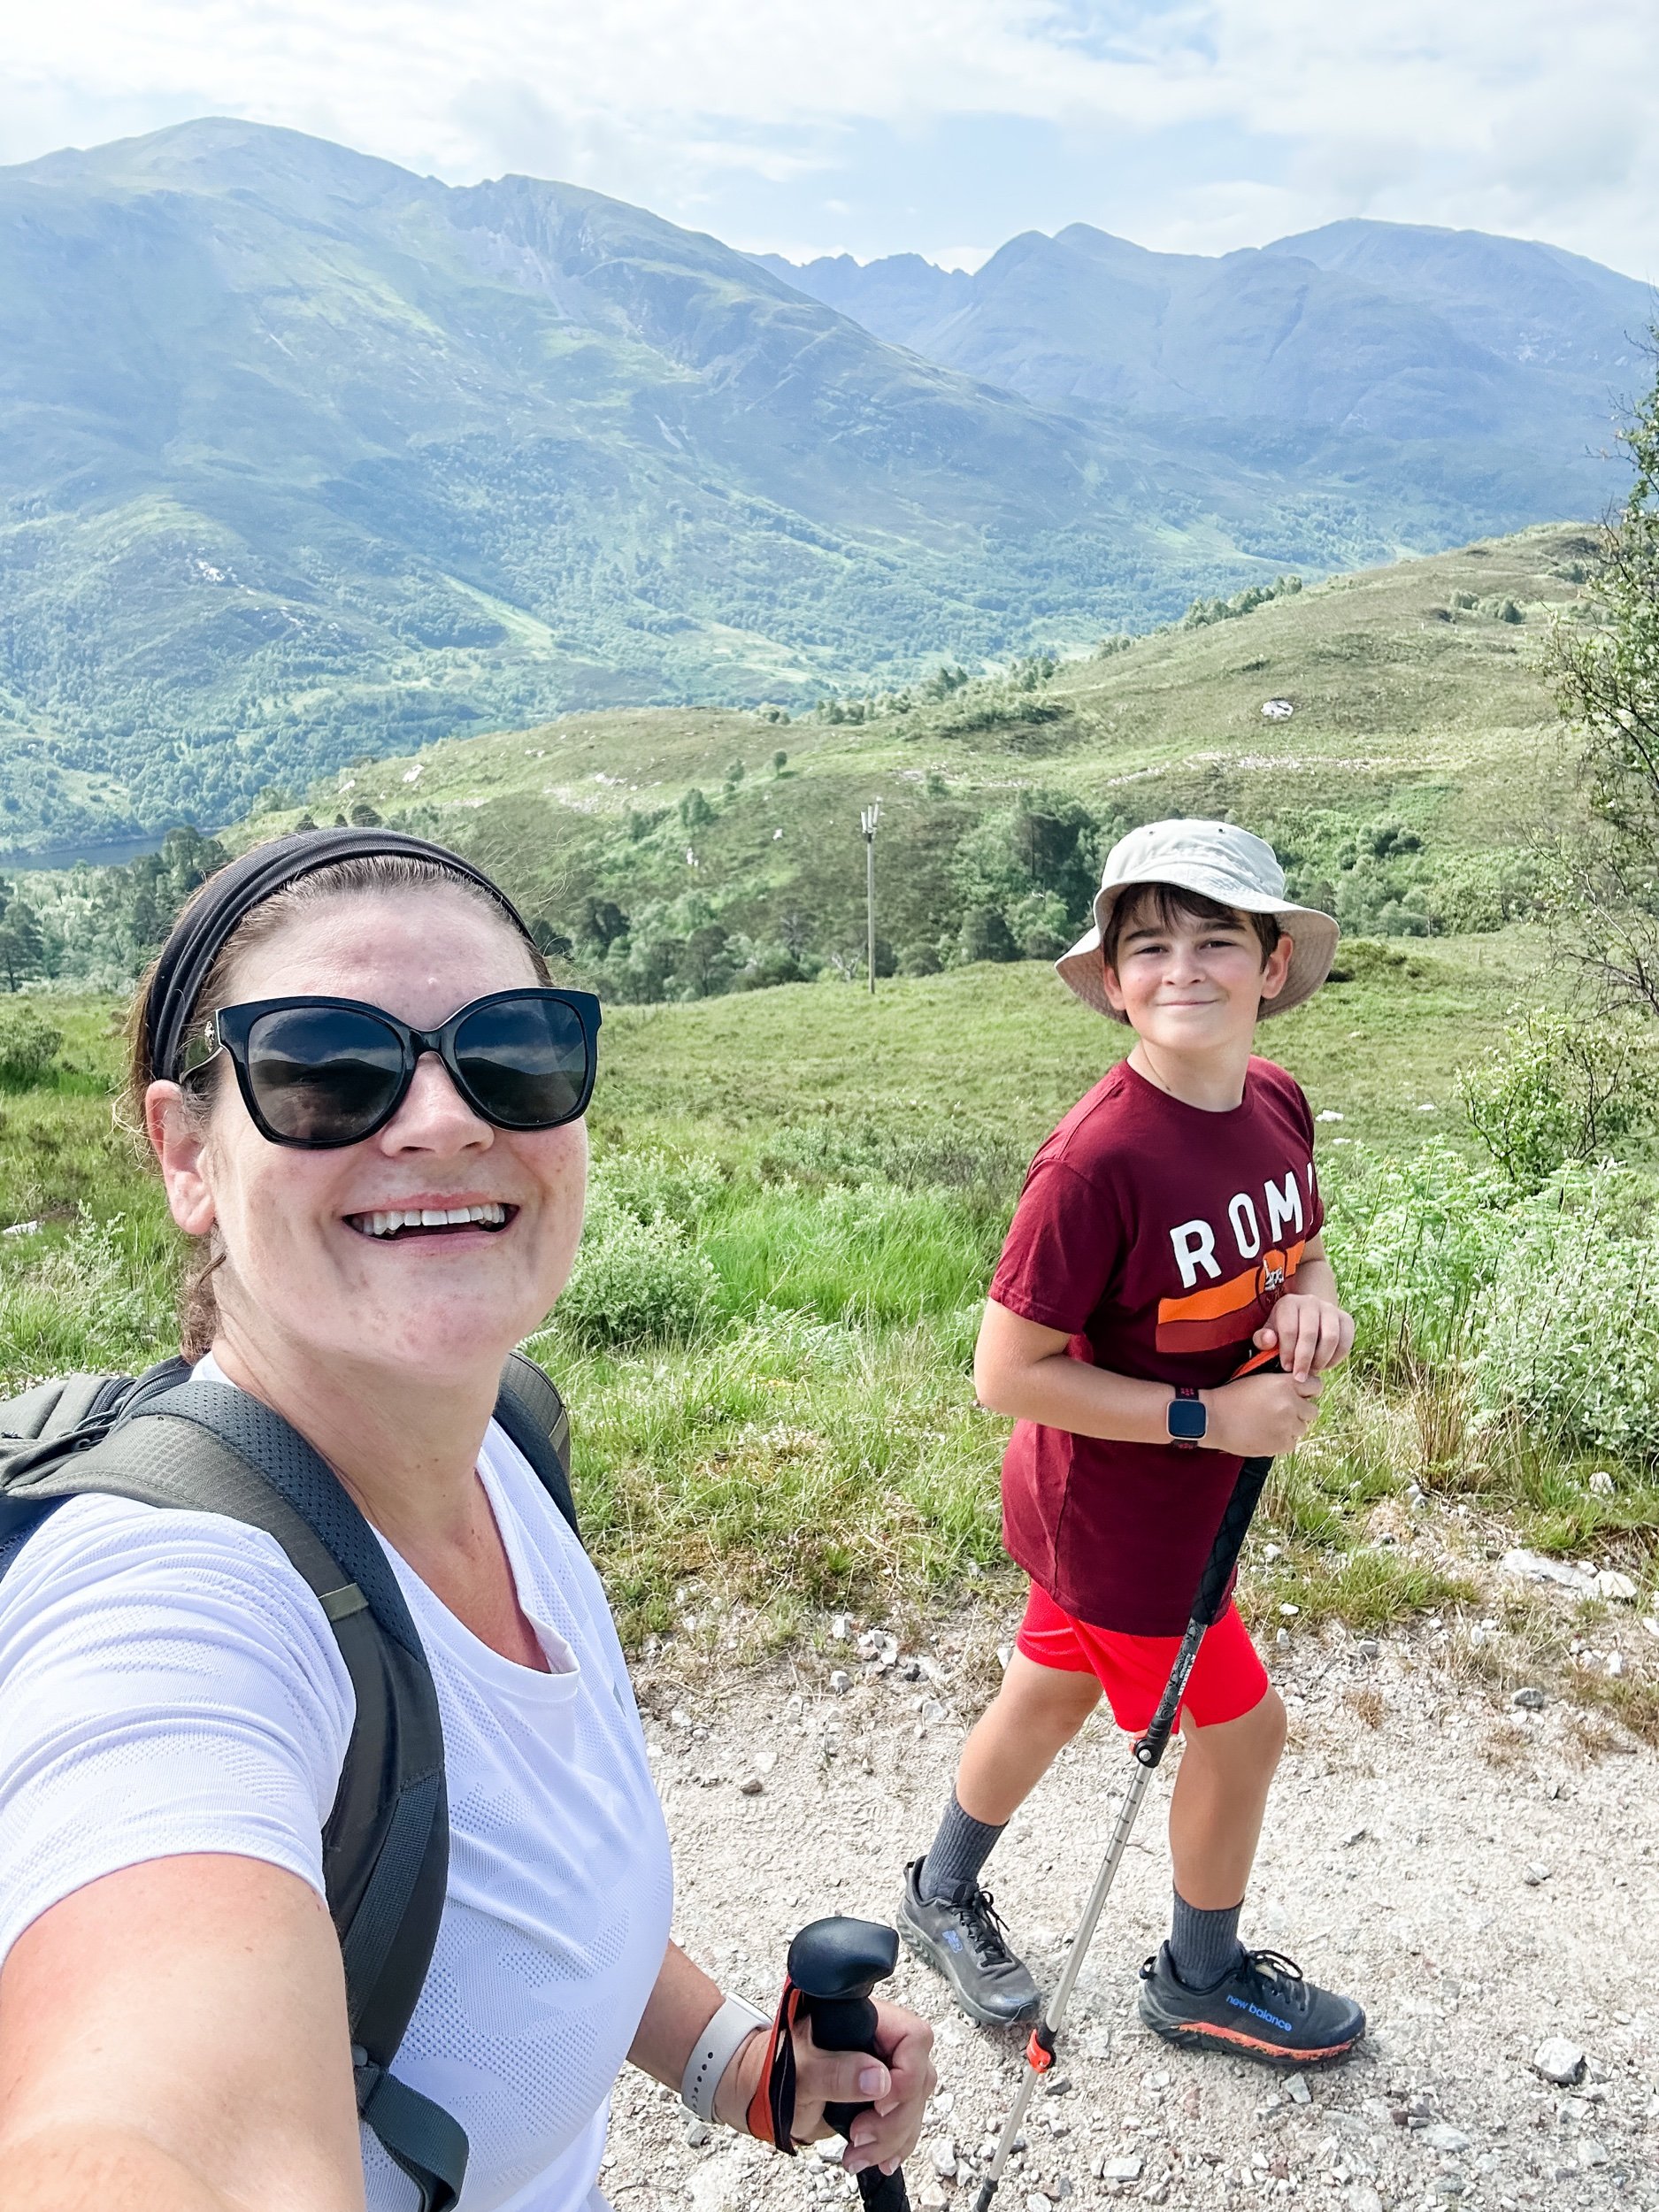
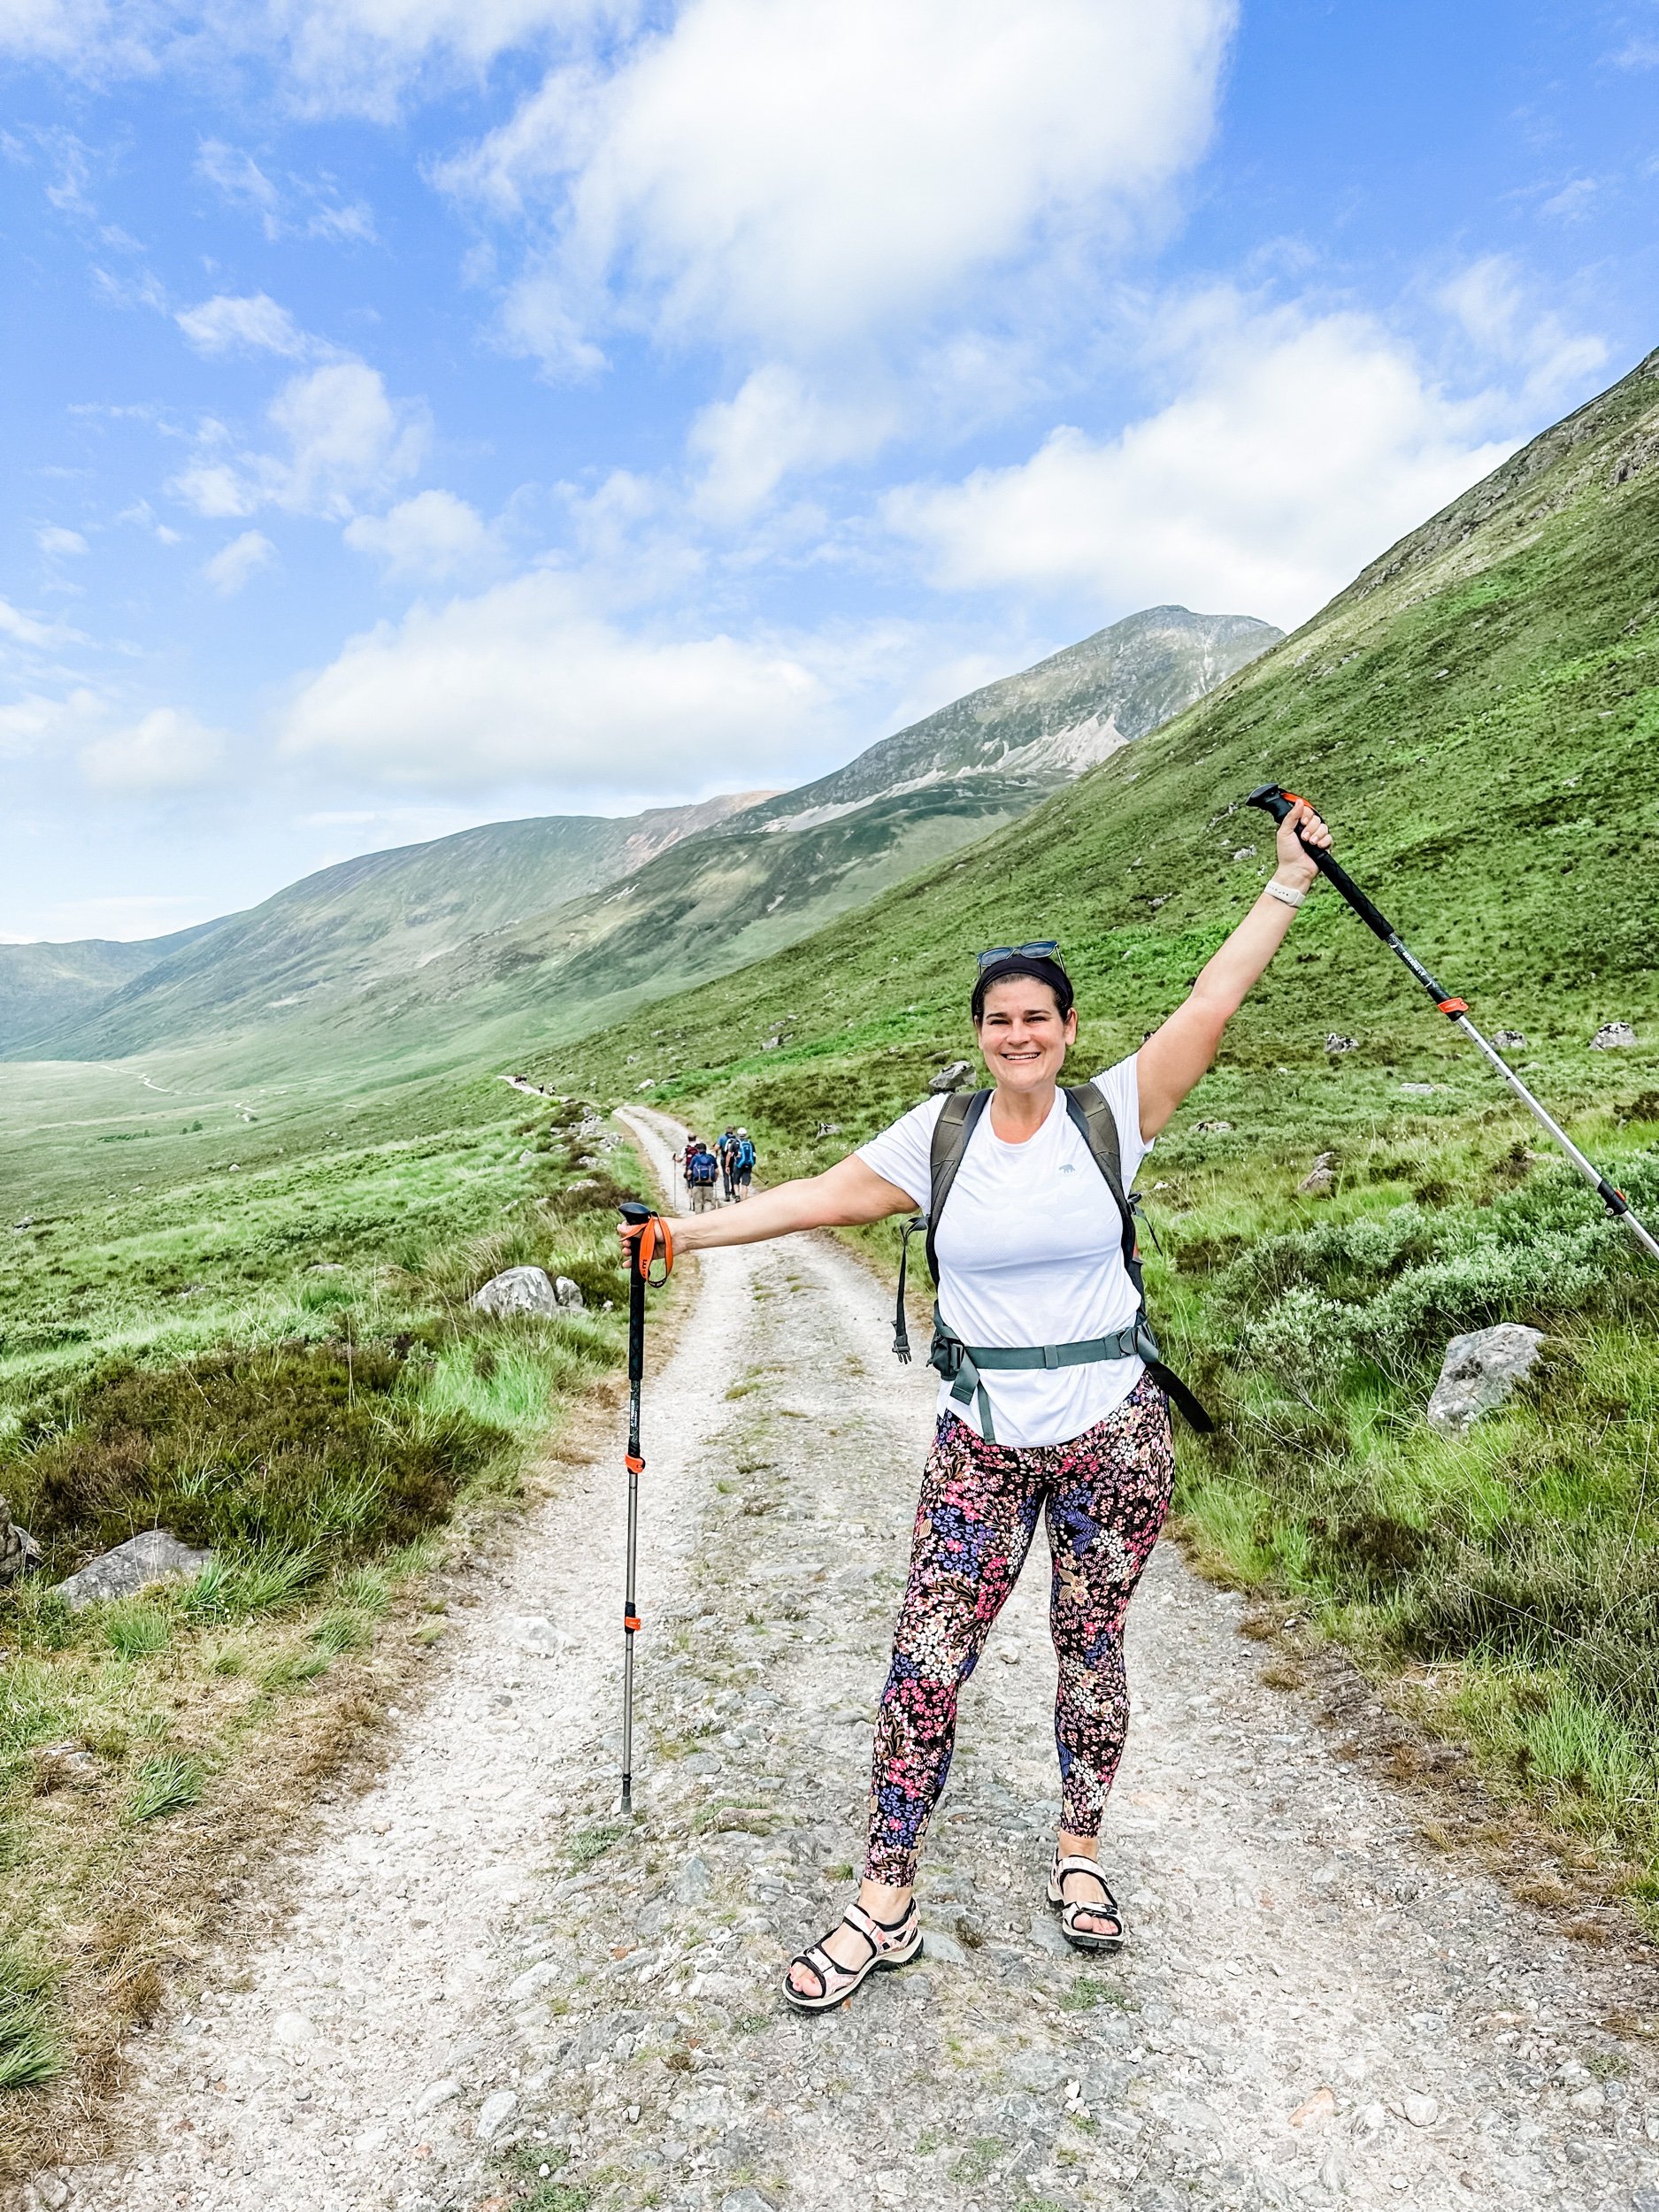
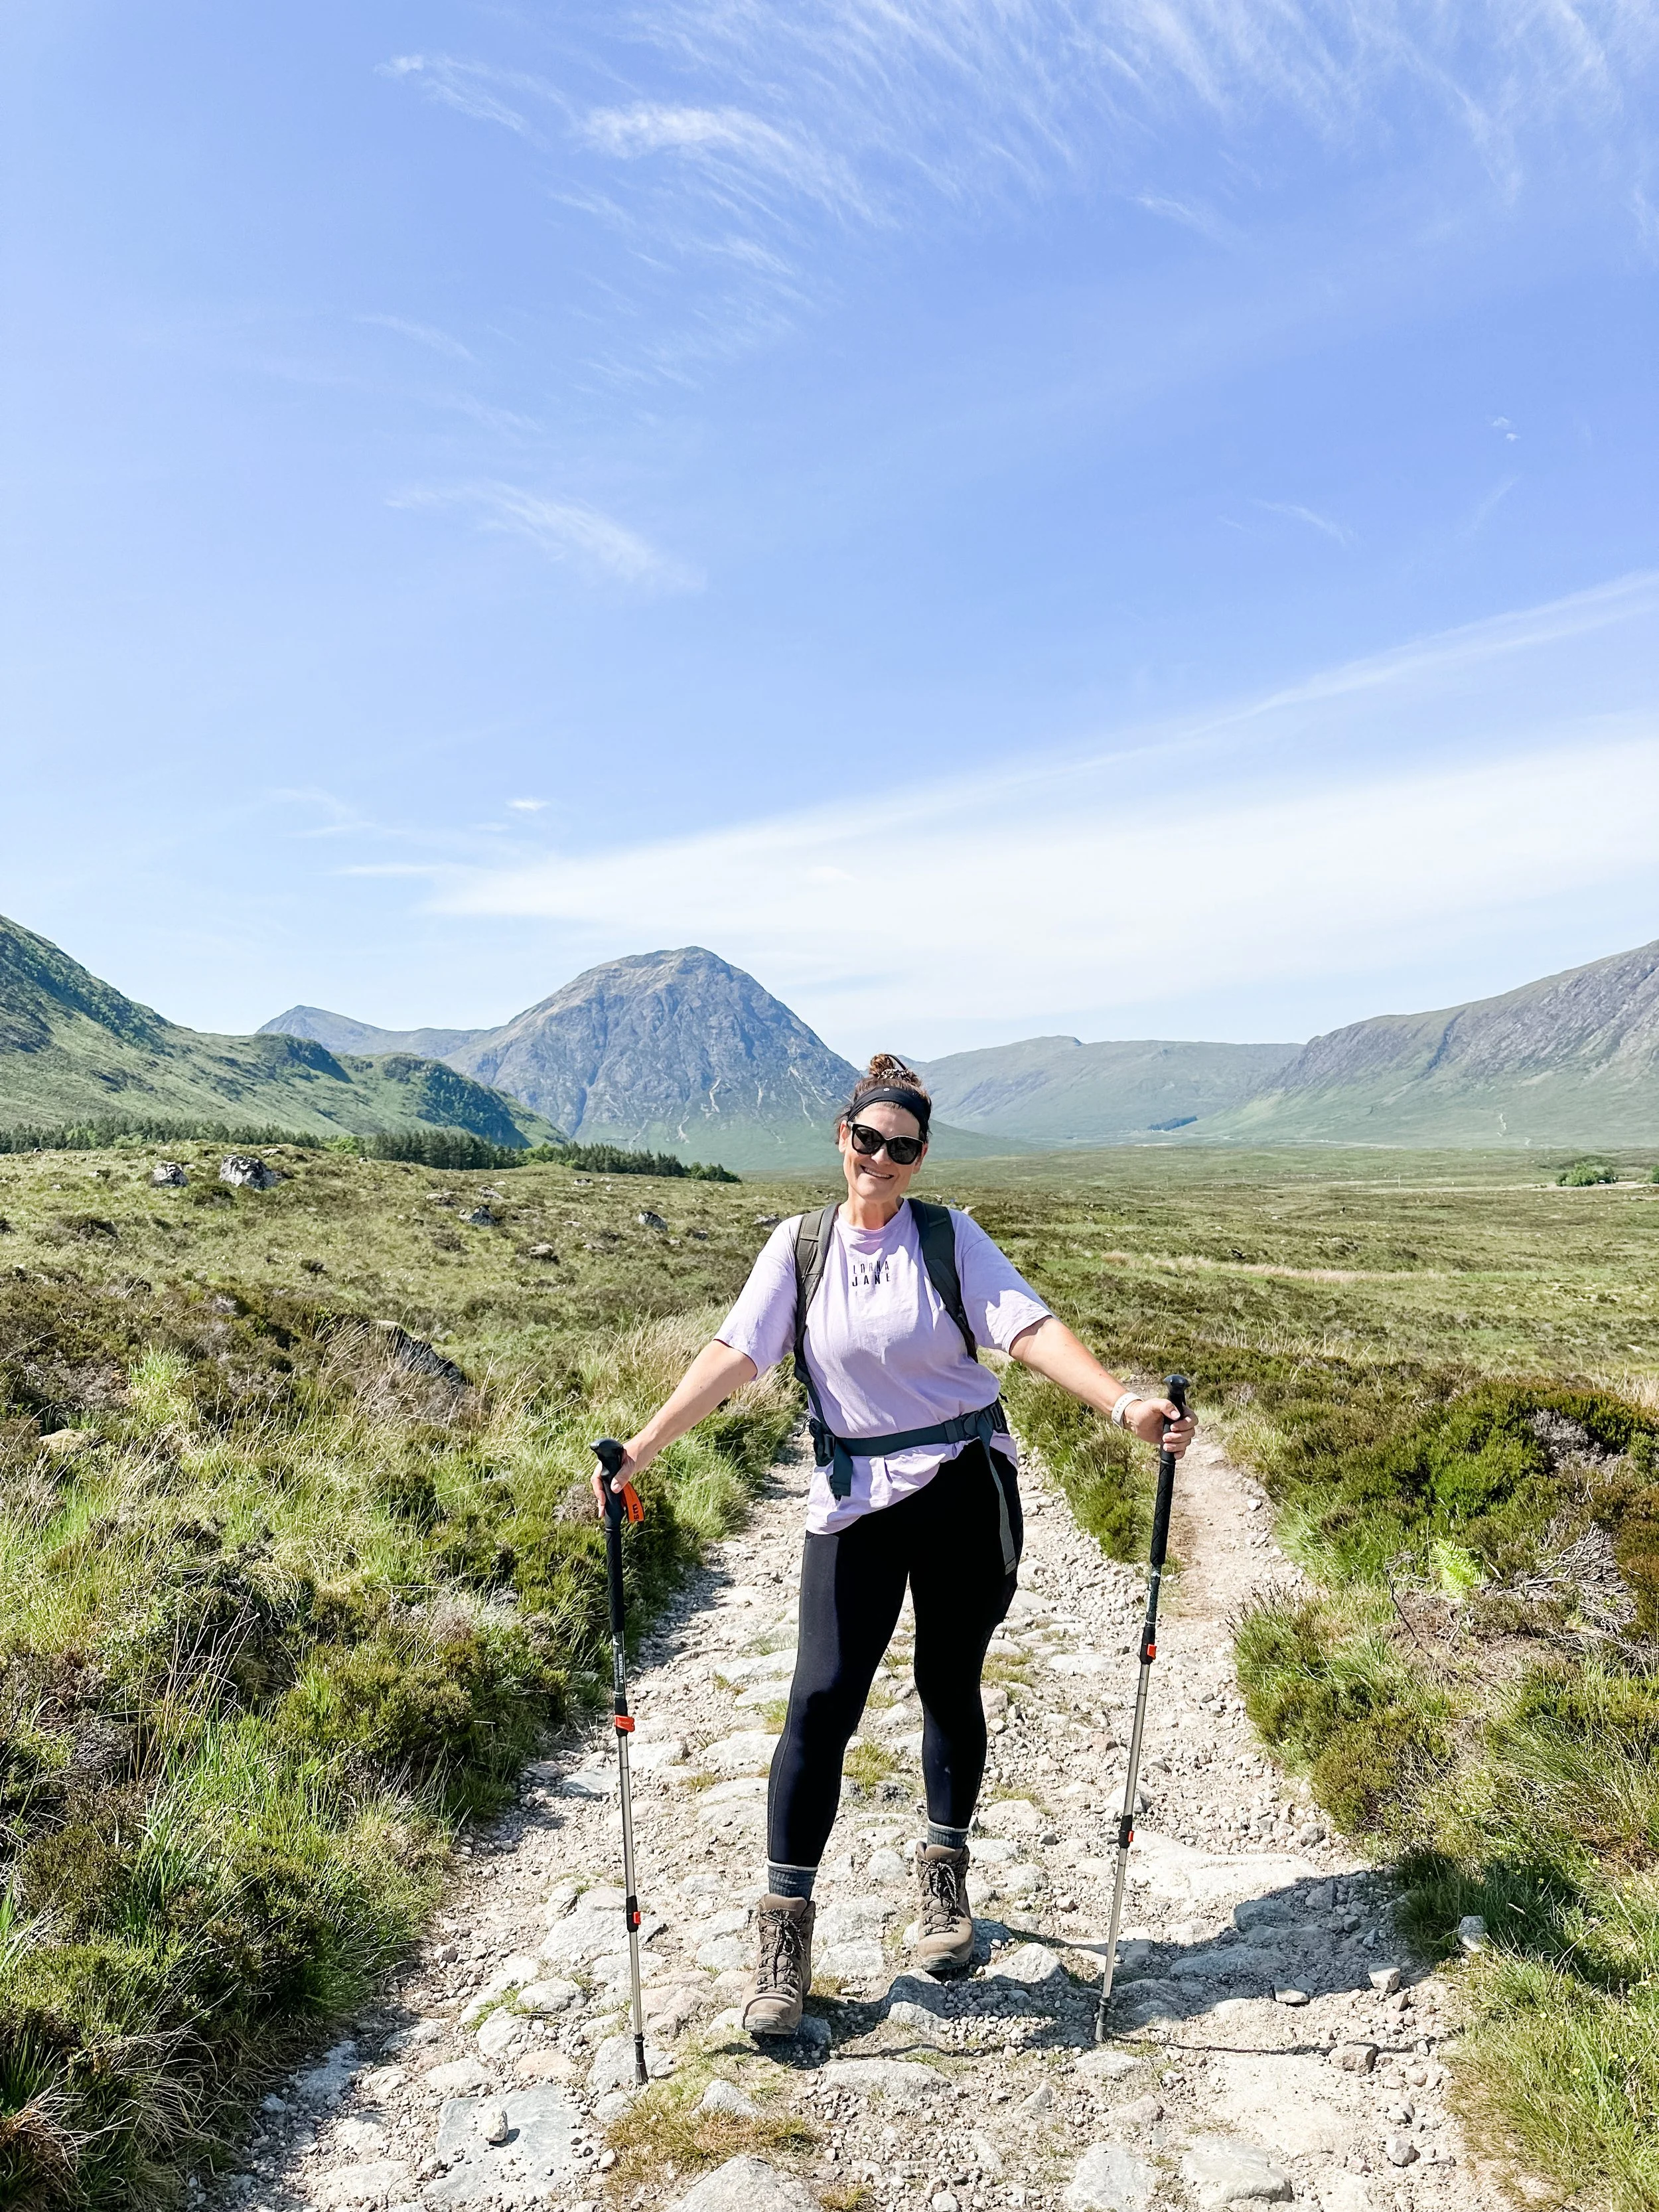
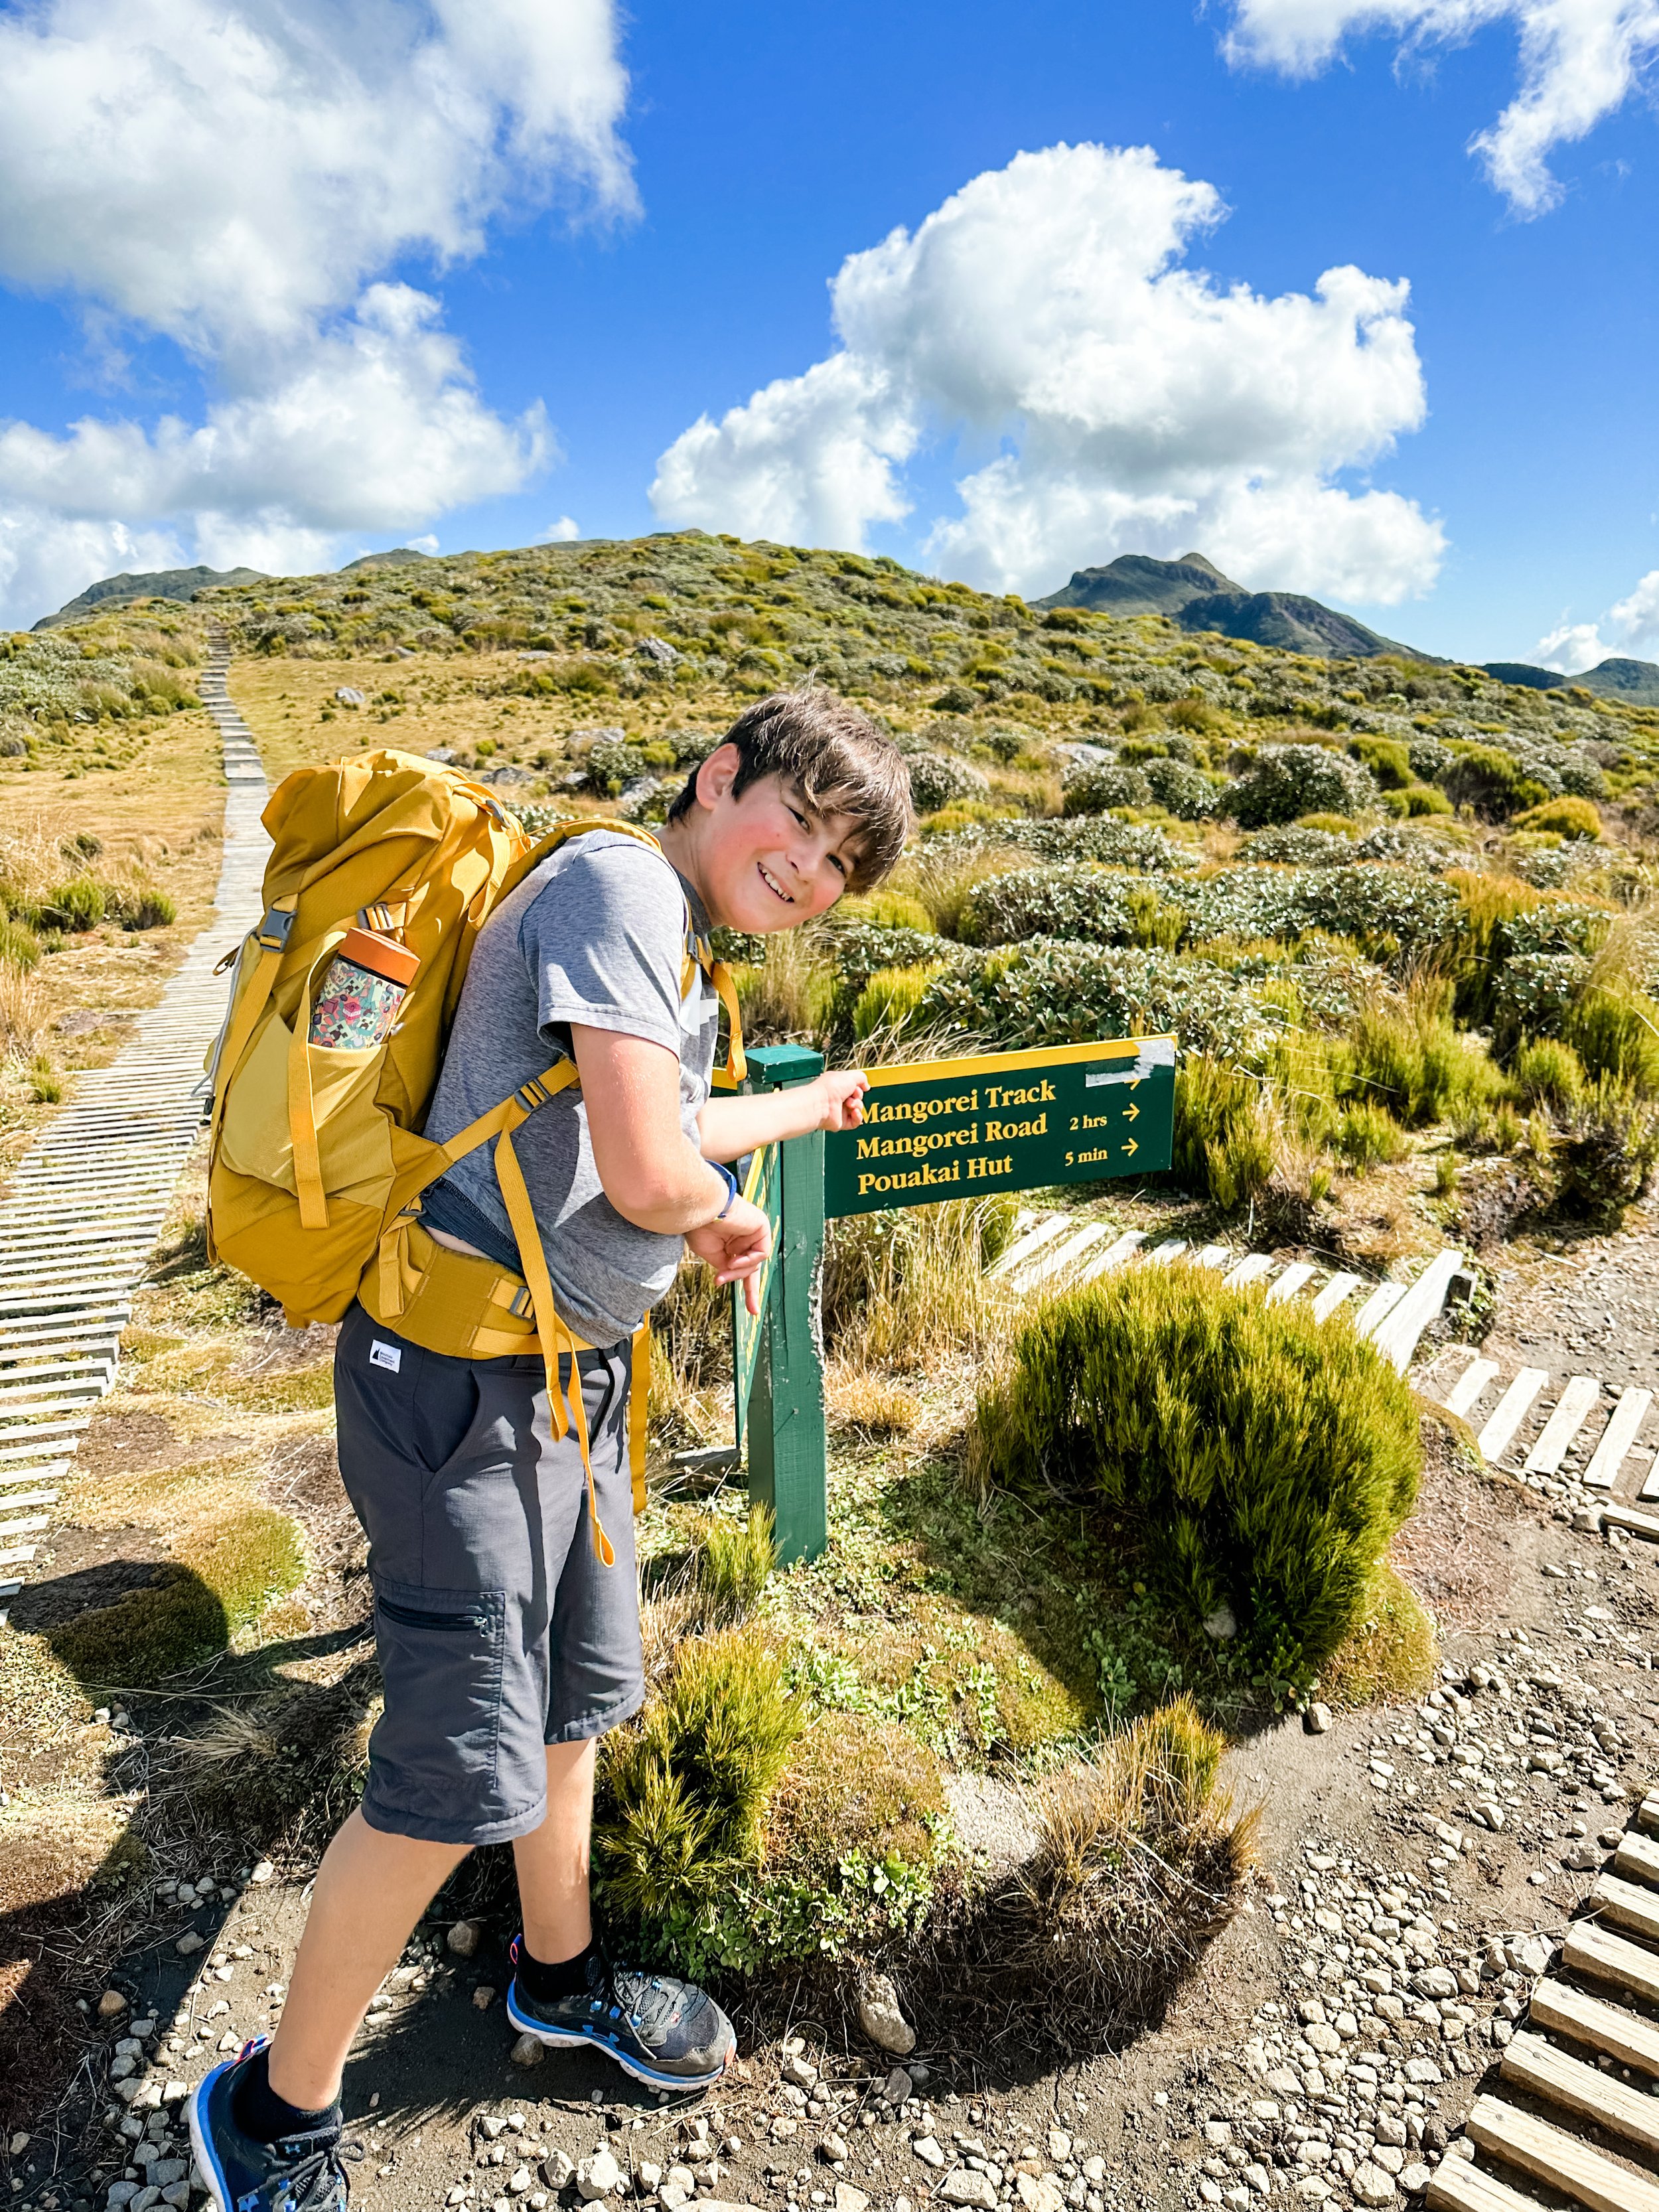
We love where we live! Taranaki is an outdoor lovers playground, from the mountain to the rugged west coast, there are so many hikes and walks here to choose from. Here are my Top 3 walks under 3hrs in Taranaki, offering different grades, distances and scenery and the best of the mountain, lakes and sea.
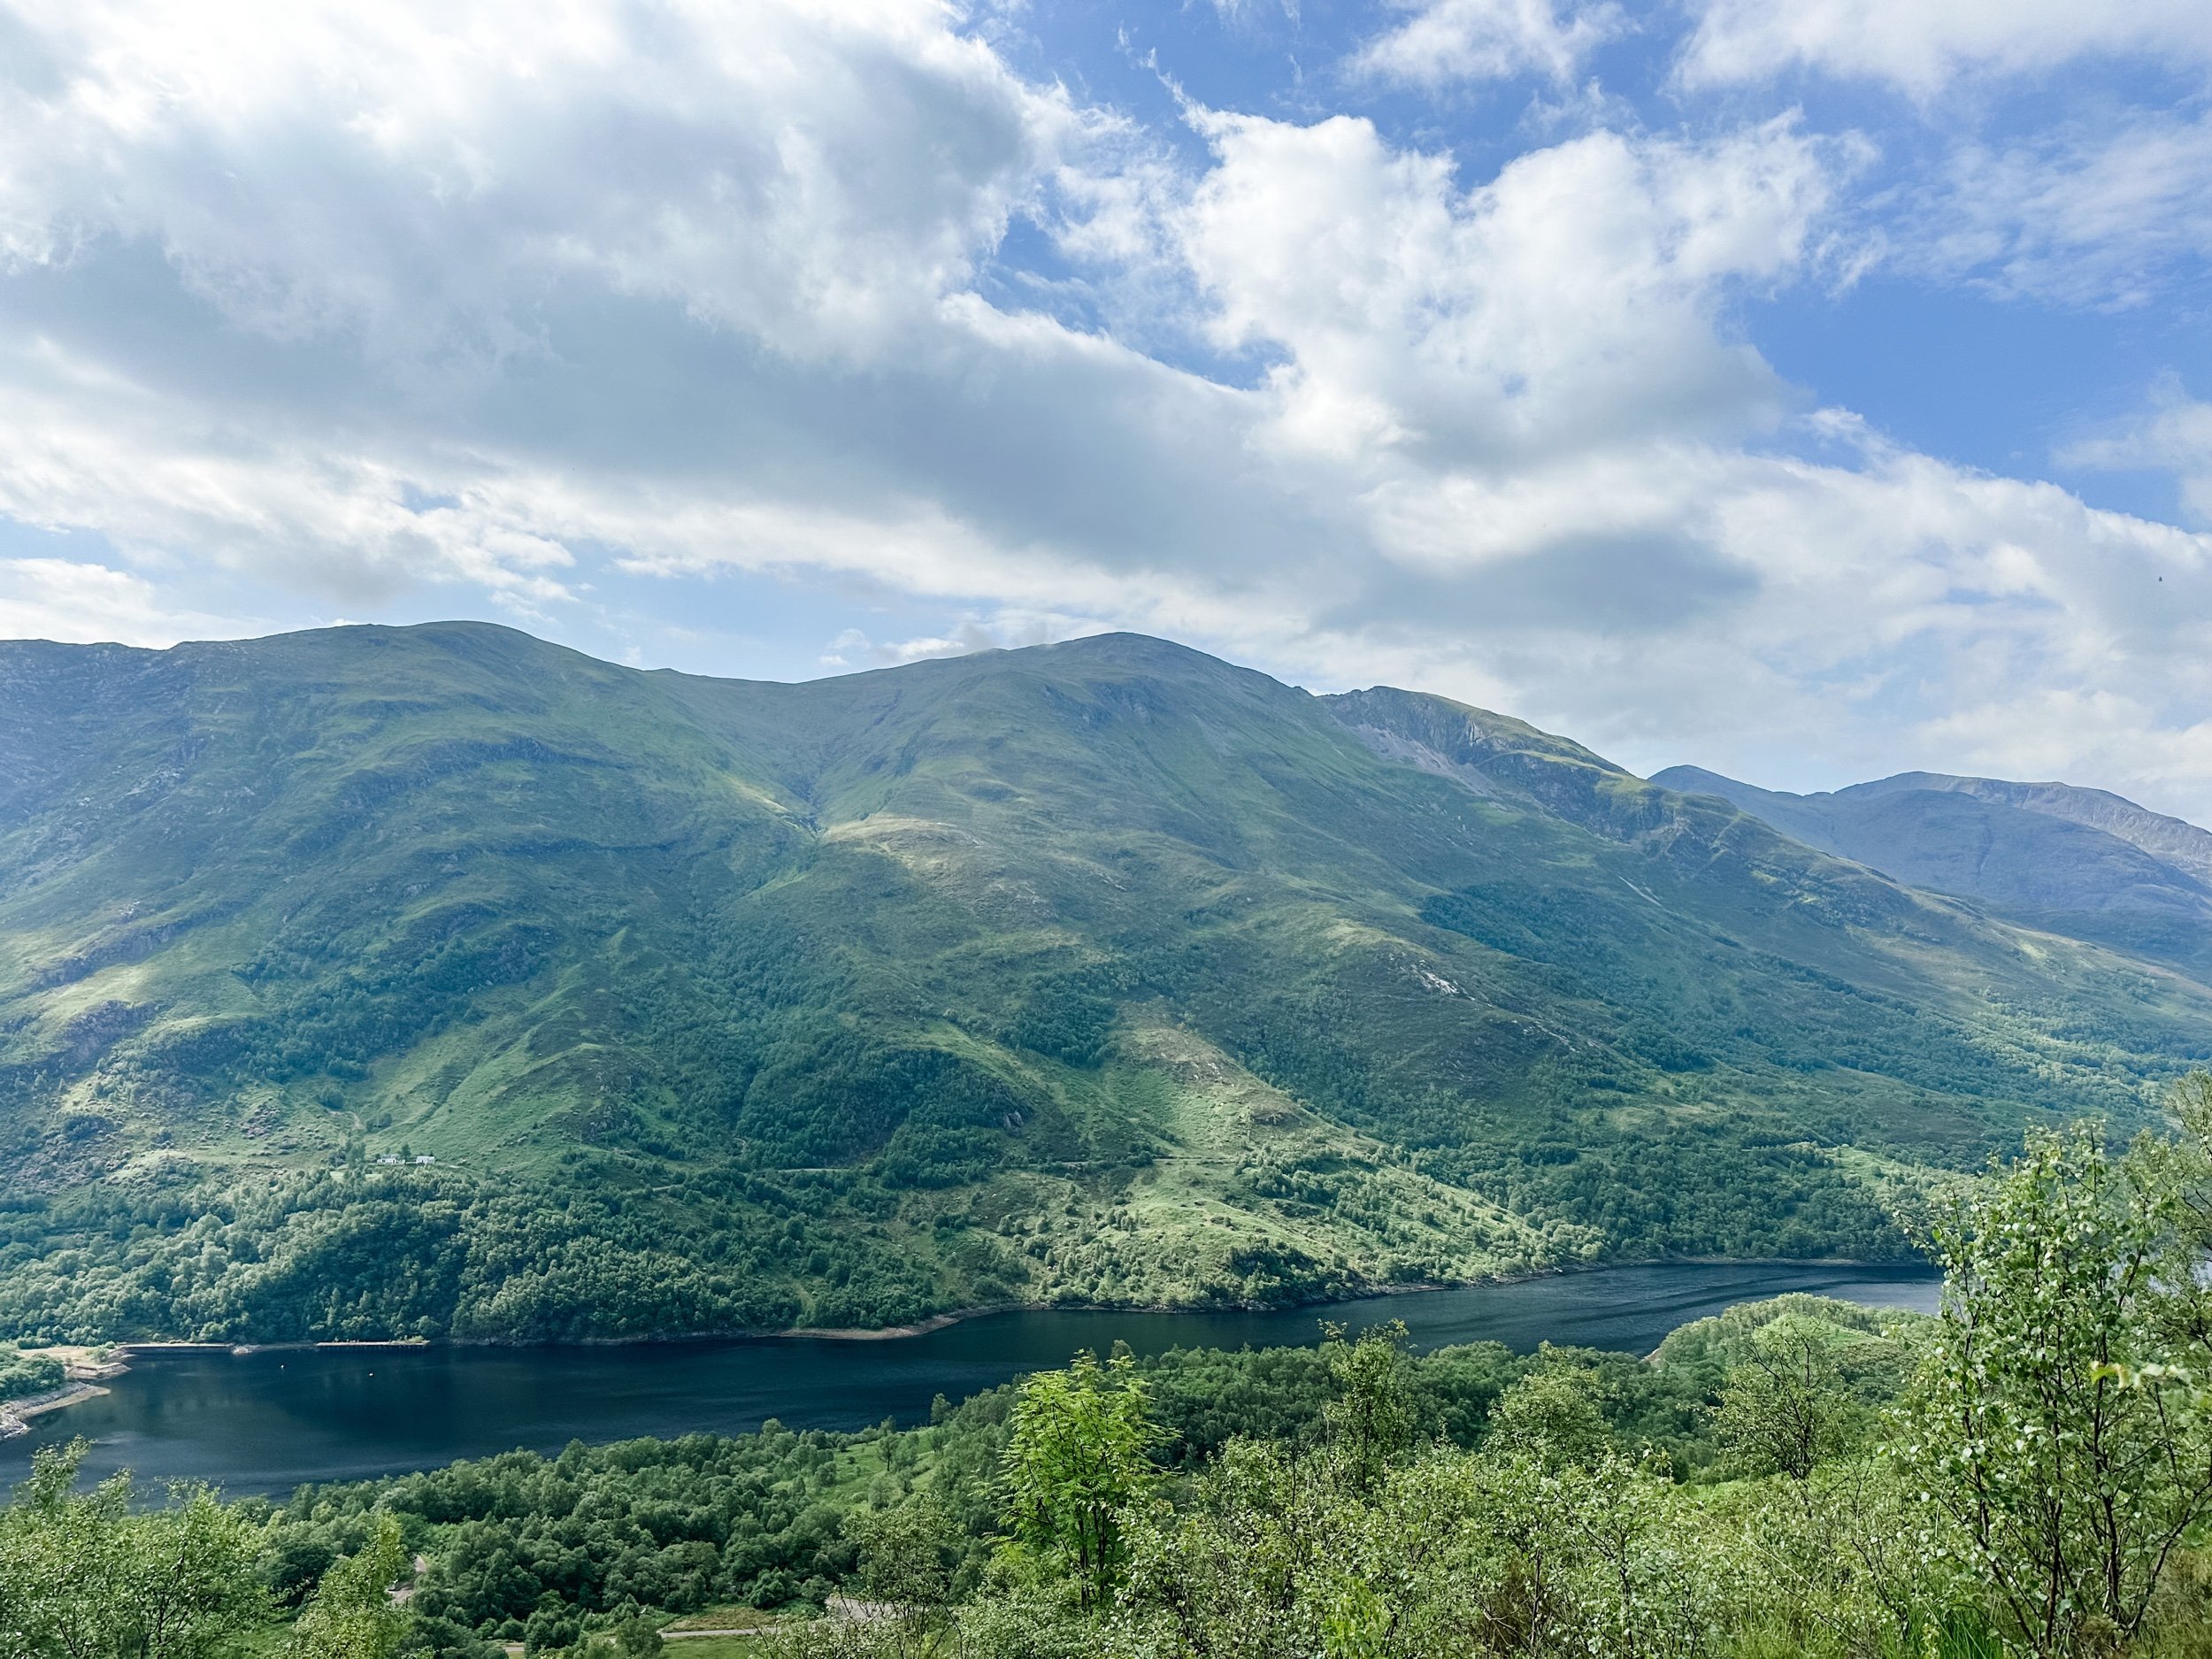
Lake Mangamahoe

5kms / 1.5hrs / Moderate
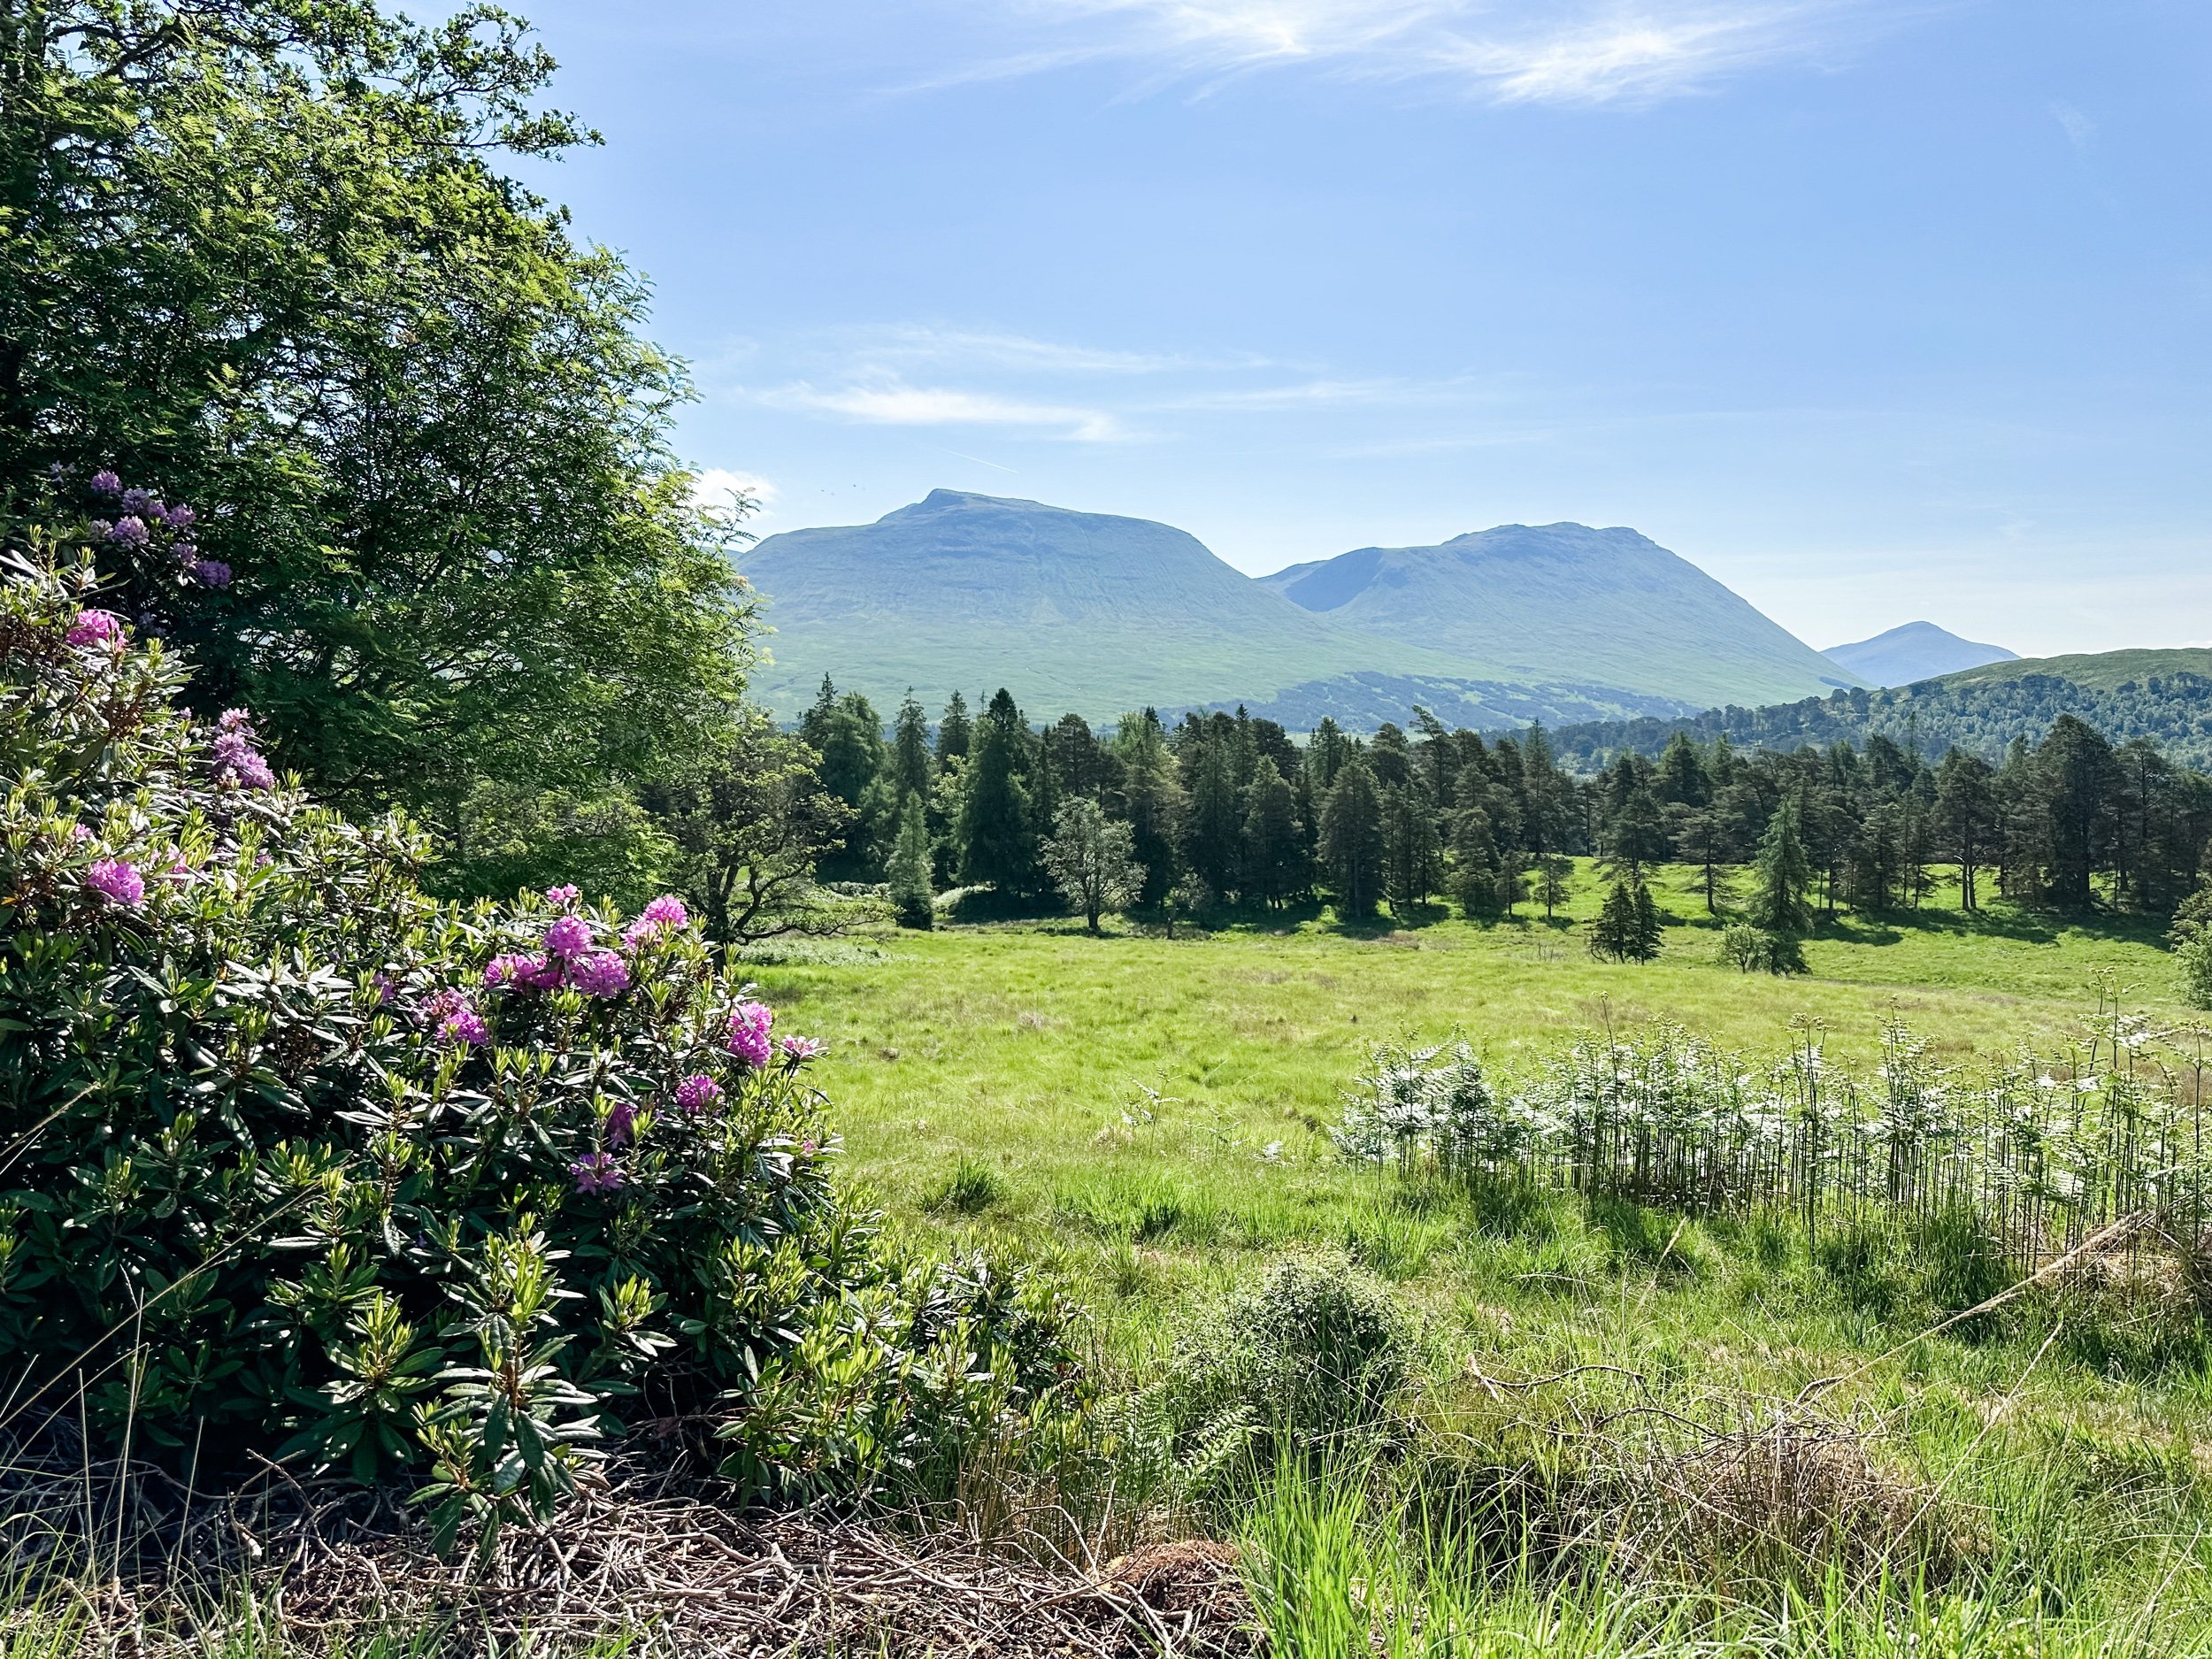
On a clear day, you can’t beat the views of the mountain from Lake Mangamahoe, and there are several vantage points as you do the Lake loop. There are lots of trails at Lake Mangamahoe (including bridal & mountain biking trails) but the classic walk is the Lake Loop. I recommend parking at the first carpark and heading straight through the redwoods and into the bush on the Lake Loop trail. Initially you walk through the native bush, over 2 swing bridges and then straight up the hill to a lookout over the lake and ocean beyond. You’ll come to the second (and last) big hill before heading into the redwoods, which is my favourite part of the walk. As you walk along the back of the lake there are two options - you can stick to the upper lake track that you are on, or turn left to head down onto the lower lake loop which will allow you to walk right next to the lake. If you’re wanting some more variety in landscape and the trail, head down the stairs to the lower loop which will just take you back up to the main trail down the track.
There are epic views of the mountain from the top of the dam. After you leave the dam and start walking towards the parking lot, turn left up the stairs to the lookout - it’s amazing and in my opinion the best view at Lake Mangamahoe. The rest of the walk take you along the road next to the lake back to the carpark.

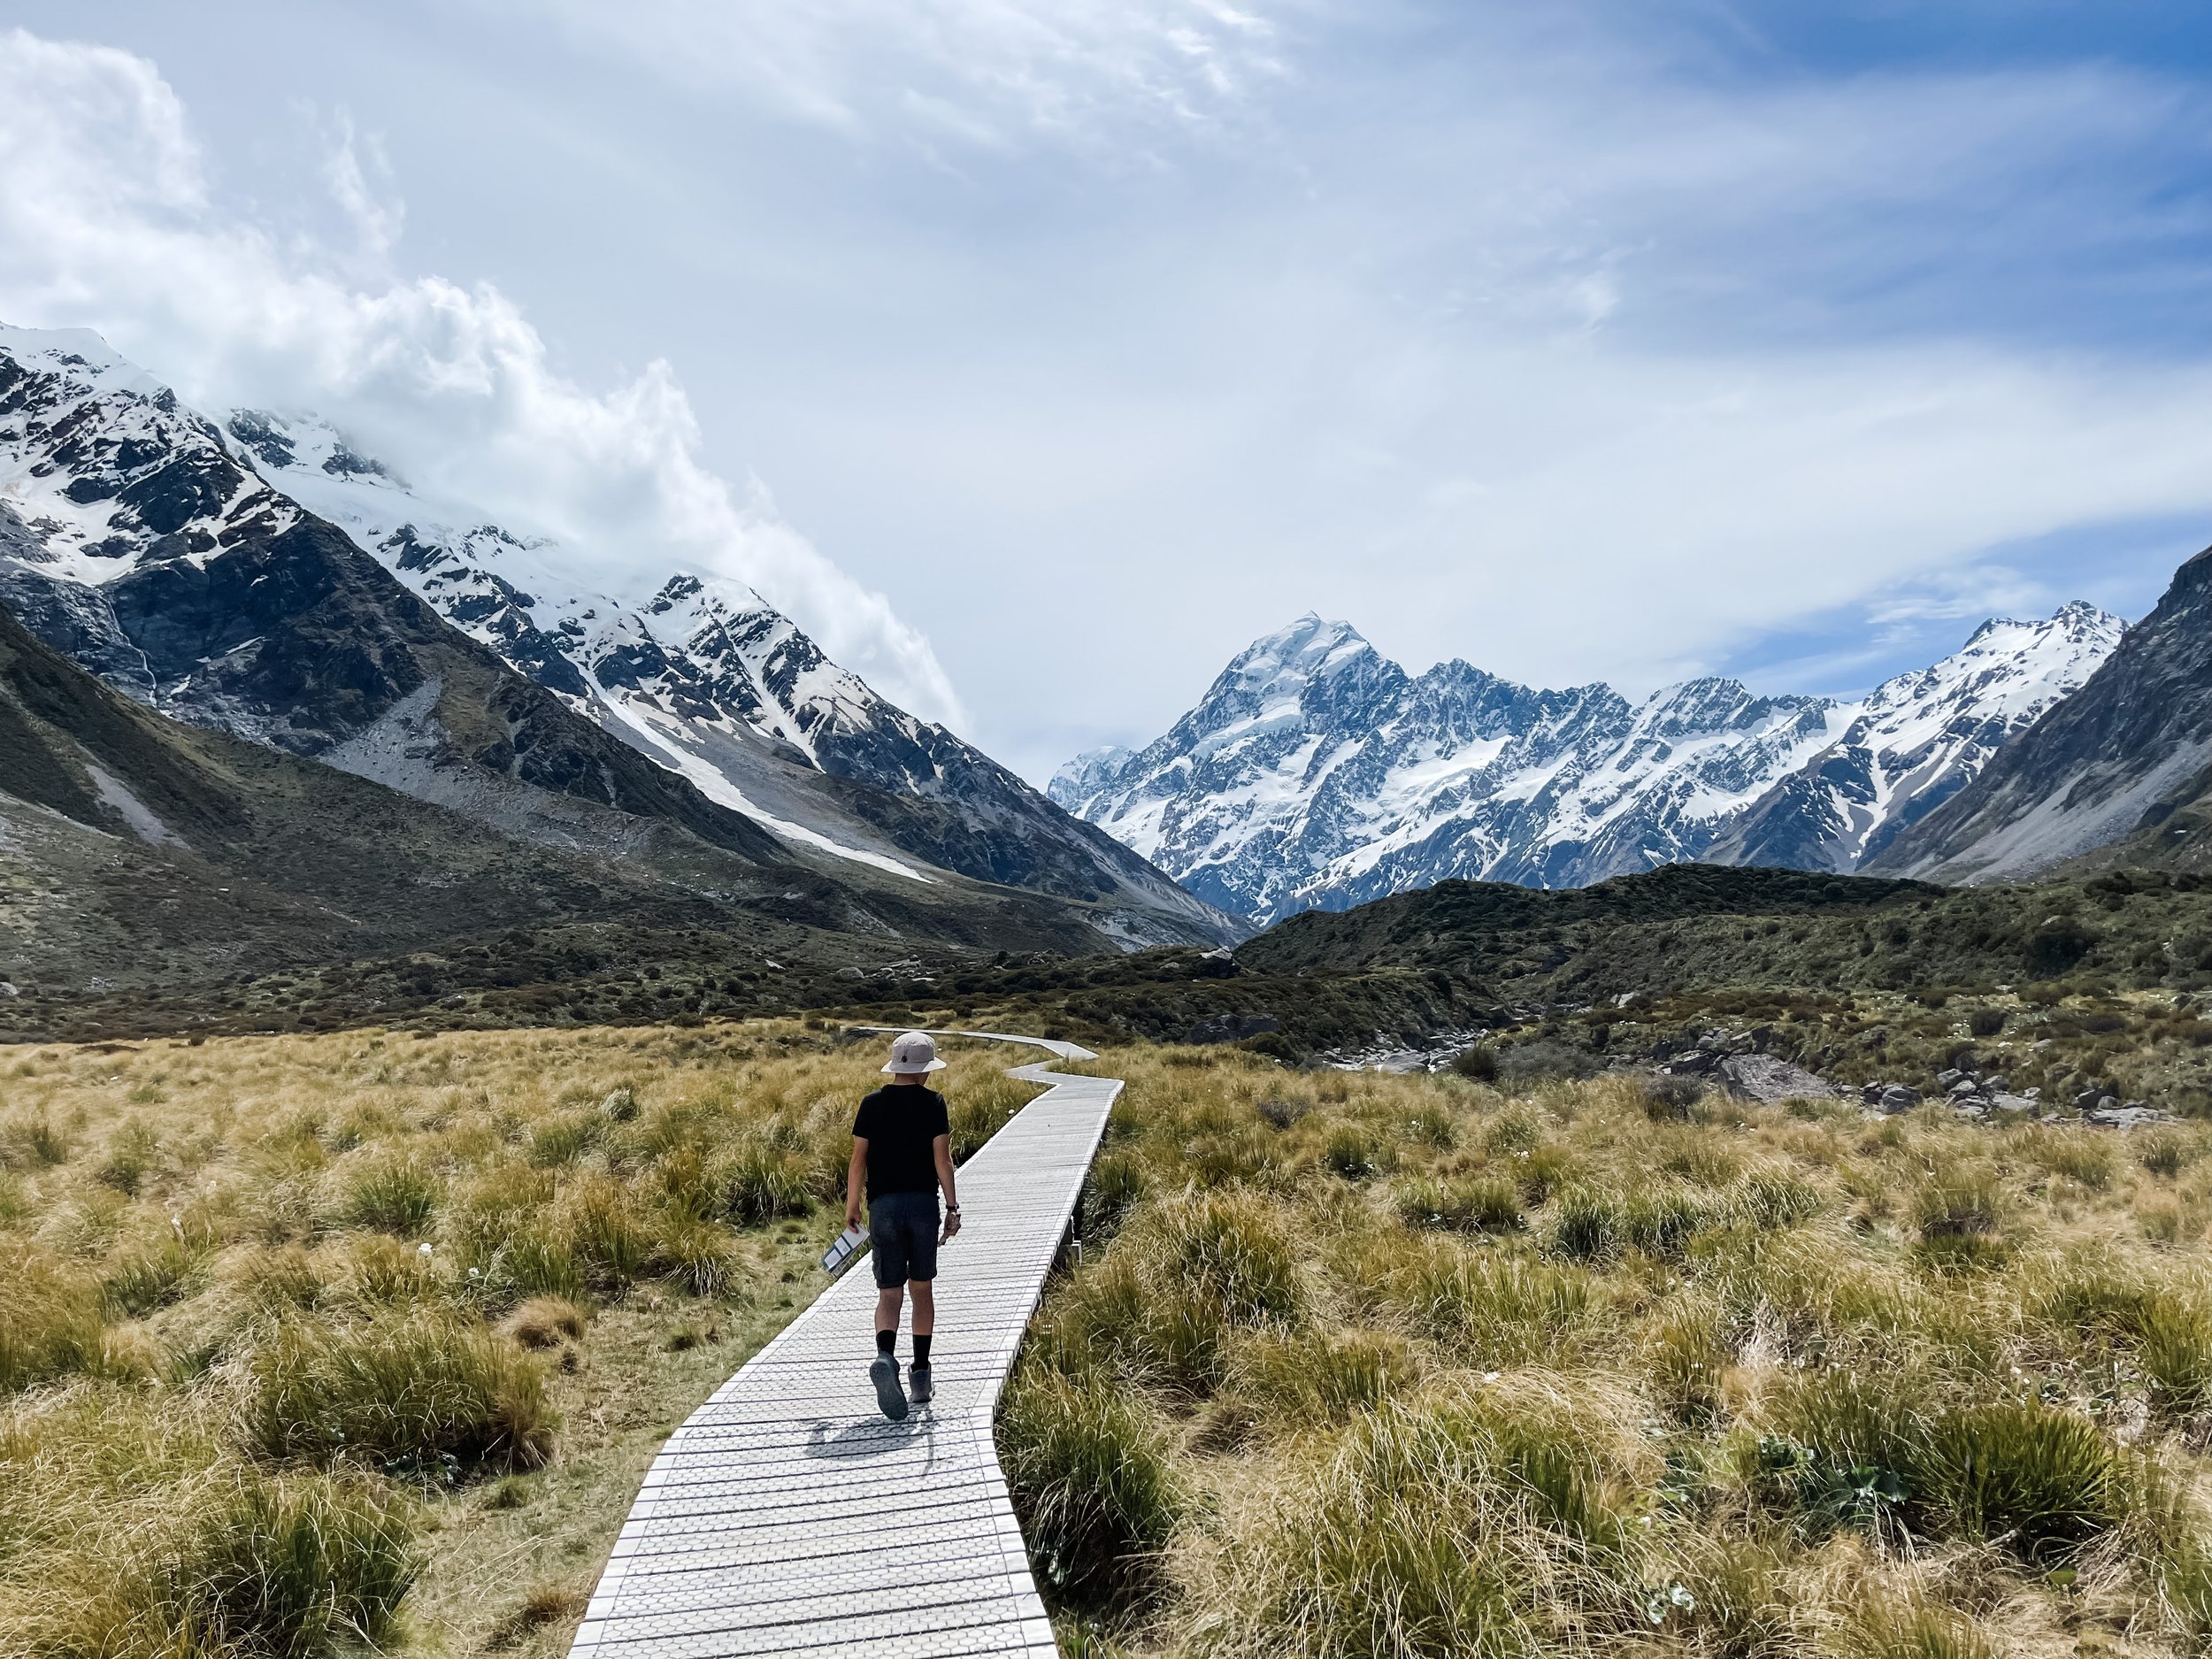
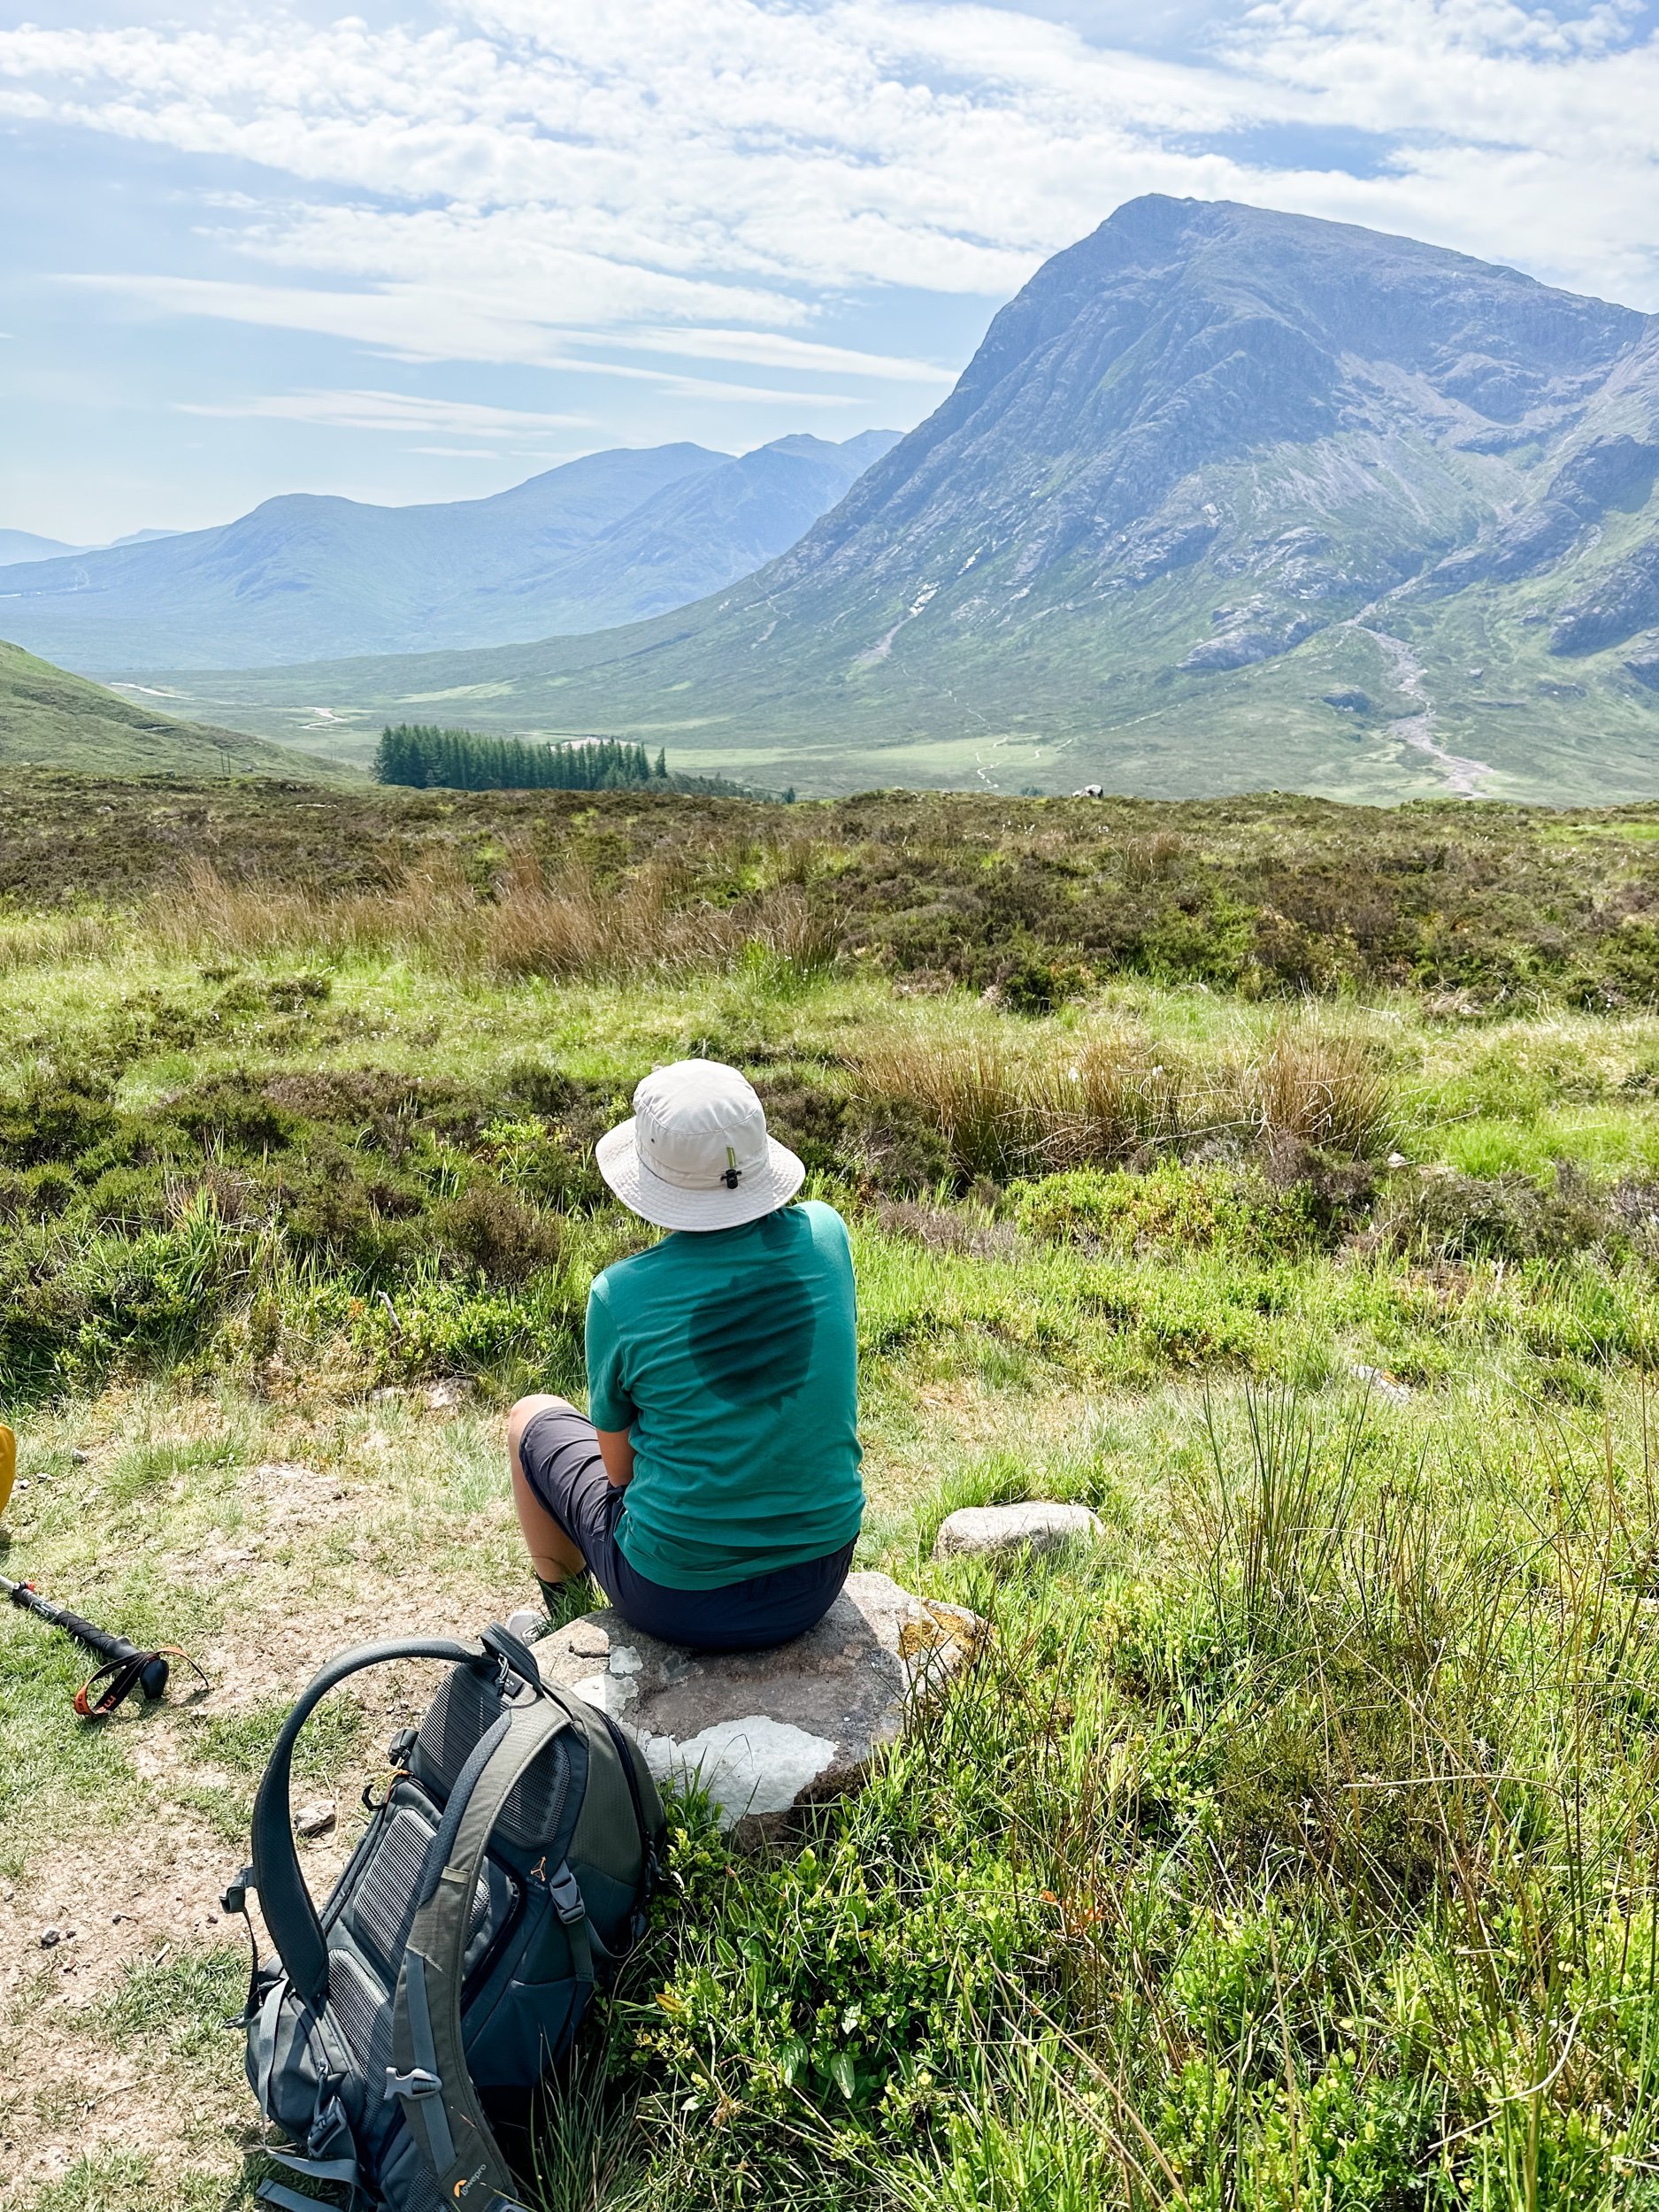
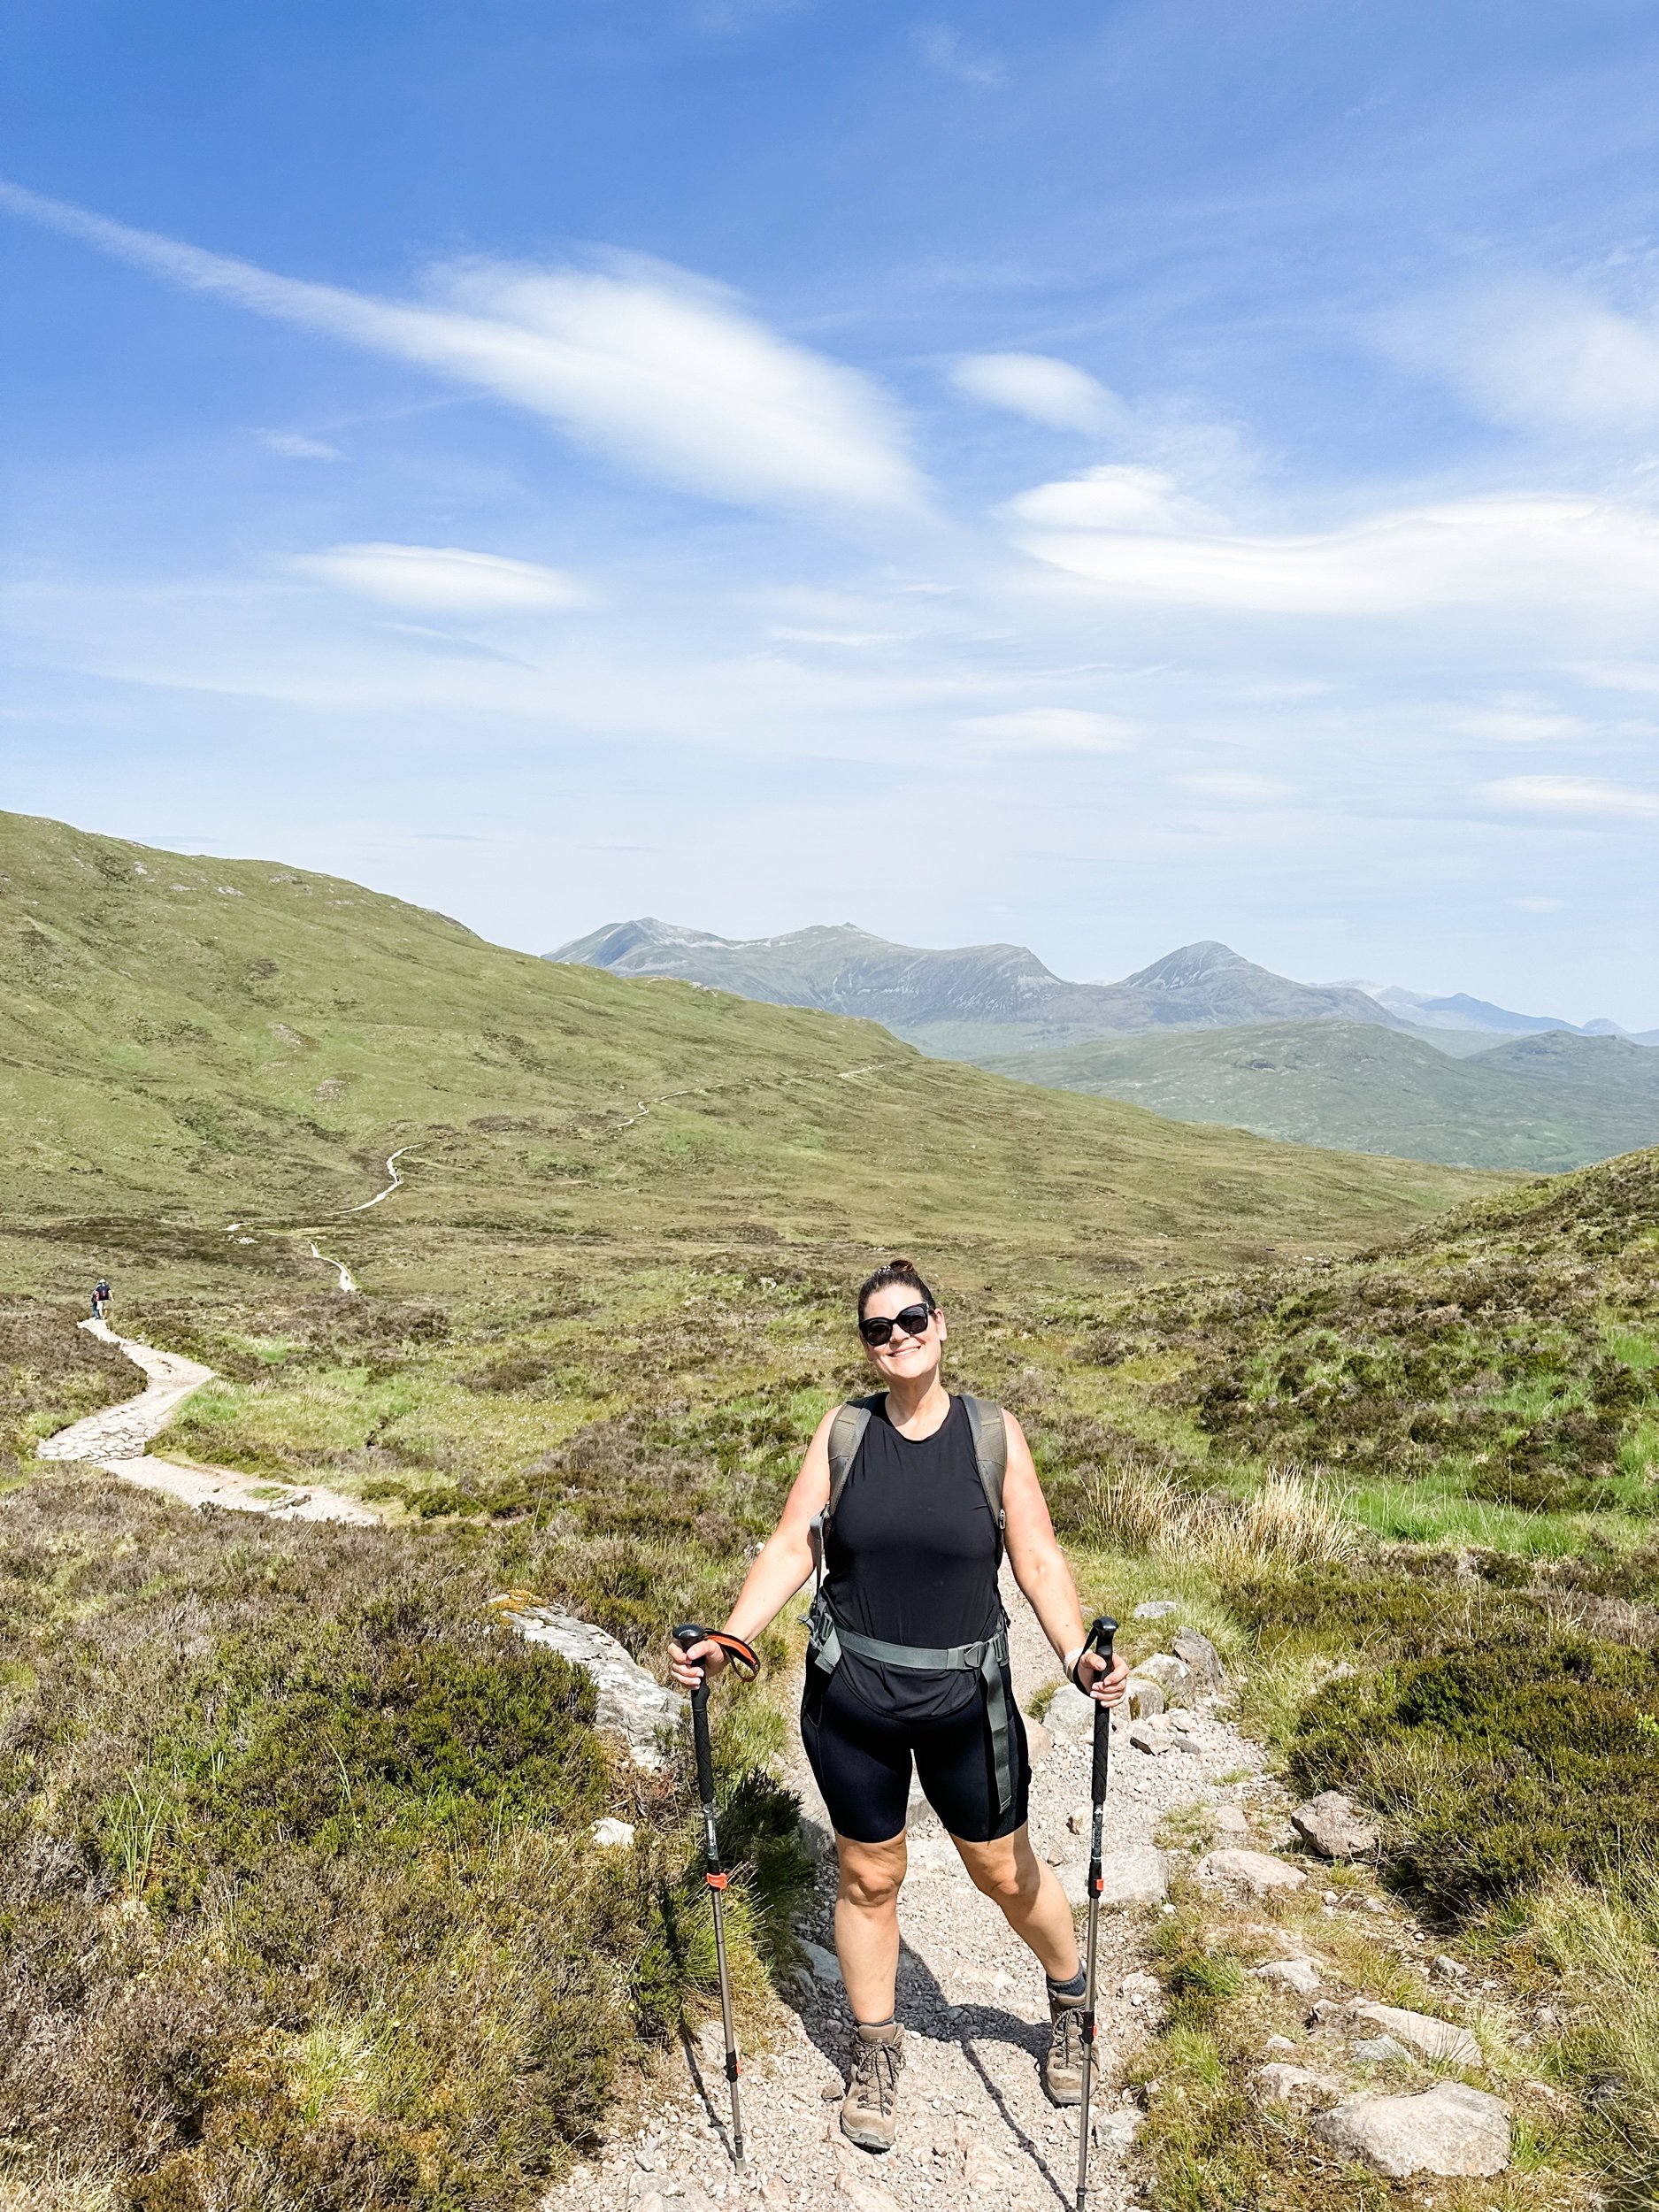
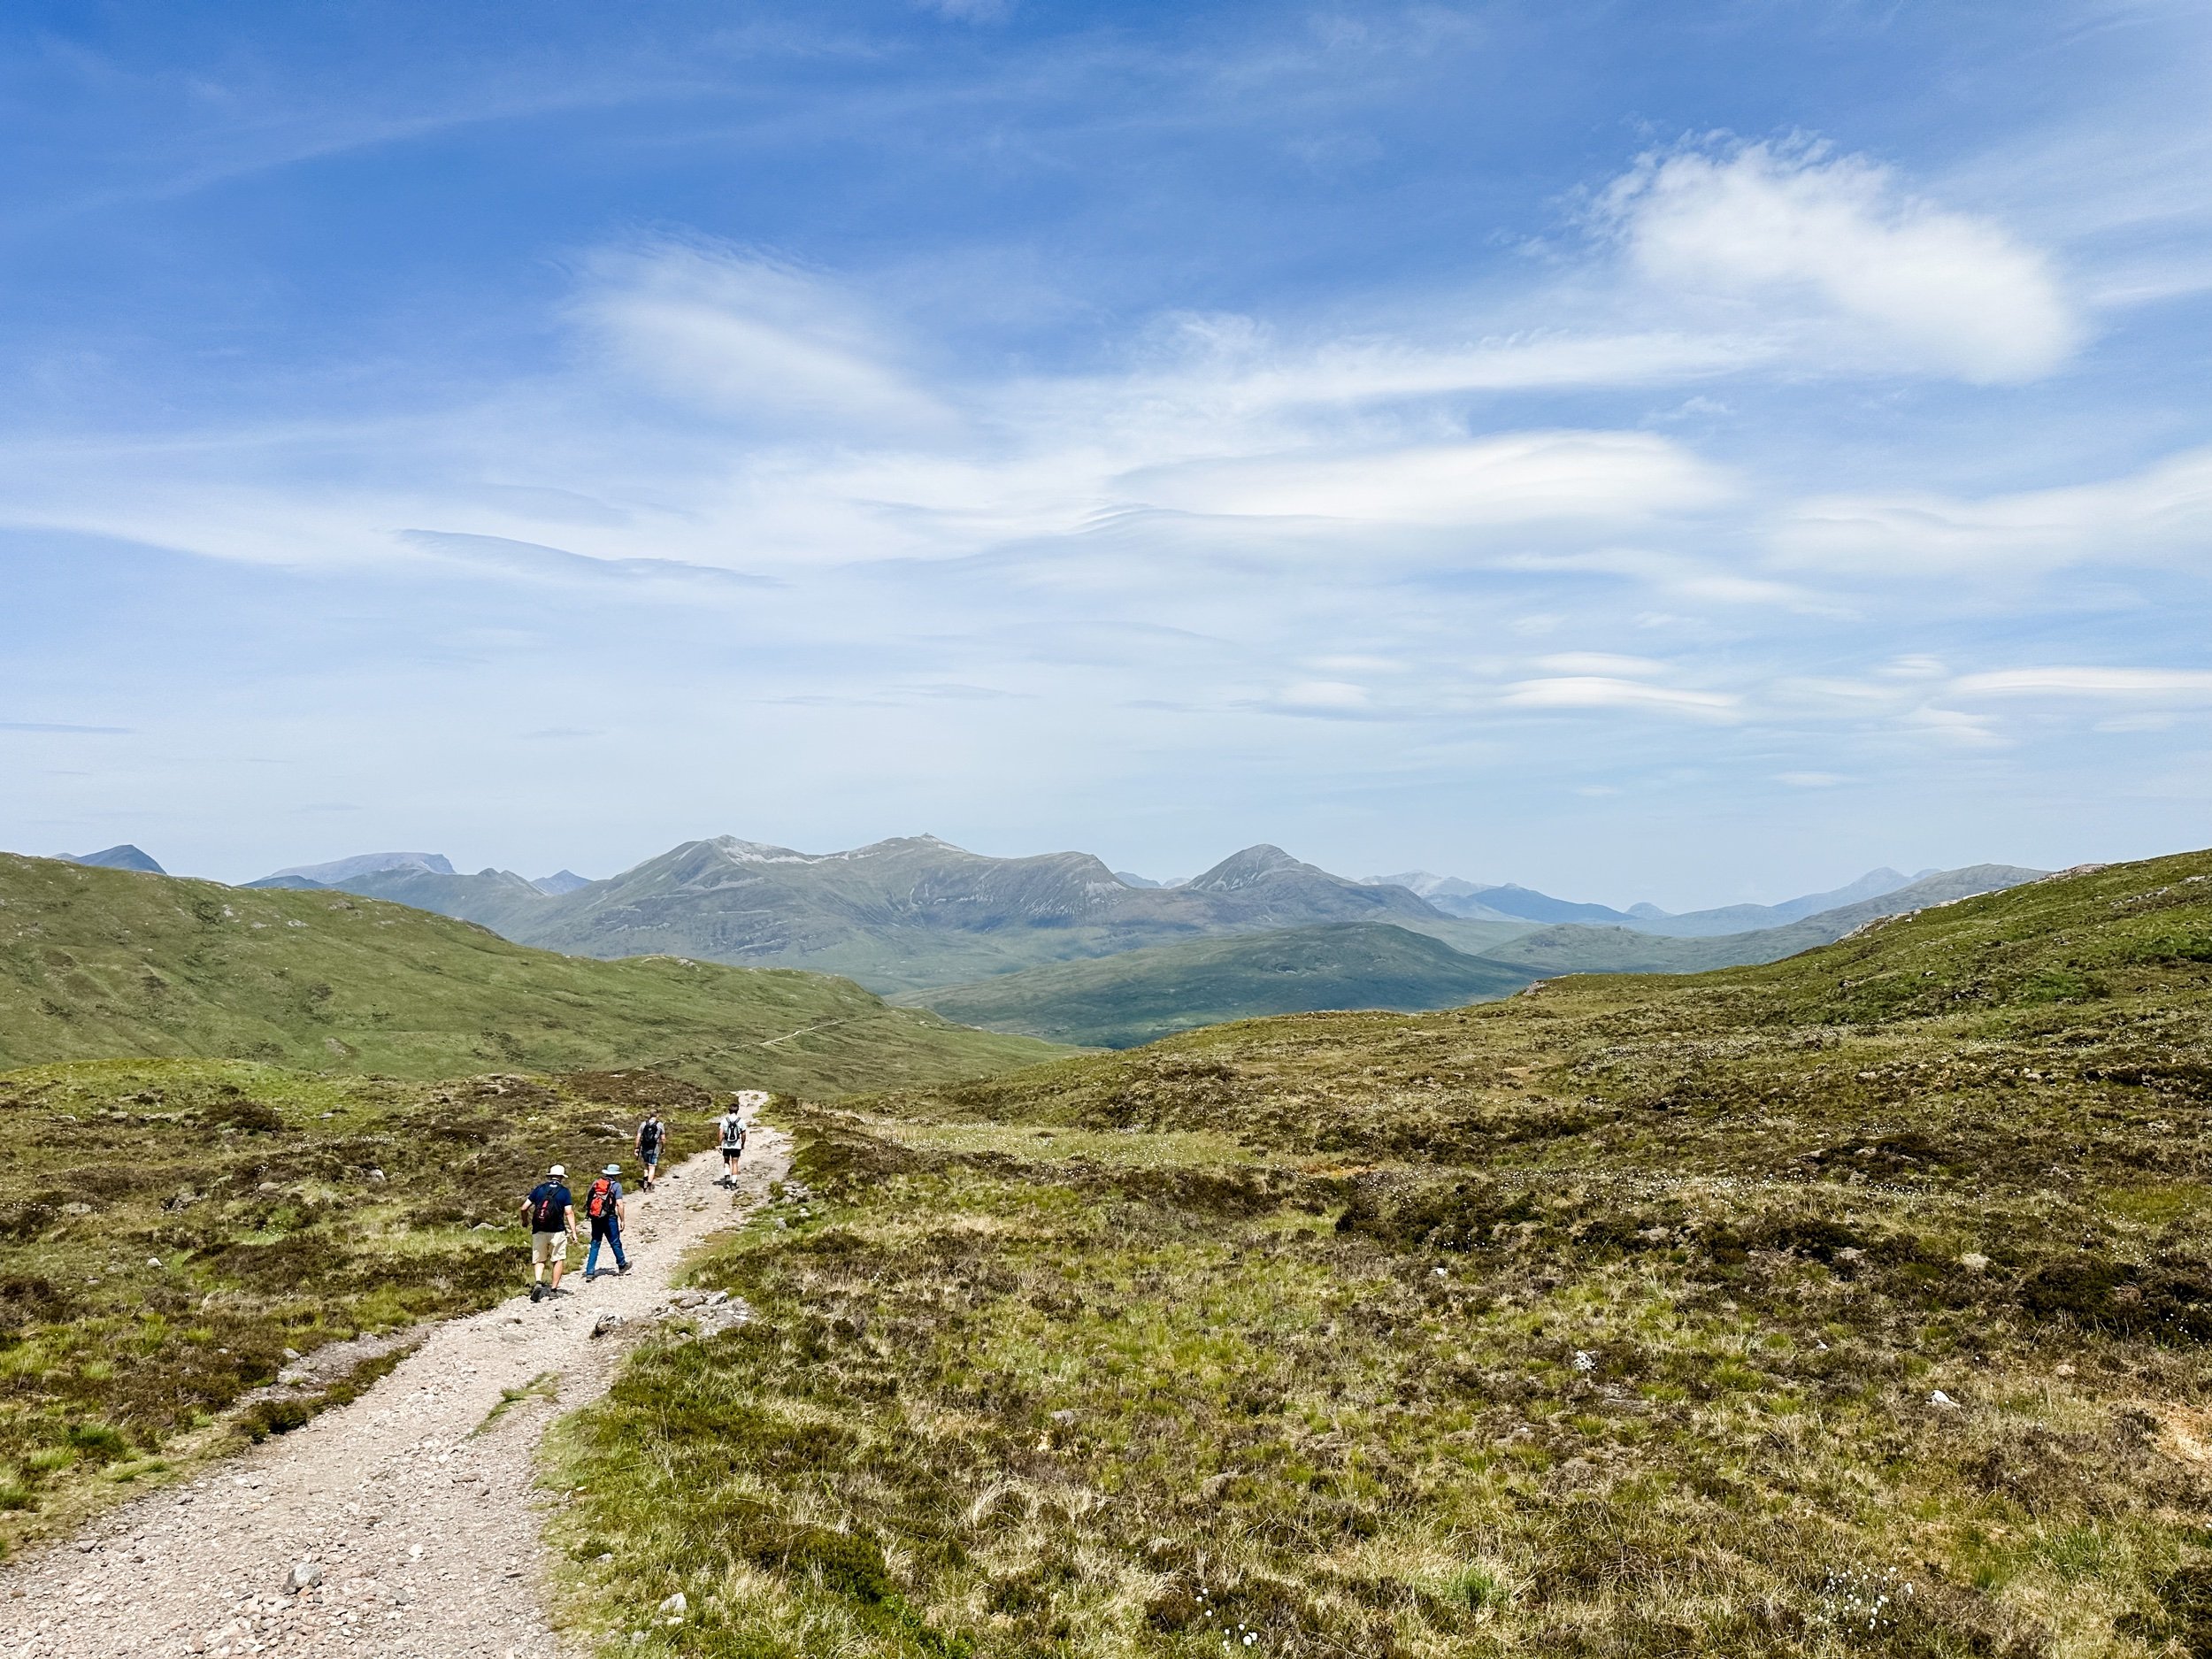
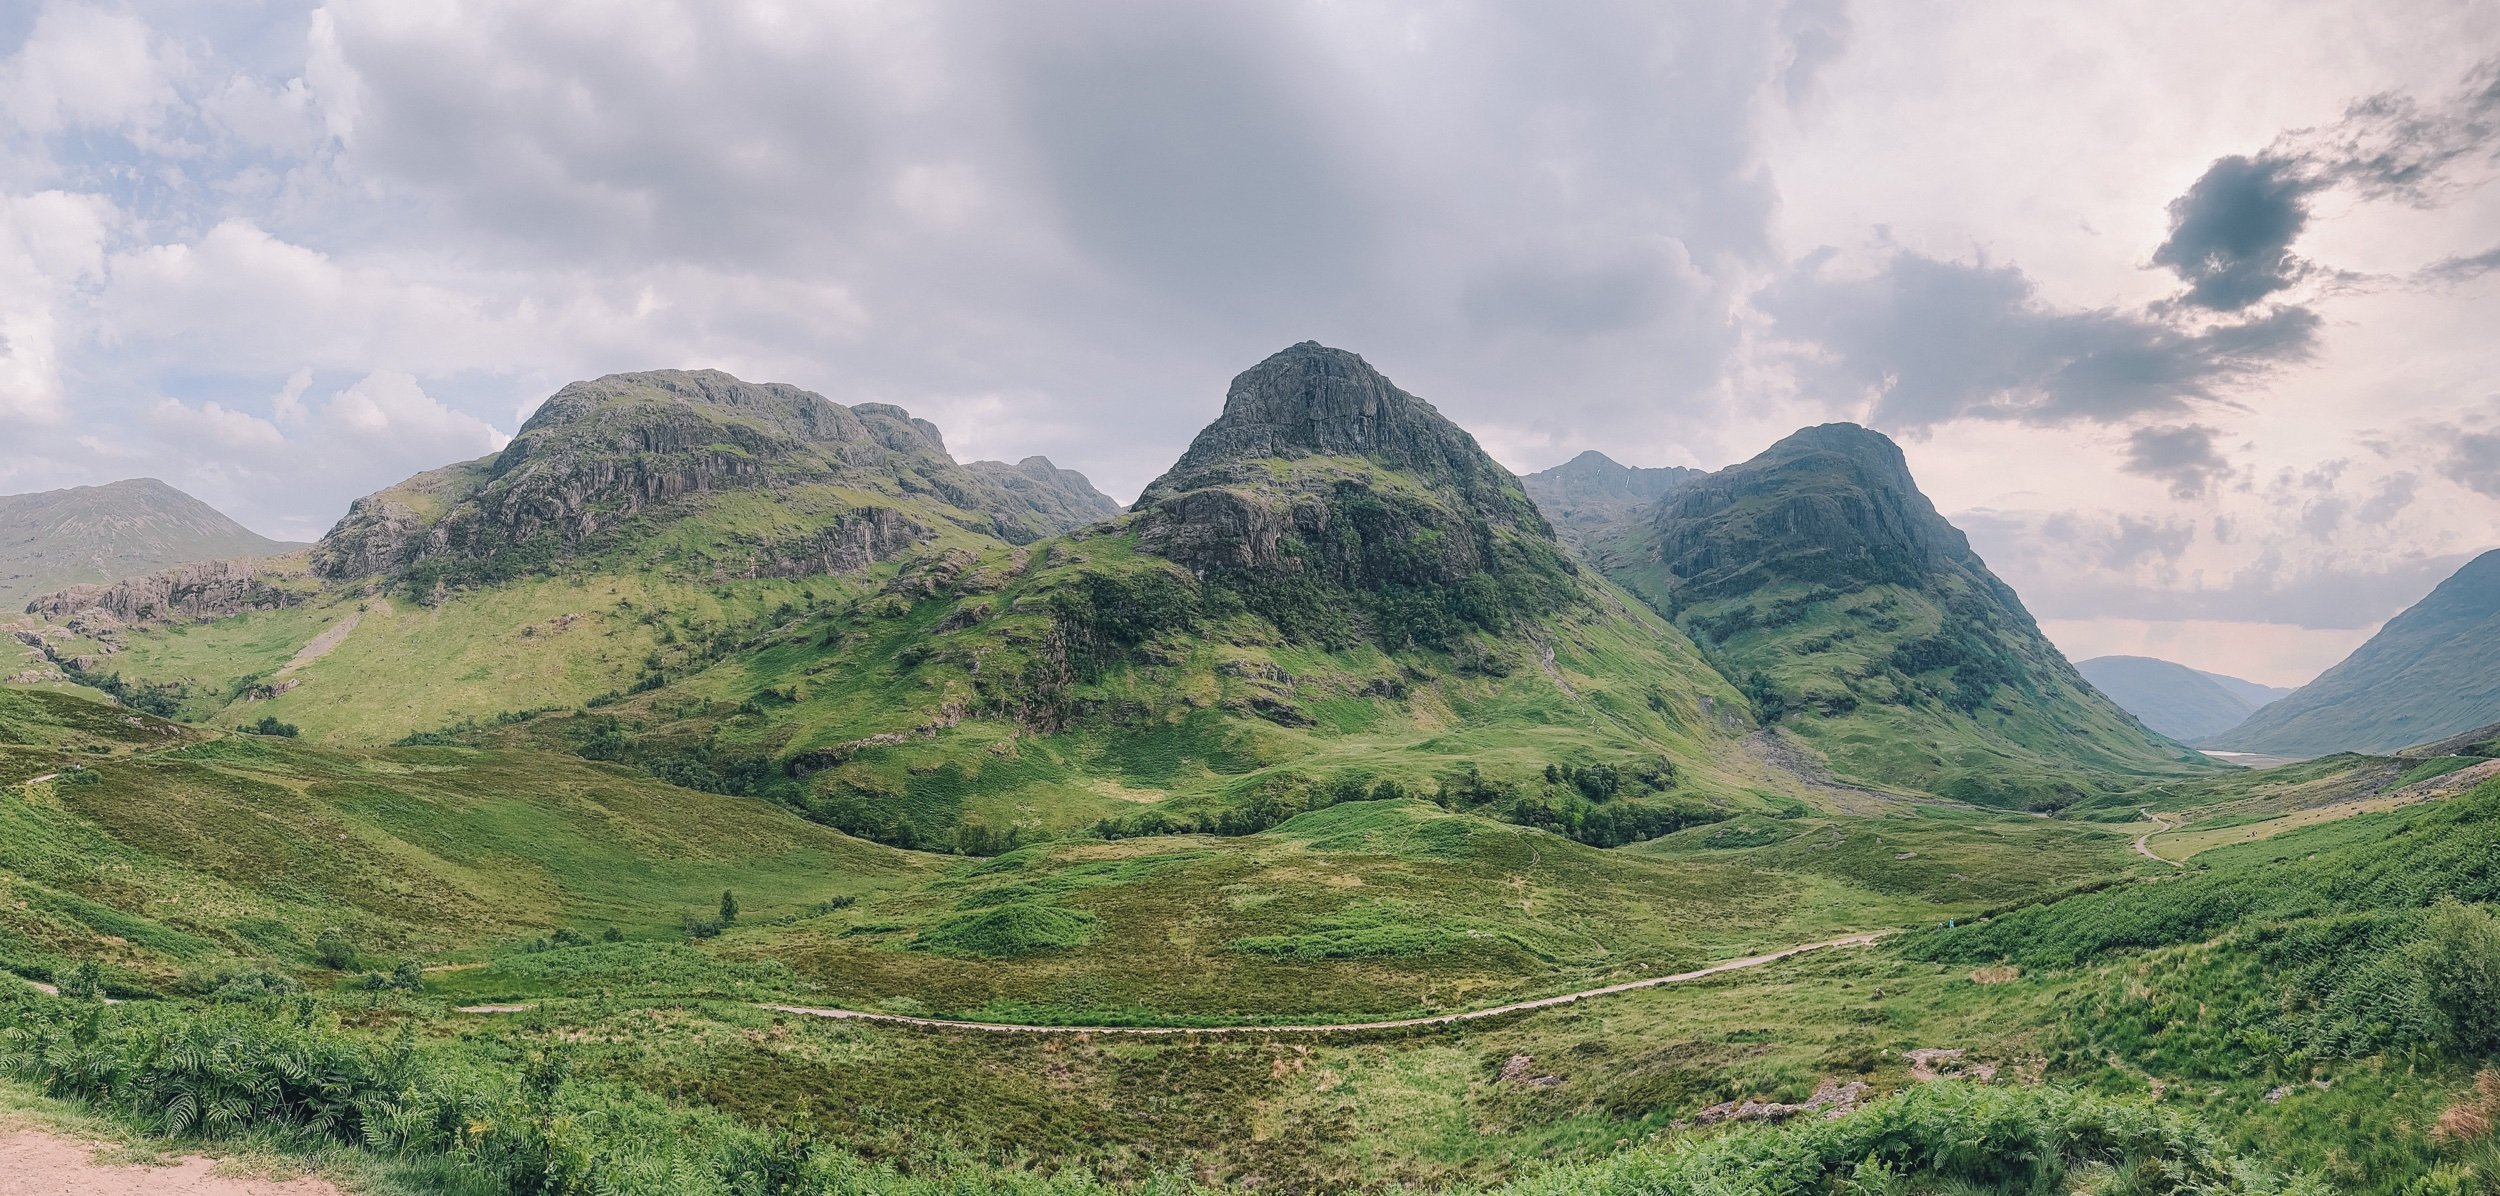
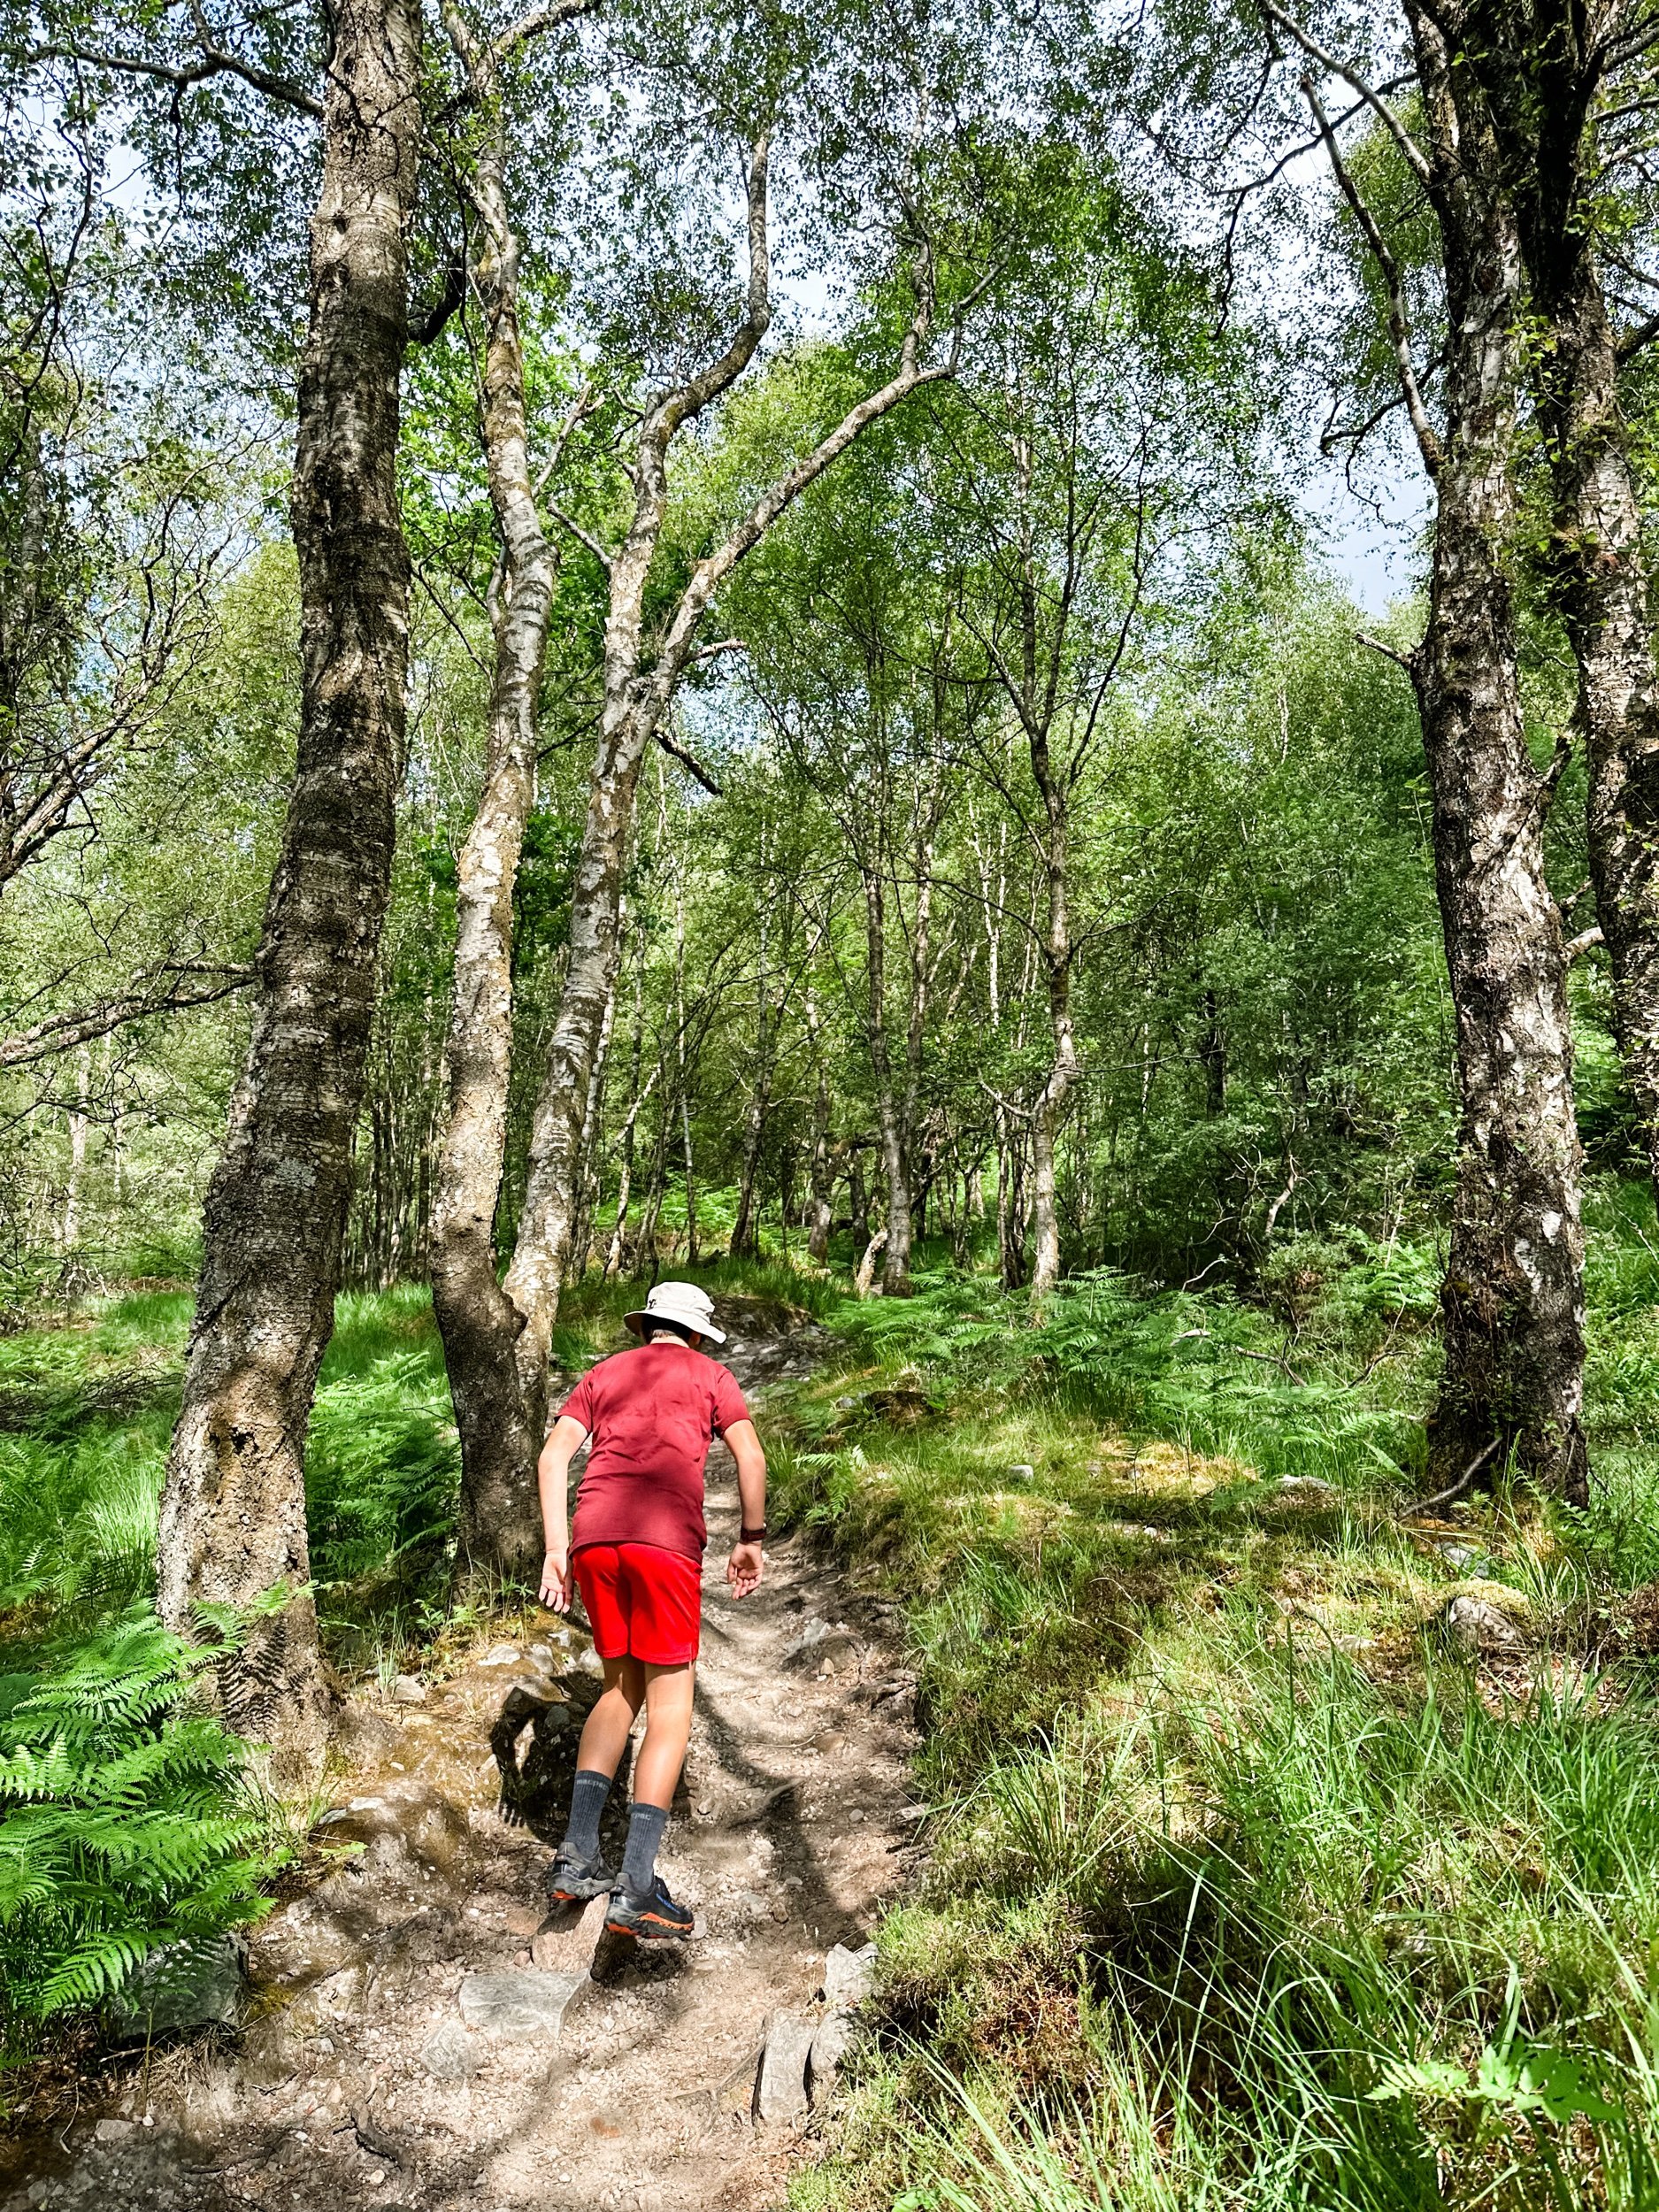
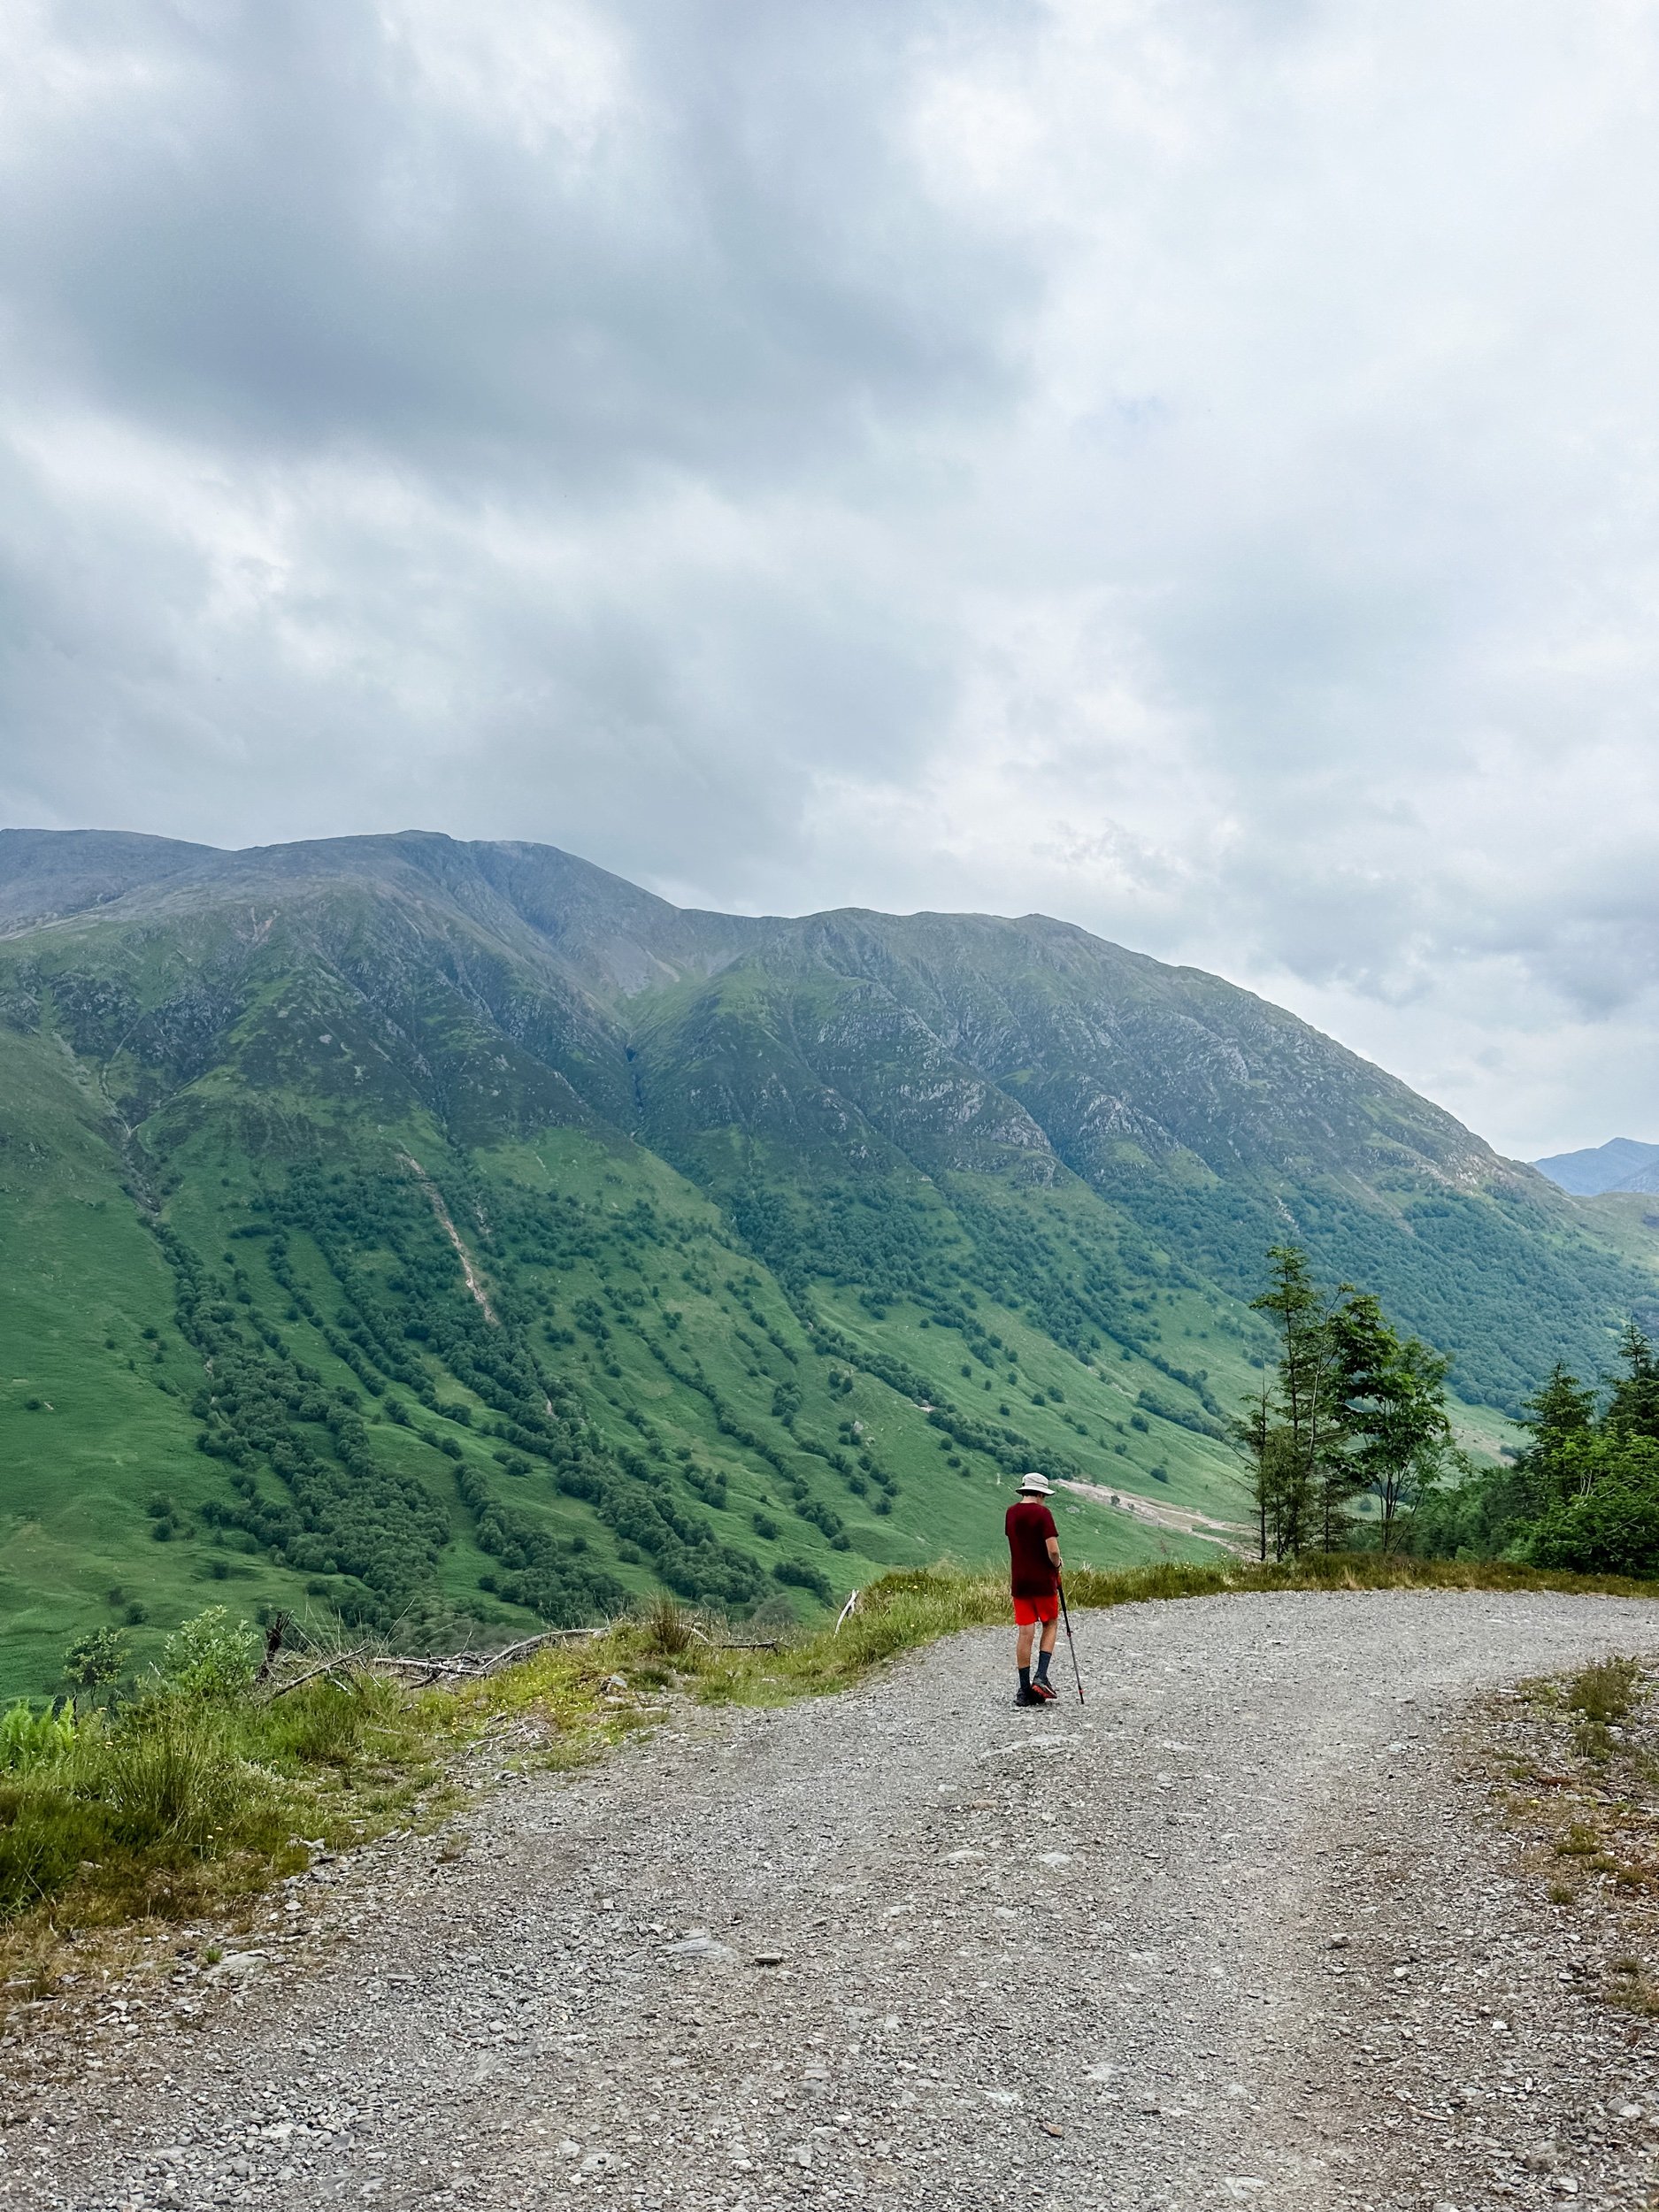
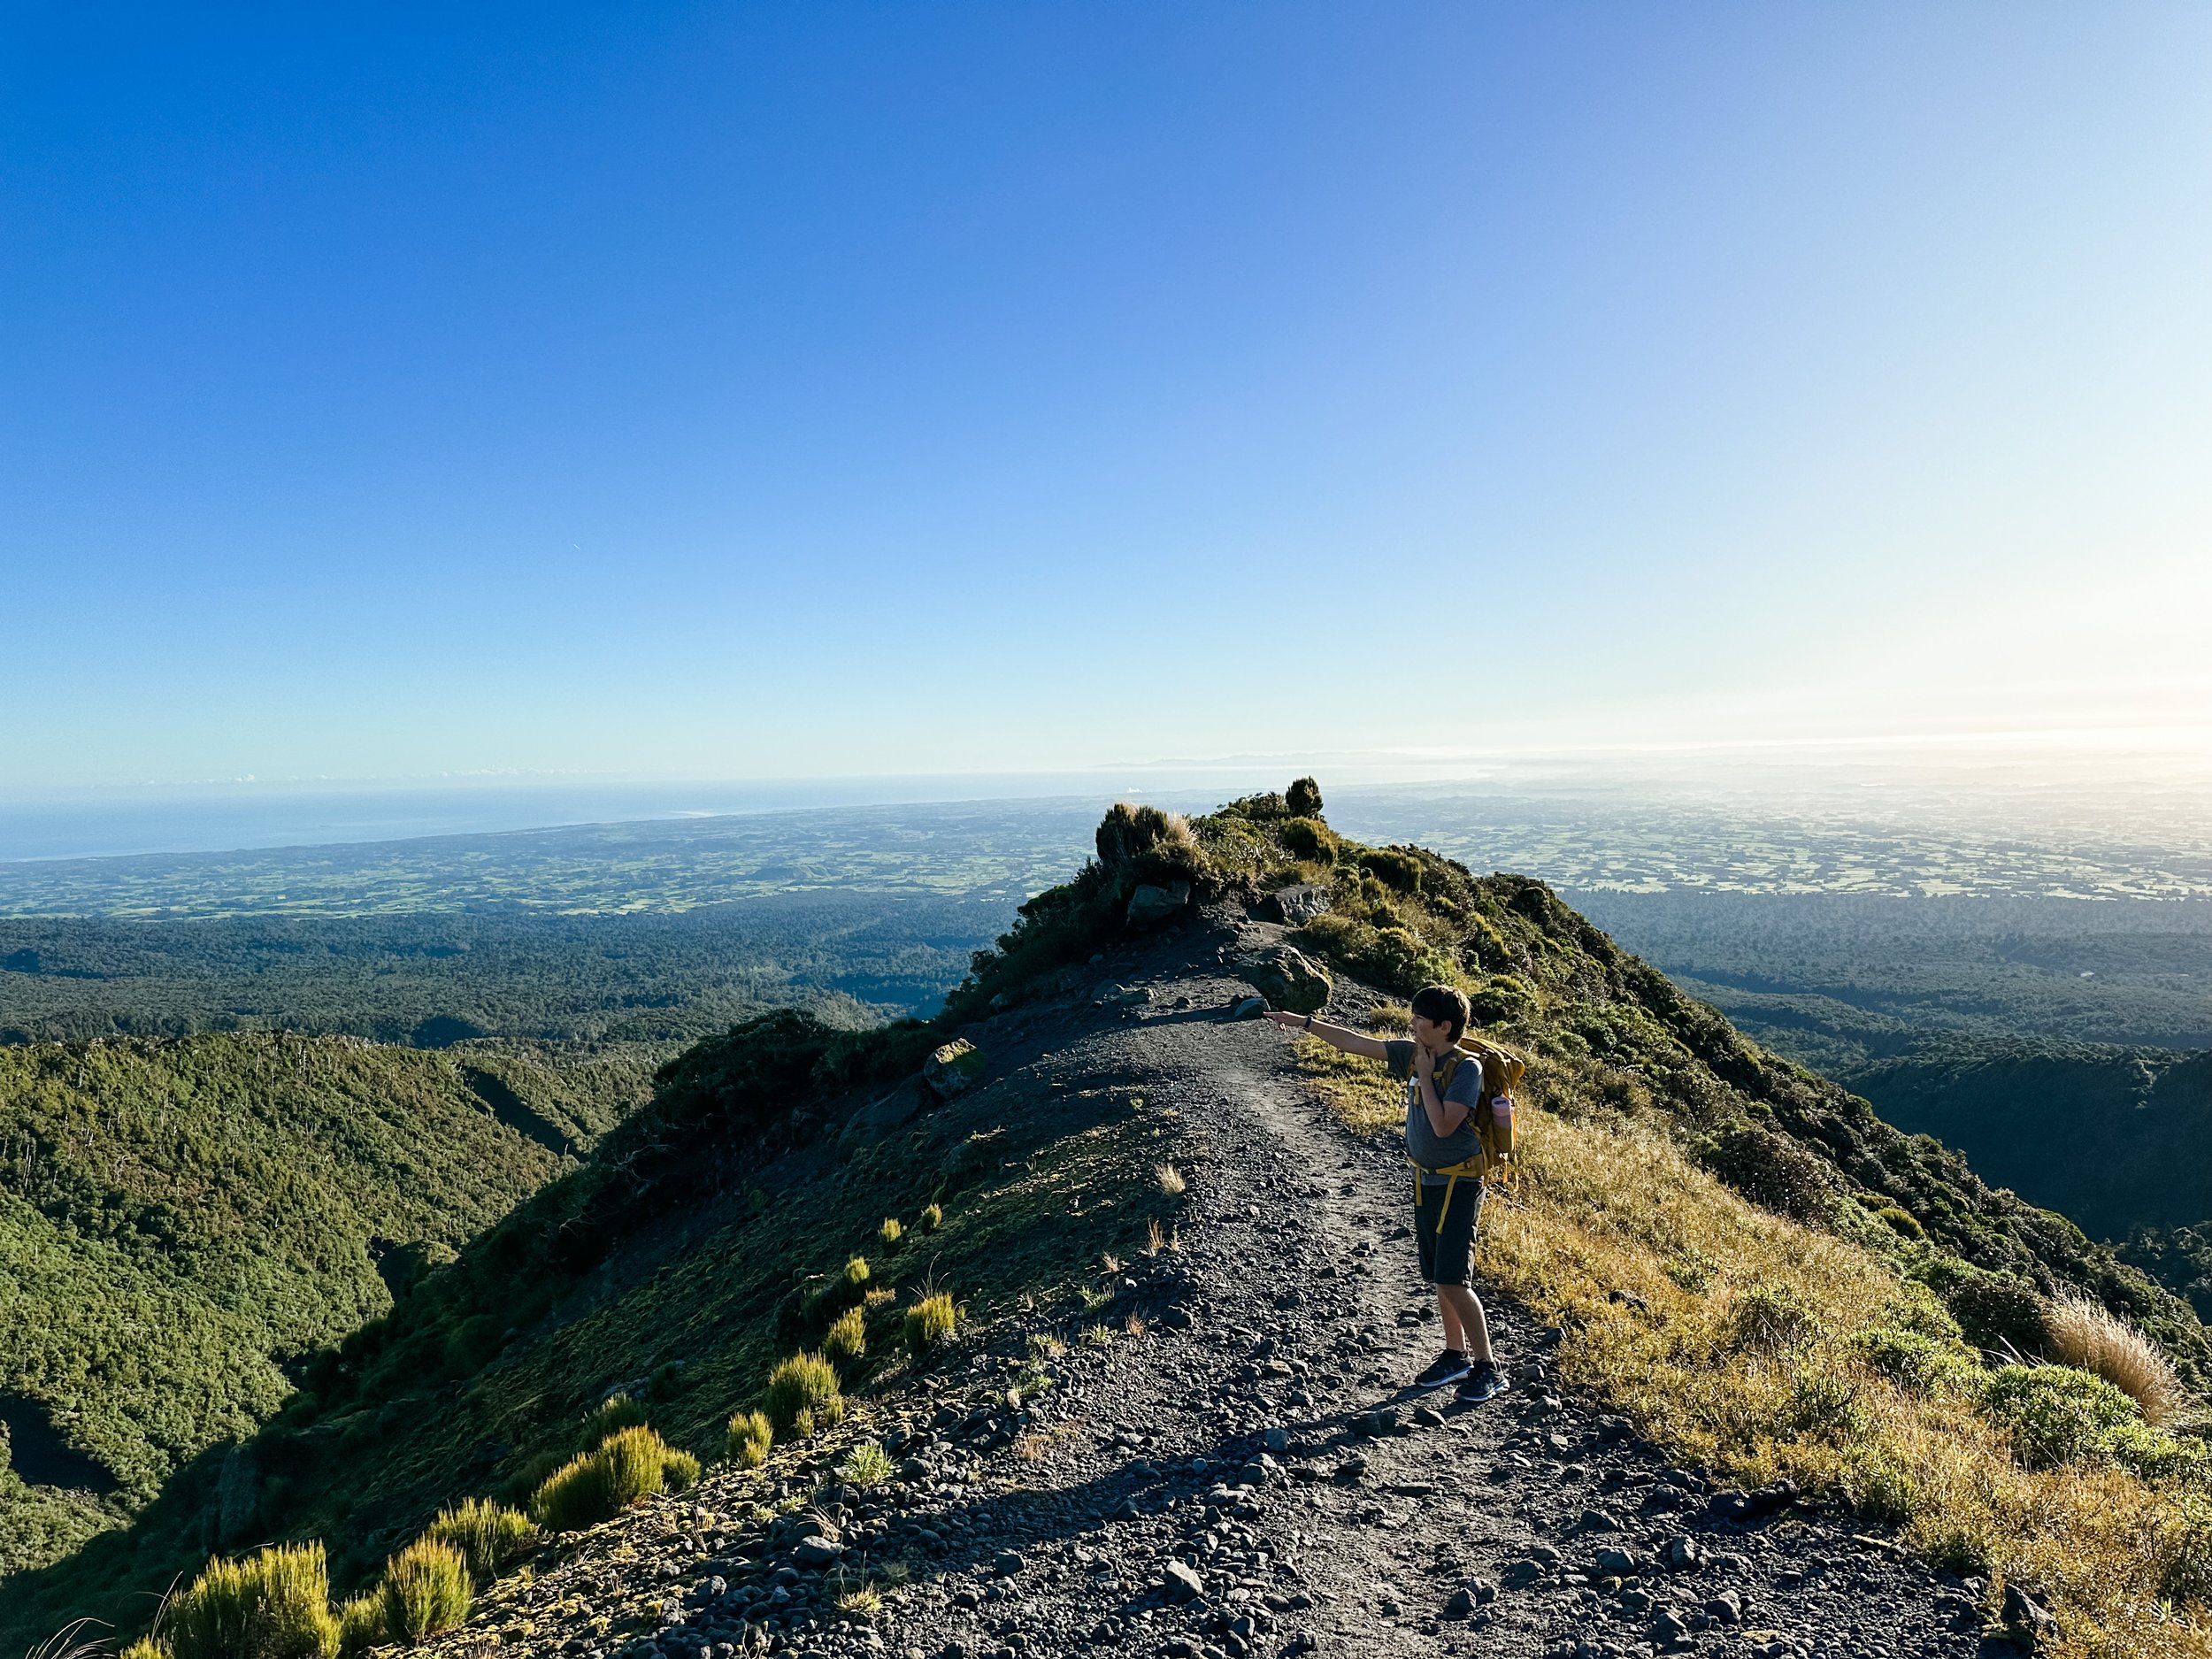
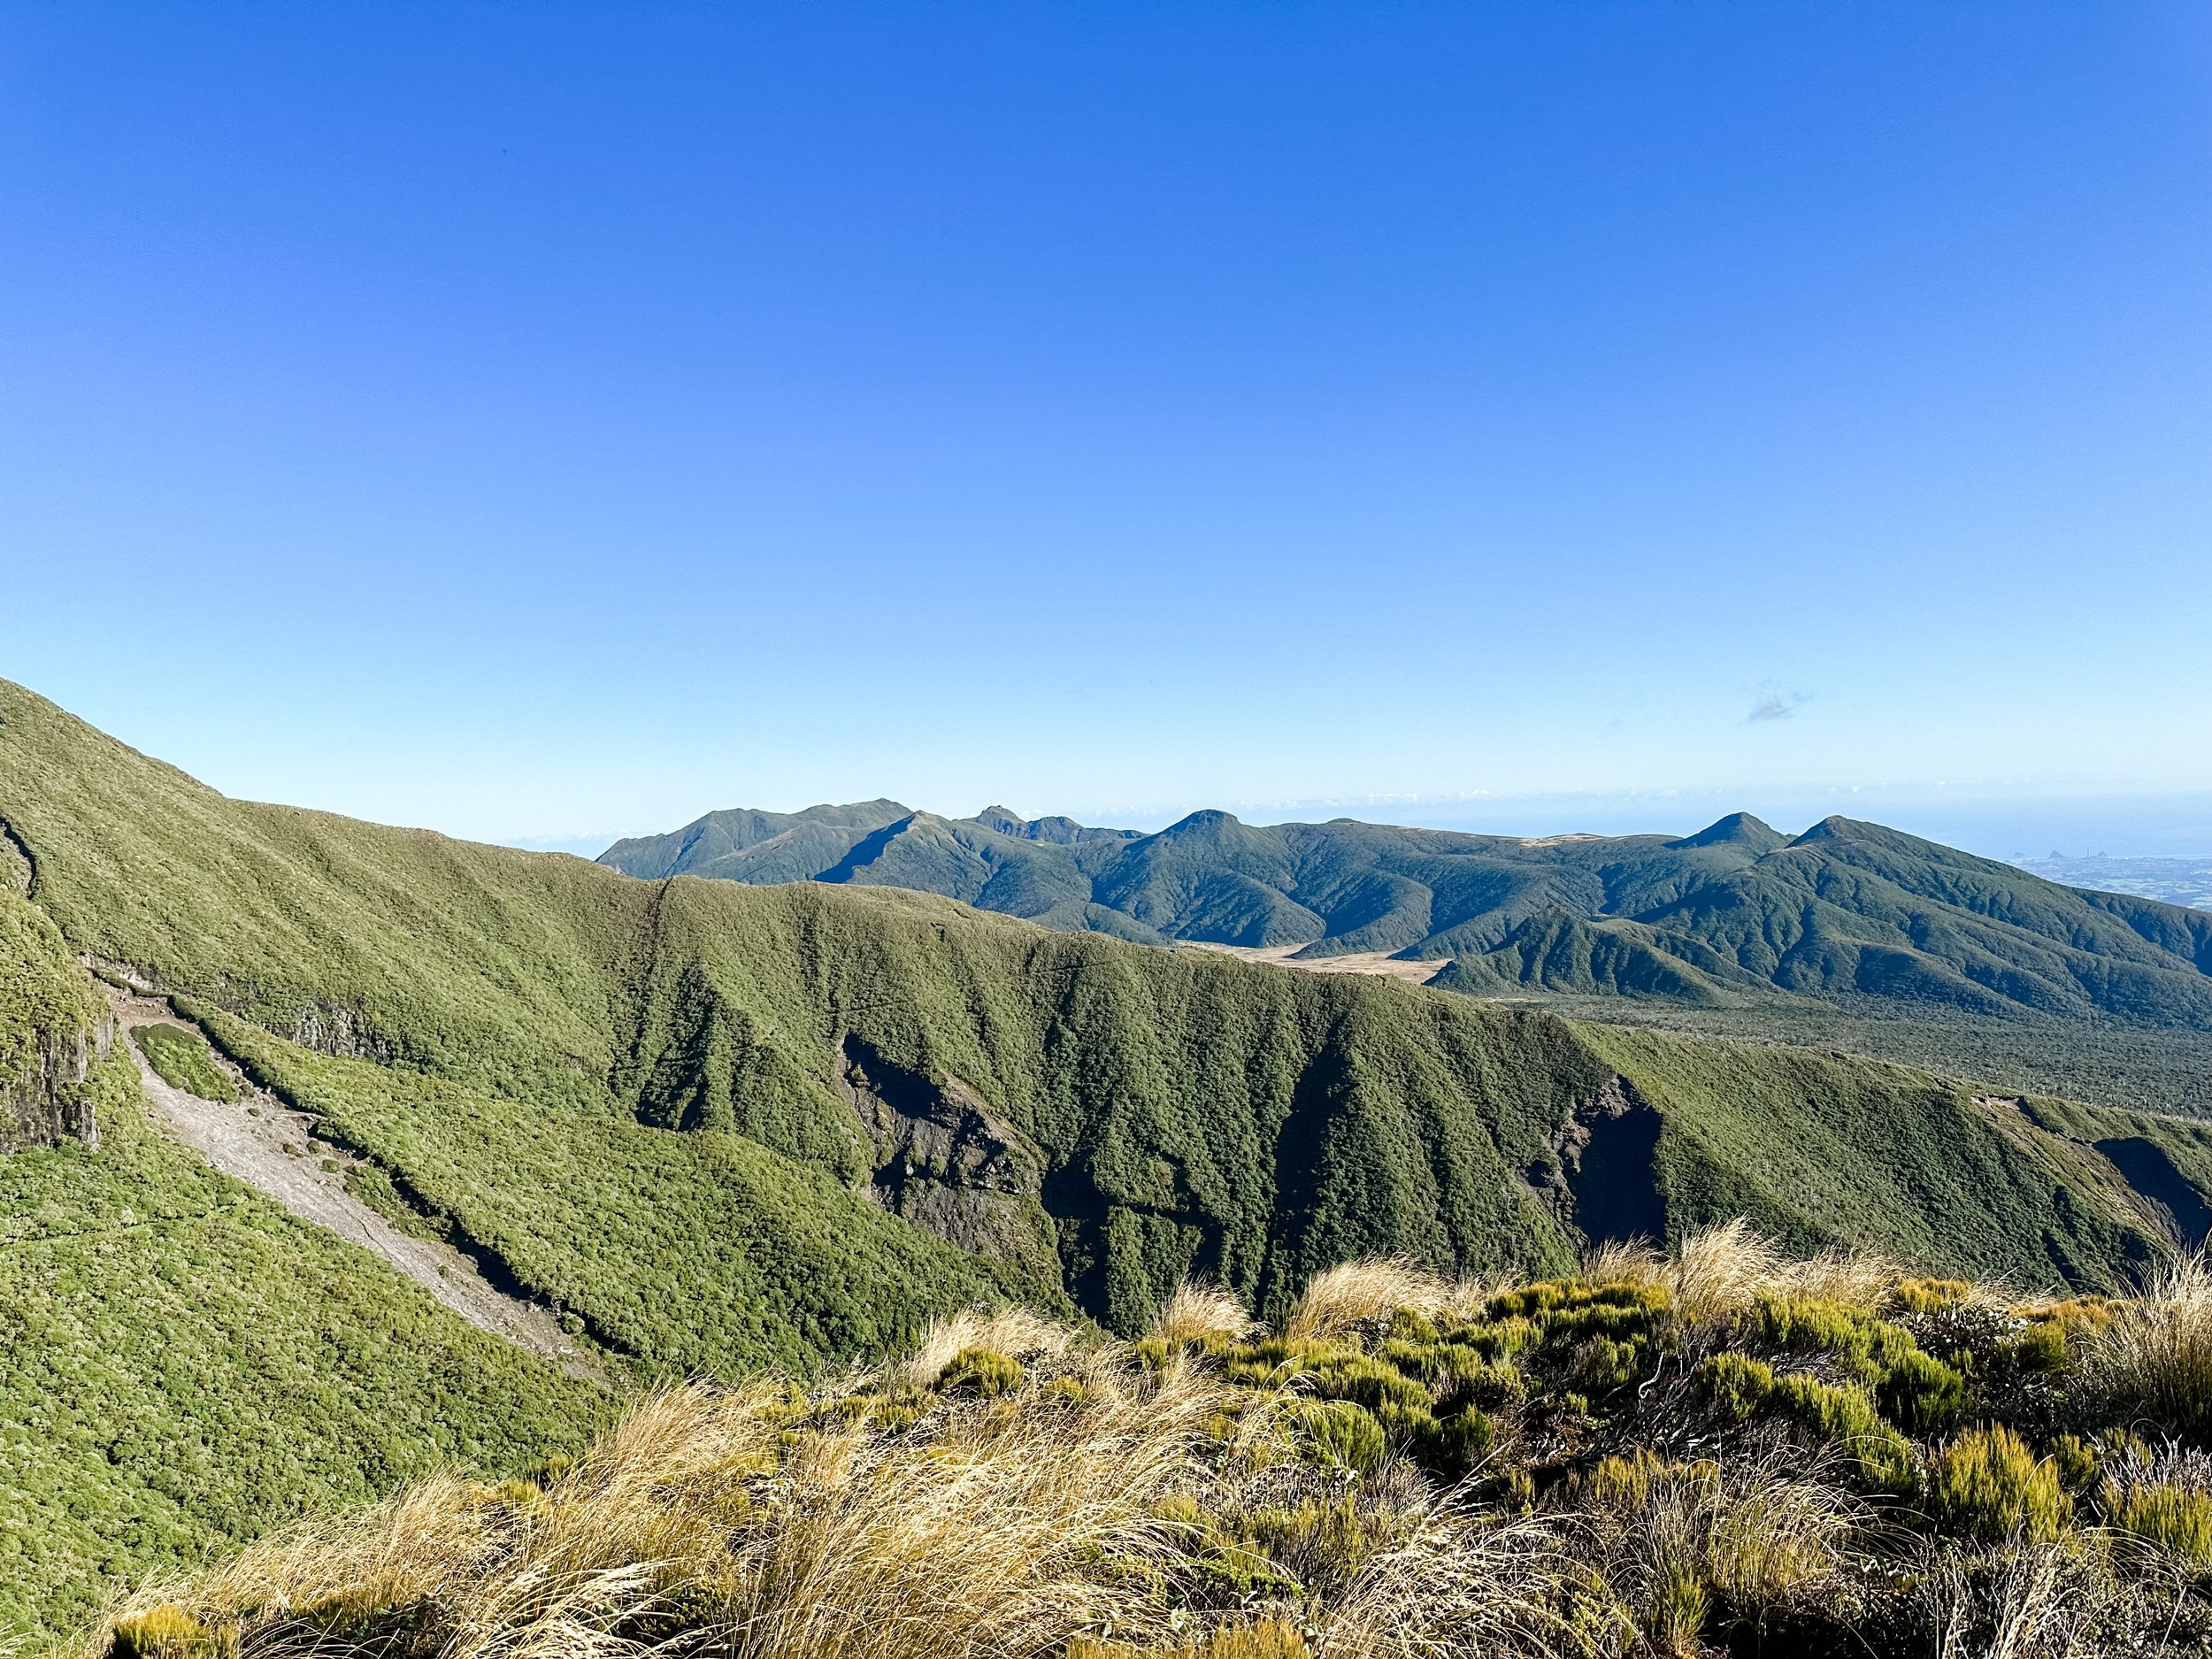
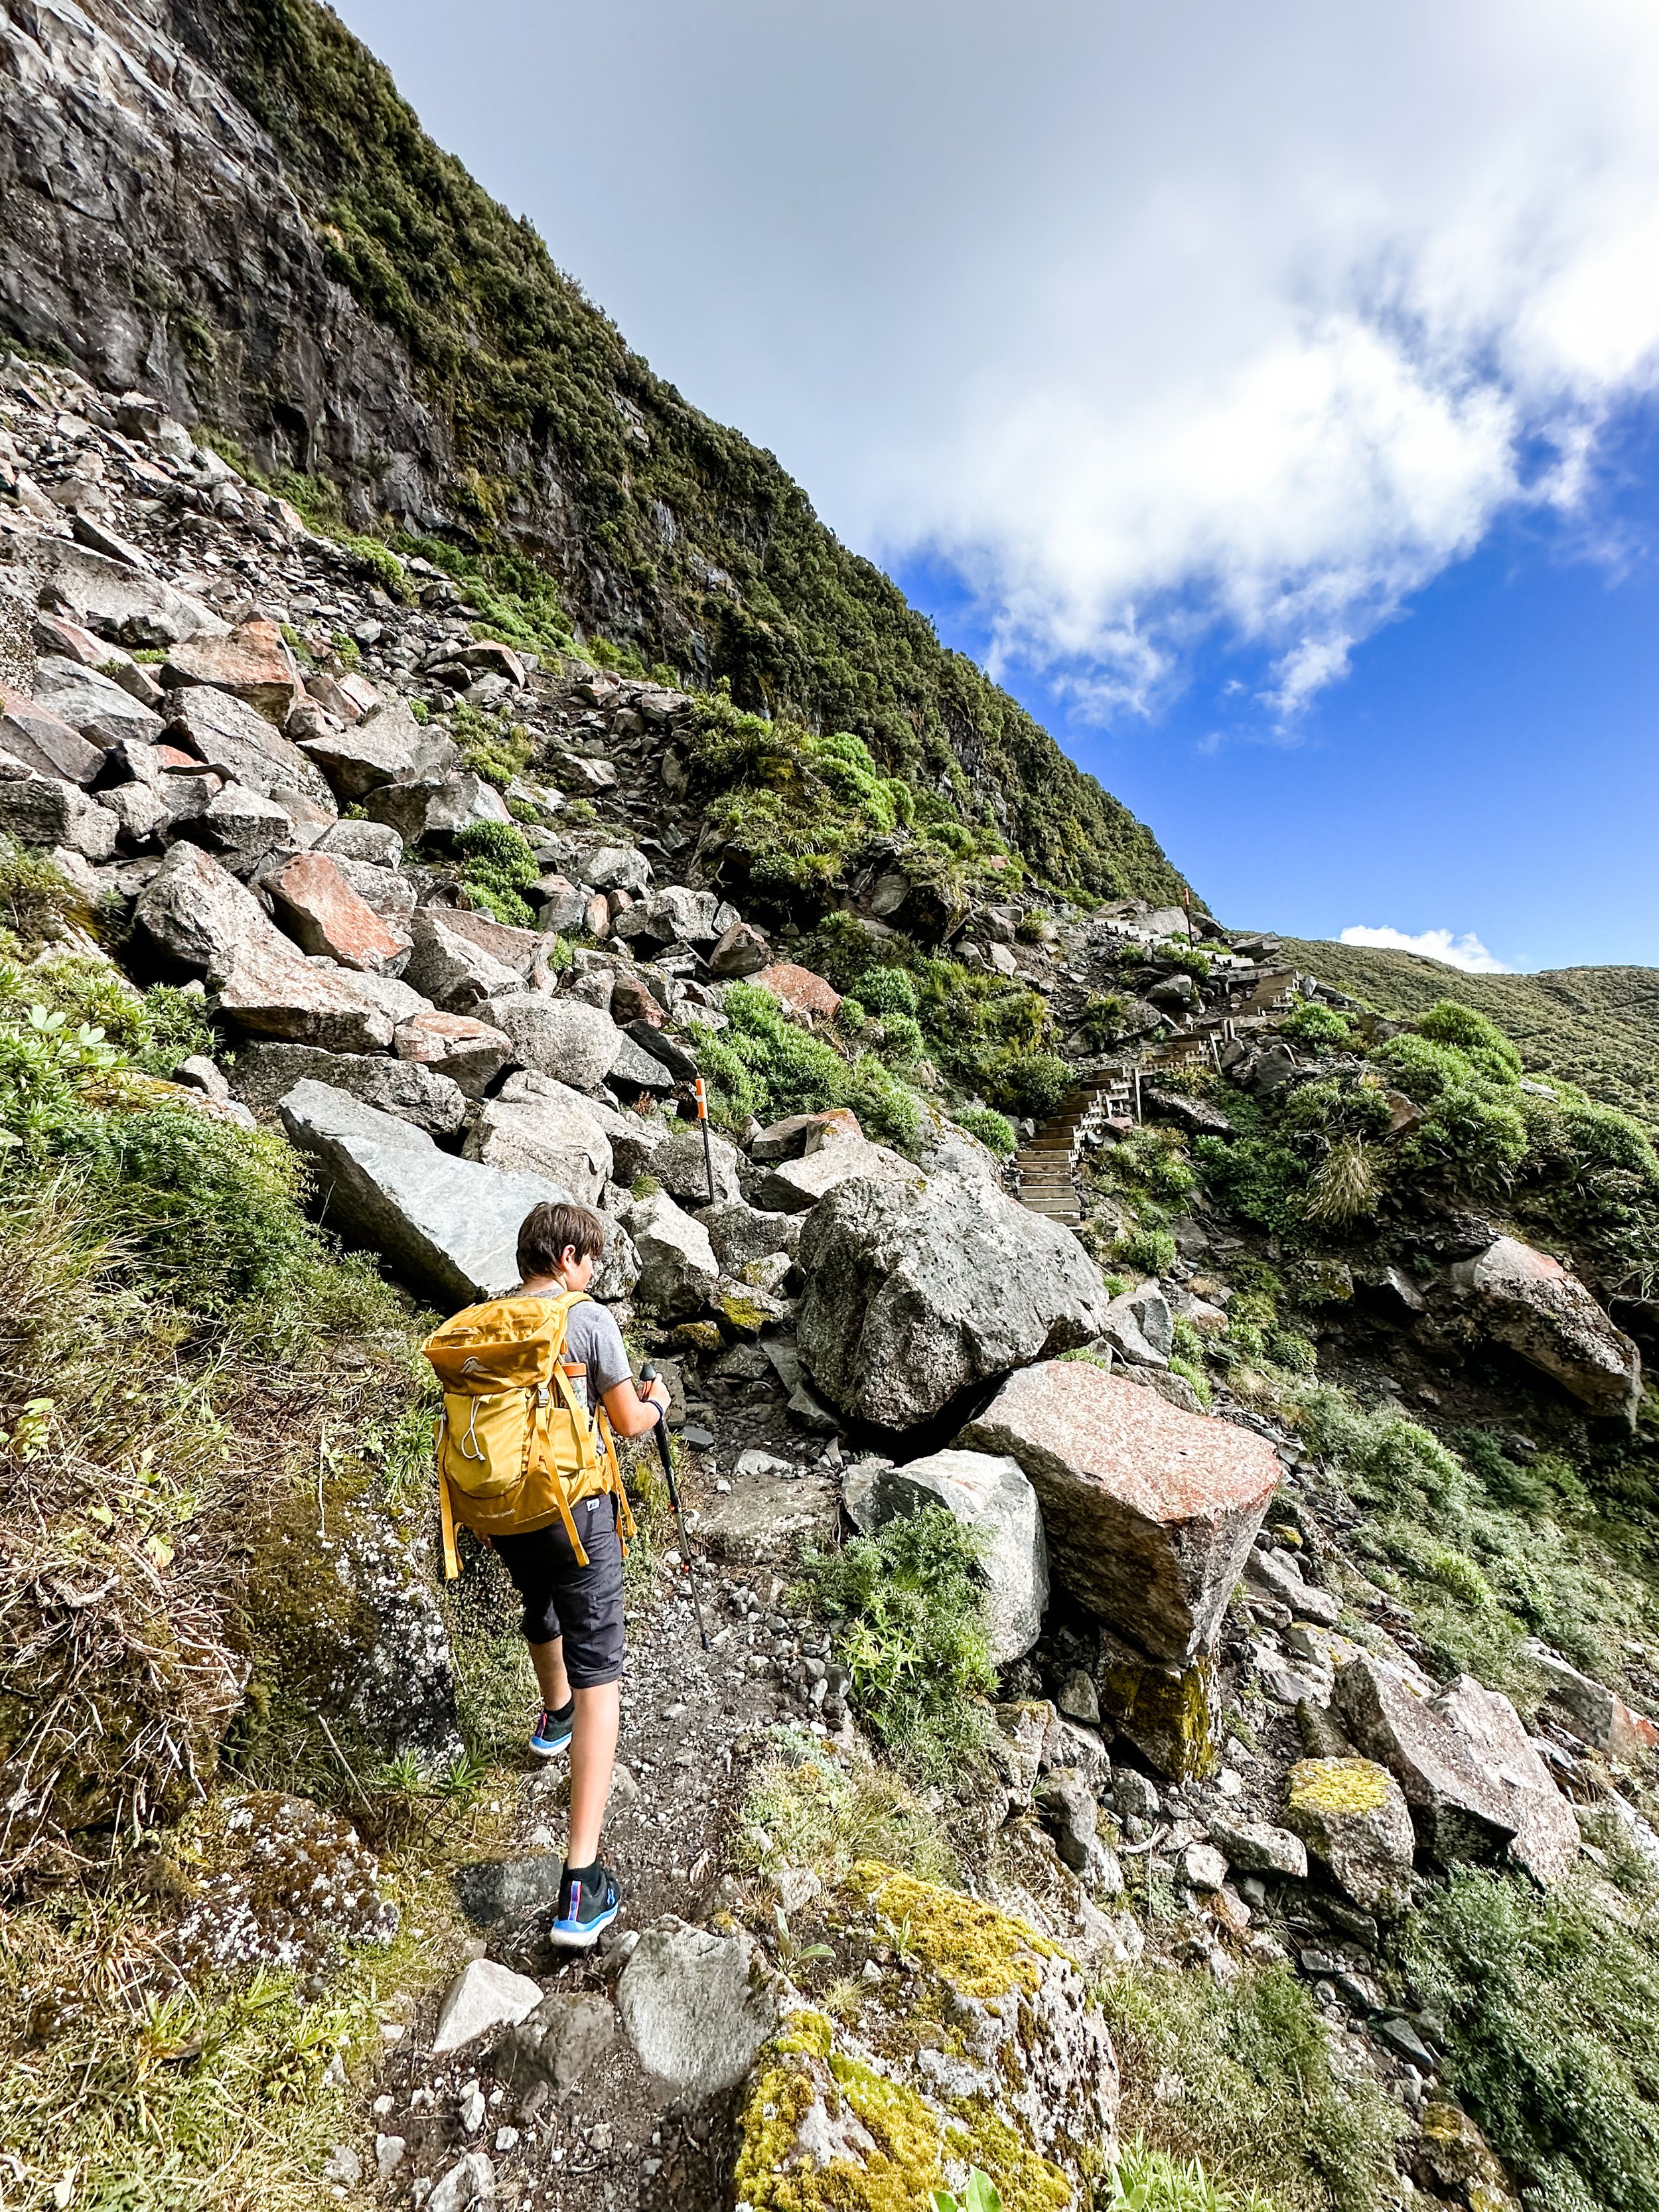
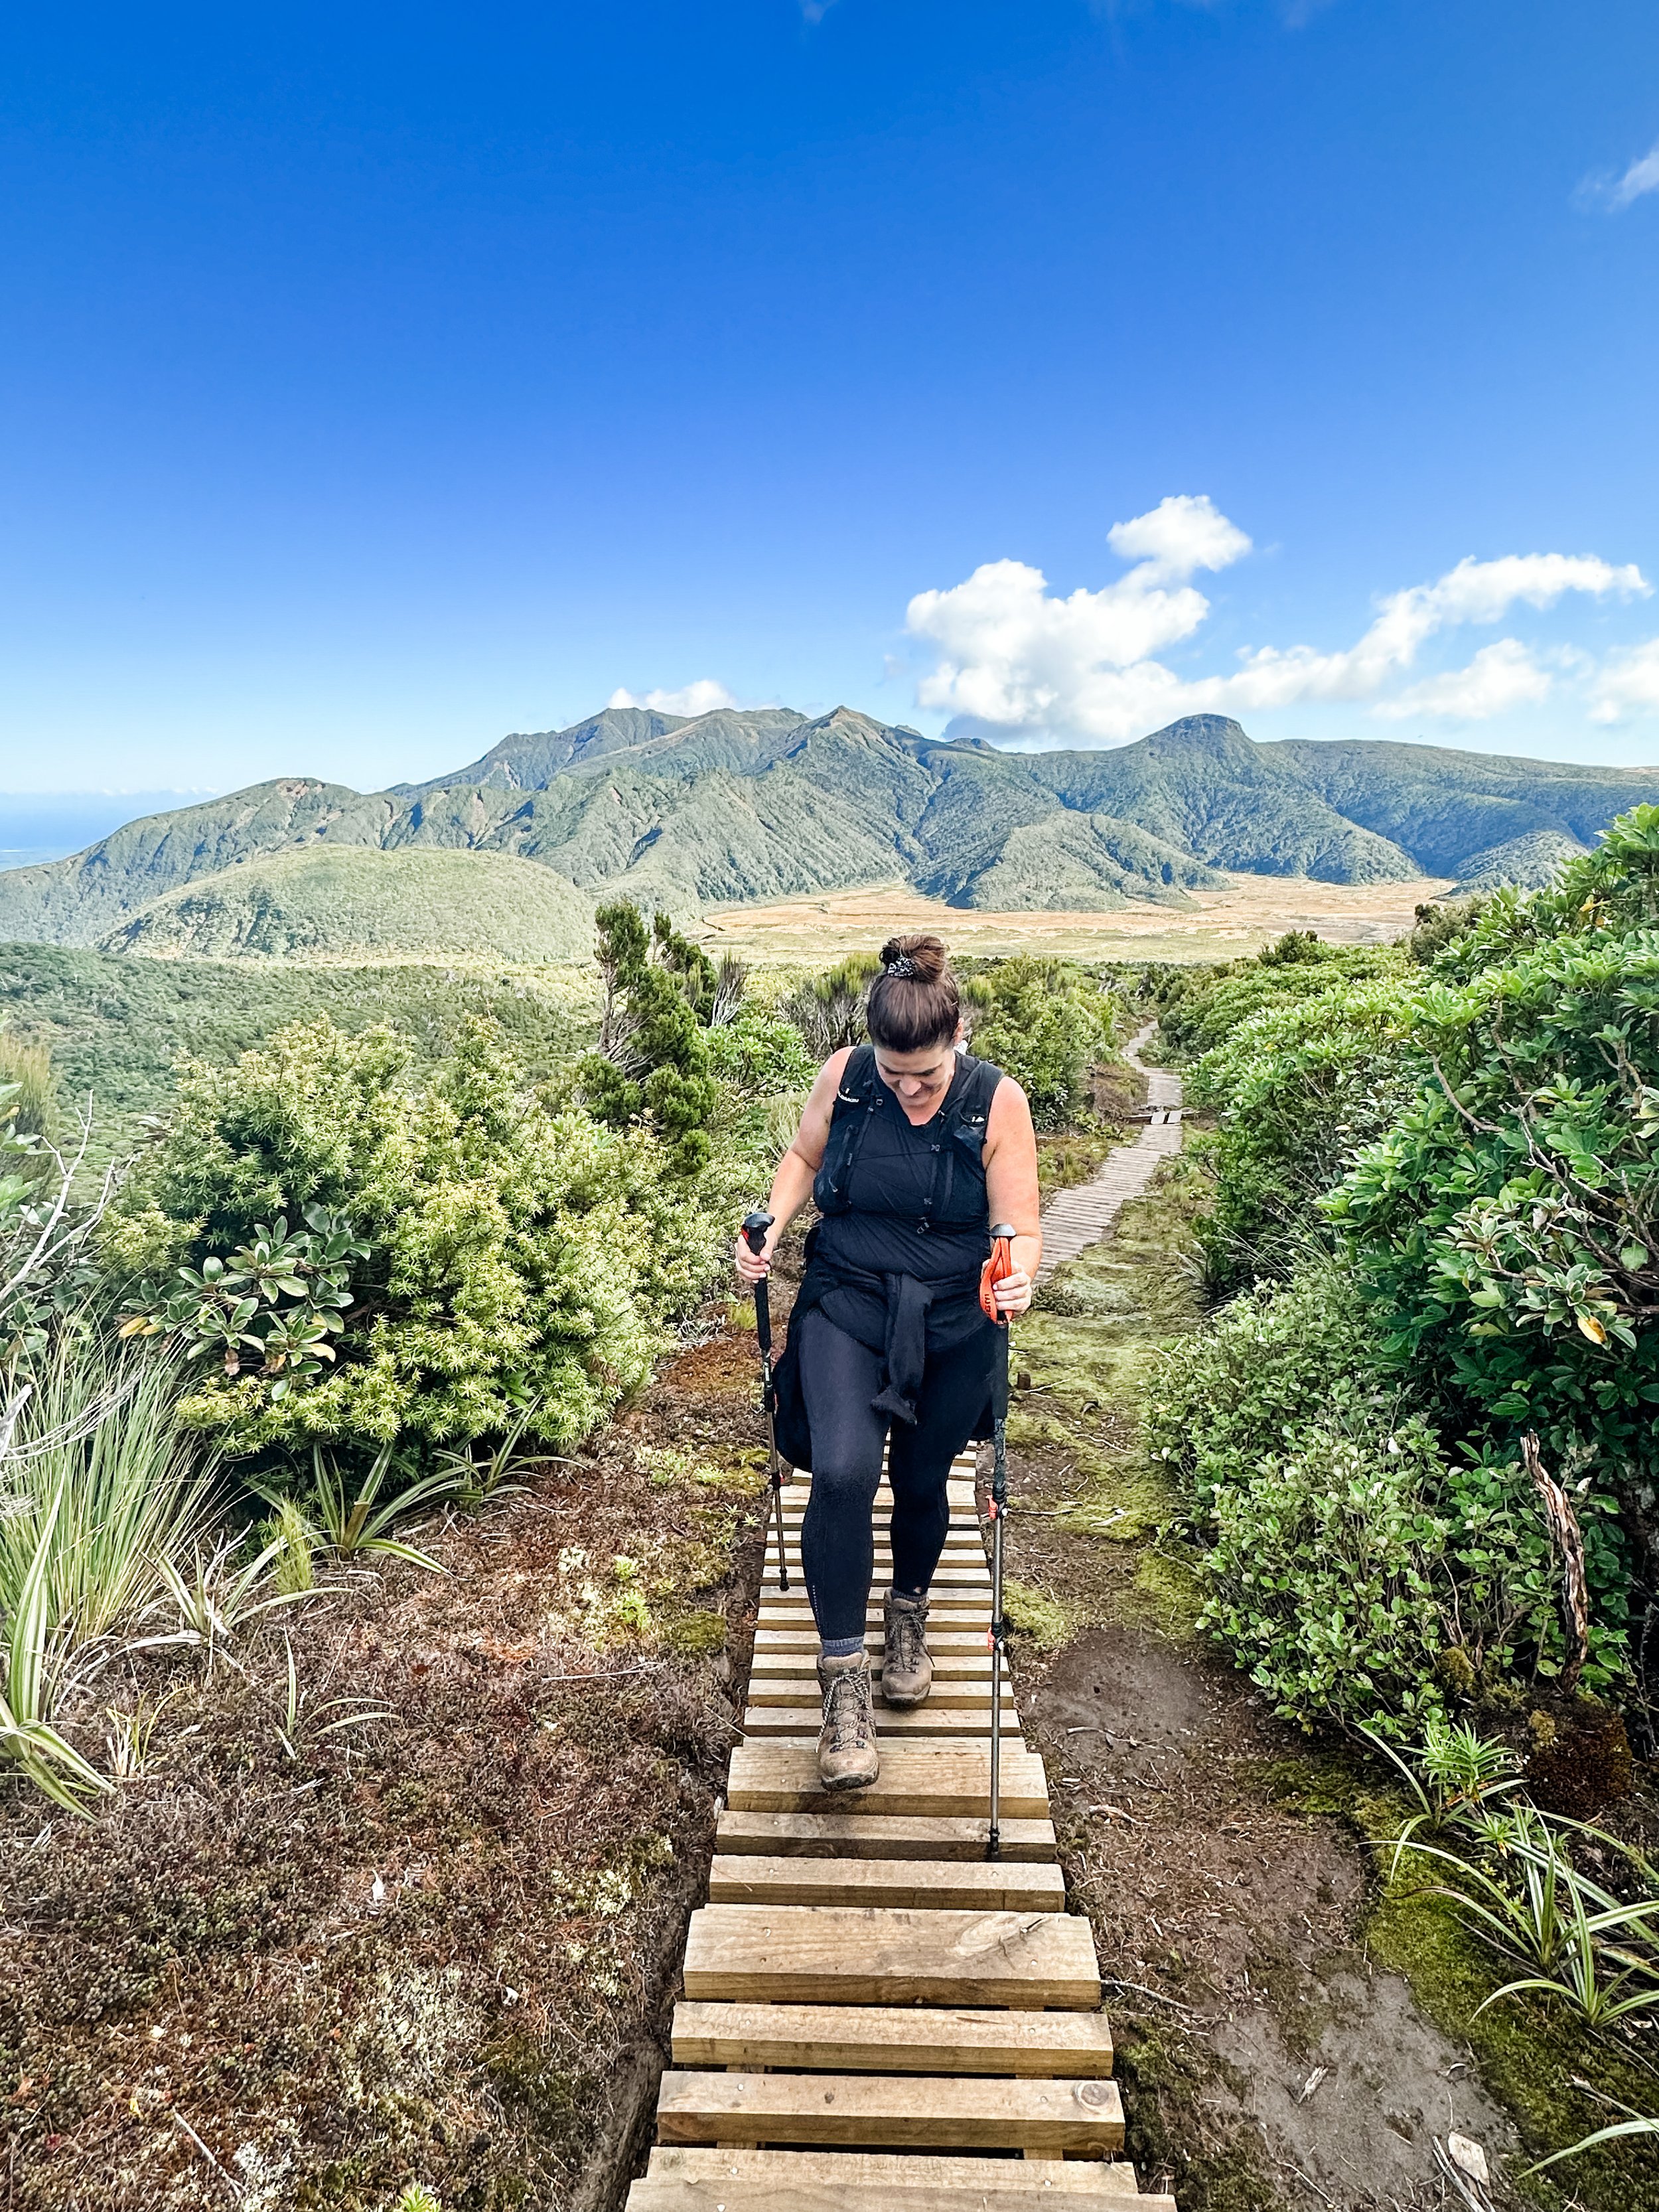
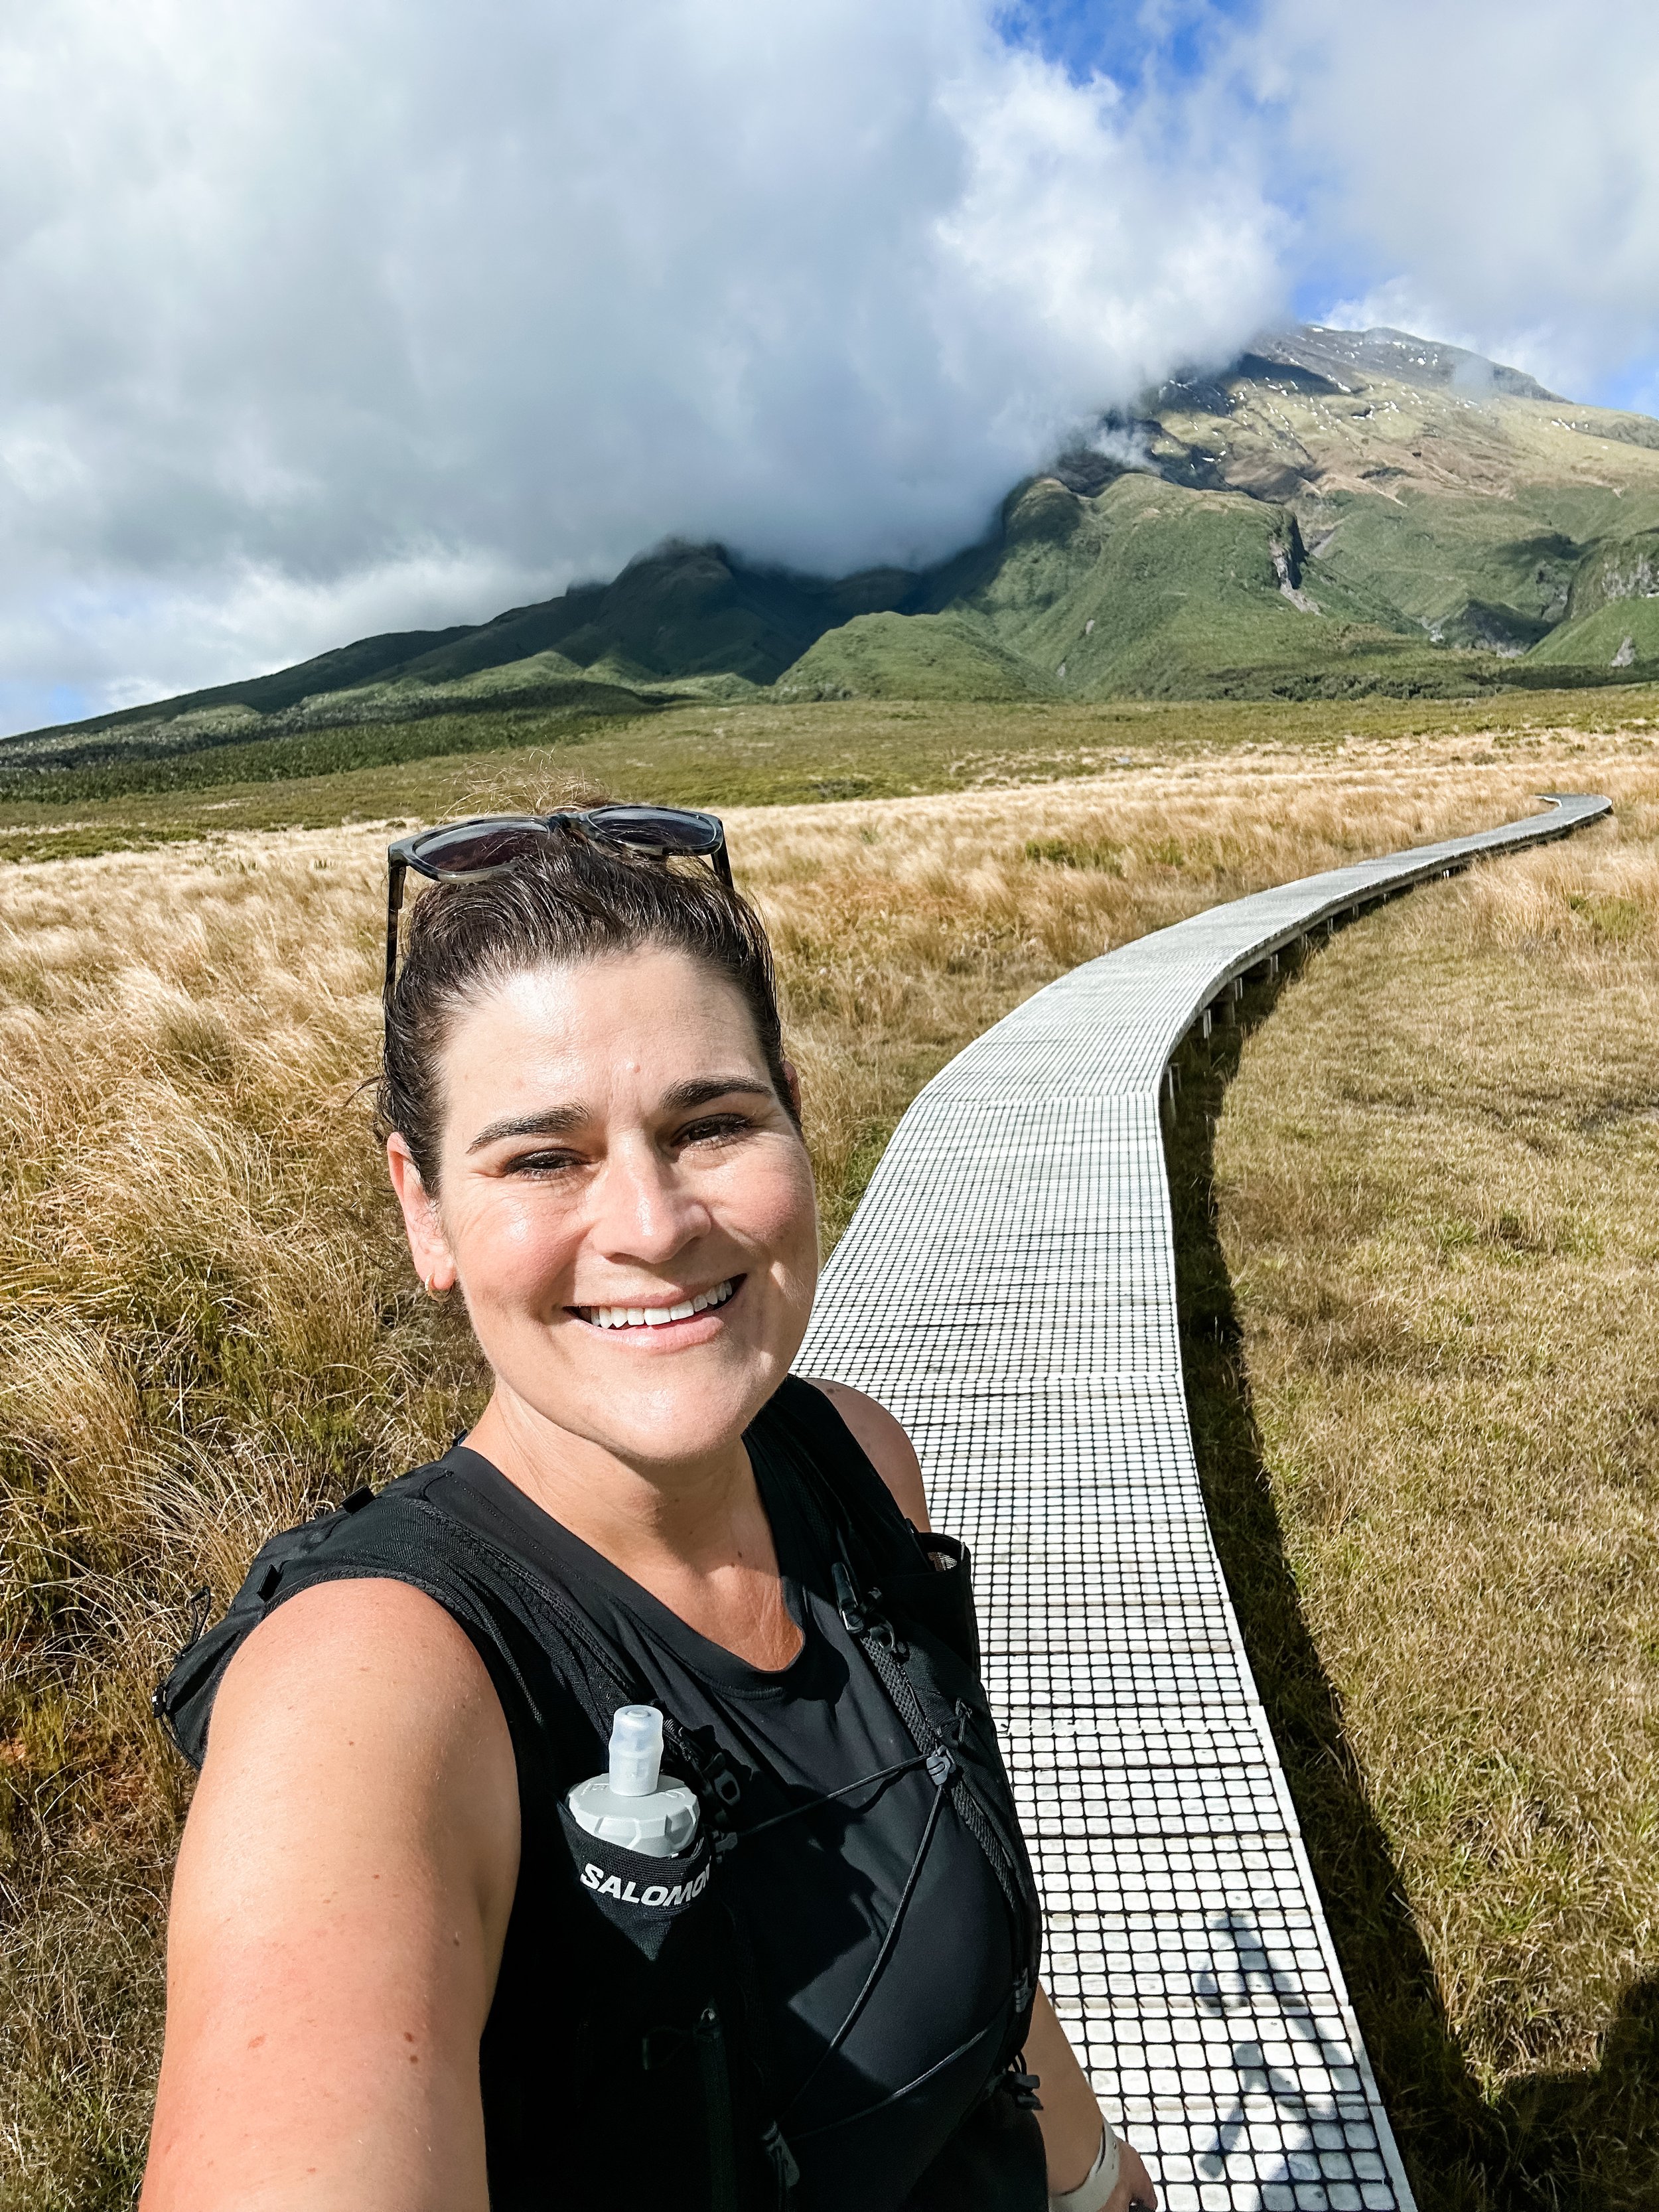
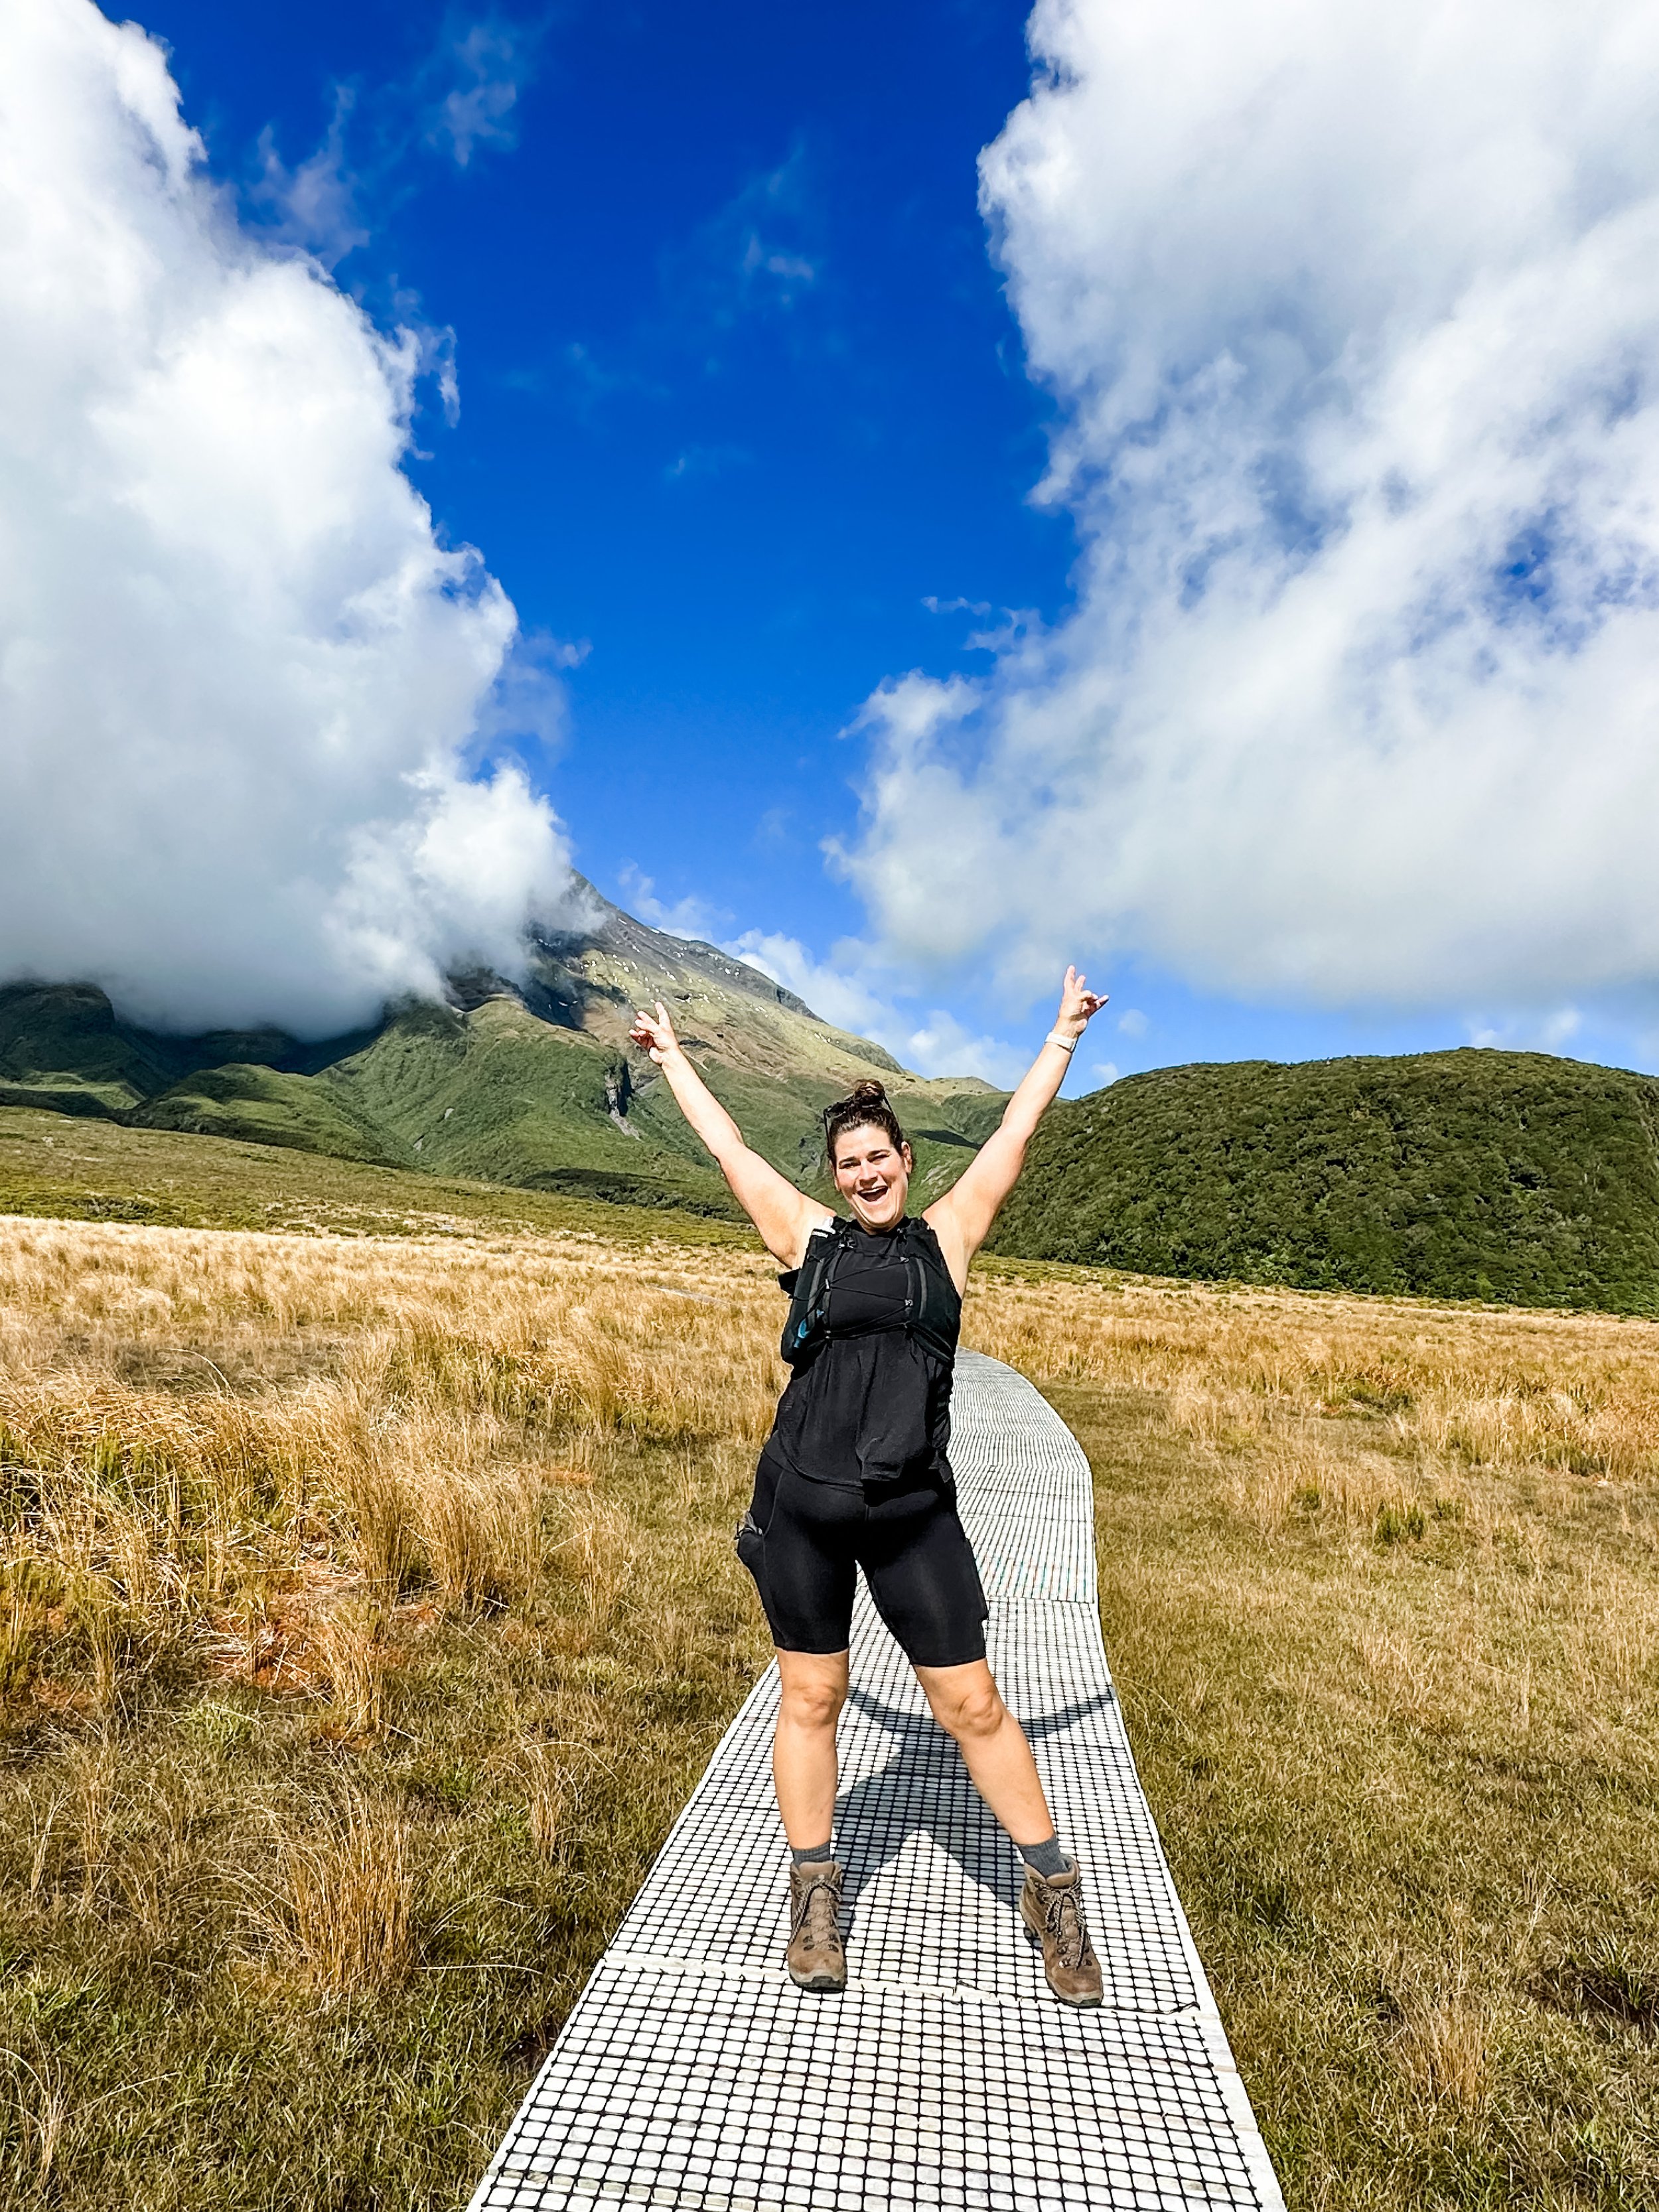
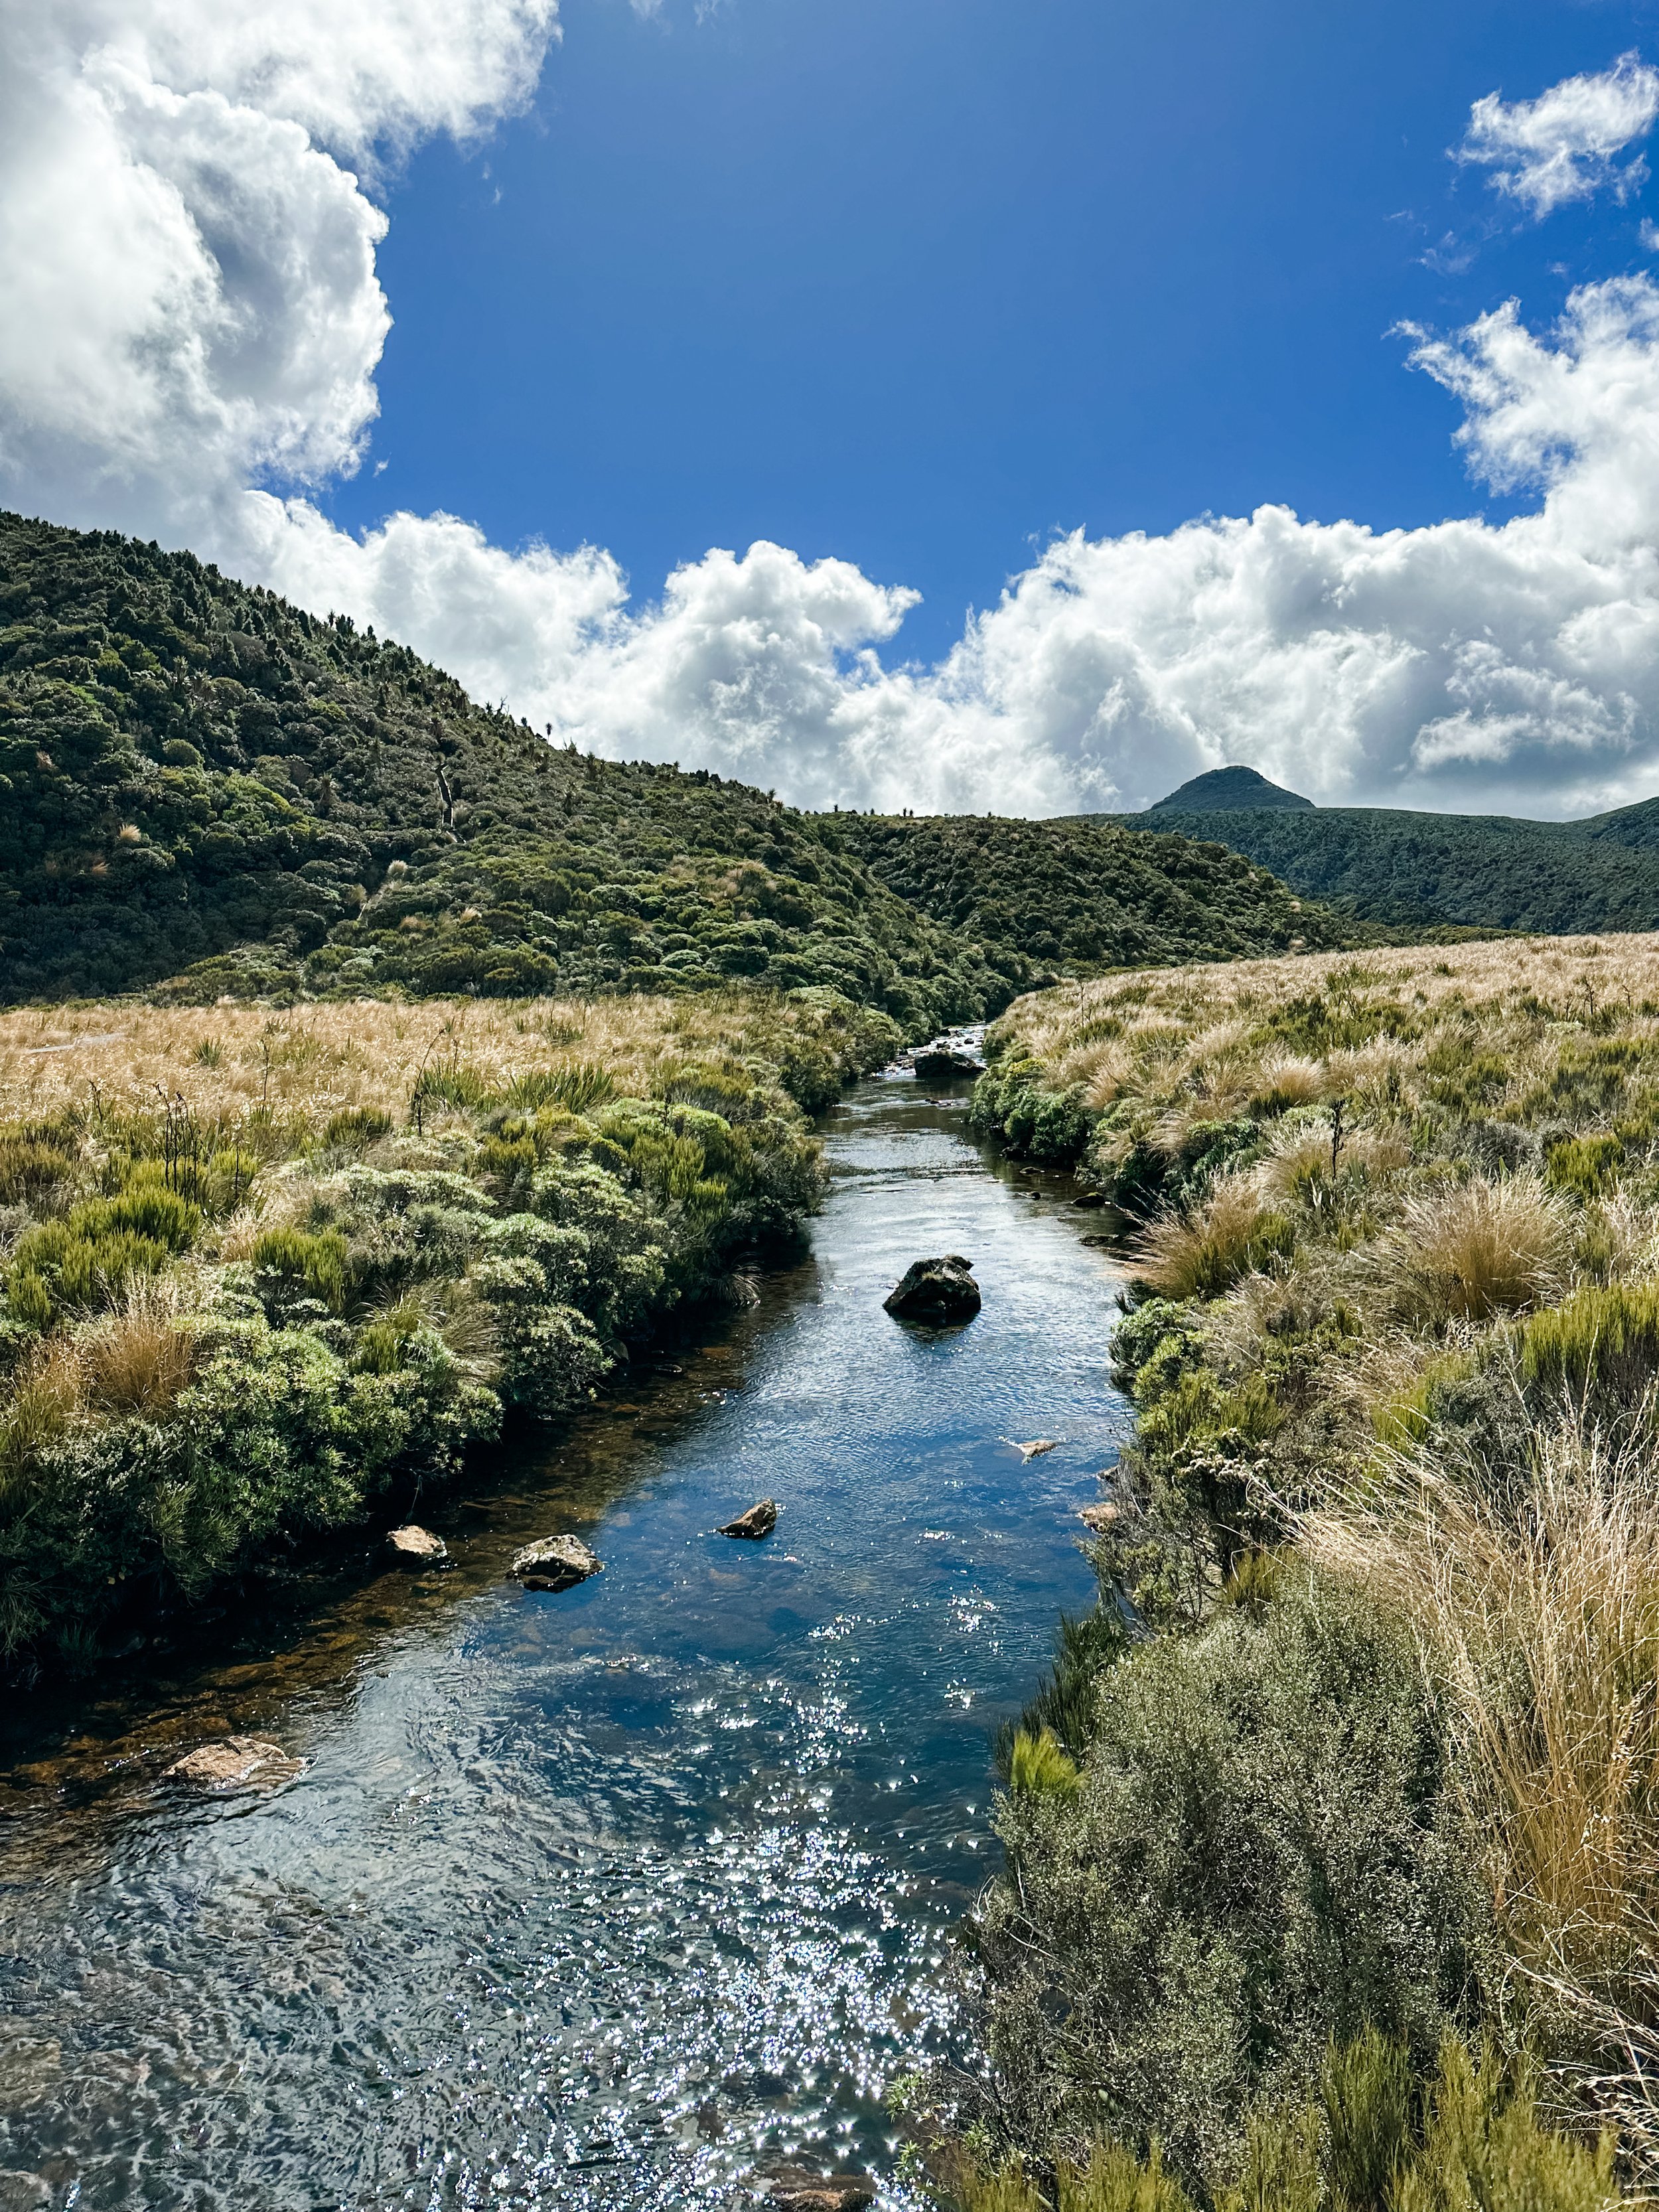
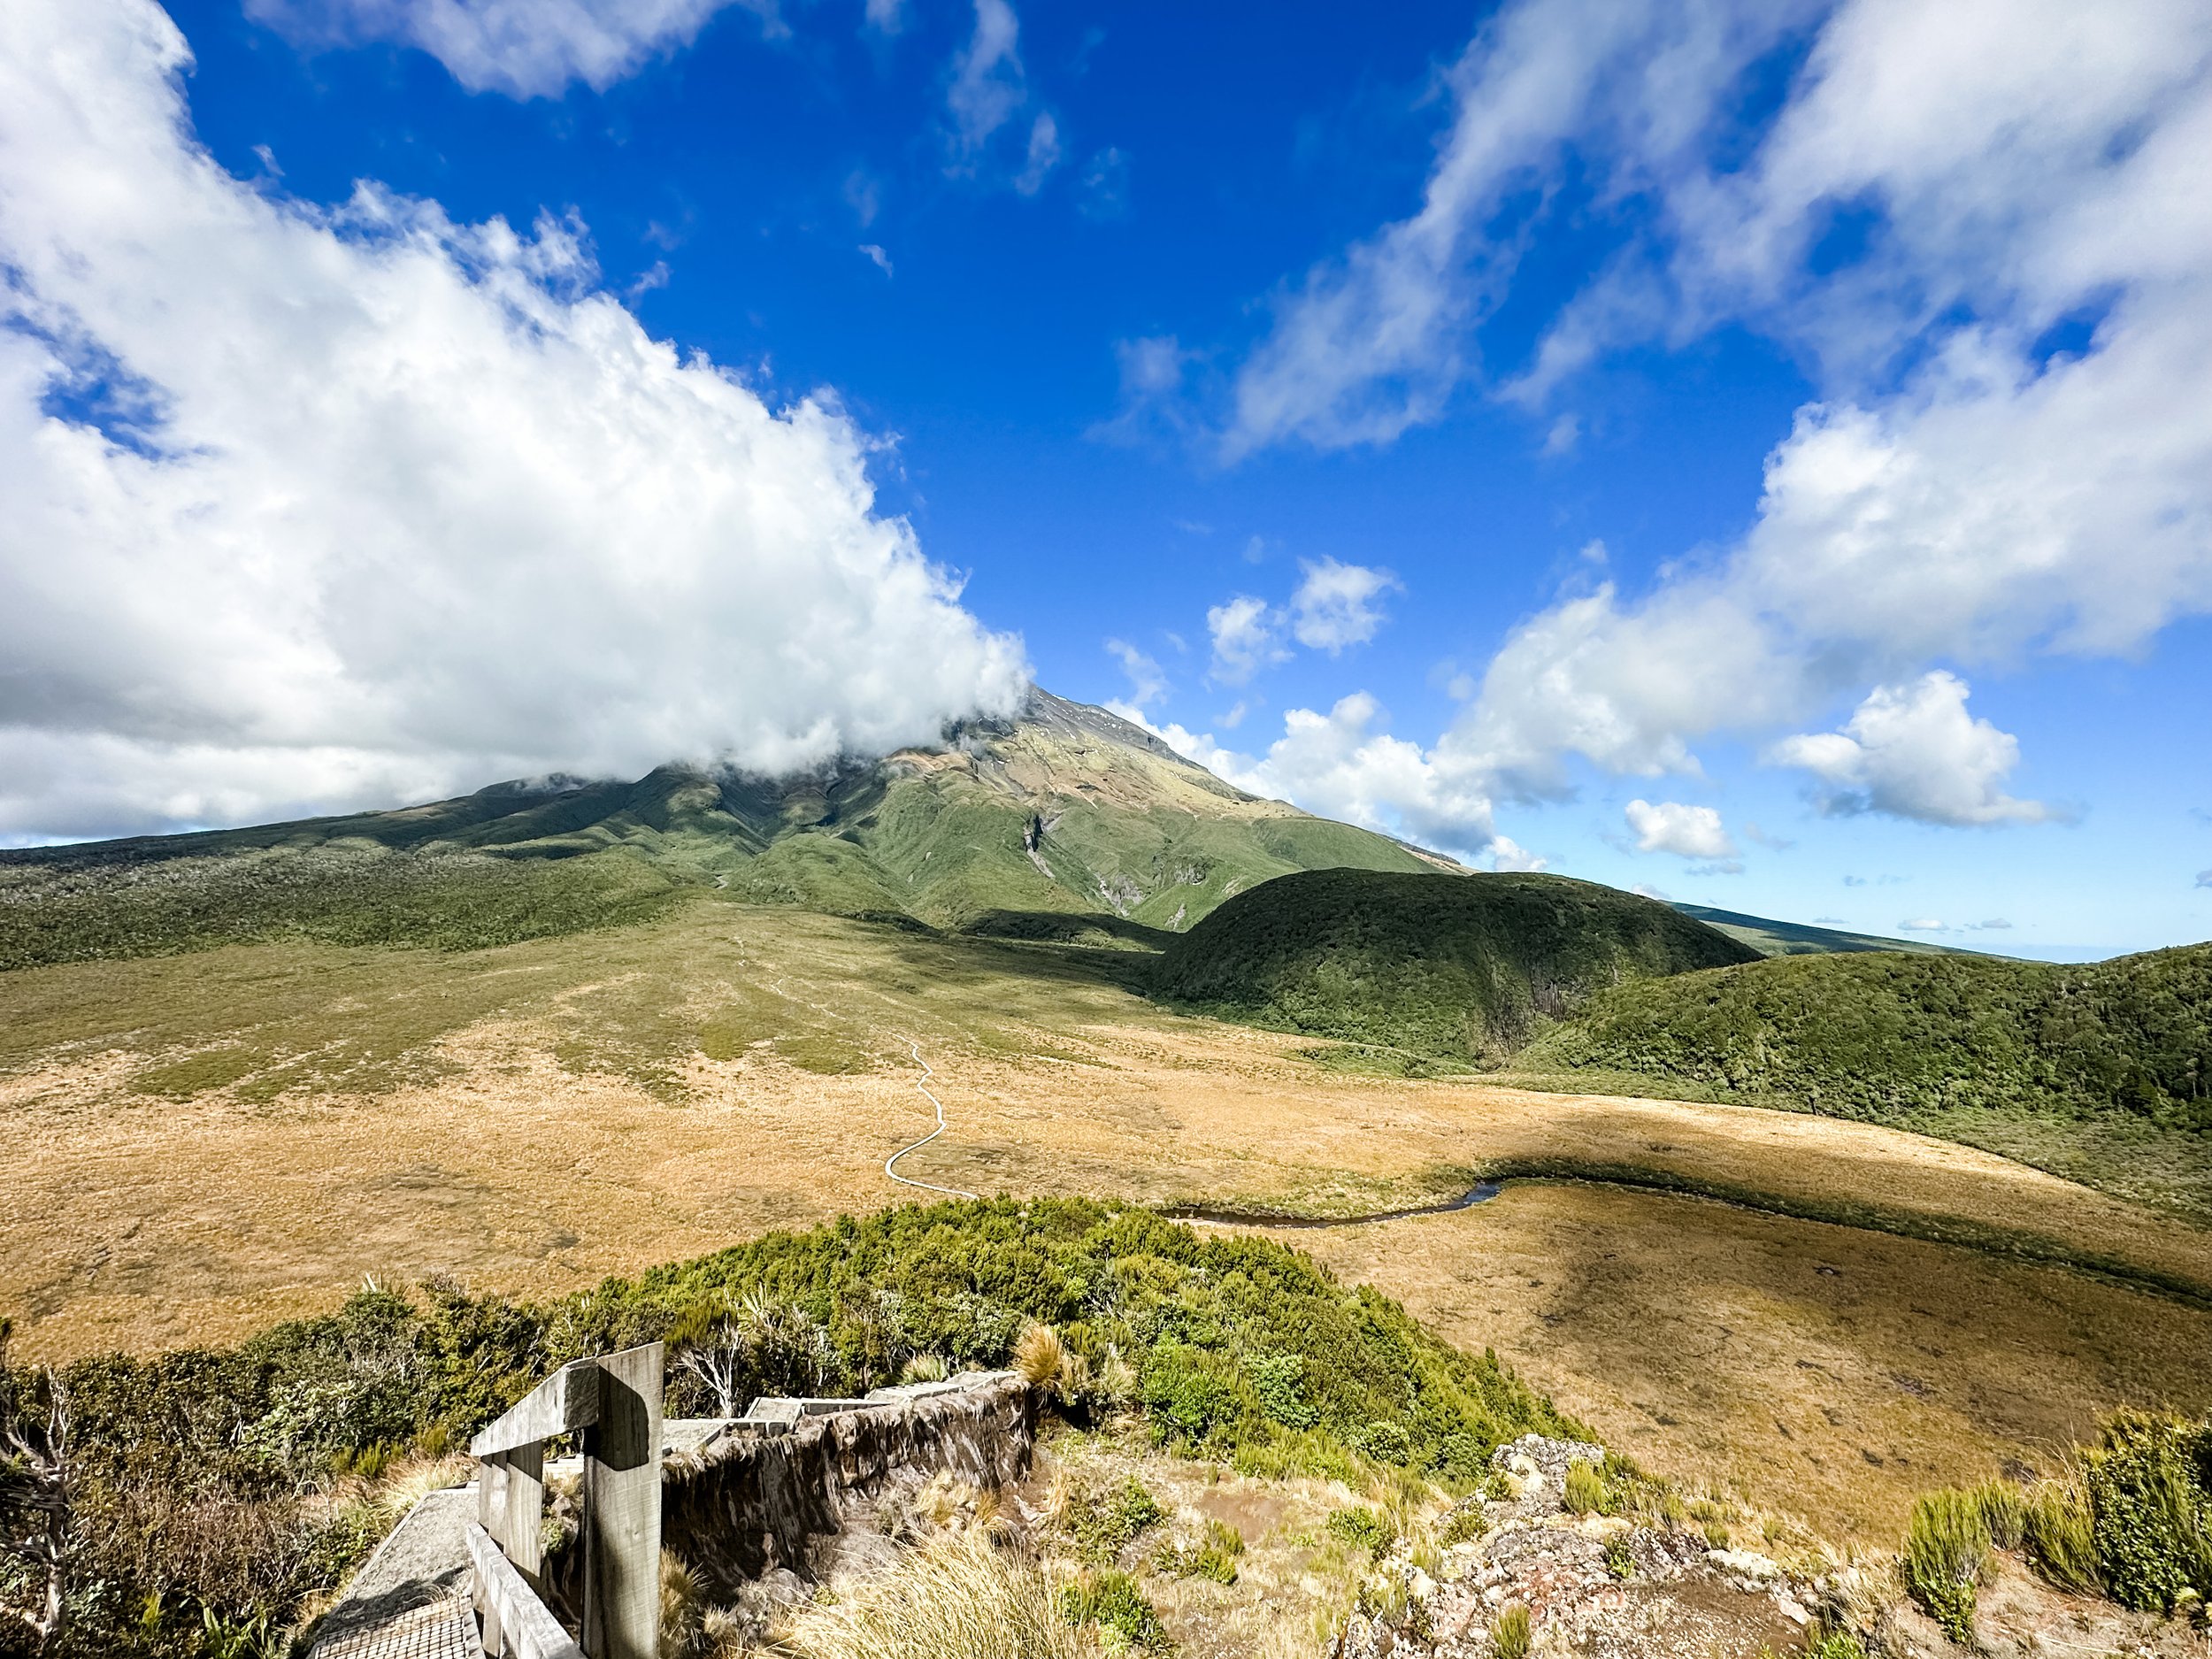
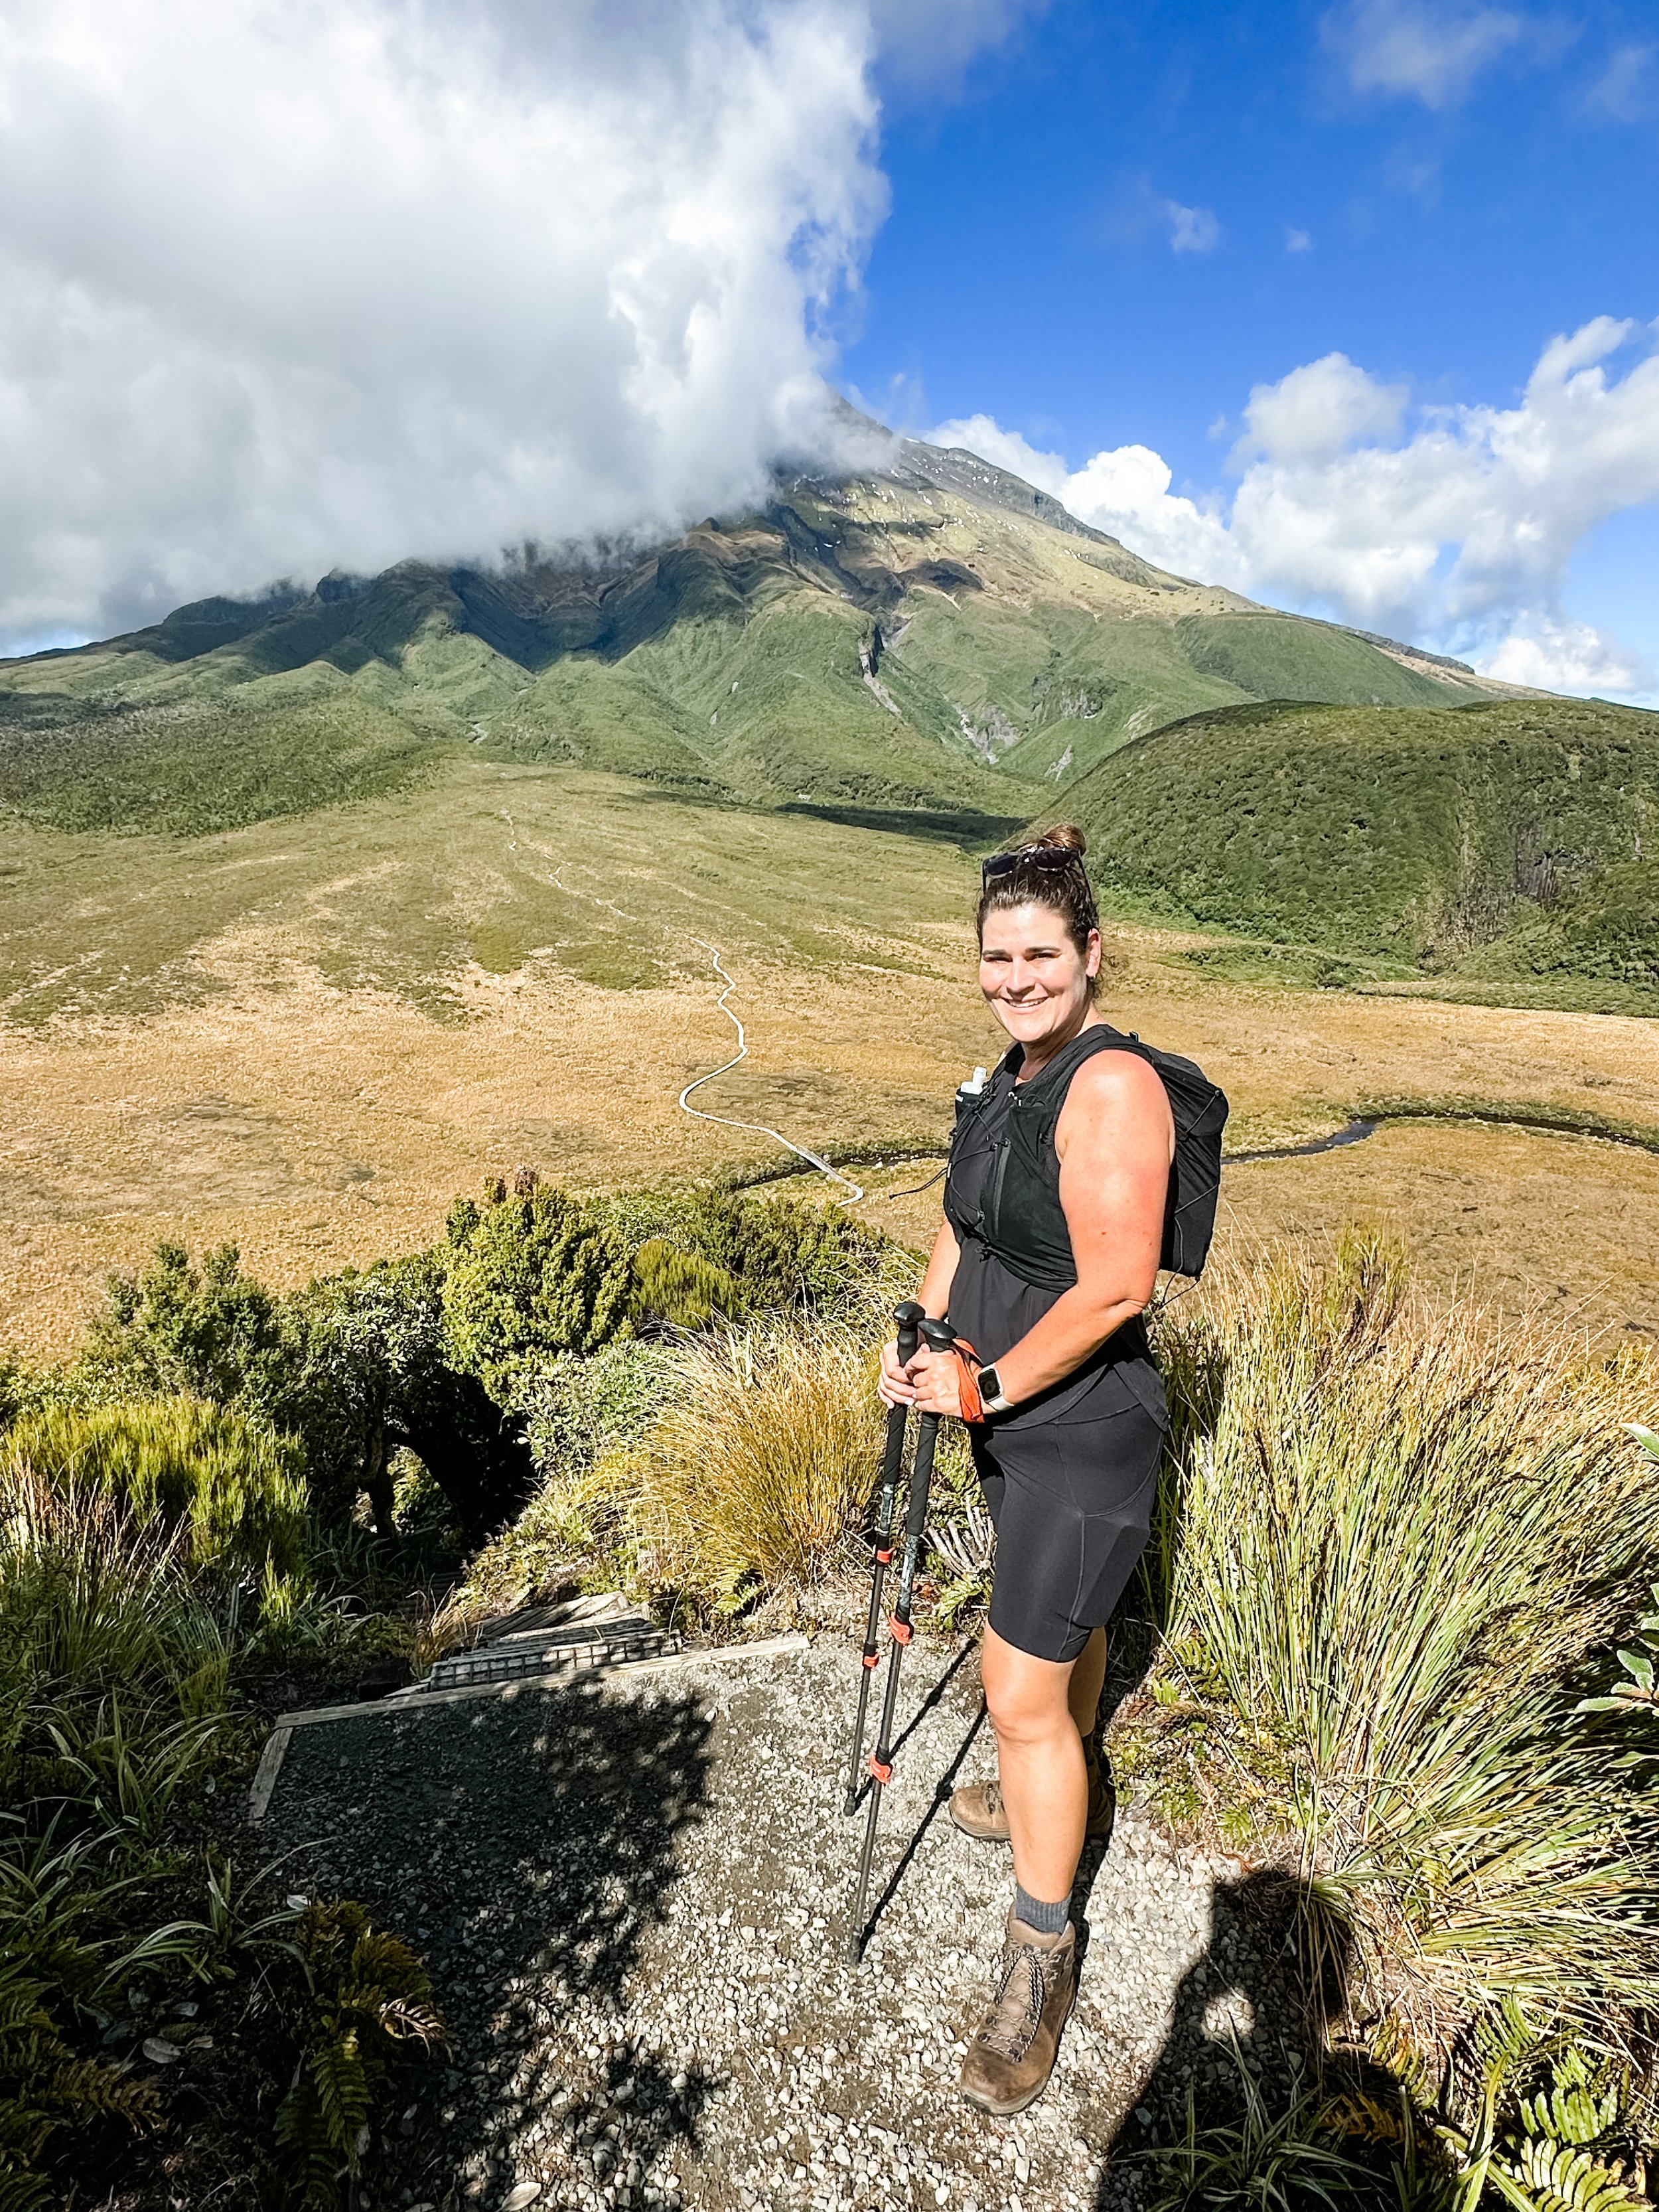
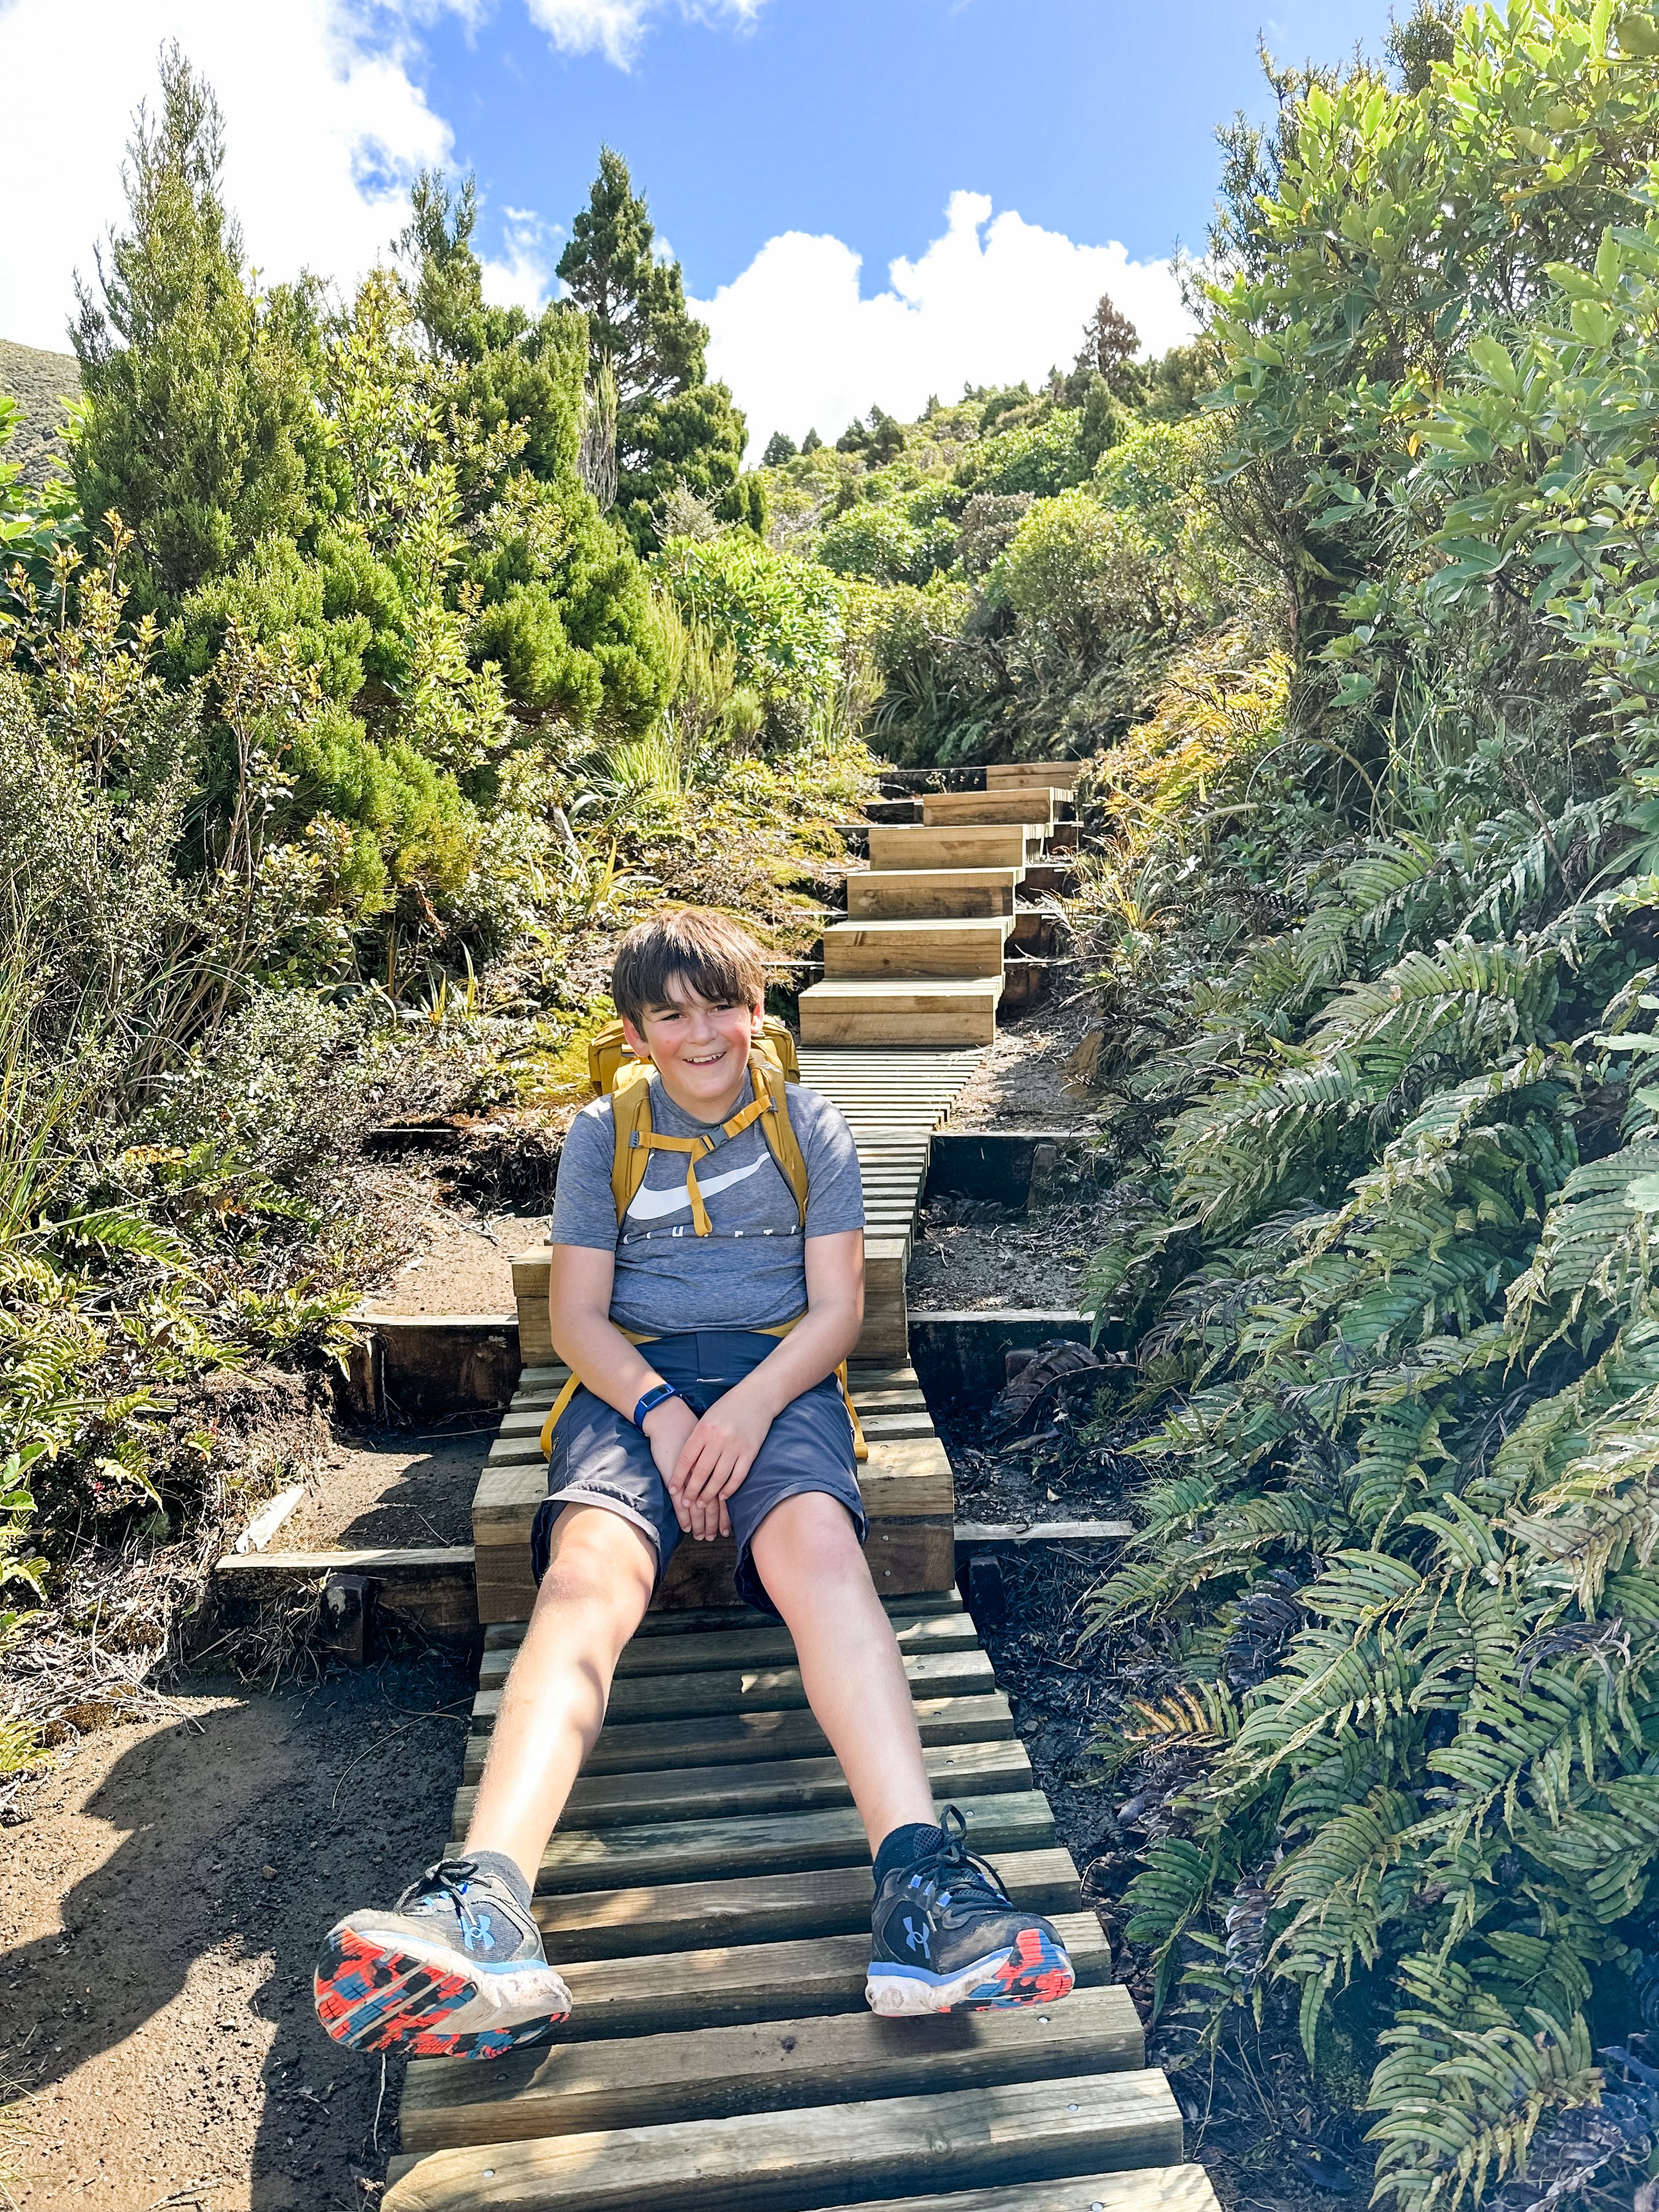
Veronica Loop Track / Mt Taranaki

3kms / 1.5-2hrs / Moderate
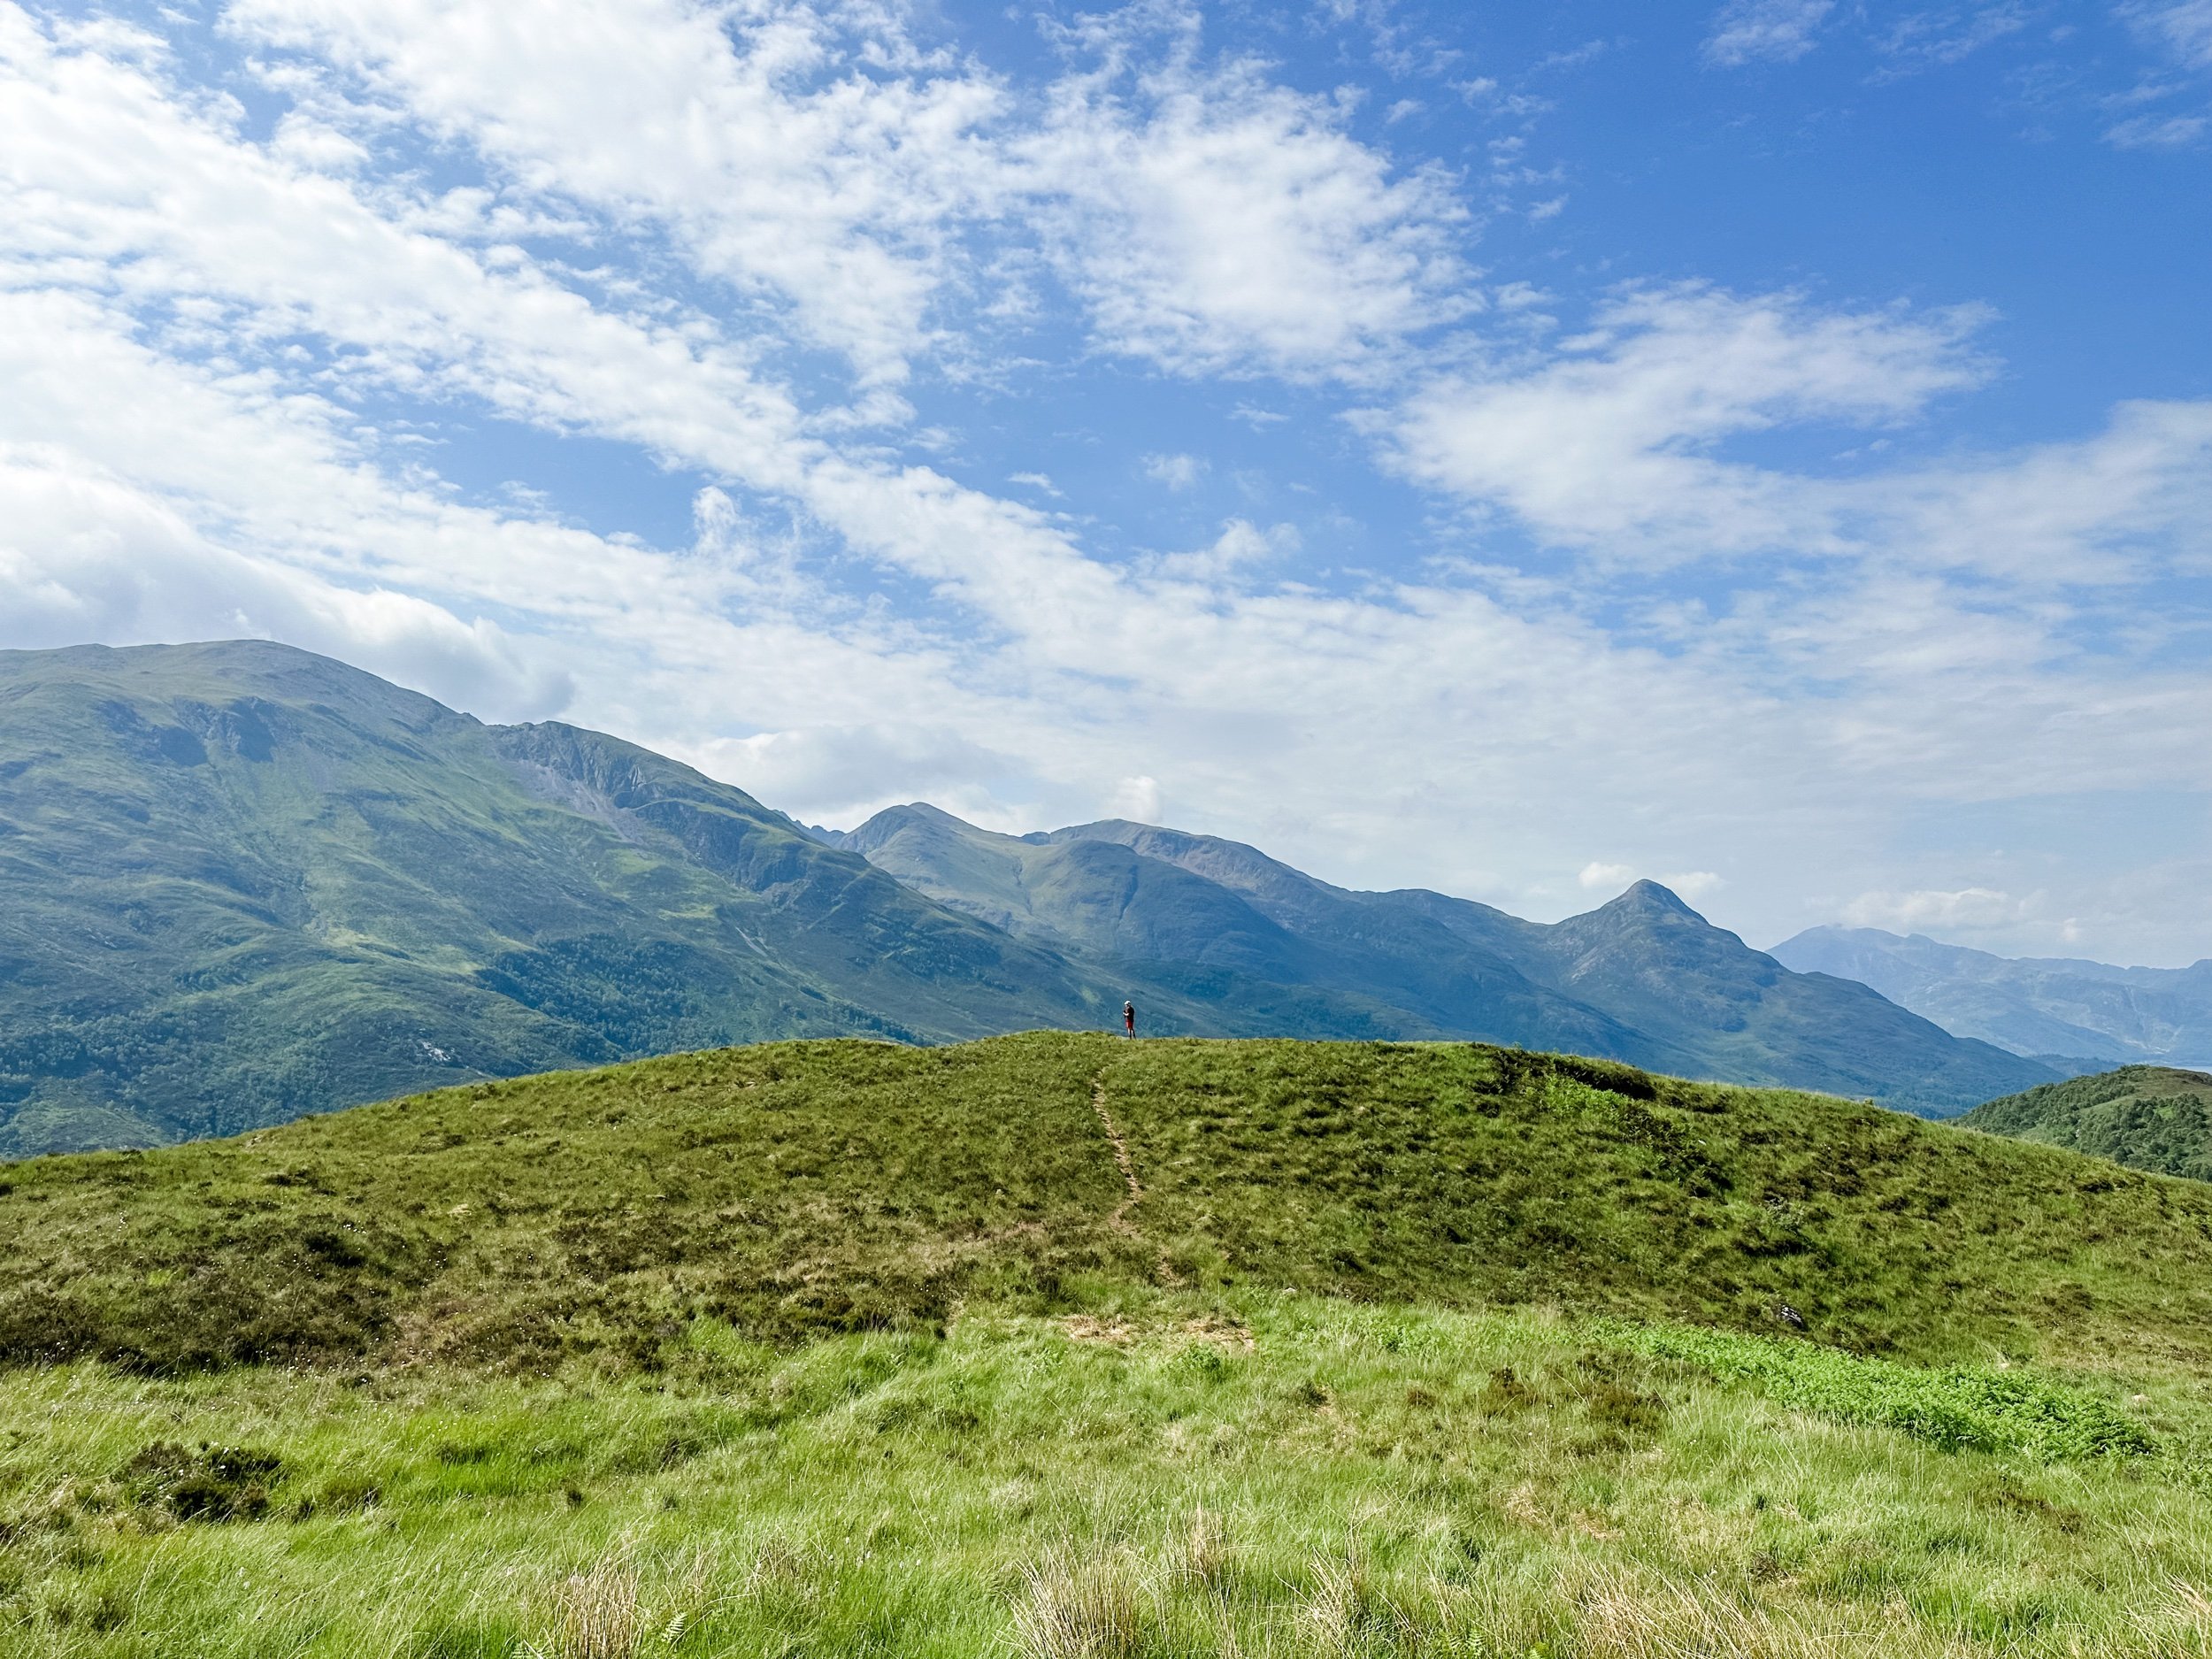
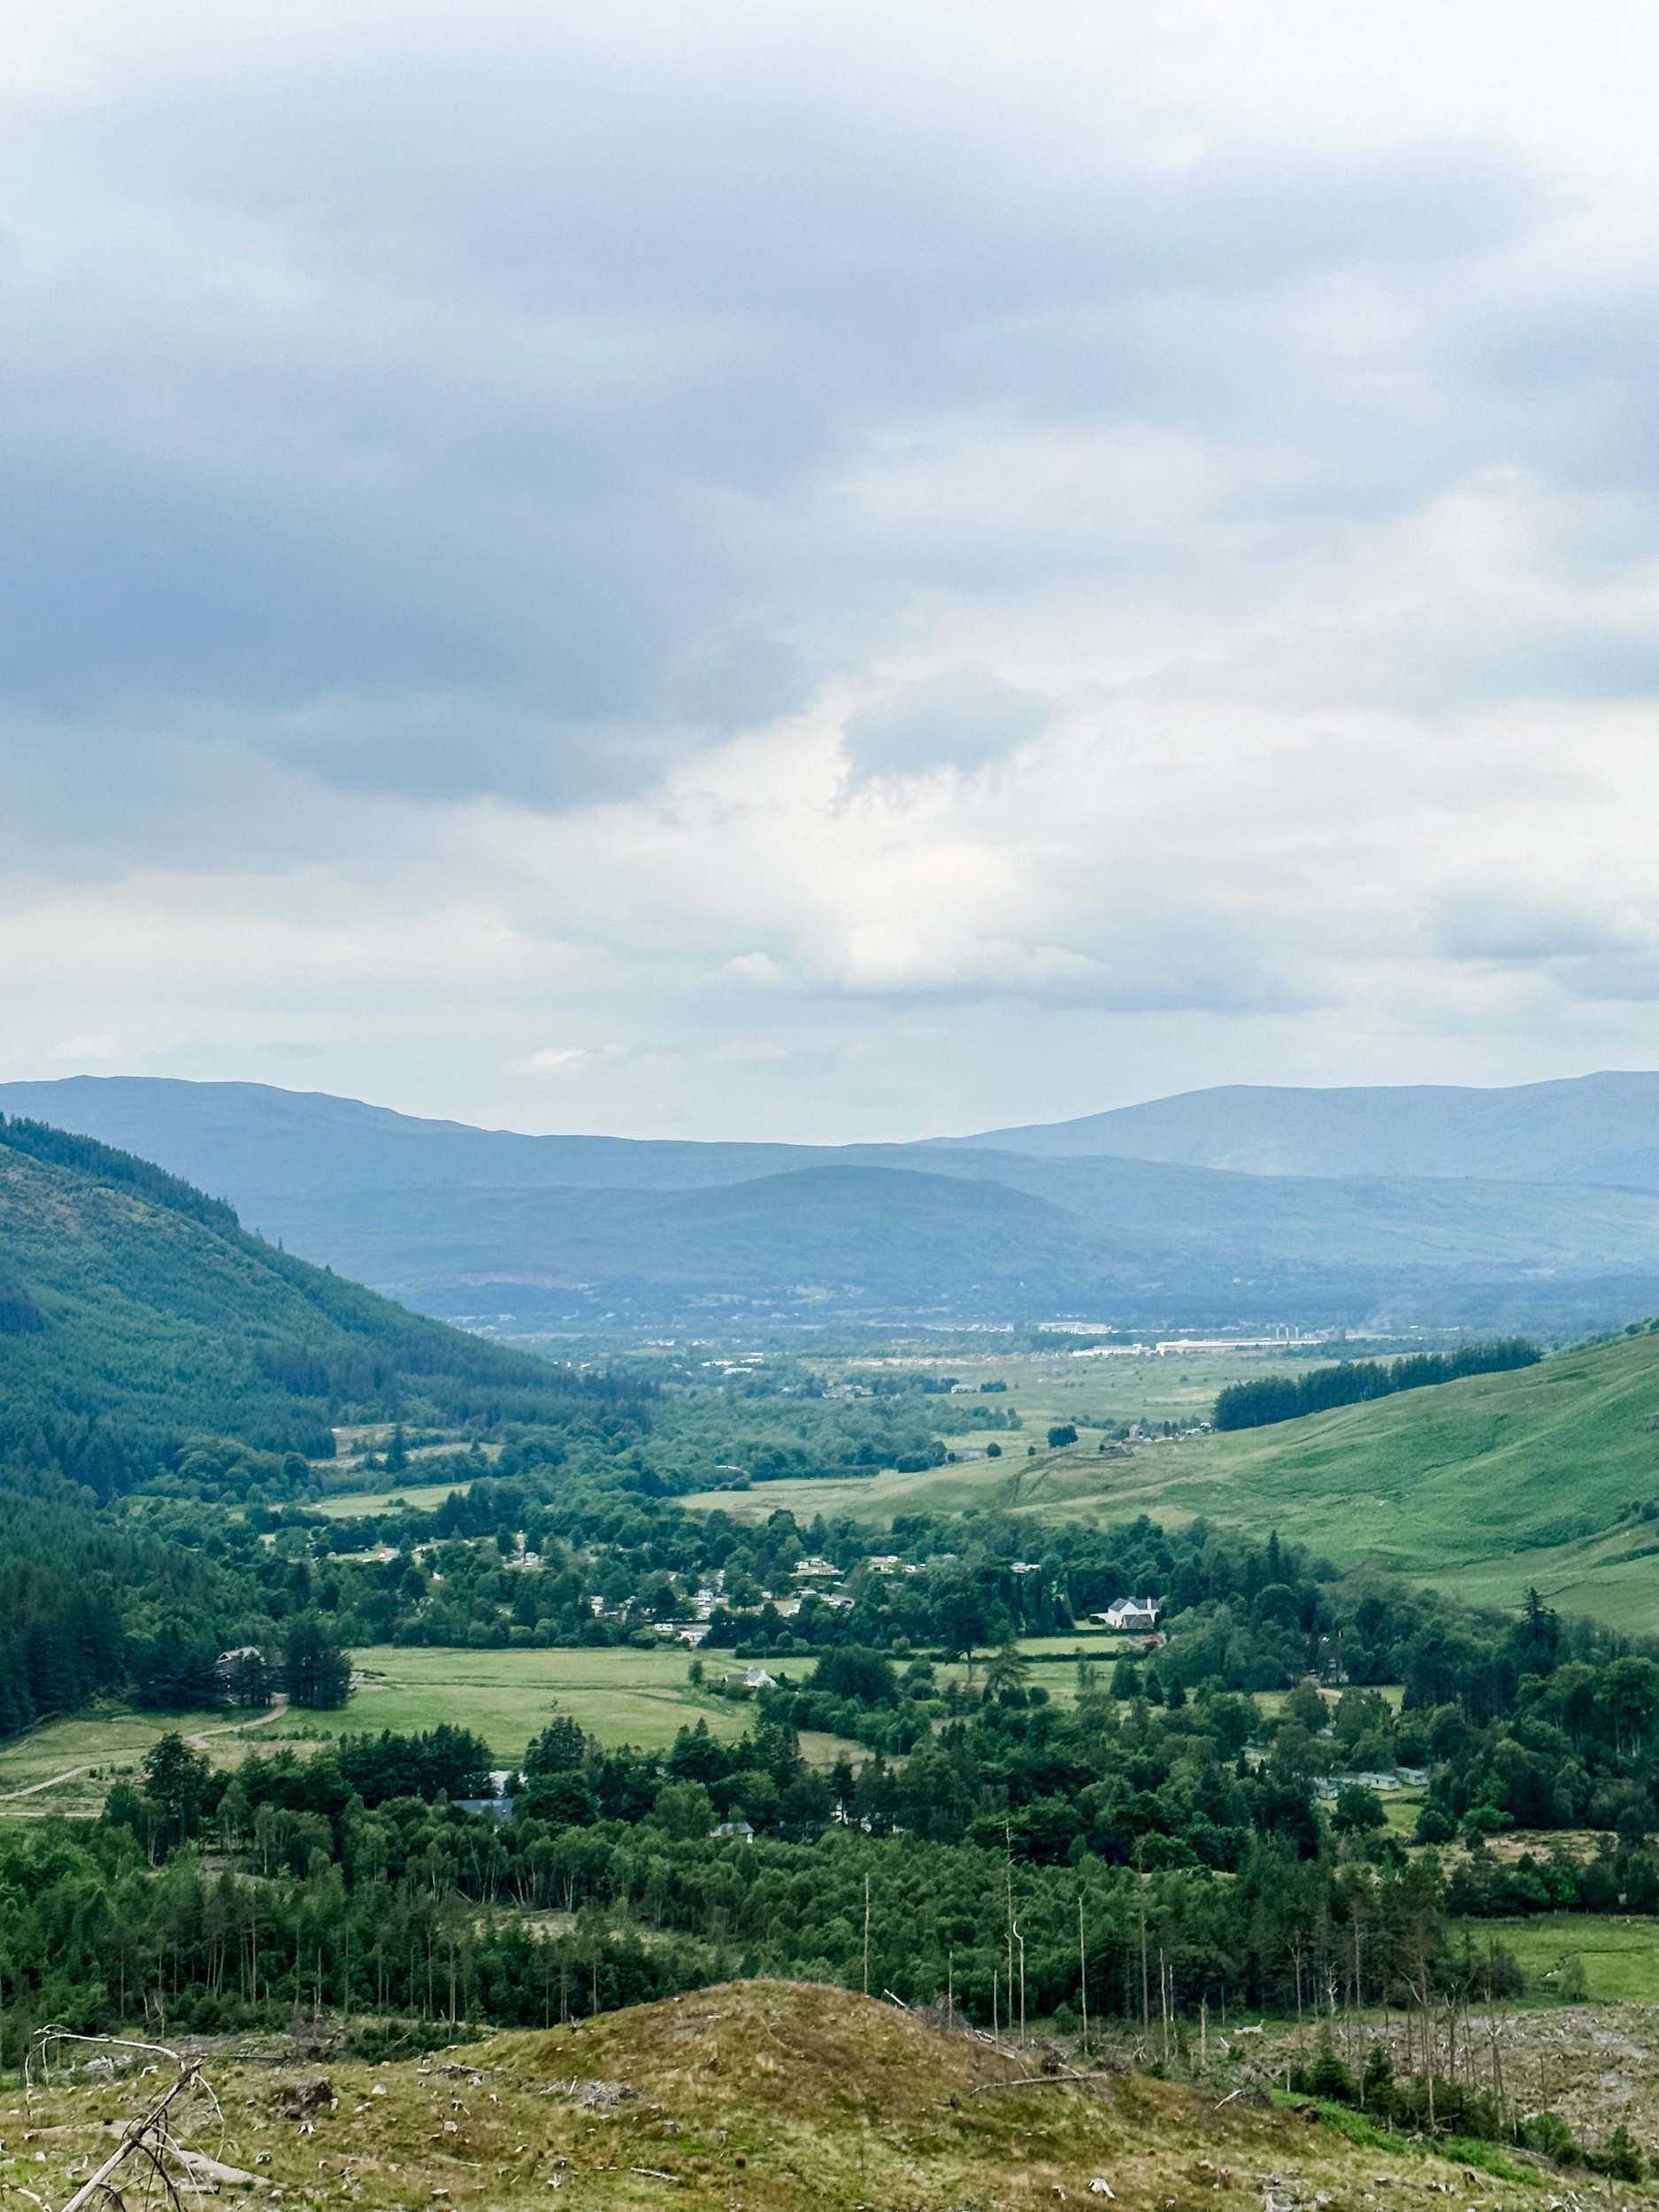
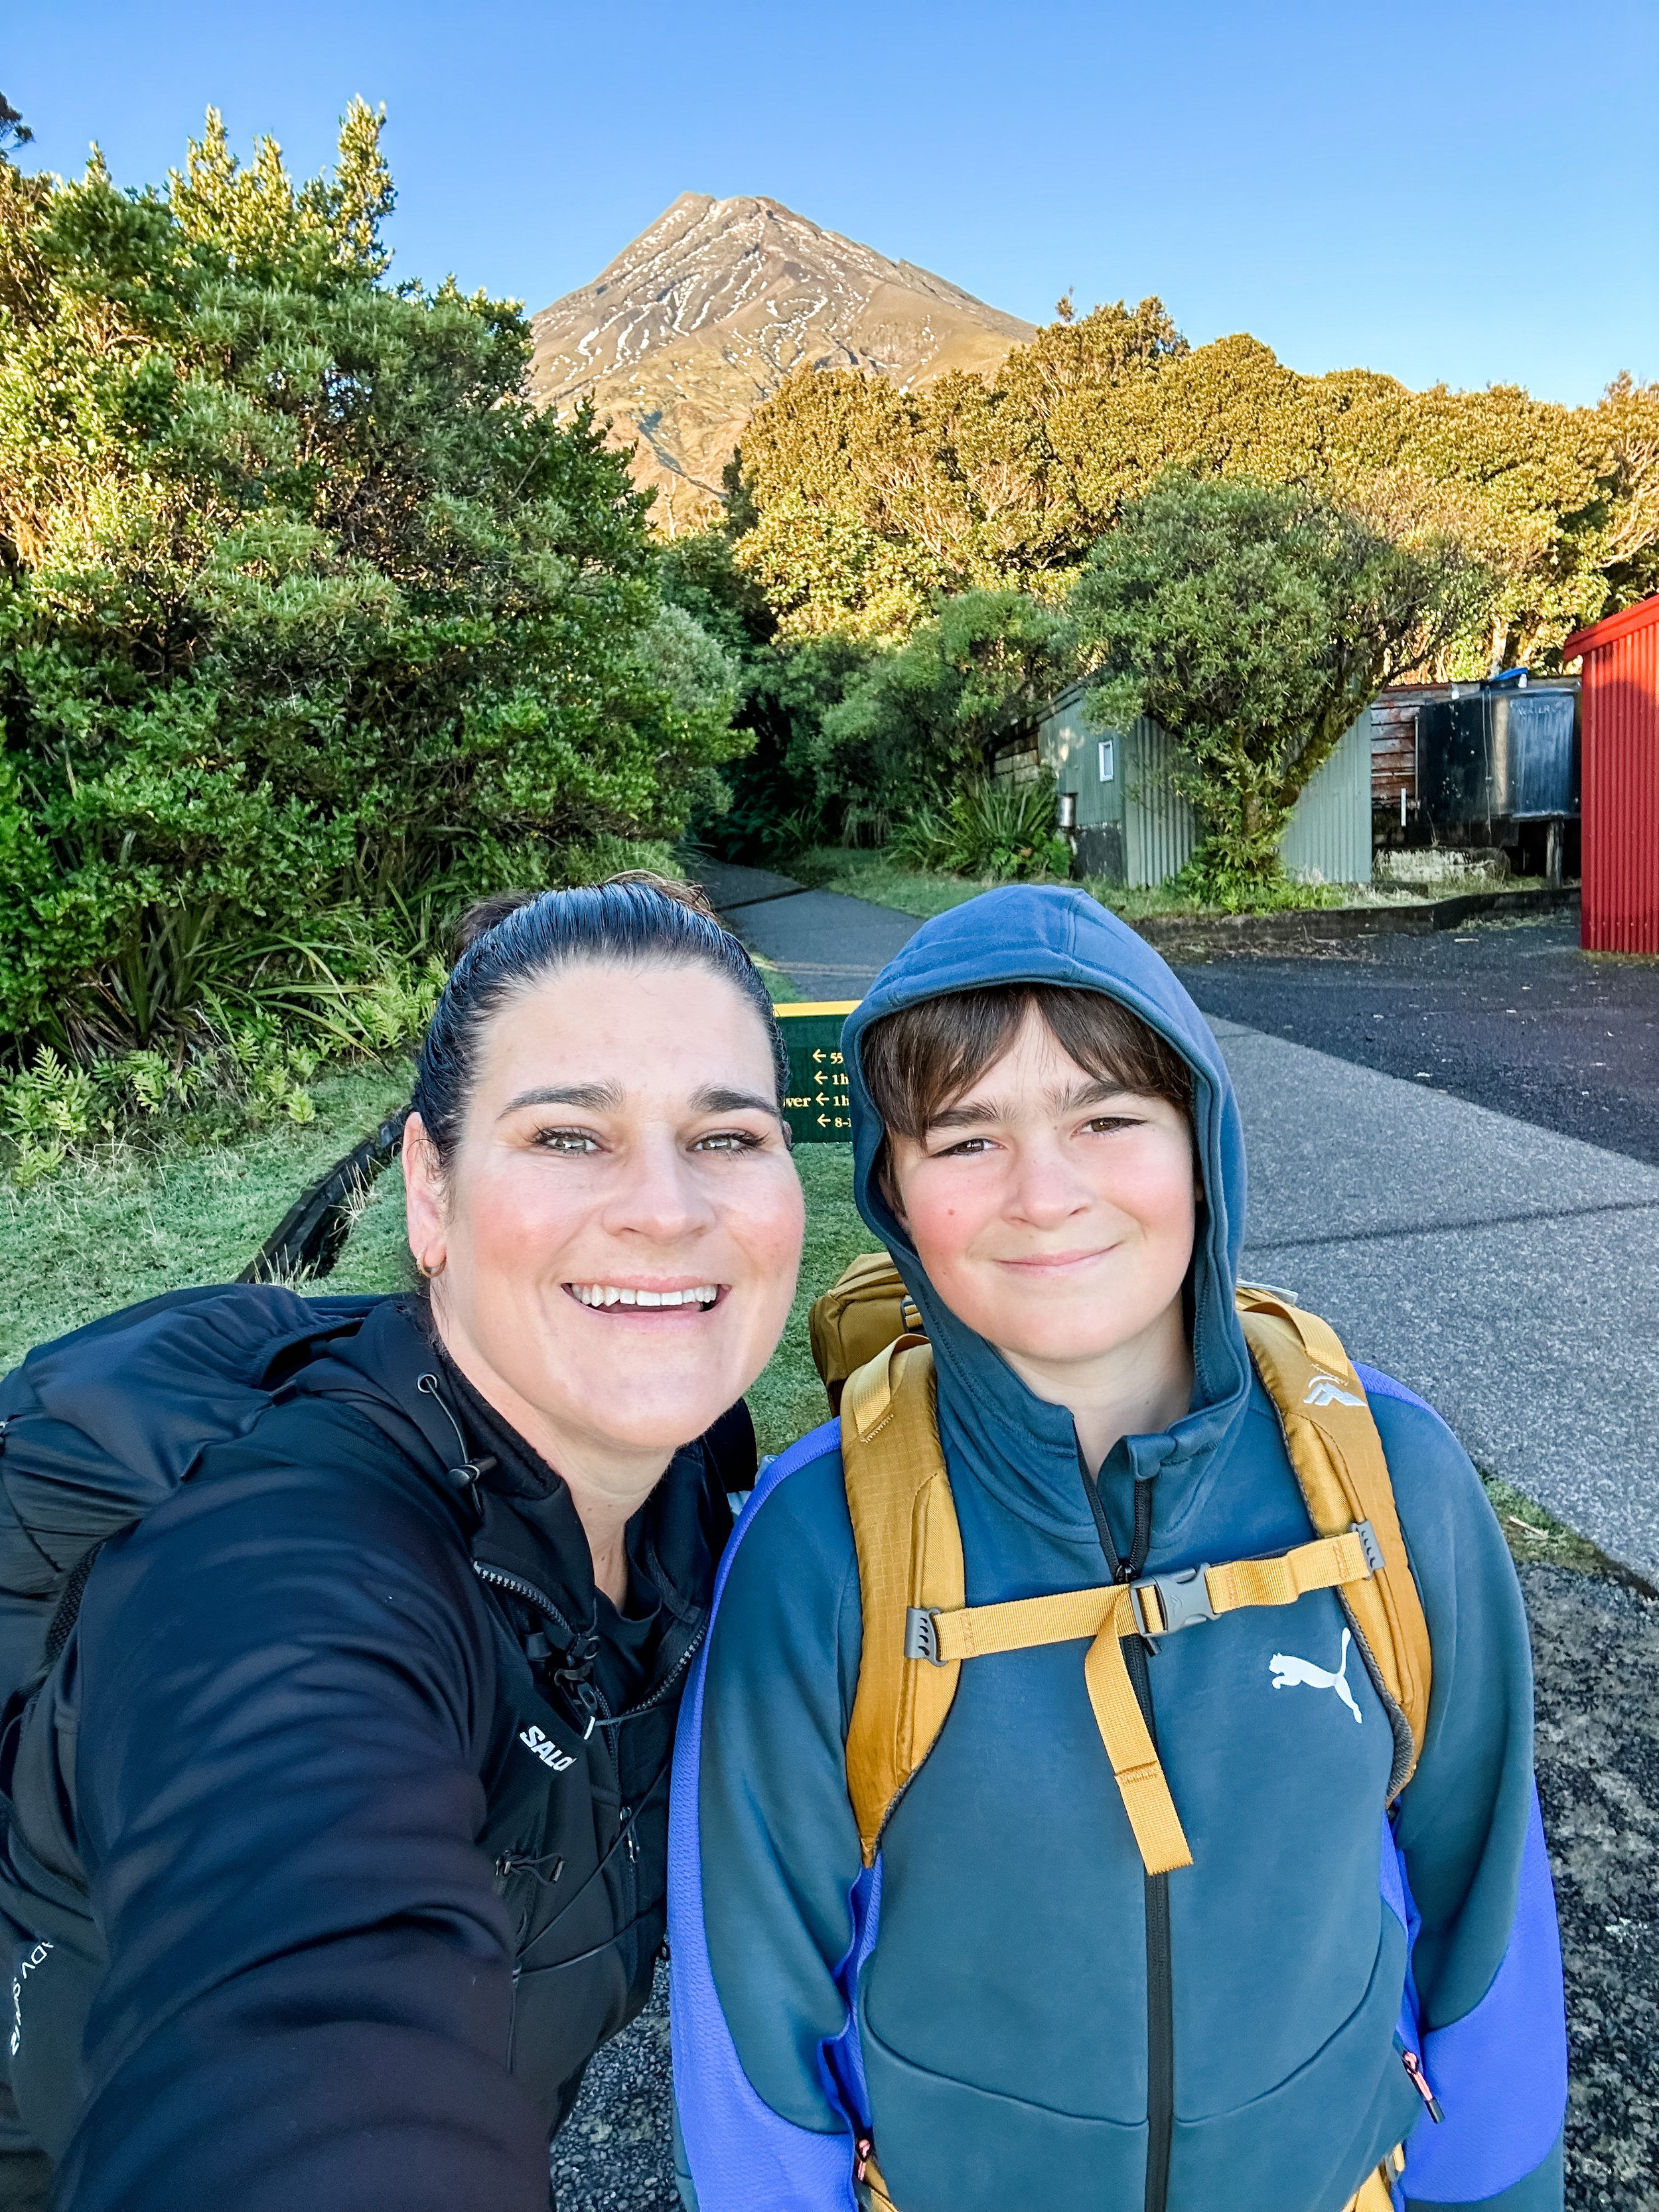
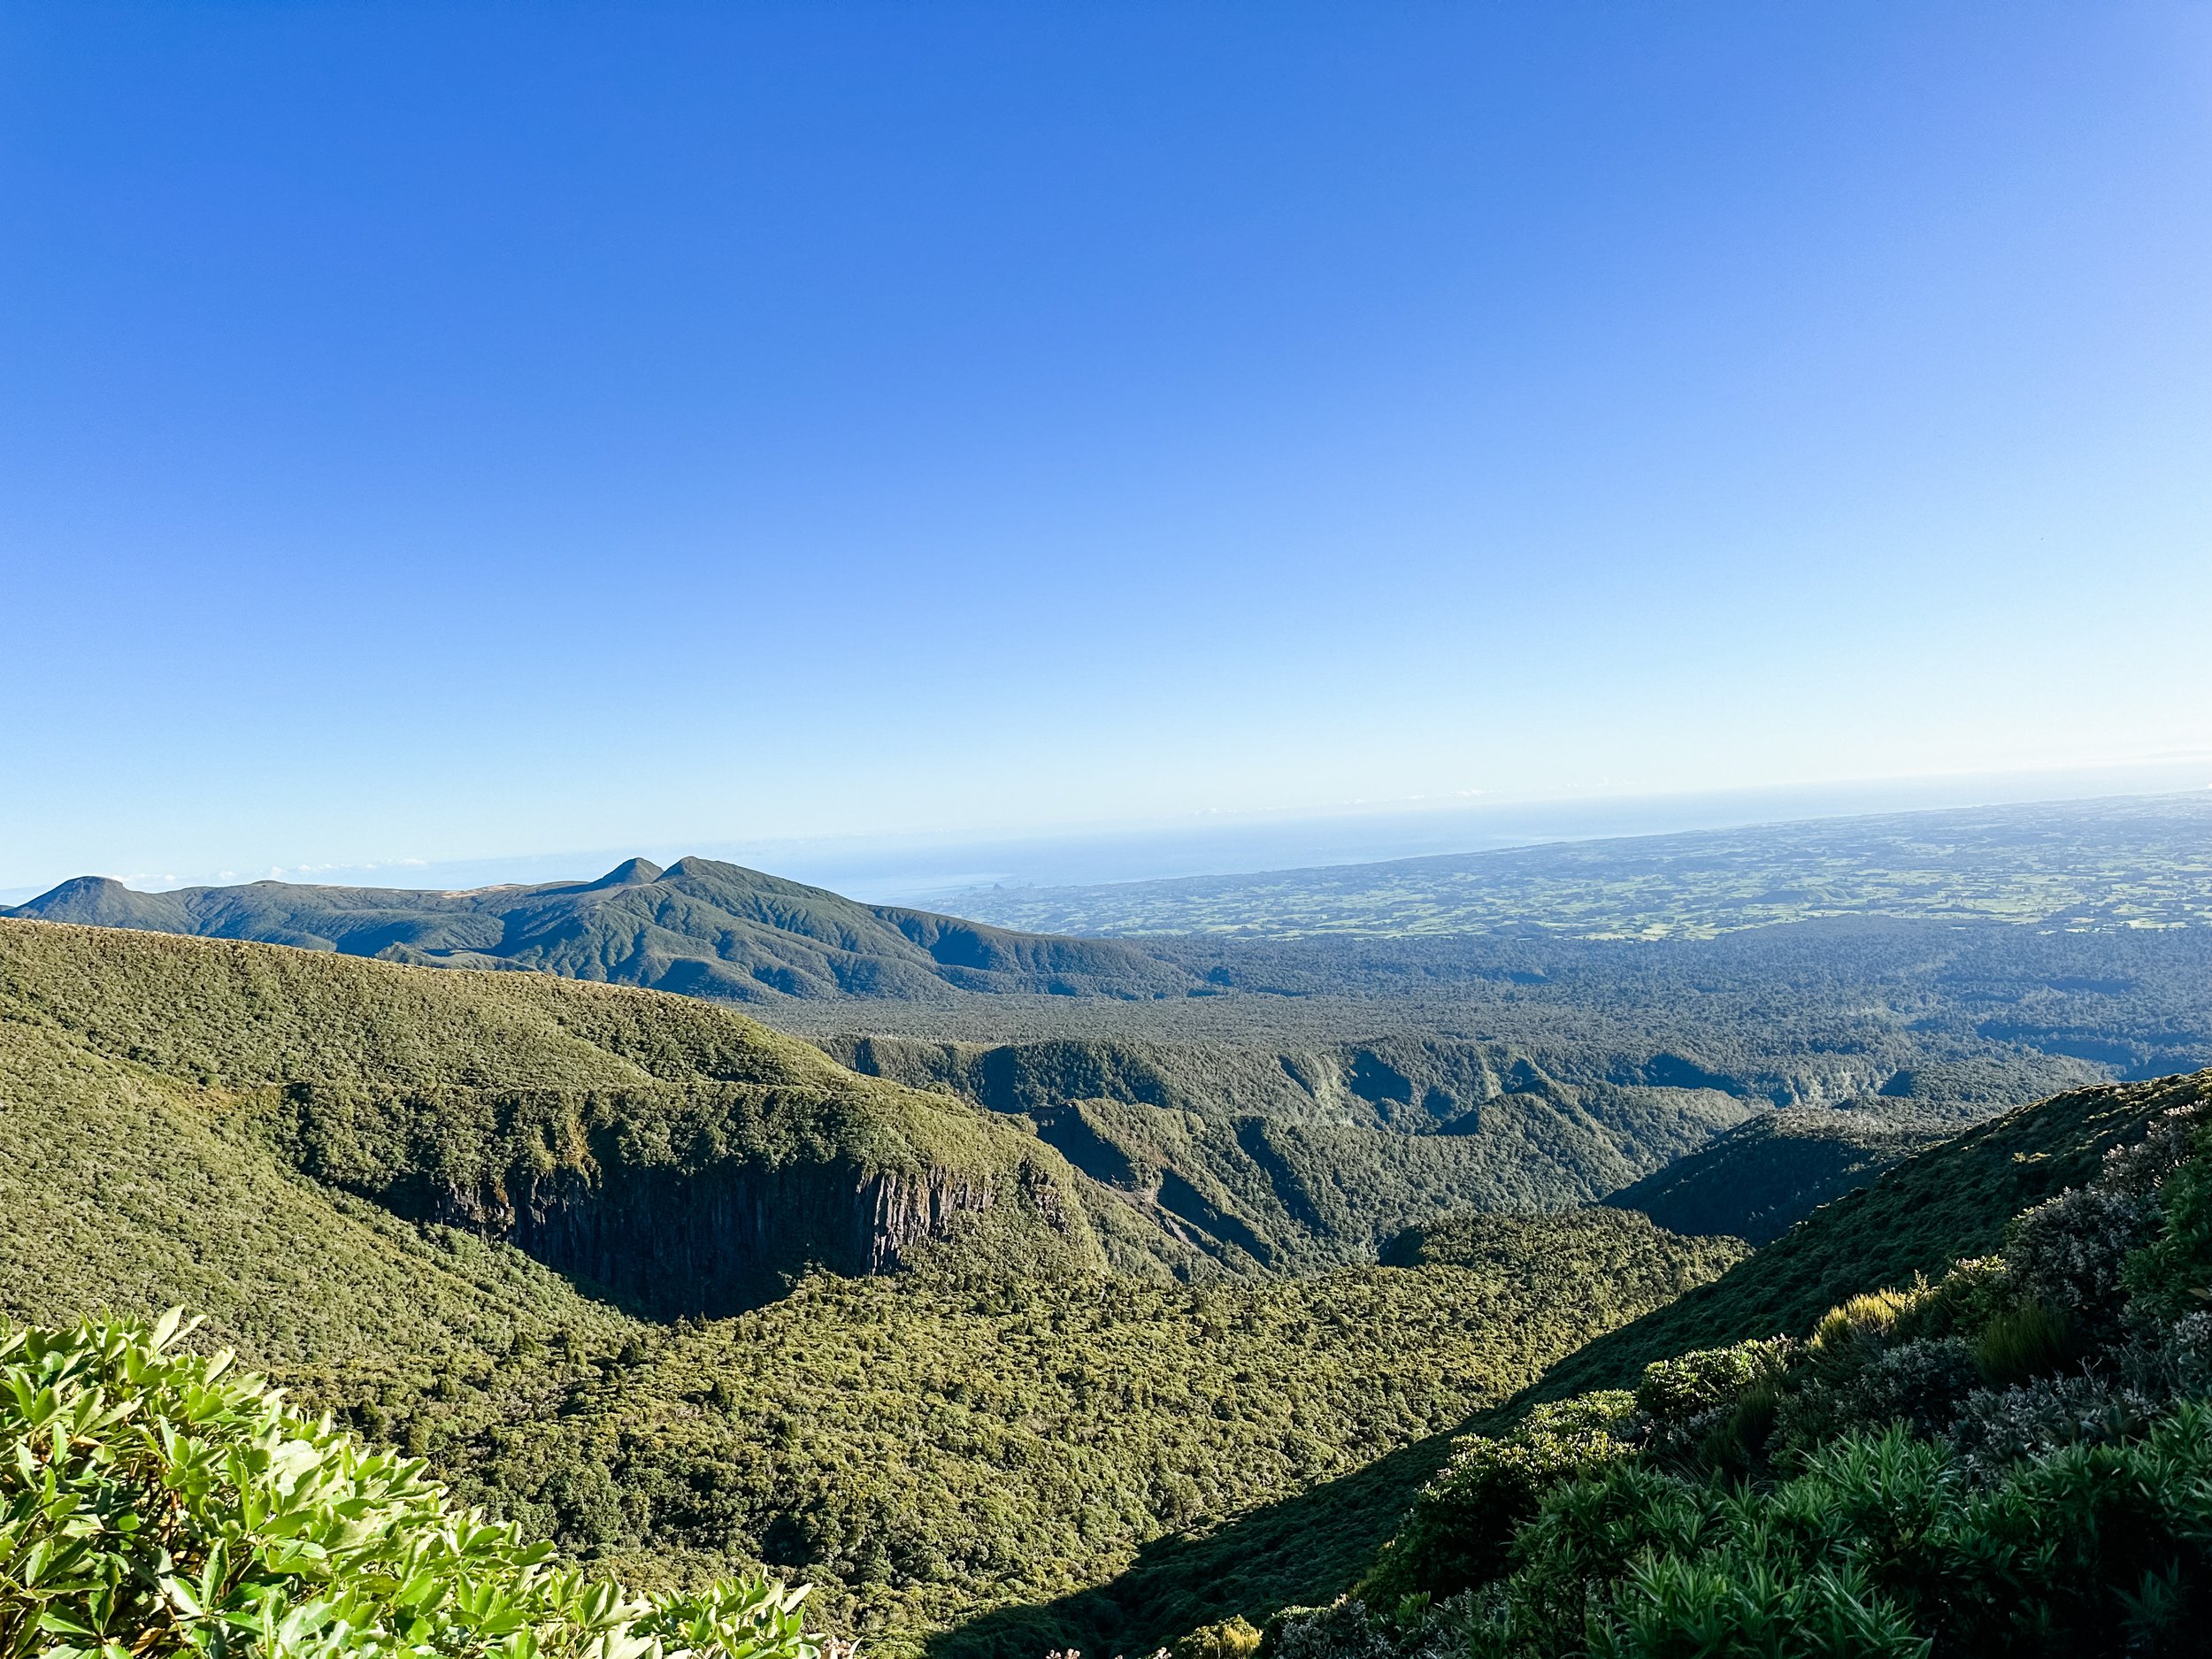
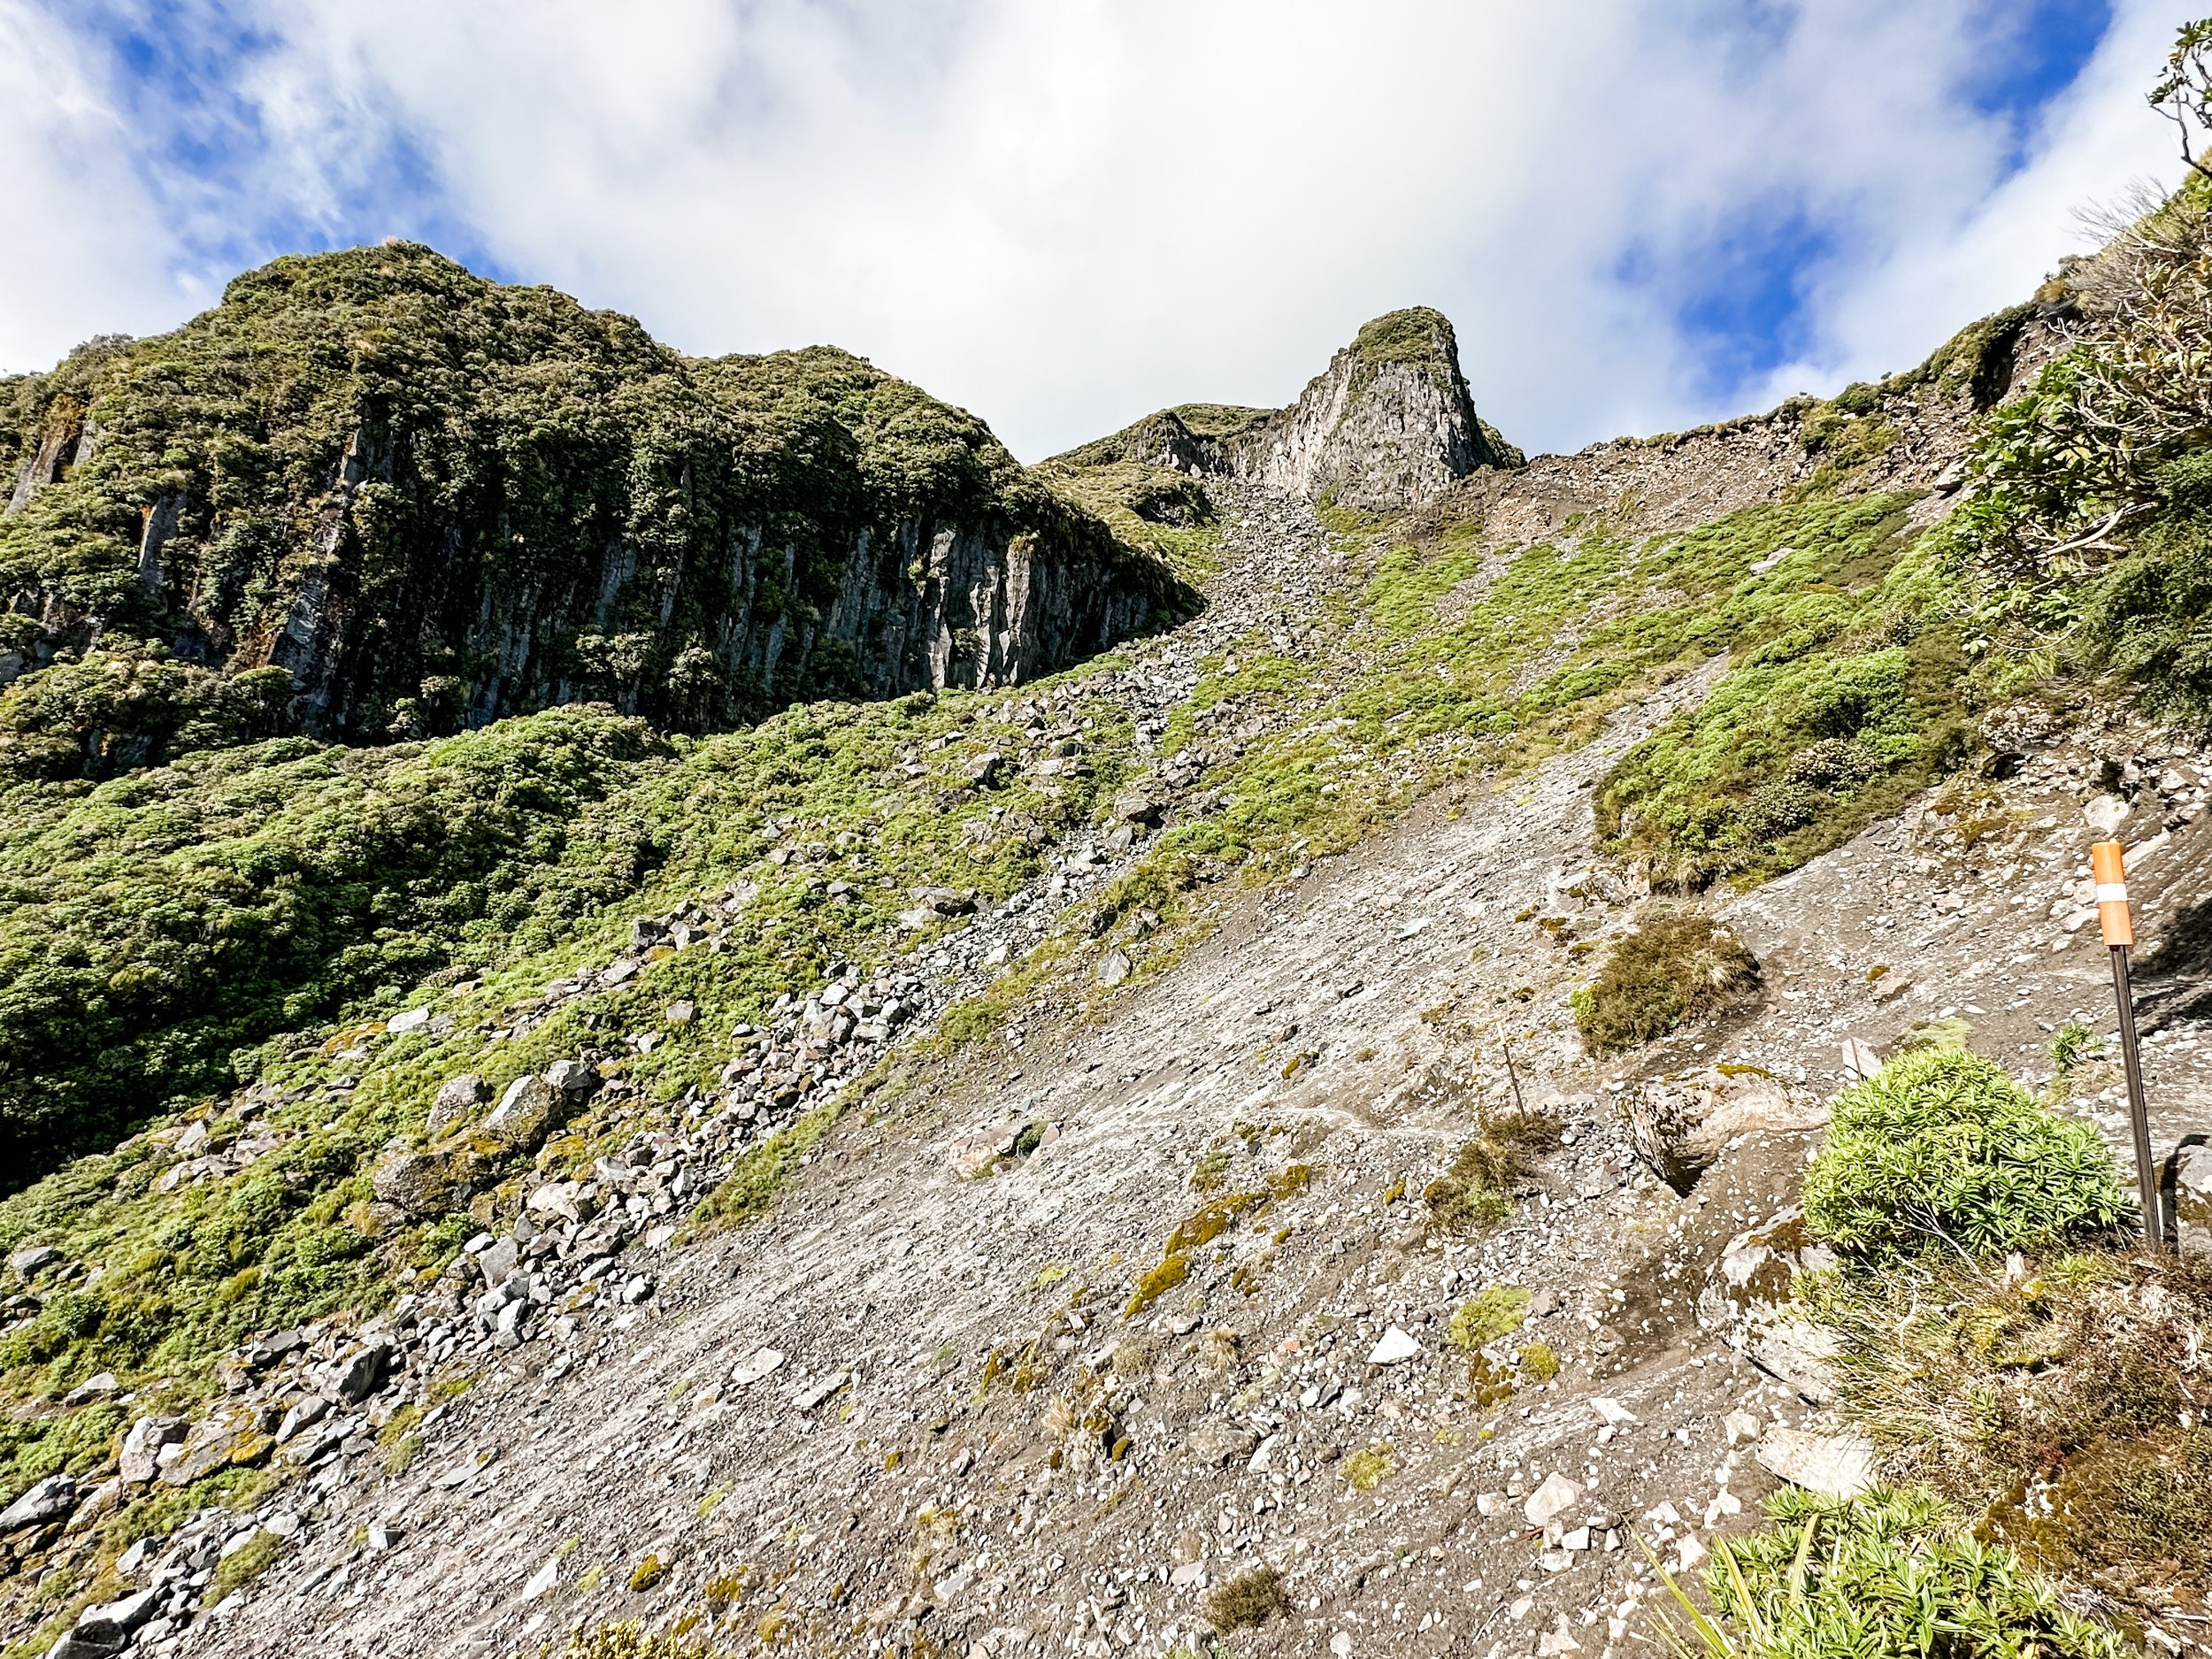
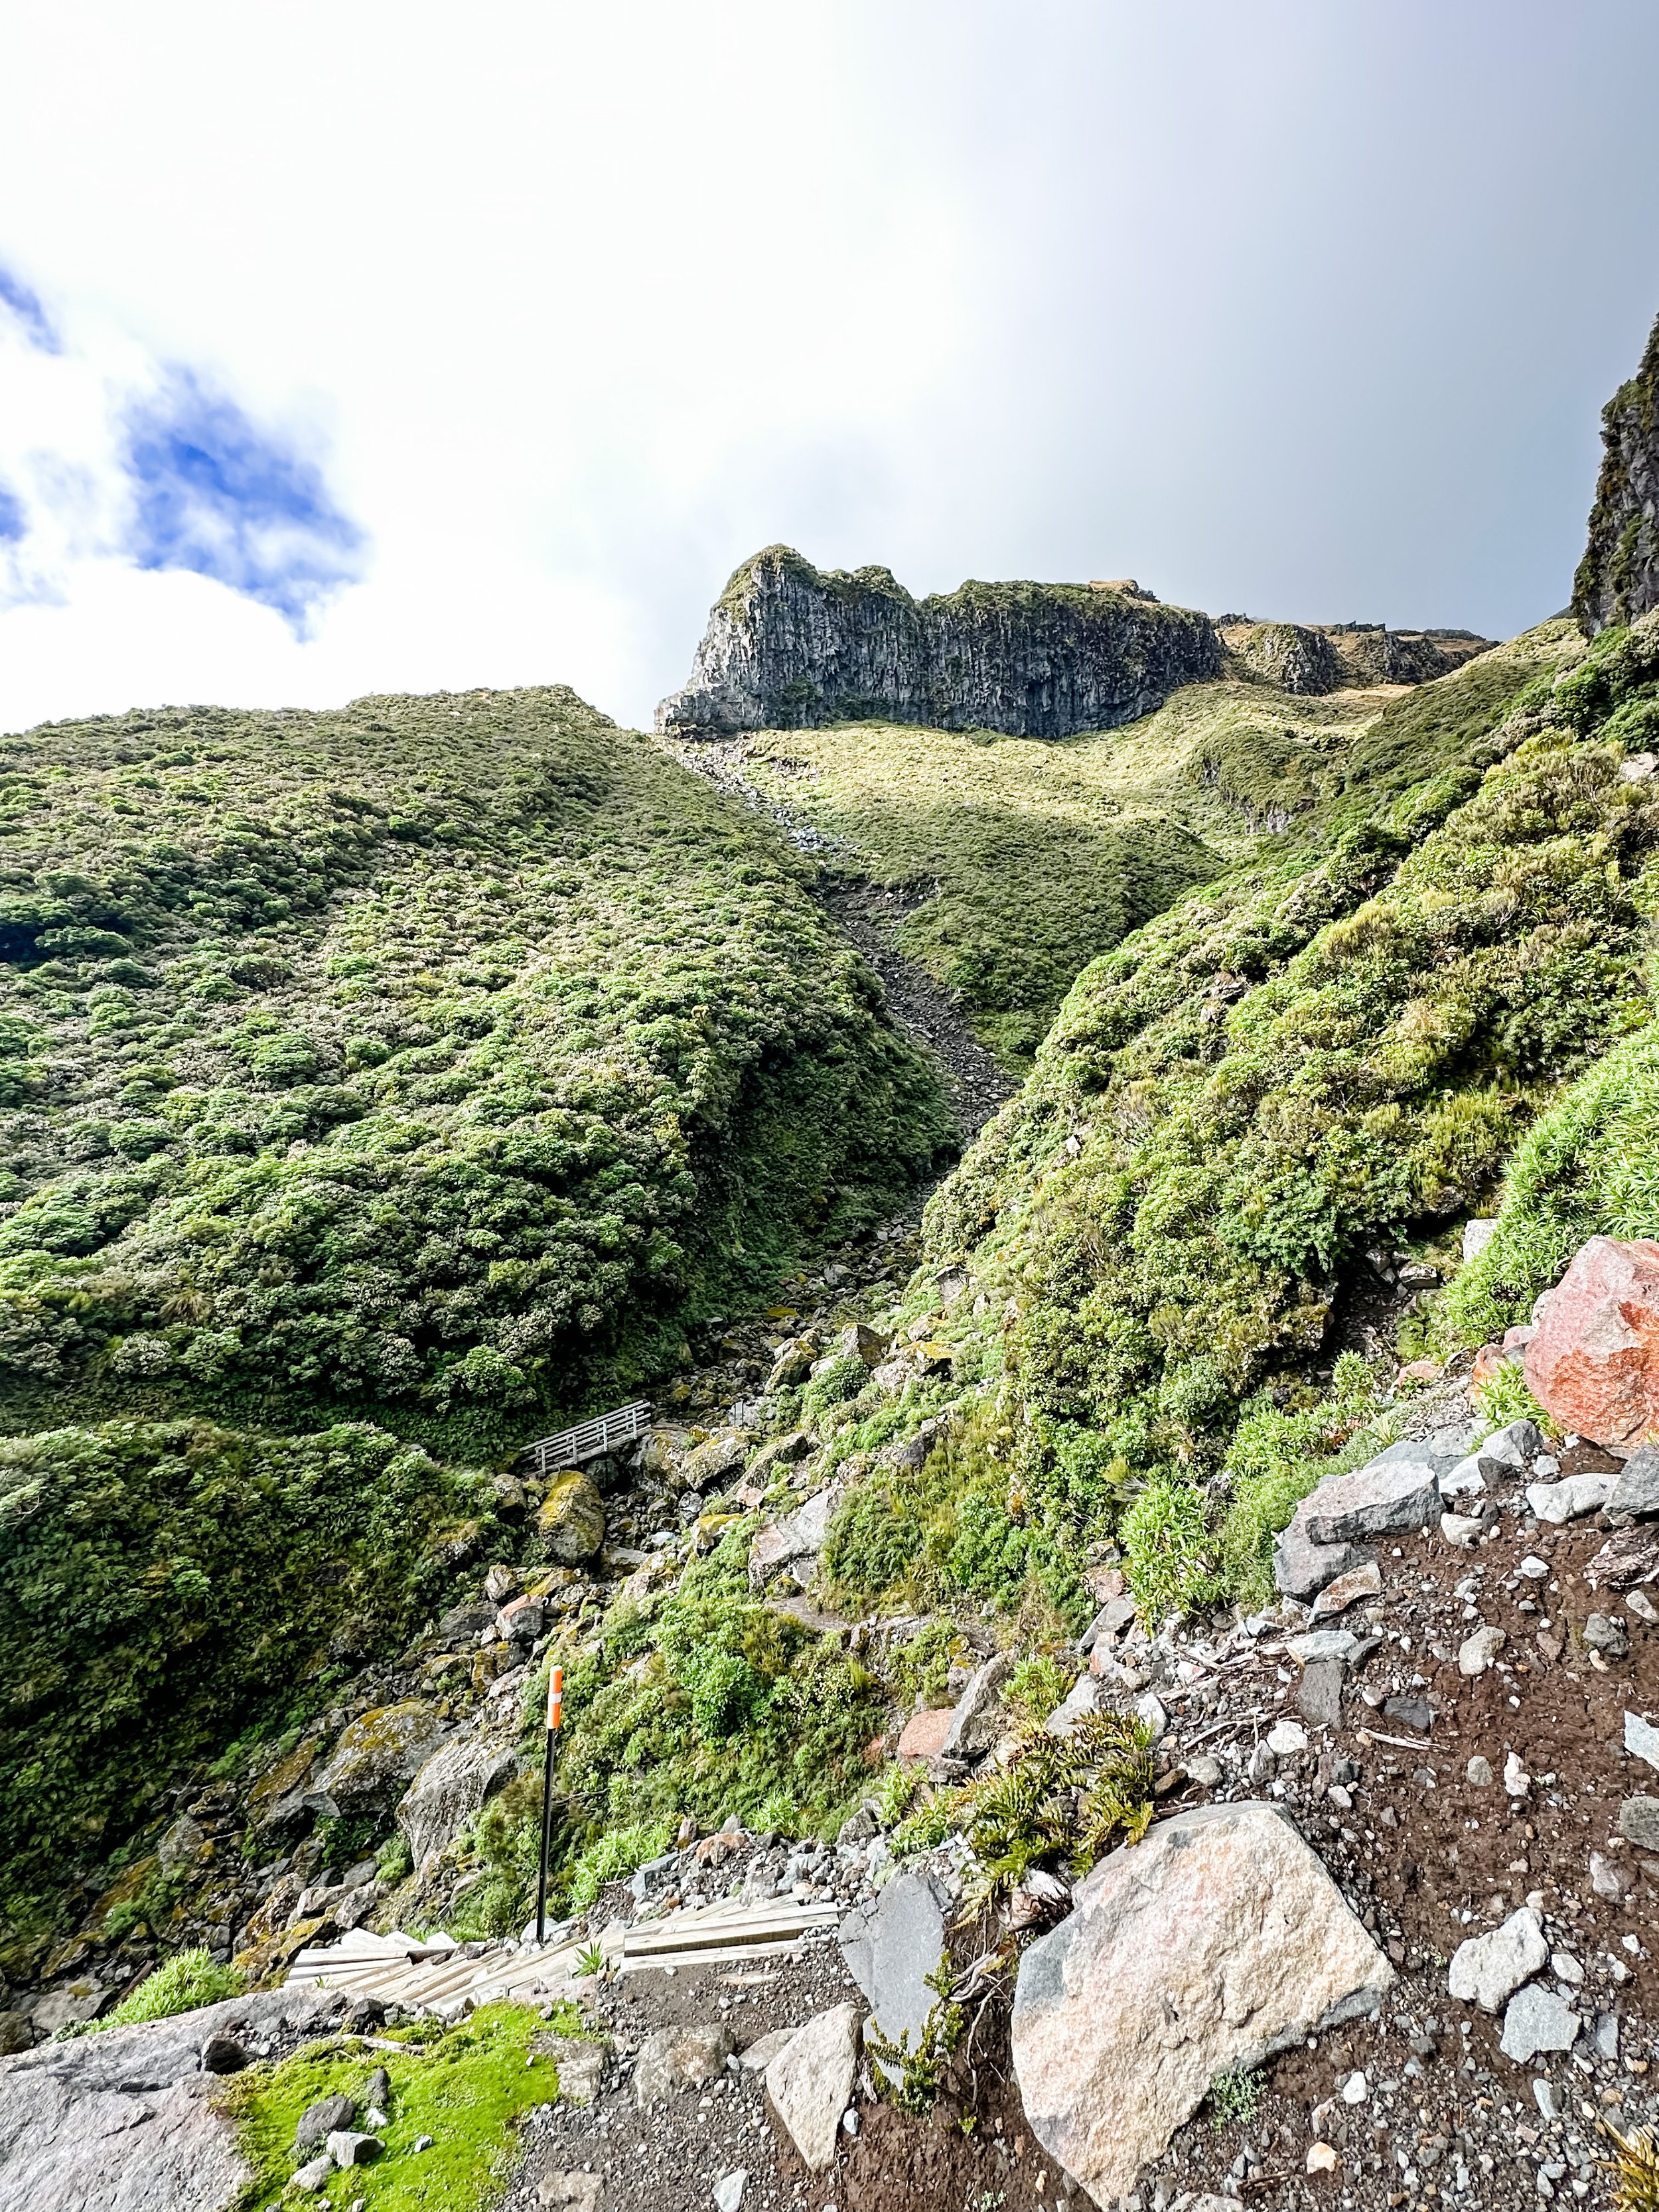
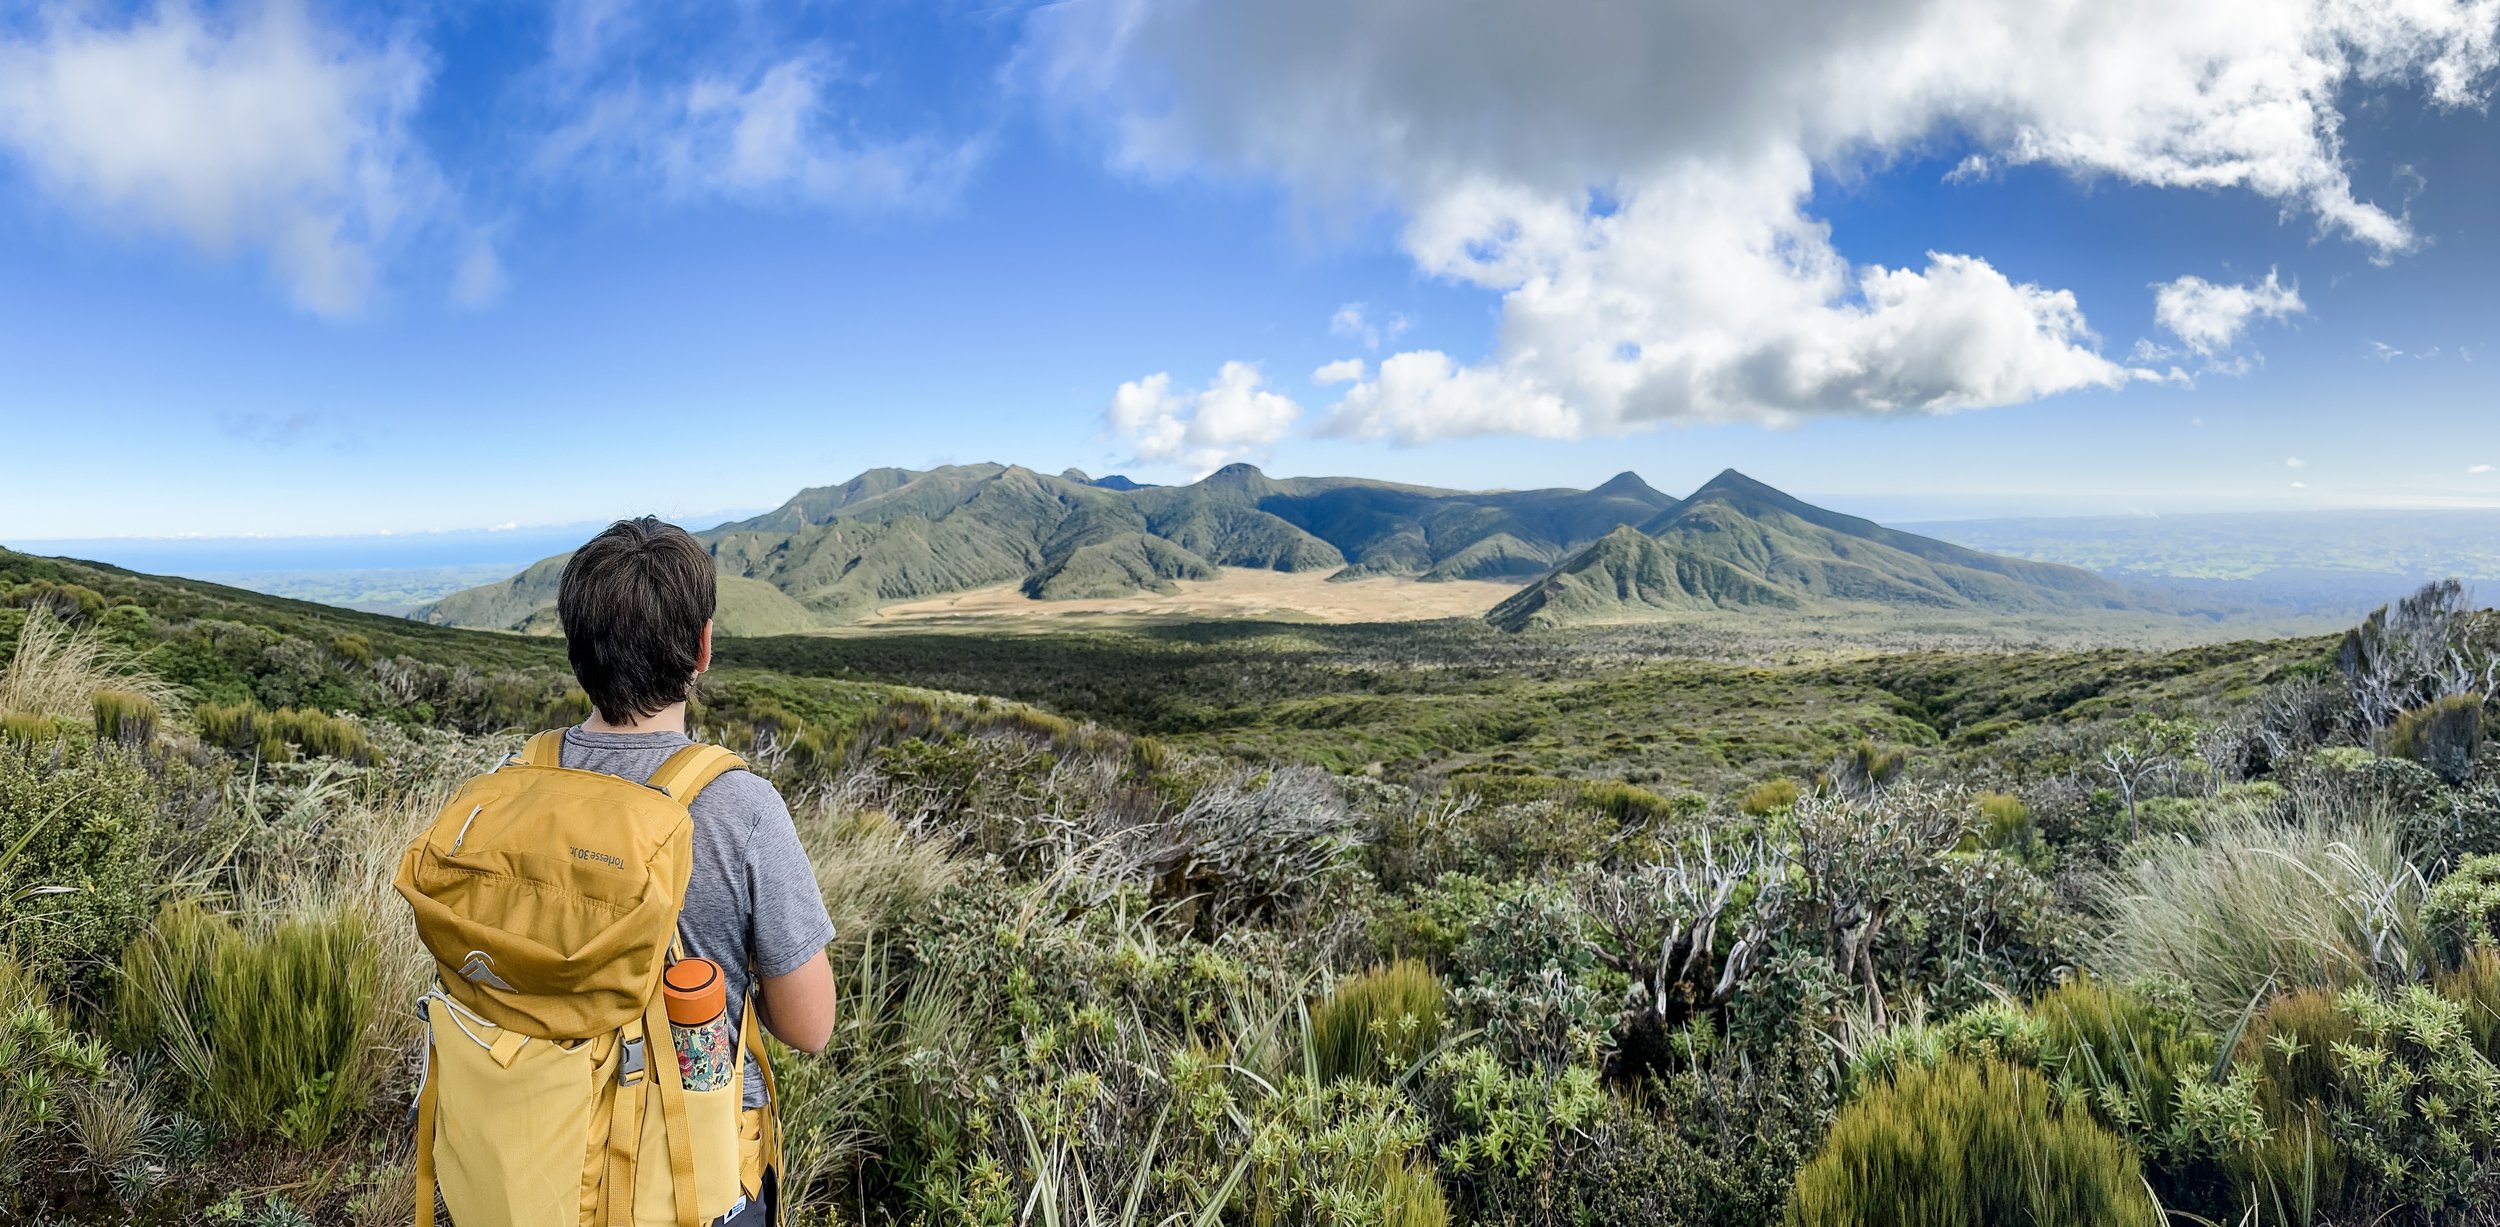
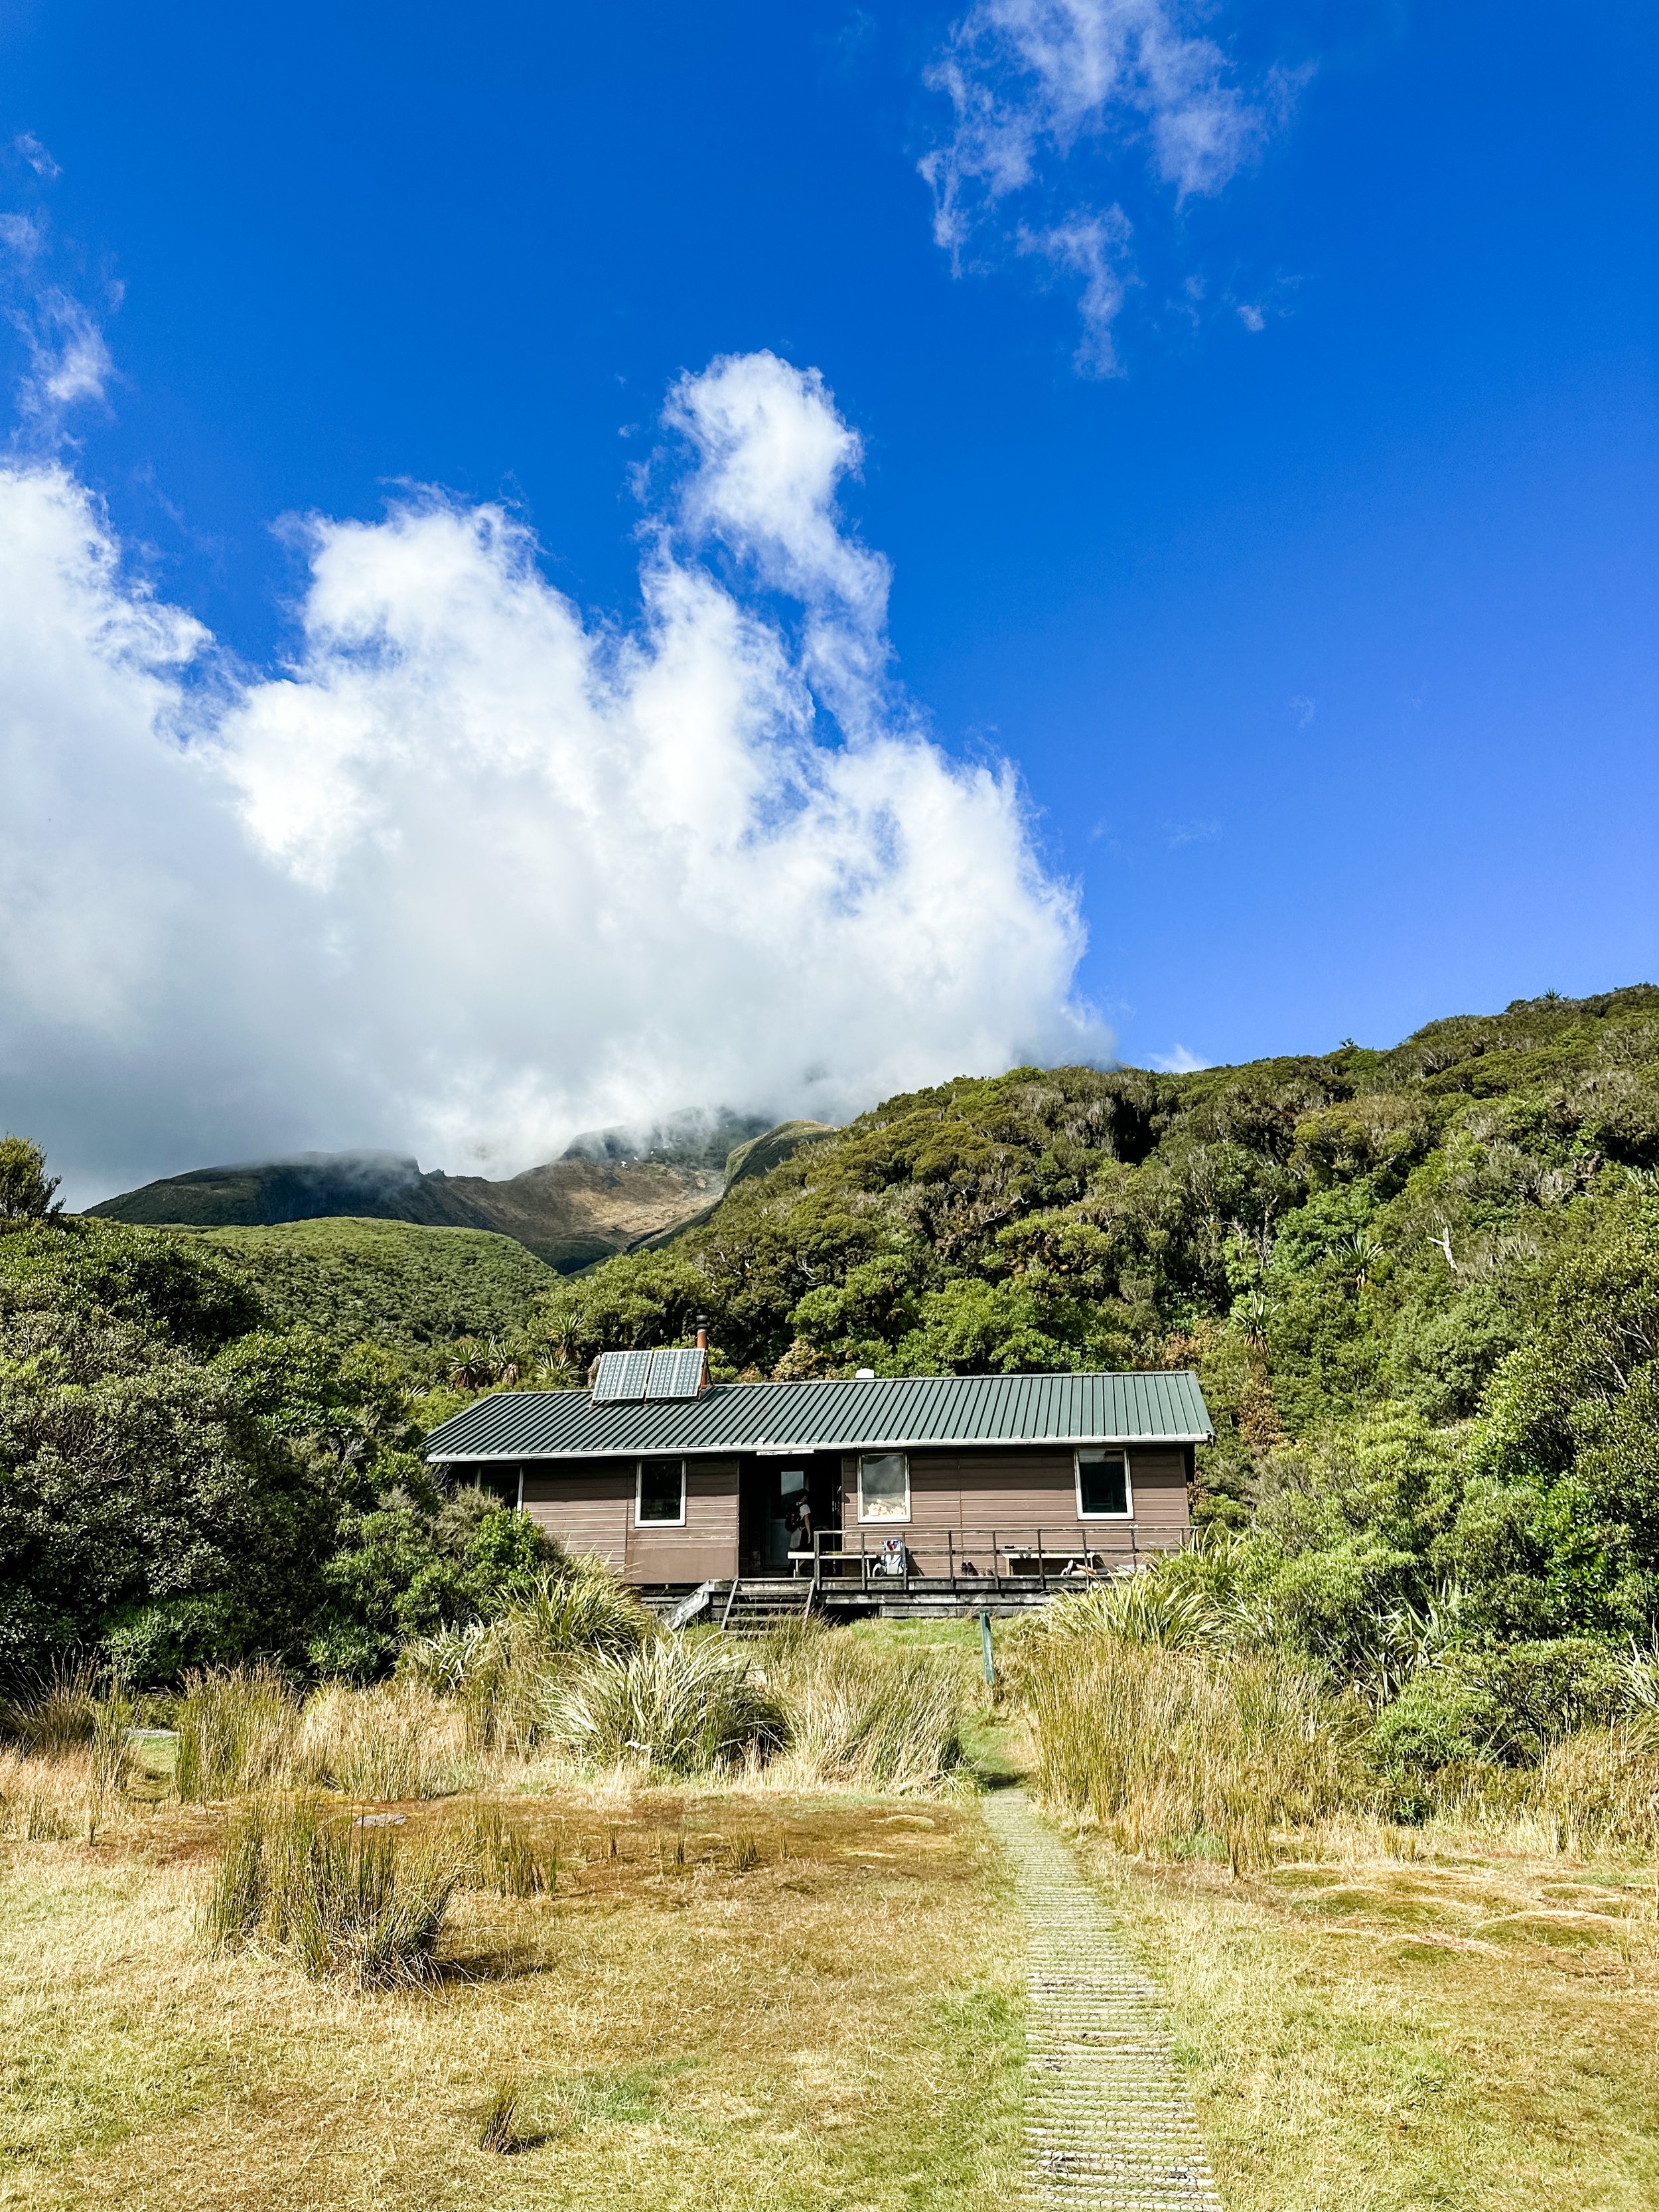
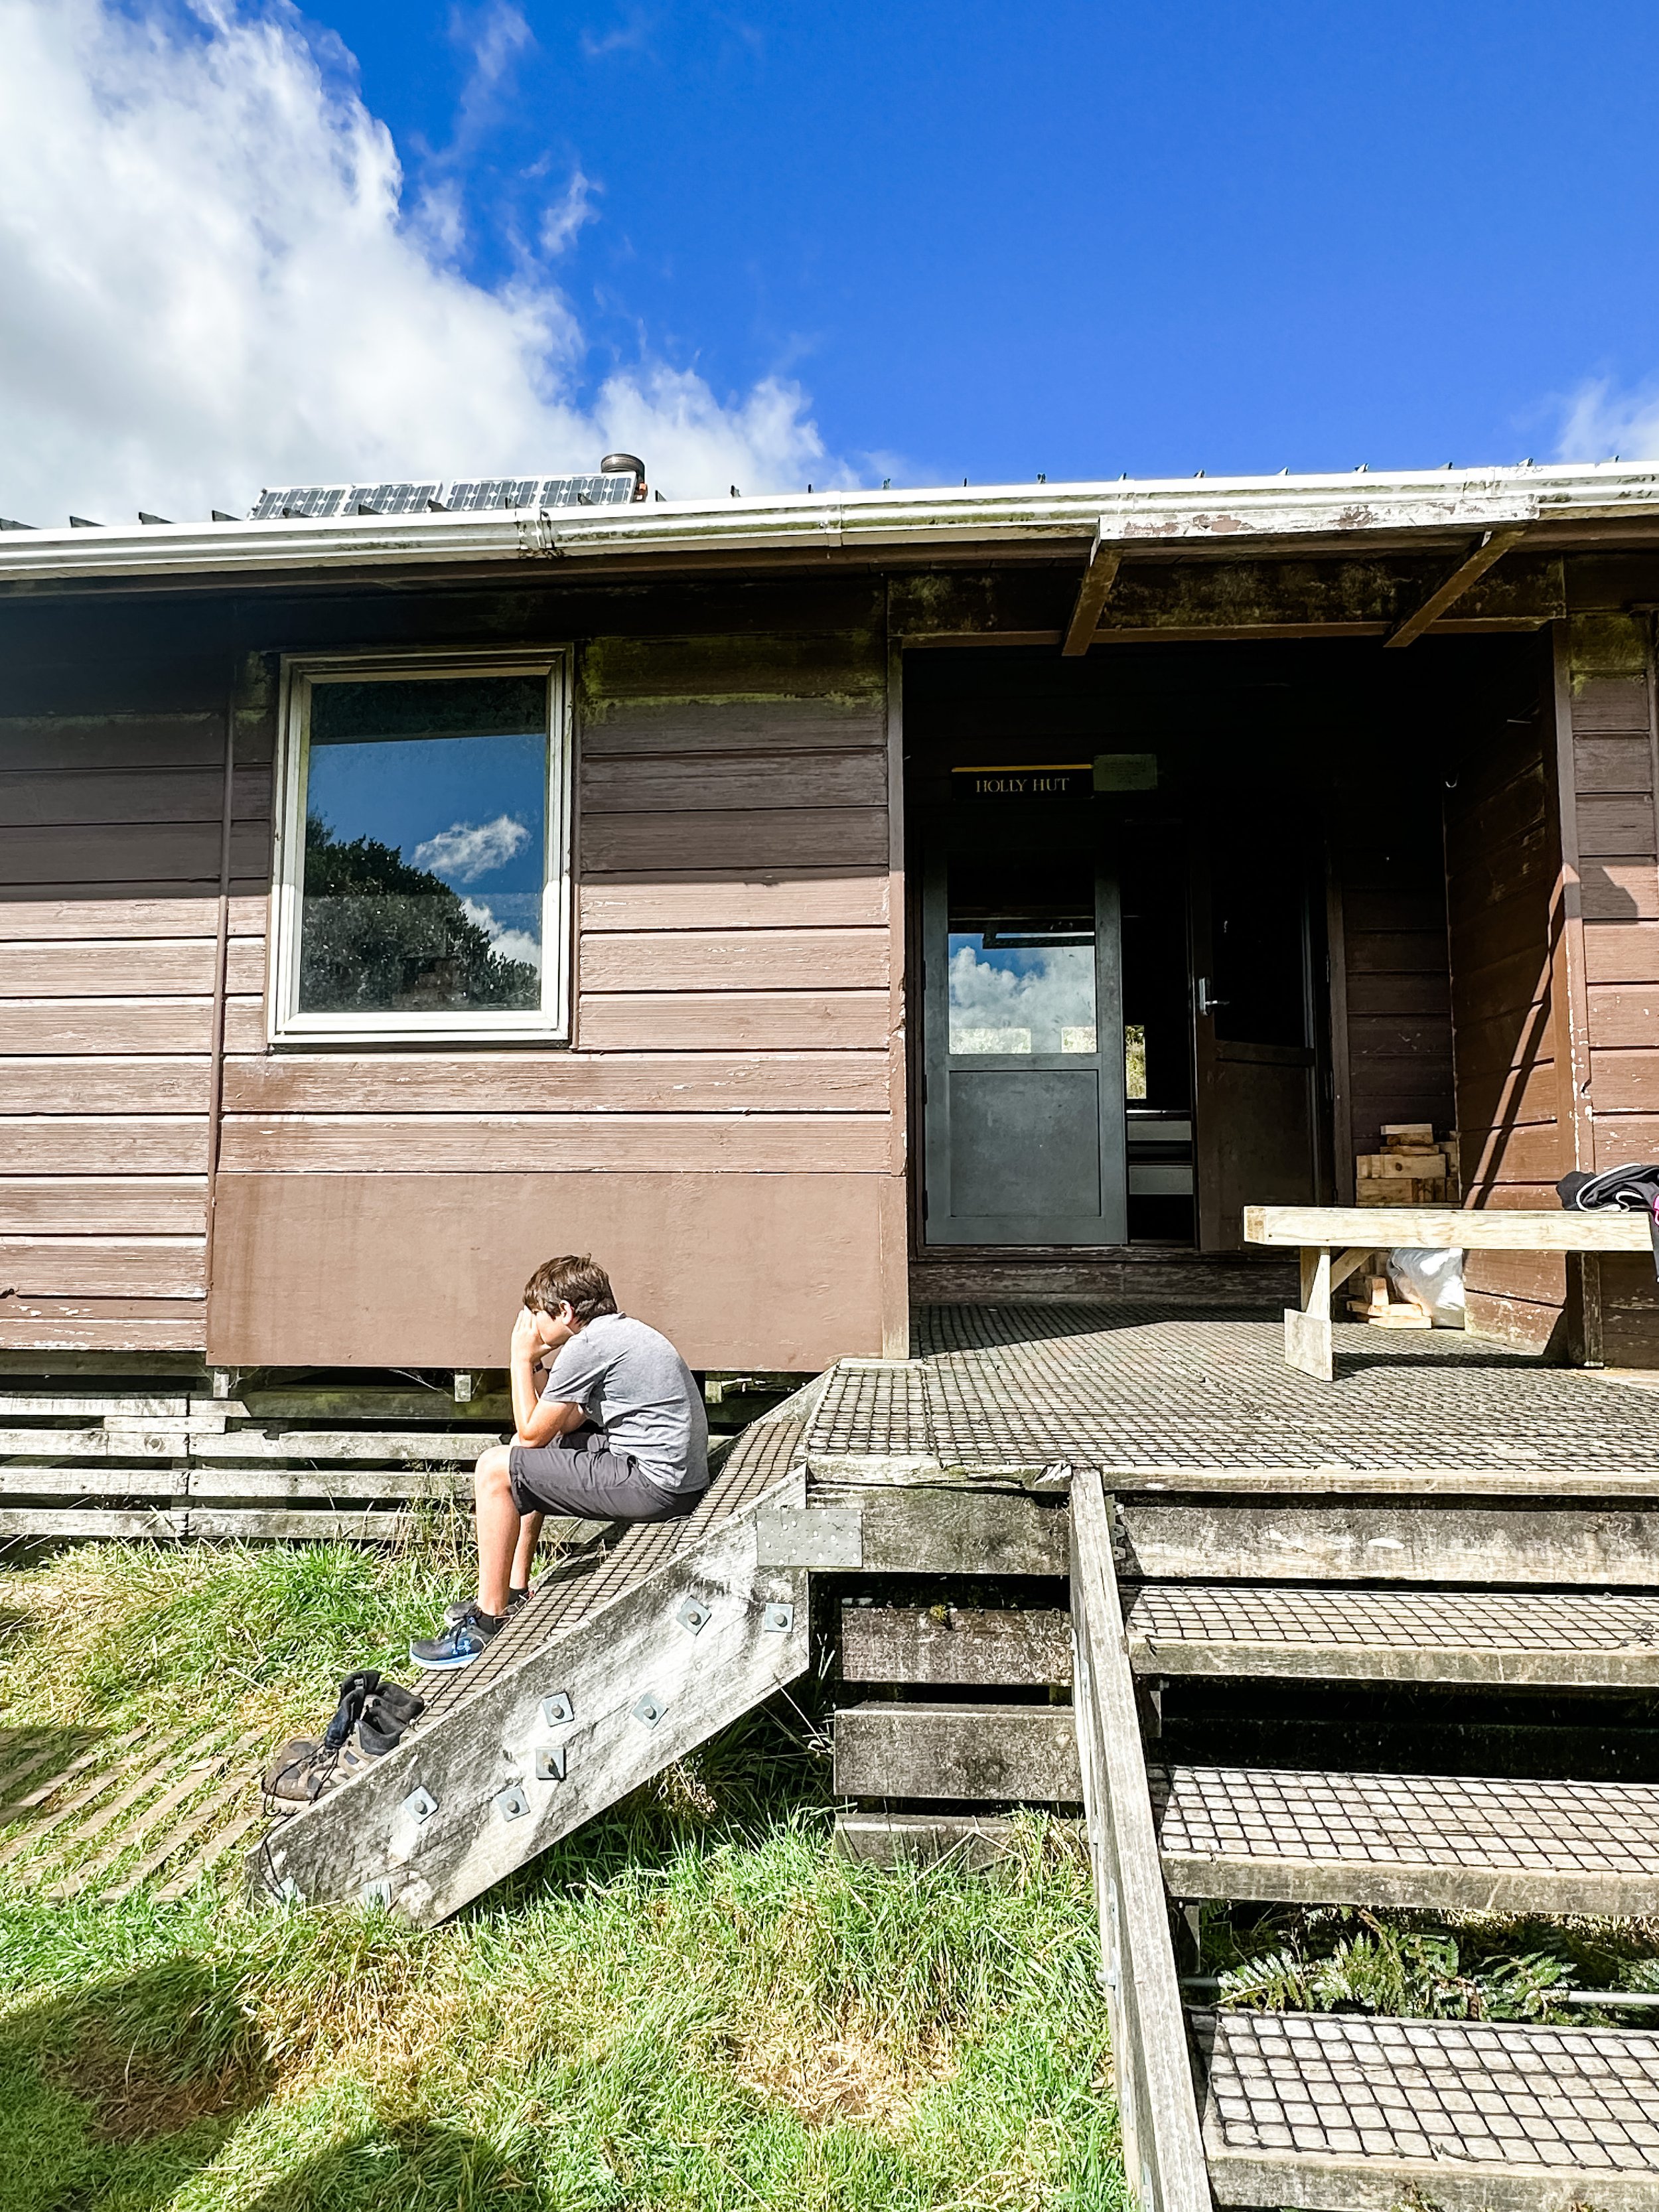
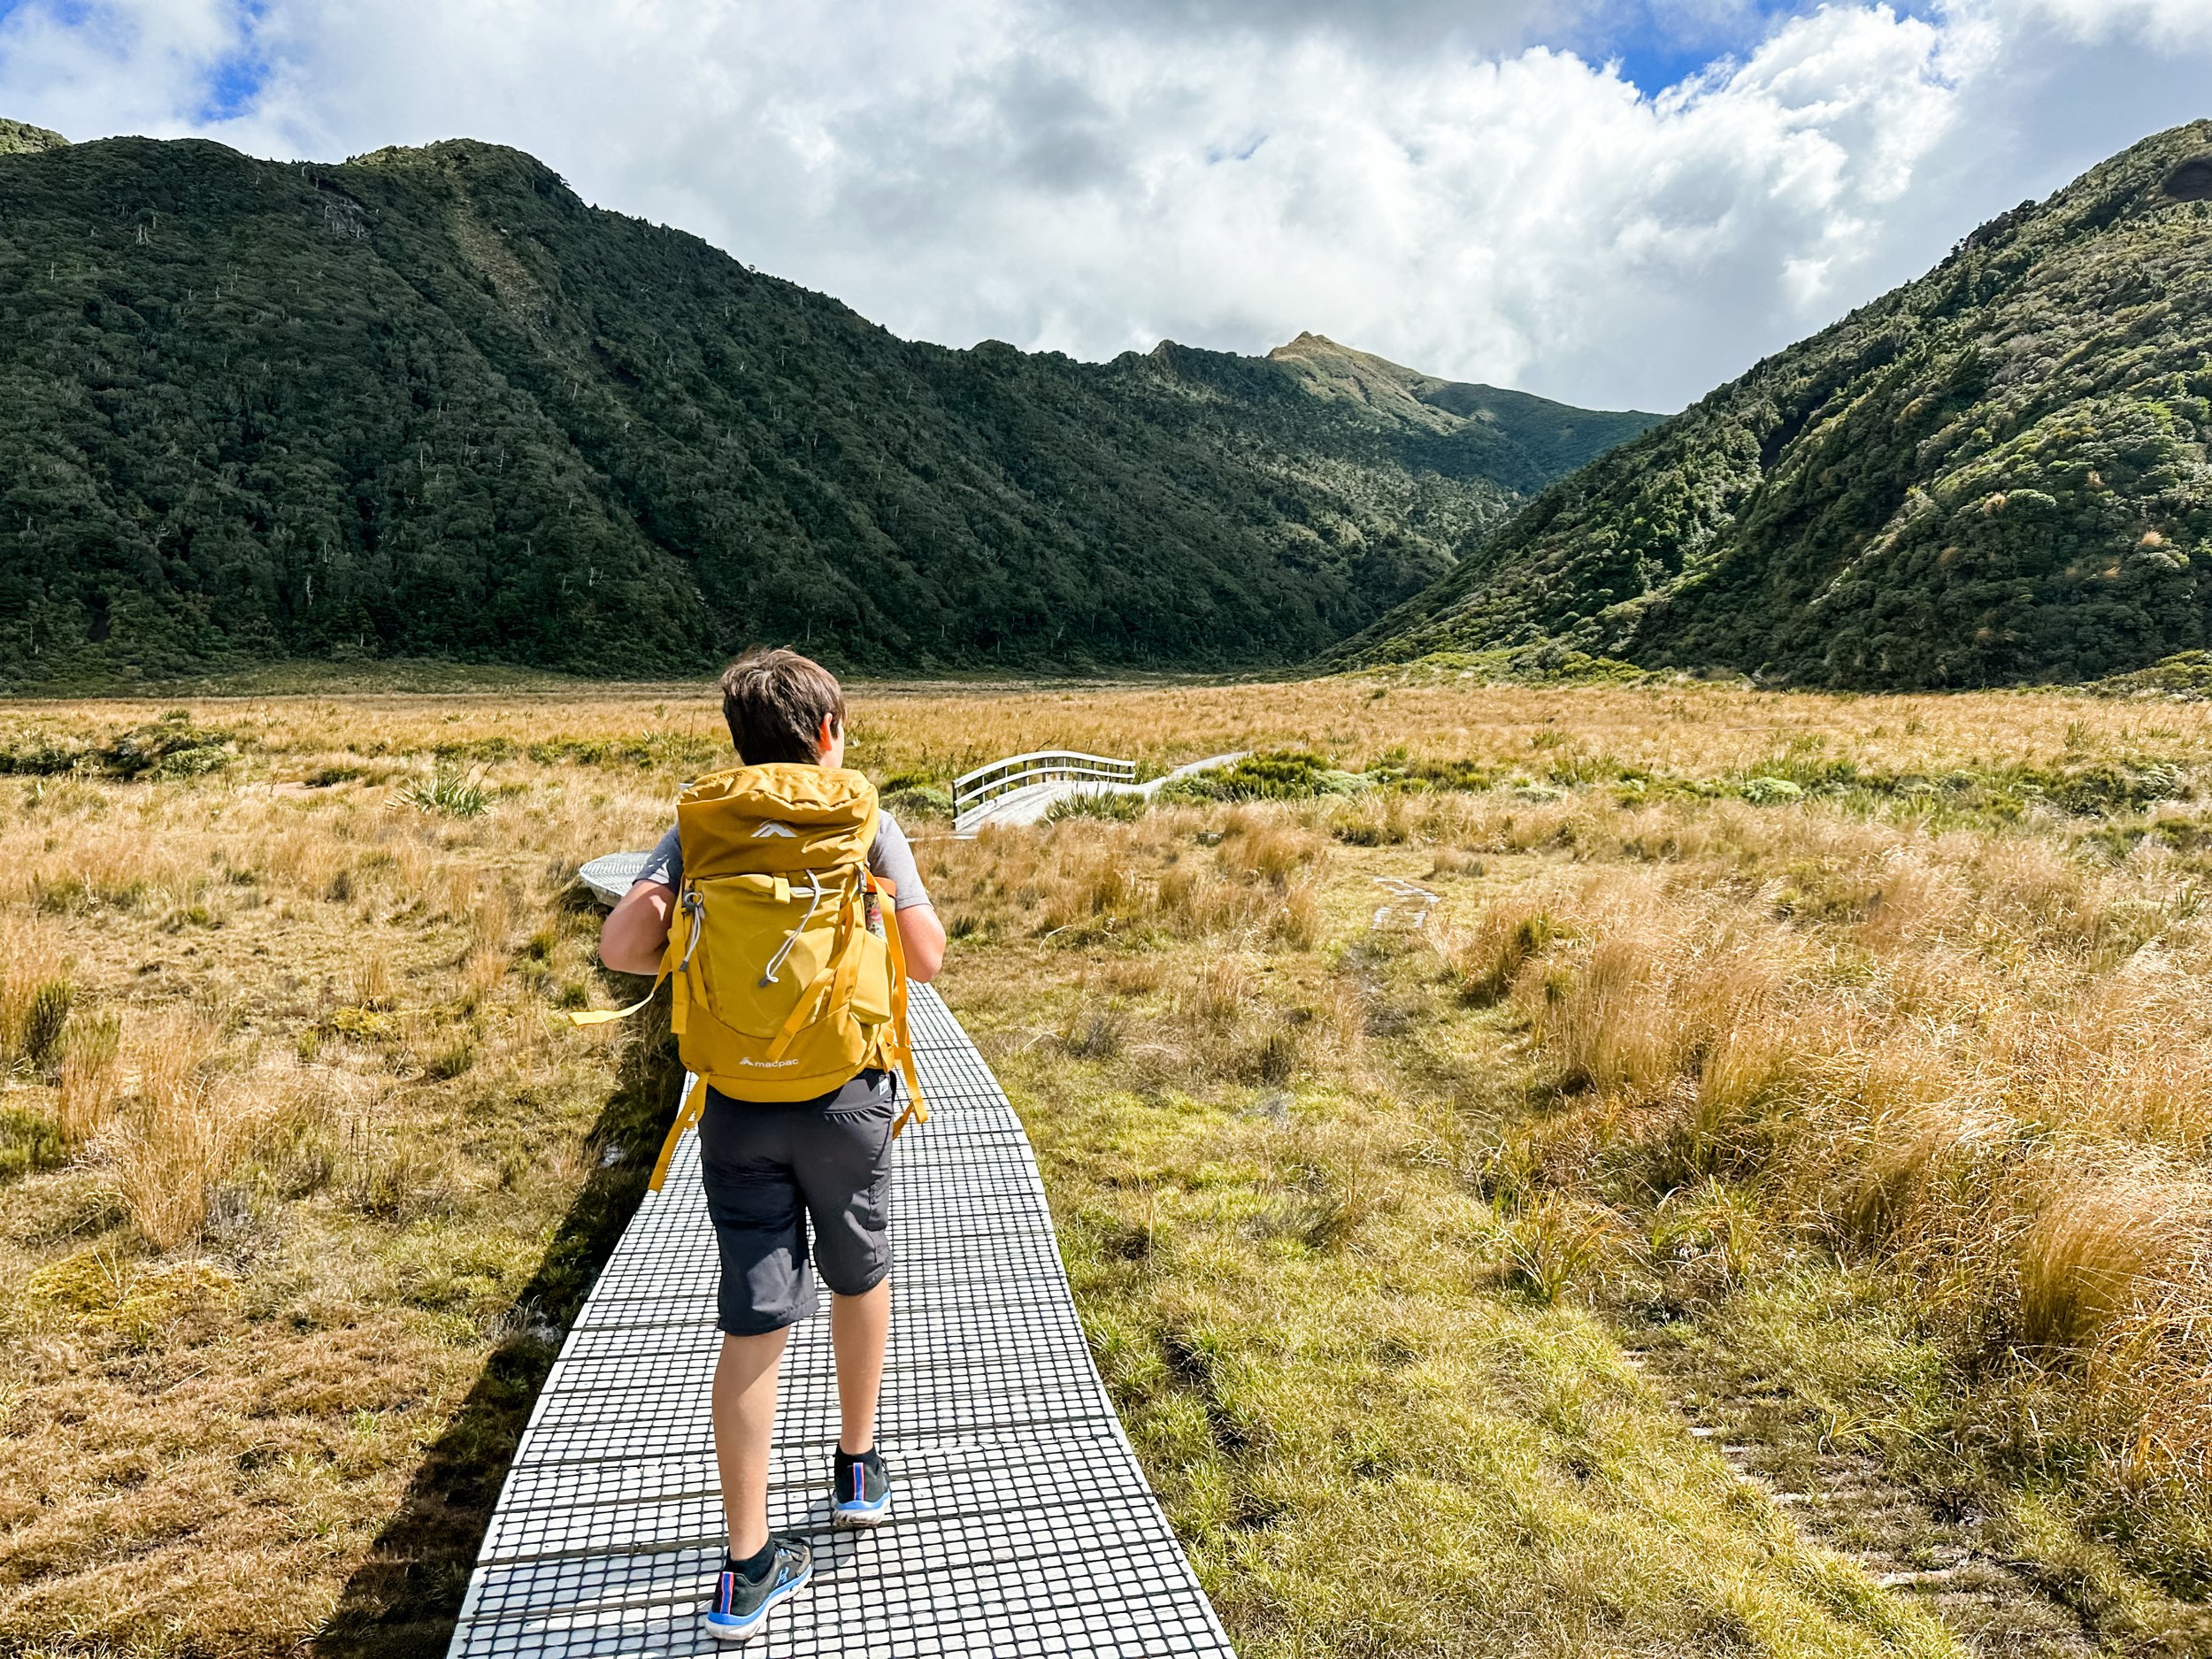
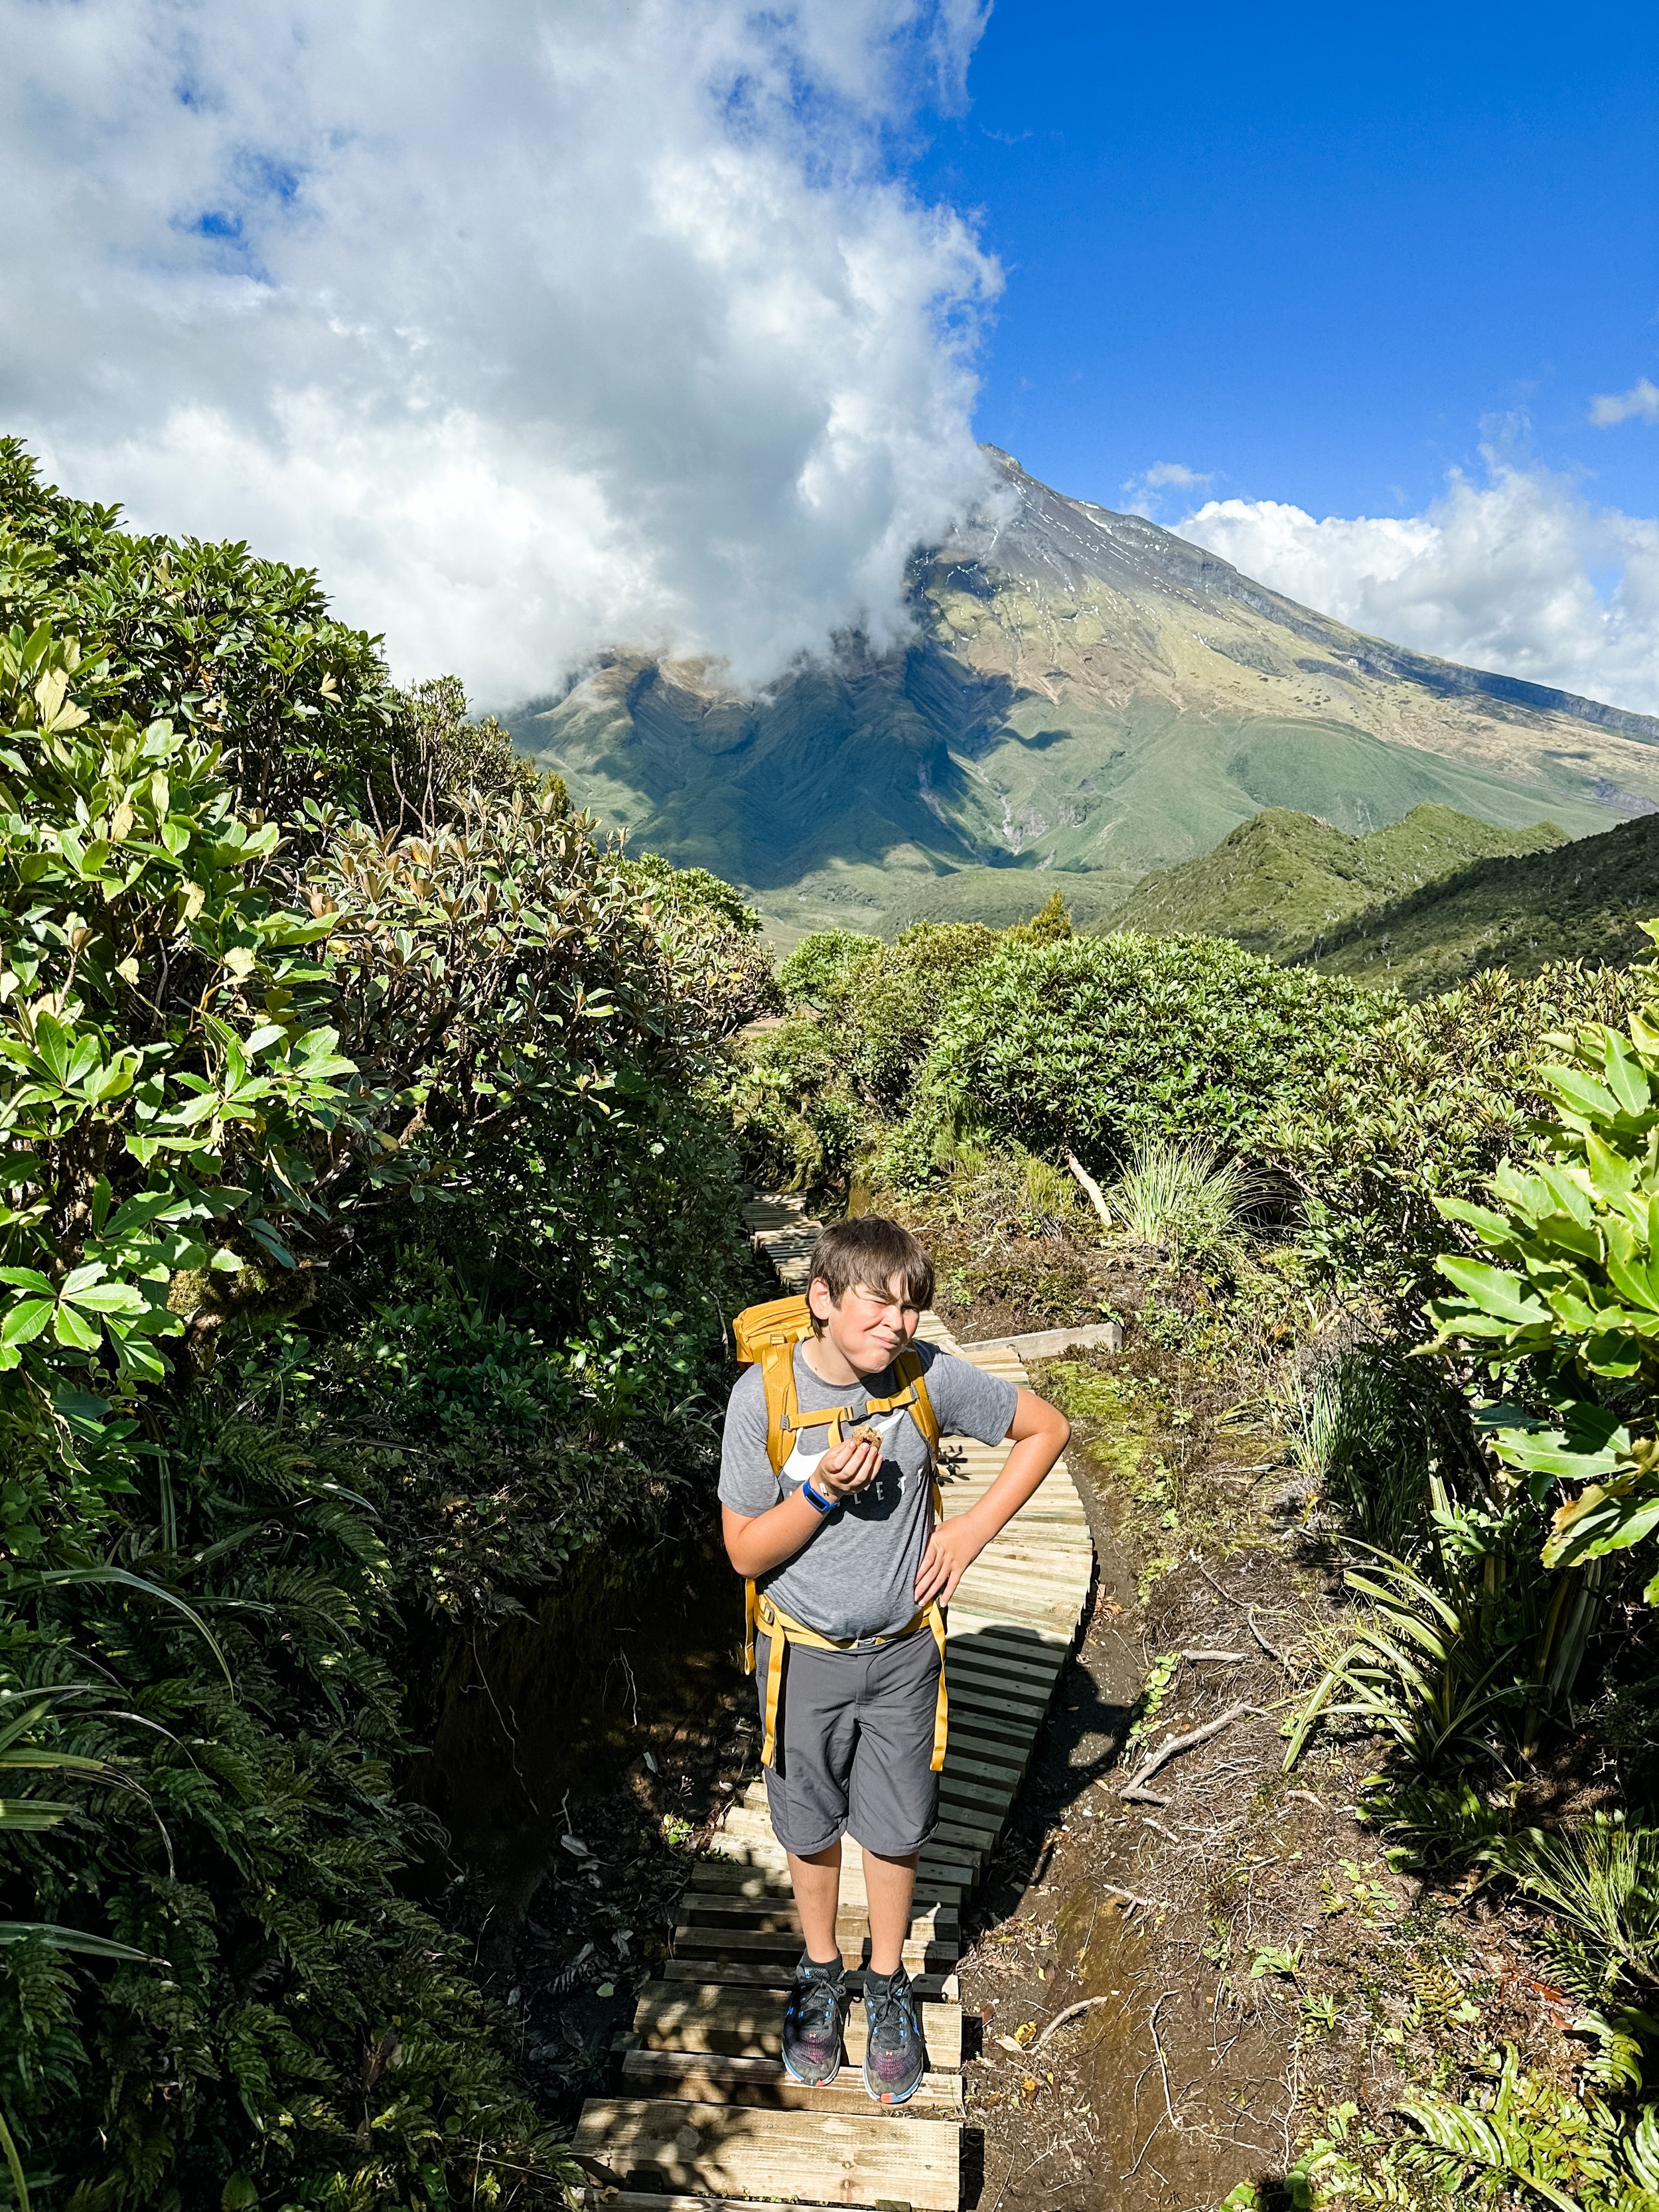
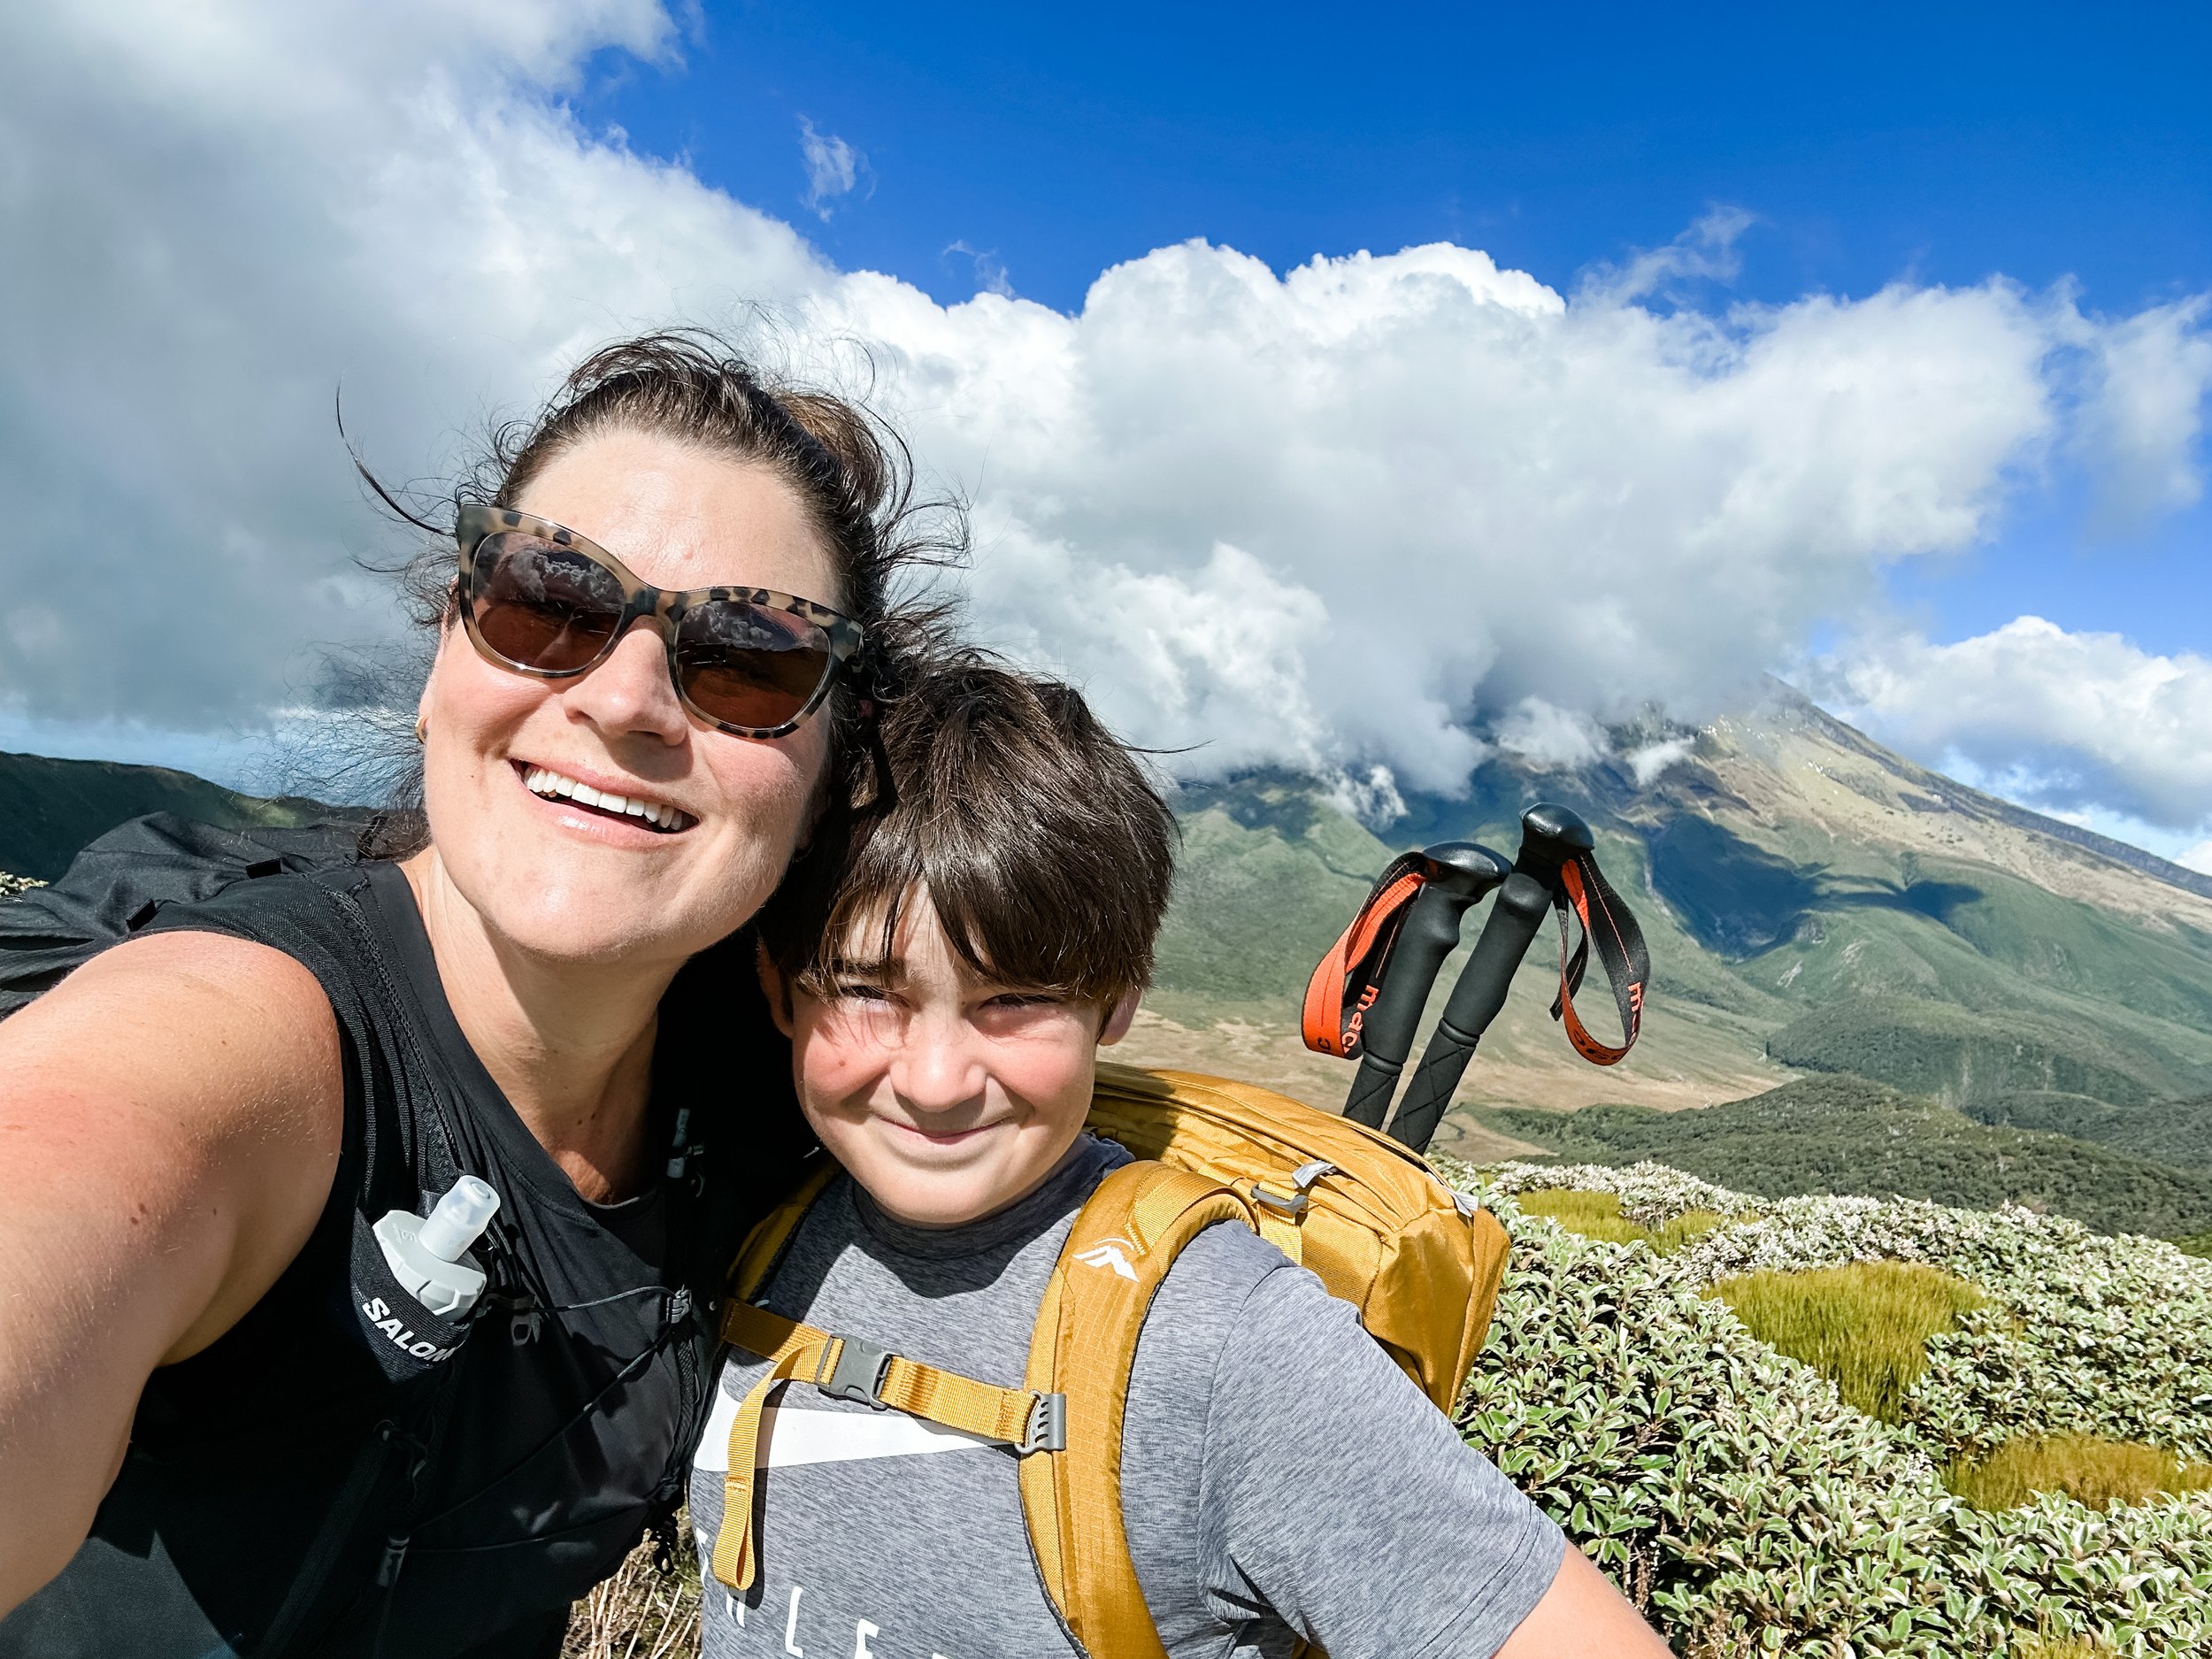
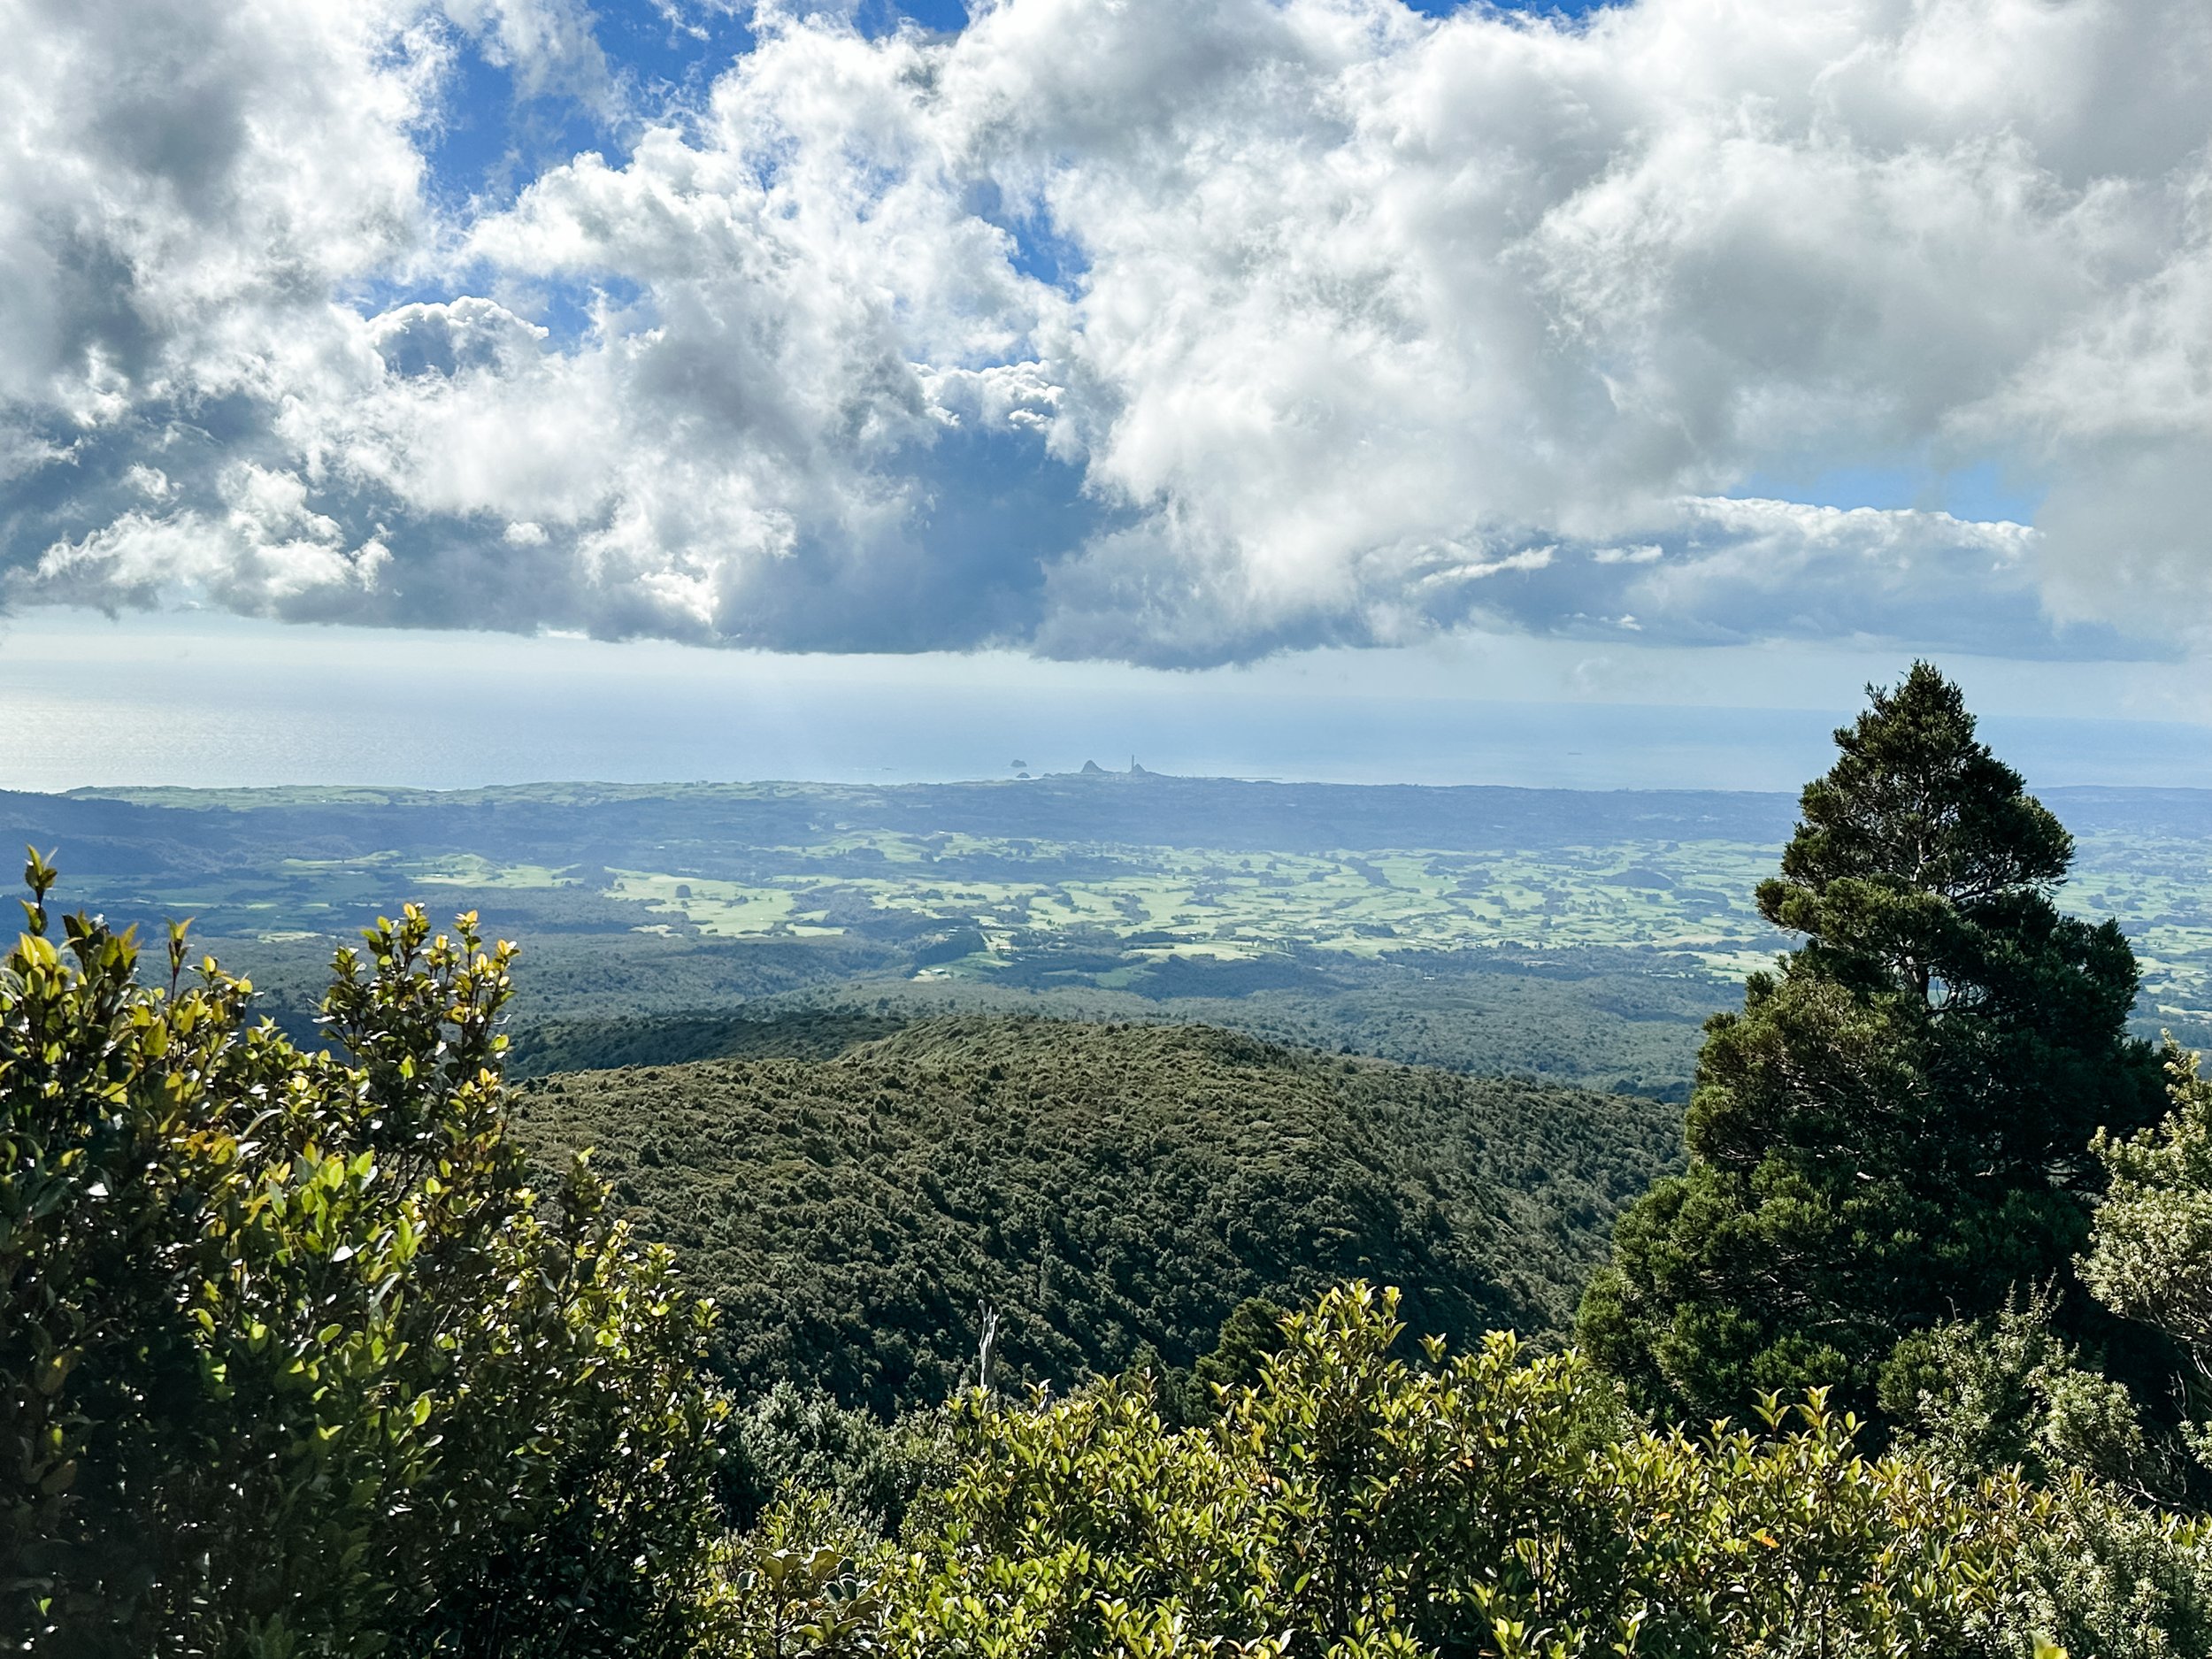
This walk starts from the North Egmont Visitors centre. Follow the boardwalk up to the camp house and head up the Veronica Track. You will pass the Ambury Monument (and interesting read!) and starts to climbs up some steps. You will be on the steps for around 30 mins - straight up, so this walk requires a reasonable level of fitness. You will come to a junction with signposting to turn right and loop back to the visitor centre through kamahi and Hall’s tōtara forest, however, I recommend you continue straight on the Holly Hutt track for about another 10 mins up for some epic views out over New Plymouth and straight up to the mountain. Walk past the first little lookout where there are some seats, and go about 5 mins further where you’ll get the best views.
Once you’ve taken in the scenes, head back down and turn down the loop junction you passed earlier.
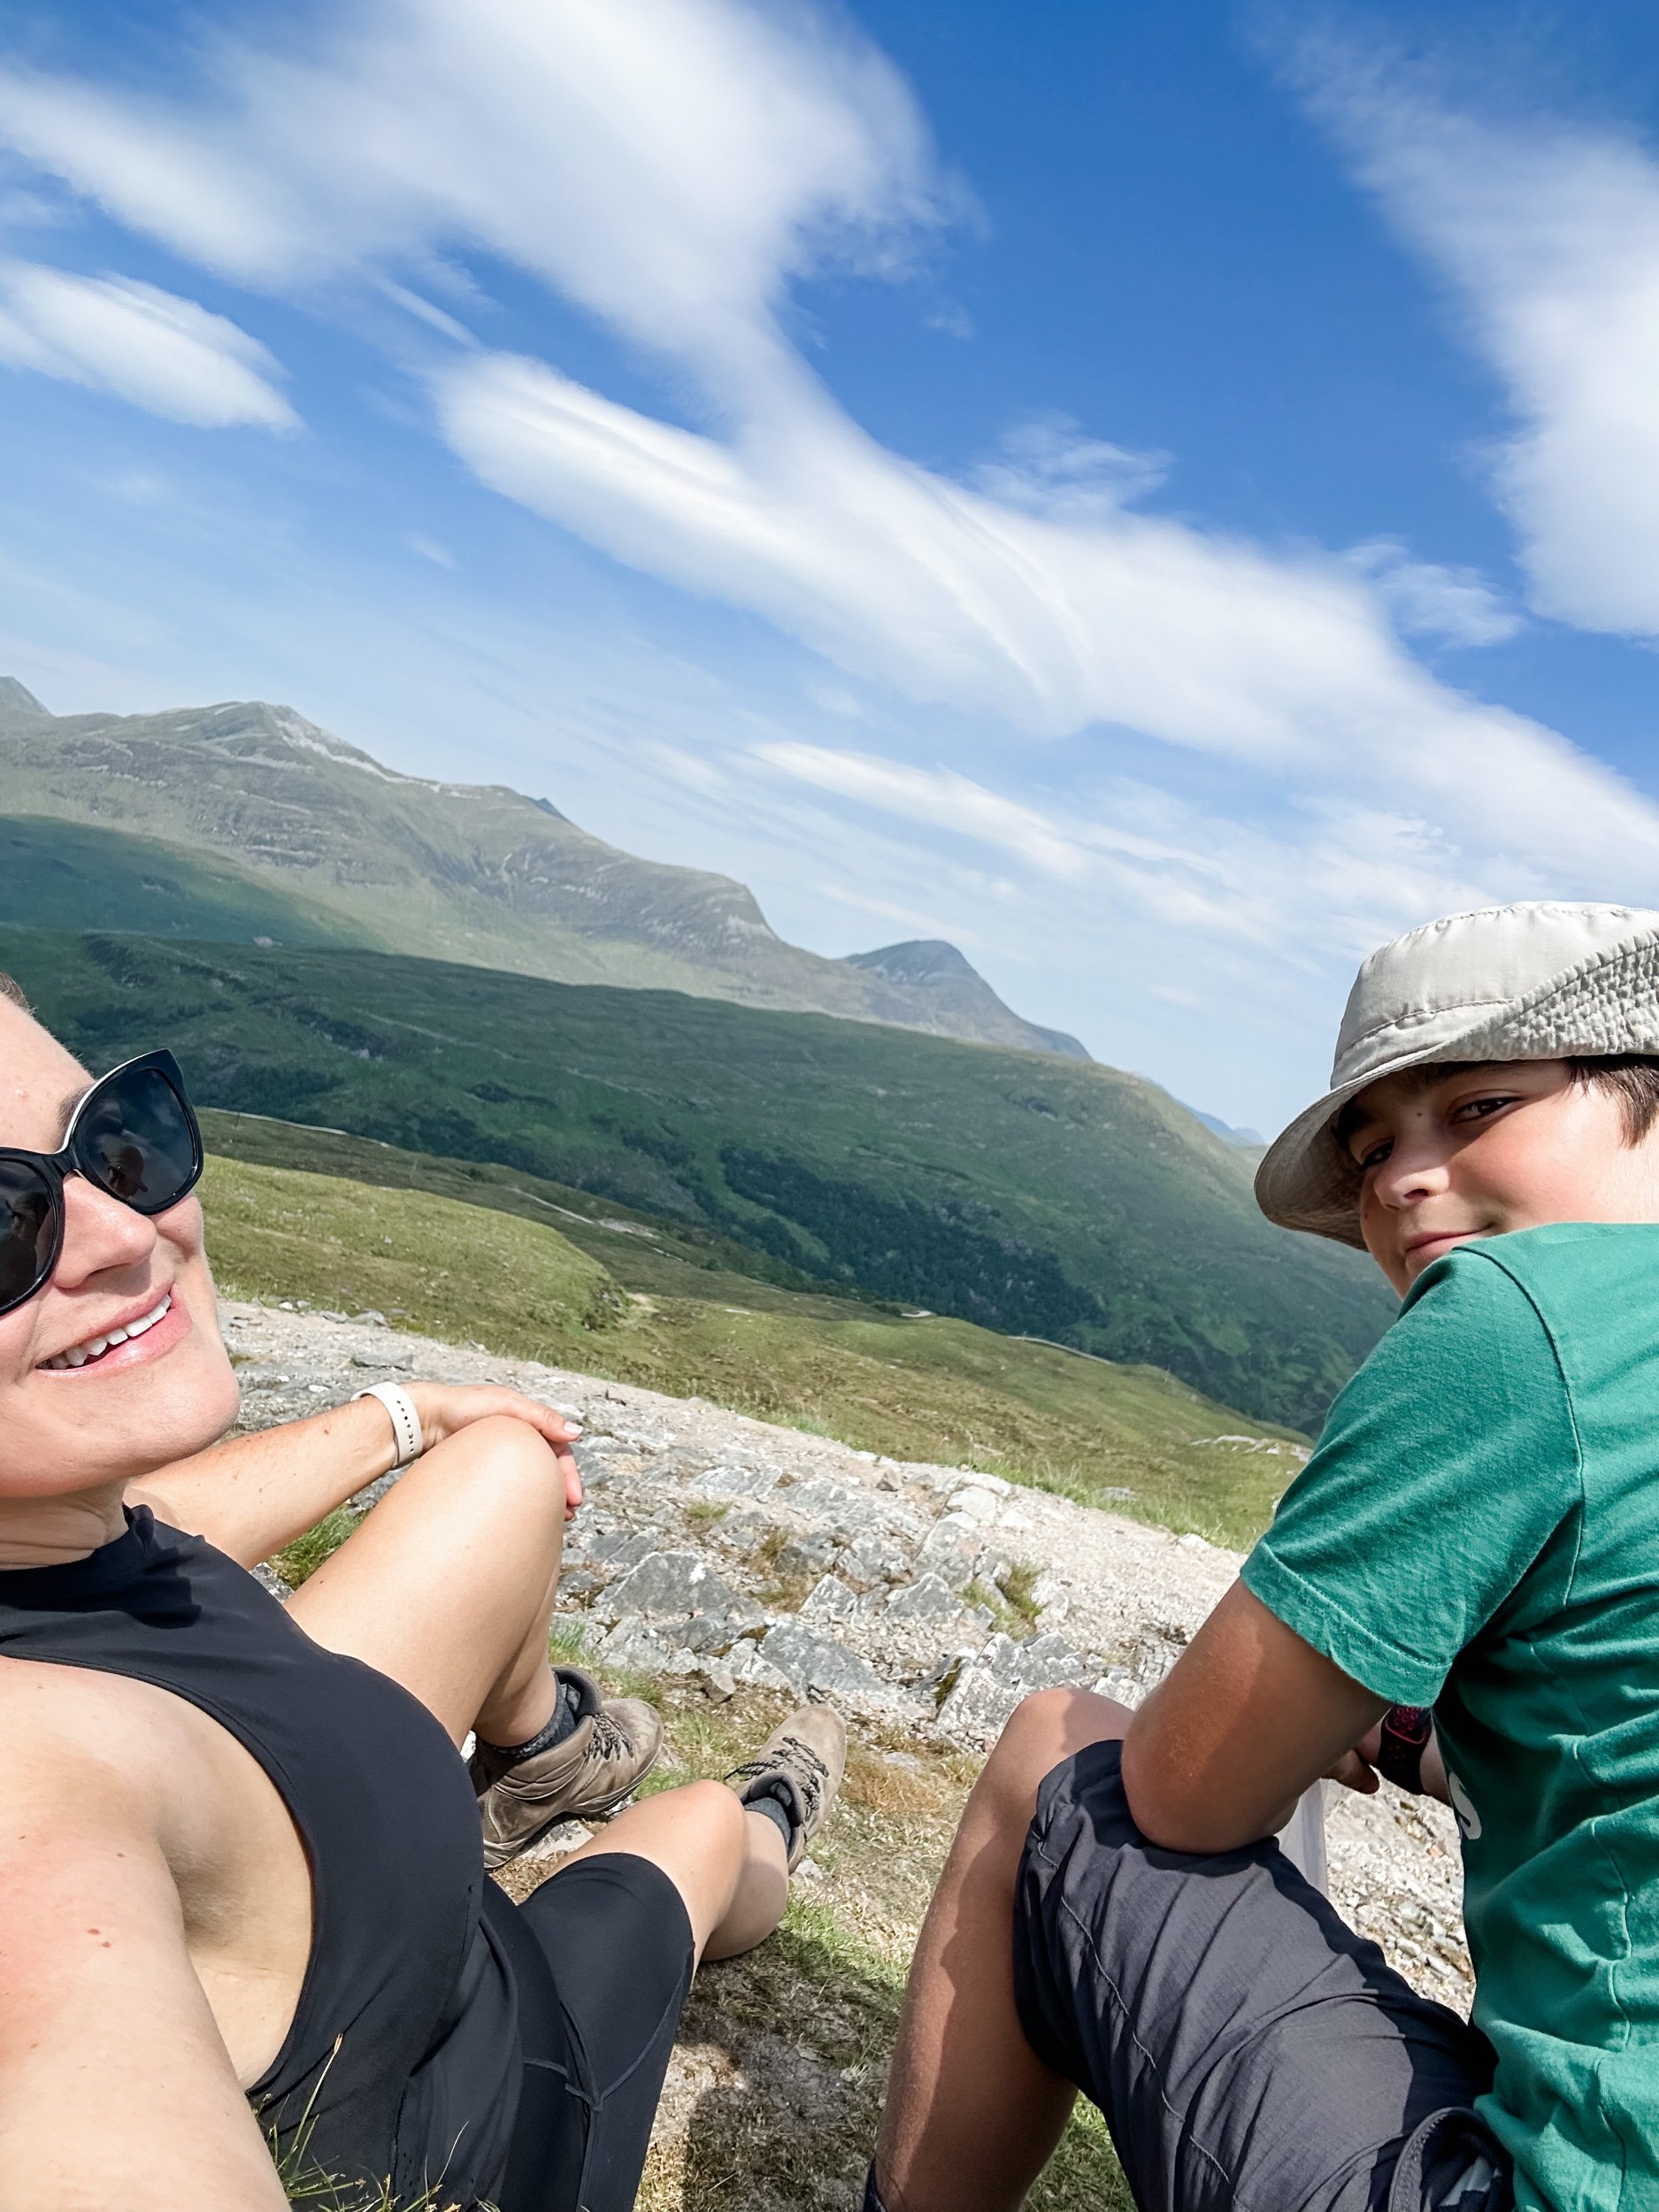
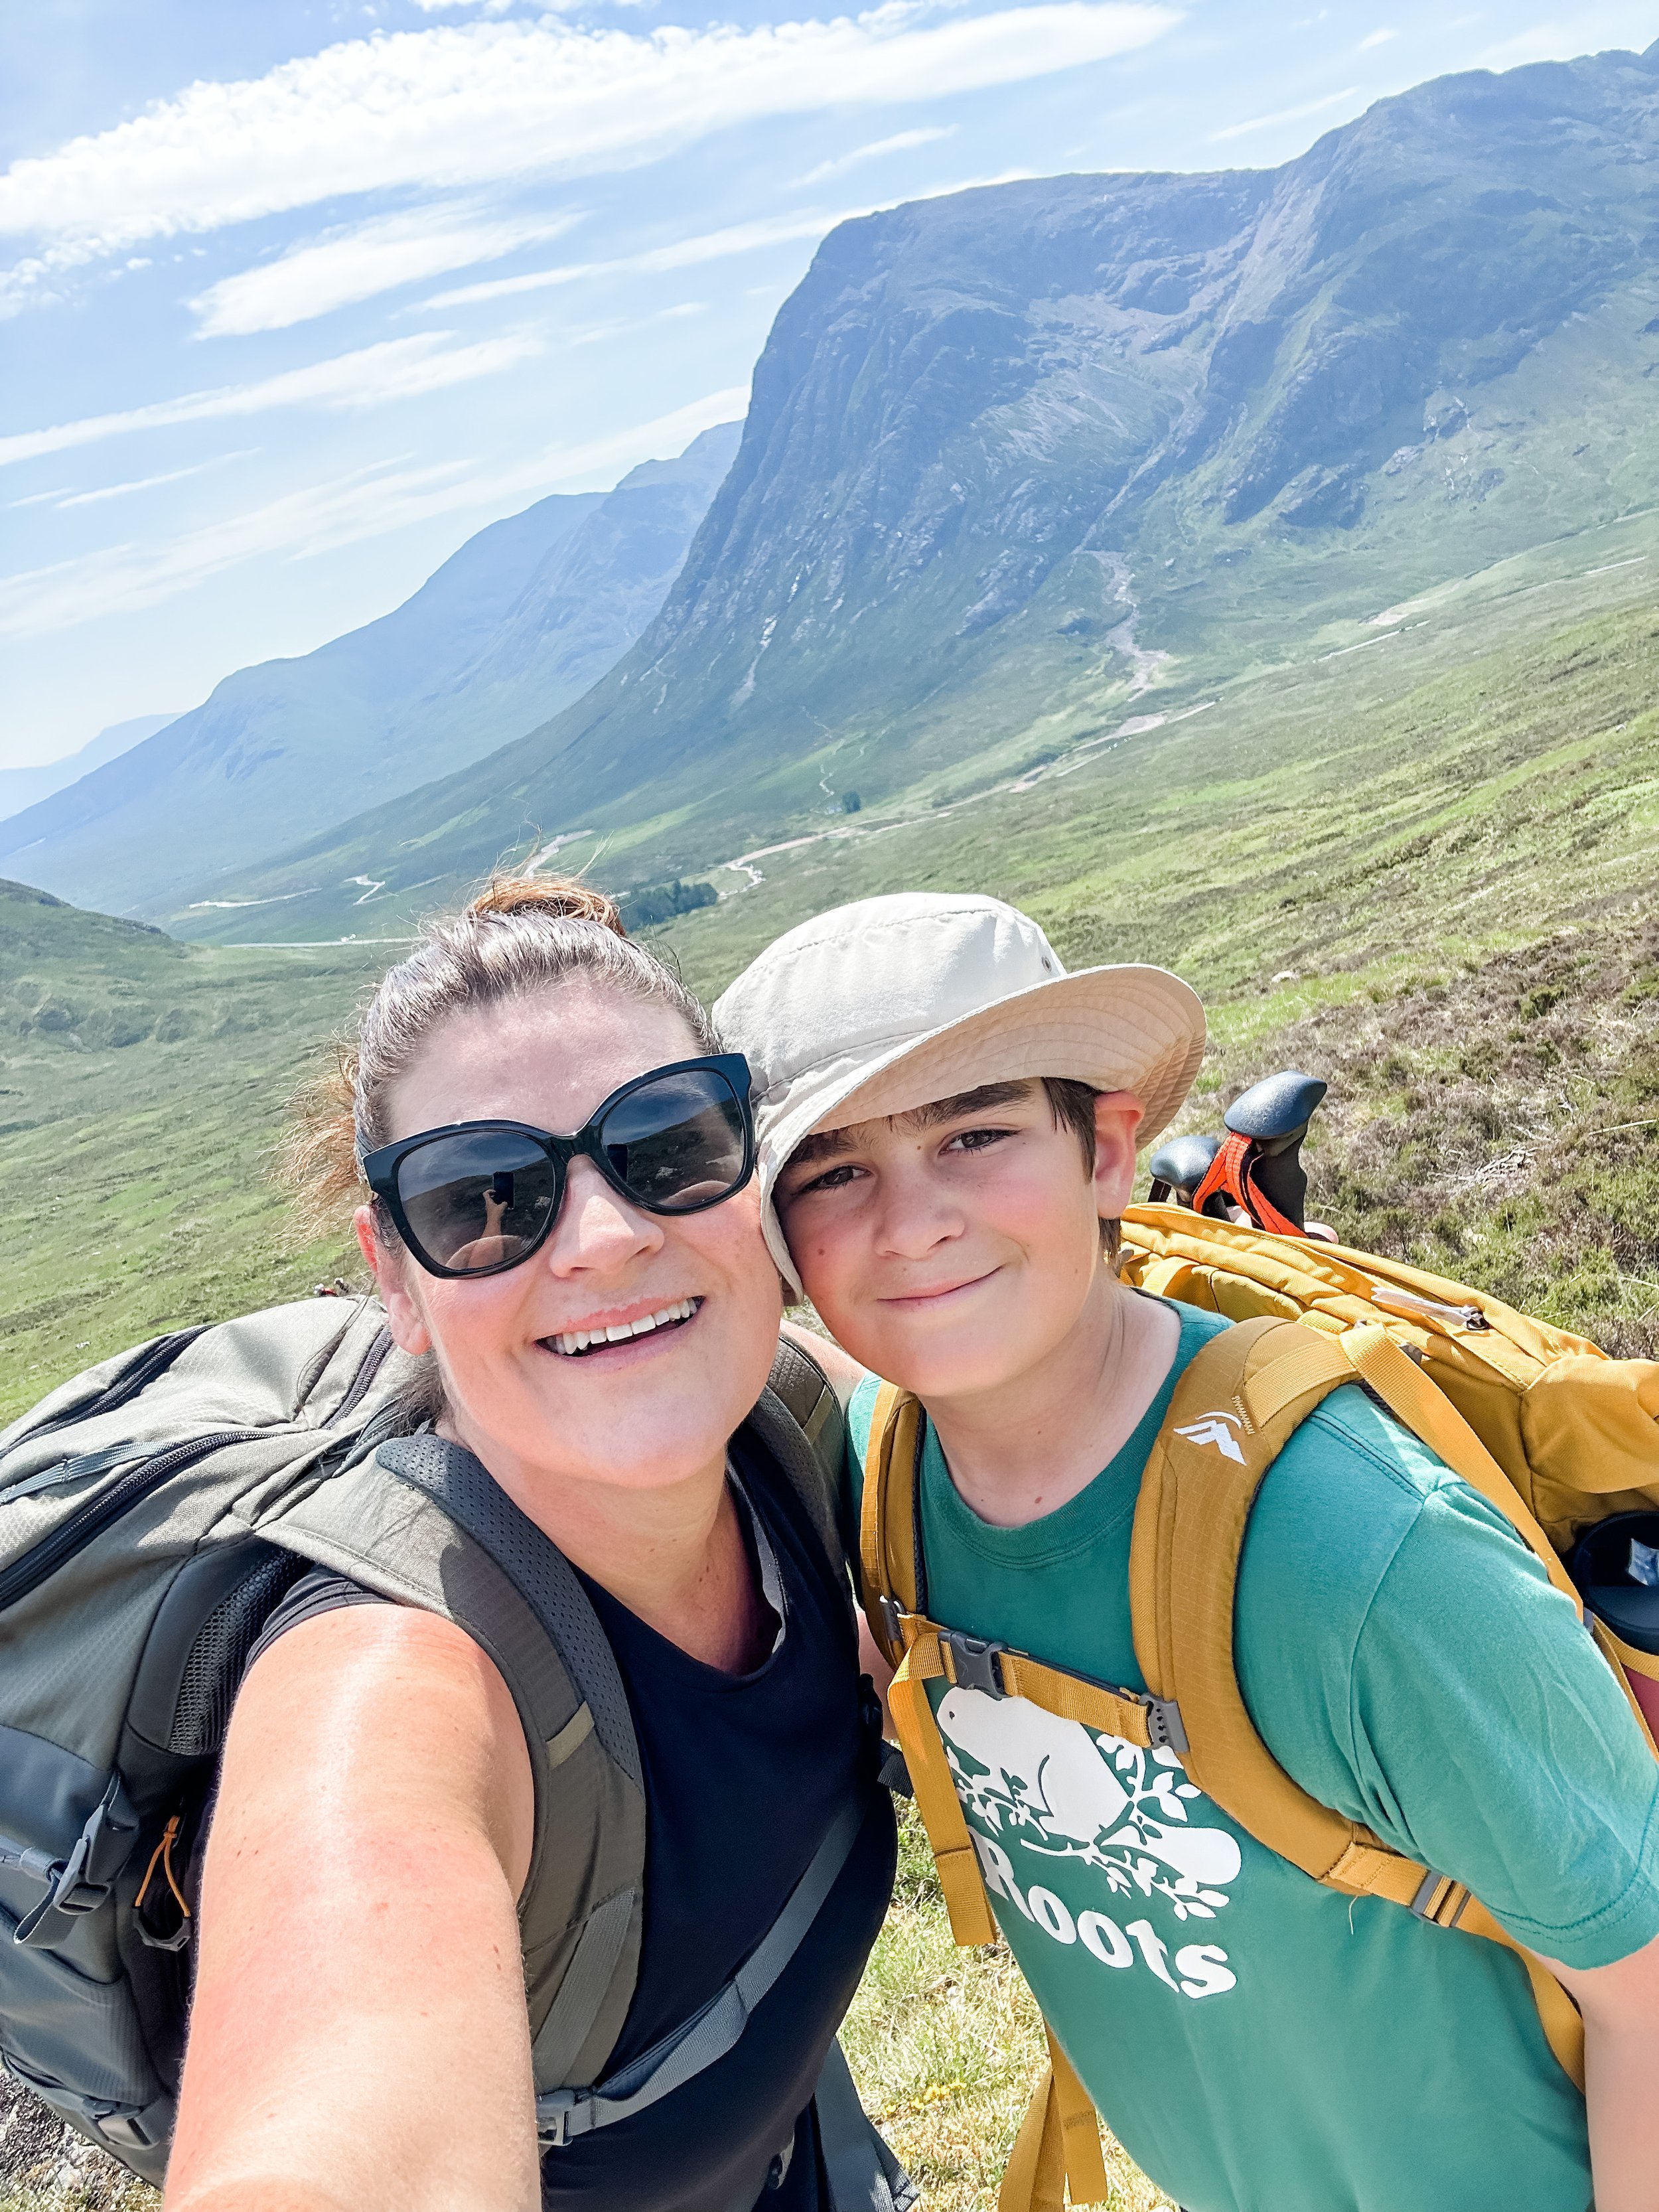
This walk offers it all - great views (and cardio!) and incredible alpine rainforest.

View from just beyond the Veronica Loop track

Coastal Walkway / East End Reserve to Oceanview Parade Boardwalk

8kms / 2hrs / Easy Grade
The Coastal Walkway is very popular here in New Plymouth, and an obvious choice if you’re staying in NP and want to get out for a walk - or ride. With just under 14kms of pathway to choose from, there is a lot to see along the way and lots of different entry points and places to walk. My favourite short walk would probably be the wind wand to East End Beach, but the walkway is a great spot for getting out and stretching your legs for a longer walk, which also allows you to get to some quieter parts of the walkway.
For the most variety, I like to start at East End Beach (park at the Buller Street Carpark) and head towards Fitzroy Beach where you can grab a coffee from the kiosk while you walk. Keep walking past the holiday park and towards Te Rewa Rewa bridge - an iconic Taranaki landmark. You can turnaround here, but I recommend you continue across the bridge and turn off the track up on the left at the first opportunity to take your shoes off and sink your toes into the sand and check out the views at the beach. This part of the beach is usually empty and is really beautiful. Continue along the path to the boardwalk, which is once again super beautiful and offers great views up and down the coast. At the end of the boardwalk turnaround and head back.
Other bonuses of this walk are plenty of toilets! Find bathrooms at East End, Fitzroy & Waiwhakaiho Rivermouth.

Hooker Valley Track / Aoraki Mt Cook

10kms Return / 3hrs
Located 5 mins from Aoraki/Mount Cook Village.

There is a reason the Hooker Valley Track is voted New Zealand most popular day walk. It is nothing short of spectacular, especially if you get a clear day like we did, getting to experience Aoraki / Mt Cook as your backdrop while you walk.

During this walk you pass through Hooker Valley and walk beside the Hooker River, and end at a glacial lake which is pretty amazing to see up close. We were lucky enough to see some icebergs the day we were there.

The track is a medium to easy grade, there is no real elevation so it’s a relatively easy walk that is family friendly. The walk is 10kms long though, so does take a little while, but the views and alpine flora and fauna you experience make it worth it.

There are several swing bridges to cross which offer some pretty amazing views along the way. If you’re a bit skittish around heights, the second one might make you pause (like it did for me!) but I knew I just had to get to the other side, so got brave and did it!

The view are incredible in every direction. While walking you are surrounded by mountain ranges on all sides making it pretty dramatic. We were lucky enough to witness an avalanche off to the side on one of the cliff faces - we actually heard it before we saw it, with the sound echoing through the valley. Pretty cool!

The terrain is quite rocky in places so I recommend close toed shoes. I walked in hiking boots which were perfect for this walk.

This walk is one of our favourites ever, with so much varied landscape and terrain in the 3hrs we were walking, plus the stunning scenery and it’s easy grade - it’s a winner!

Your Guide to Hiking the West Highland Way in the Scottish Highlands

Recently on our trip to Scotland, my 12yr old son and I walked three days of the West Highland Way in the Scottish Highlands. Now in Scotland, this walk is pretty famous. Apparently if you’ve ever been a Boy Scout or Girl Guide, you will have been on a trip to at least one part of this walk. But being from New Zealand I had never heard of it before, until I read Waypoints, by Sam Heughan. In this memoir Sam sets out along Scotland's rugged ninety-six-mile West Highland Way and reflects on his life and career. I loved the book and he painted such a beautiful picture of this walk and his beloved Scotland - so decided to add it to our European adventure itinerary!

I’m so glad I did - it was INCREDIBLE.
We had the best time in Scotland, and in particular on these three epic days. The Highalnds are simply stunning with incredible scenery and landscapes that seem to go on forever, so what could be better than immersing ourselves for three days?

There are plenty of companies that do all of the organising for you, but for us personally this added a lot of cost that we didn’t have in our budget so I just organised myself and it was super easy.

Here’s what we did, where we stayed, what we ate and how I planned our WHW adventure!

Step 1 - decide which sections you’re doing

We only walked 3 sections as we didn’t have time to do the whole thing. I did a lot of research on what the ‘best’ sections were; and the consensus seems to be that the last three days offered some of the best scenery as you were getting higher and higher into the highlands. It was hard to choose as I really wanted to walk alongside Loch Lomond (which is at the start) but ultimately decided the last three days would be best for us.

We were coming from Glasgow by car, and decided to stay at Bridge of Orchy as it sits right on the track, just a few kilometres from one of the section starting points (Inveroran). Logistically having a car if you’re whole party is walking could be an inconvenience (having to travel back to collect) but my husband wasn’t walking, so he drove each day between places.

So our walk looked like this:

Day 1 - Bridge of Orchy Hotel to Kingshouse 21kms/13 miles.

Day 2 - Kingshouse to Kinlochleven 14.5kms/9 miles

Day 3 - Kinlochleven to Fort William 24kms/15 miles

Now on to organising where to stay…

Step 2 - book accommodation For each section

We booked our accommodation roughly 8 months out which I would recommend as you are walking between really small centres with not a lot of options in some cases. in our case, Kinlochleven & Fort William had plenty of accommodation on offer but Kingshouse and Bridge of Orchy for example, don’t.

As we were driving from Glasgow, Bridge of Orchy Hotel seemed like the perfect place to stay for the night before the walk started. There is also a train station nearby for those without a vehicle. Even though we booked 8 months out there weren’t a lot of room options - plus there were 3 of us which is an awkward number. We booked the cottage and it was perfect, even if a little expensive. Our rate included breakfast and honestly it’s the most impressive ‘free’ breakfast I’ve ever had. Normally there would be a continental, or if you’re lucky a hot buffet - but here you were huge a decent sized menu to choose anything you liked! The breakfast was so good too - hearty and a perfect start.

I’m general it was a beautiful place, we loved it by the river and enjoyed our quick overnight here.

Our day 1 walk would take us to Kingshouse. There are a few different options here (the ski resort being one of them) but I knew I really wanted to stay at Kingshouse Hotel. It looked beautiful plus Sam stayed here as did the Outlander cast and crew so I wanted to see it first hand! The restaurant here was really good!

Kingshouse Hotel

The next section ended at Kinlochleven. There were quite a few affordable options here, Eco lodges, Motels, Inns and Backpackers. I chose the Tailrace Inn. There’s a pub downstairs which was really great and actually recommended to us for food by locals when we were there and rooms above. It was comfortable & clean, breakfast the next morning was also really good! Do yourself a favour and order the porridge - to die for!

Tailrace Inn

our last night was the end of the walk, in Fort William. Plenty of options here too. I chose a standard motel, the Nevis Bank Inn which had good reviews. It was comfortable with REALLY good beds, had air con (amen!) and was in a good spot.

Nevis Bank Inn

Step 3 - organise luggage transfers if needed

This was a service we didn’t end up needing, but I had researched as originally we weren’t going to have a car. Baggage Freedom was the company I’d seen recommended. You pre book and then tag your bags and leave at reception of each accommodation and they collect for you and take to your next stop. Brilliant!

Speaking of luggage…What to pack

The weather can be really unpredictable in the Highlands, so it’s important that you pack the right gear to take with you. Make sure you take wet weather gear, even if you’re going in summer. We had jackets for us both in our daypacks, and spare base layers in case we got wet.
The other important thing to note is footwear. I would definitely recommend hiking boots due to the kind of terrain that is on the track, preferably ones that have a water resistant coating on them to help if there is rain and mud. The track often has loose metal / gravel so you need something that will grip well. I would also recommend taking a backup pair of trail shoes or sneakers if your feet start to give out.
I also highly recommend hiking poles for walks like this. They help support you on the downhills when you need stability or balance, and also help with the uphills. I used them every day of the hike. My son and I actually ended up having 1 each on the flats as he really liked having one as well.
If you’re going in Midgie season, make sure you spray up before you leave and take some to top up on the trail as well. They weren’t so much as an issue for us in early June, but you never know.
Of course, sun hats and sunblock is also needed.

what about Food on the hike?

Aha! Very good question and one I worried a lot about. Bring in essentially the middle of nowhere in these tiny towns or villages (or not even that), would we have access to services? The answer is yes… and no.

Some of the stops between sections have services - but I would say very few. A great website to use for planning and seeing what is available is https://www.westhighlandway.org/

All of the accommodation we stayed at had a pub or restaurant attached, so we are breakfast and dinner and our accommodation. What about lunch on the walk? All of our accommodations also offered a packed lunch for an extra charge, which we actually didn’t up needing. Because we had a car, we had a cooler bag with us and stopped just outside of Glasgow for supplies. We bought protein bars, nuts, fruit, sandwich fixings and chocolate (necessity on any hike) and between fridge sun our rooms or asking at reception - we managed to keep our food cold. So, I made our lunch each day and we packed it in our backpacks along with lots of water.

It worked out perfectly.

The walk itself… the best part!

All in all; I highly recommend the walk - any sections you want to do would be amazing. It was incredibly beautiful and wasn’t overcrowded. We were so lucky with weather it was beautiful every day (was not expecting that) and we ended each day with a swim in a river nearby - cold but refreshing and good for the muscles. There were so many epic swimming holes - also unexpected.

Day 1 (Bridge of Orchy to Kingshouse) 21kms/13 miles

This was probably our favourite day walking conditions wise. After some initial gentle elevation, it was mostly flat or with a few gentle hills every now and again and the terrain was excellent under foot. Nothing too challenging although the distance was long, but we loved it.

At the end of the walk we met up with Bill, hopped in the car and went in search of a swimming hole! We headed up the road that goes to Glen Etive (also where Skyfall was filmed!) and found the perfect spot. We then went to check out the wee White House - perfection! We didn’t realise we would walk right past it on day 2!

Day 2 - (KINGSHOUSE TO KINLOCHLEVEN) 14.5kms/9 miles

Today was a lot tougher. The start of the walk is really beautiful, leaving Kingshouse and walking beneath Buachaille Etive Mòr which is so majestic. A few kms in the ascent up the Devils Staircase. It was a tough challenge that never seemed to end but the views all the way up were so amazing, looking back down at the Wee White House that eventually disappeared in the distance. The terrian here is also pretty technical with lots of loose gravel underfoot. It was incredible at the top though, the mountains out the other side were so much bigger than I’d expected. And then the descent started - a long way down to Kinlochleven. Half of this is on the trail, and then you join a logging road for the last fees kms which was hard on the knees! Finally we arrived at the Tailrace Inn to a cold sprite and hot shower. We then headed off to see Glen Coe from the road and have another swim. Glen Coe is simply sublime / one of the most beautiful places I’ve ever seen.

Day 3 - the final ling trek to Fort William. 24kms/15 miles

What a day! A long hard day that was incredibly rewarding. Heading out of Kinlochleven is up up up for the first few kms and it was a hard slog on tired legs, but once at the top you are rewarded by amazing views back over the loch and mountains. We loved the views. You then stay at elevation for a few hours, walking in a valley with mountains to your left and right. The path is easy to walk on and you don’t have to be so careful with your footing like the day before. Eventually the terrain changes, you’re treated to more amazing vistas in all directions, heading up gradually until it feels like you’re on top of the world. Our biggest challenge on this day was the distance, it’s a long way and by the time you reach the logging road (having to ascend again to get there) you’re feeling pretty done! We found a beautiful stream that we stopped to put our feet in for 20 mins which did us the world of good. A long walk down the road into Fort William was pretty special though, with views across to Ben Nevis, the UKs tallest mountain. We were so excited to reach the end! Super proud of my son, and me, for going on this epic adventure!

Overall It was a wonderful experience that I would recommend to anyone who is interested in a hiking trip in Scotland.

It’s certainly one I will never forget.

For more information on other sections of the West Highland Way visit the West Highland Way Official Website

The West Highland Way with Kids

As a side note, I’m so very proud of Aiden for completing this walk with me! I think kids are so often more capable than we think they are. We didn’t see any other children walking in the 3 days, but in may opinion (and Aiden’s) it the perfect track for kids.

Give it a go!

Hiking The Pouakai Crossing, Mt Taranaki

I think the Pouakai Crossing is one of New Zealand’s best kept secrets, and so underrated!
Maybe it’s because Taranaki sits out of the way on the West Coast of the North Island and is a destination rather than somewhere you can just ‘pass through’, so people really need to have a reason to come here. Well look no further avid hikers, because this day hike is nothing short of spectacular. There is a natural comparison between the Tongariro Crossing and the Pouakai Crossing, being similar distances and both being on mountainous terrain, but I think that is where the similarities end. While Tongariro is rugged and other wordly with rocky and dessert like terrain, Mt Taranaki is lush & green with a varied landscape - and it’s much less crowded. We actually didn’t see another soul for the first 3hrs.

It has been a big goal of mine to complete this walk, and in early April my son and I decided it was time. Being lucky enough to live not far from the mountain, we were able to stalk the weather and head up on a day that looked like it was going to be clear. There are no guarantees on the mountain, but we hit the jackpot with the weather. It was a magic, beautiful clear sky day. Before I dive into telling you all about it, I also have an instagram highlight reel if you’re keen to check that out, look me up @mybalanceproject.

The Crossing is officially 19kms one way (although my Apple Watch put it at 21kms), starting from the North Egmont Visitors Centre, and ending at the top of Mangorei Road. You can walk it in reverse, but there is less uphill if you start from the Visitors centre.

The crossing starts from just above the visitors centre, look for the Veronica Loop Track. The walk is made up of three main sections: Visitors Centre to Holly Hut (3-4hrs), Holly Hut to Pouakai Hut (2hrs) and Pouakai Hut to Mangorei Road (2hrs). You can also of course add on Pouakai tarns which is about an additional 20 mins.

7am Departure! 7 degrees.

We decided to start early at 7am so that we would beat any heat and just give us the whole day to tackle the walk. The Veronica Loop is a beautiful track that starts with a steady and steep ascent through alpine rainforest, it’s a really pretty track with lovely views back out over Taranaki. Once on the Veronica Loop, you then follow signs for Holly Hut (as you don’t want to continue on the loop around back to the Visitors Centre!). Once we cleared the tree line we were treated to some amazing views and started to cross the mountain. The landscape was so incredibly beautiful in all directions and you can see the path stretched out ahead of you weaving across the mountain. Very cool.
You can look straight up to the mountain or out over the Taranaki countryside and New Plymouth and the coast, it really is stunning. The walking on this section was our favourite - the track was great and most of it easy walking, with a few little technical bits and big rocks to cross, but mostly just a great track. Passing under Ambury Bluffs (huge cliffs) was a highlight, it was all so dramatic and beautiful.

Look closely for the path, Boomerang Slip

The biggest thing to note on this section is a few hours in you have to cross Boomerang Slip. I had read about this slip area, but wasn’t really prepared for how massive it was. I knew I had to cross it, so really had to get my courage up to do it as it’s pretty intimidating. It is literally a massive rock slide area with a narrow path made of sand going across it, like a goat track. My advice is just don’t look down and get it over with!

Once past here the landscape starts to change as you change direction and start to see the Ahukawakawa Swamp & ranges come in to view. Breathtaking! We ascended to Holly Hut which is a great spot to stop for lunch. We laid on the deck in the sunshine, met some other hikers and had a porta loo stop before carrying on.

The next section takes you across the swamp which is entirely other worldly. The swamp sits at an altitude of 920 metres and lies between the main cone of Mount Taranaki and the Pouakai Range to the northwest, which reaches 1,400 metres. It was formed about 3,500 years ago when a lava extrusion and a later debris flow blocked the Stony River (thanks Wikipedia). Because much of this area is protected you are walking on boardwalk which is a nice change.

Half way up, looking back down over the swamp

Once across we started uphill again, a little nervous at the ridge ahead of us but thought it would be over quickly. It wasn’t. It went on FOREVER! The only saving grace to this never ending ascent was the views looking back to the mountain were amazing. Plus the fact that there were wooden steps / boardwalk the whole way up. We must have been going up for 1.5hrs before it levelled out and we joined the Pouakai Junction track and Pouakai Hut. We decided not to do the detour to the tarns as we were tired and feet getting sore, so went direct to the hut for a break before starting the long downhill to Mangorei Road.

The last part is pretty gruelling due to the constant downhill on tired legs, but it is really pretty through alpine forest again. You have now joined the Pouakai Tarns track. This track is pretty famous here in the ‘naki, with hundreds and hundreds flocking here in the summer to get THE shot at the tarns. But it’s a hard slog straight uphill for 2hrs, not for the faint hearted. We thankfully were only having to go down it, but after an hour or so on already tired legs and sore feet, it was hard. But we did it! Eventually reaching my waiting husband who was waiting for us in the carpark.

My handy Apple Watch told me we had walked 20.95kms in just on 8hrs (including roughly an hour of breaks) and reach an altitude gain of 1156m. No small feat for my son OR me.

Speaking of my waiting husband - one of the things you will need to consider is transport, as the track is one way. There are two services I know of that run shuttles, the first is Taranaki Driven and the second is Ducks & Drakes. There may be others available too, so I recommend you do a quick google check.

Last but not least, please go prepared if you are going to go on this walk. The mountain is unpredictable and conditions can change. Even if it is a nice day, things change quickly up there. Make sure you take plenty of fluids & food (more than you think you will need), rain jackets plus a warm layer, good footwear, a first aid kit, emergency blankets plus sunblock and most of all make sure someone knows where you are.

If you’re coming from out of town, check out The Unwind on Canopy Camping Escapes, available from Mid September 23.

More information found on the DOC Pouakai Crossing Website