Ubud is famous for its stunning landscapes, rich culture, and plenty of wellness retreats, but for those looking to escape the tourist crowds and immerse themselves in nature, the Campuhan Ridge Walk is a must-visit destination. Within minutes of leaving the town’s busy center, you’ll find yourself on a peaceful path that offers breathtaking views of the lush Balinese countryside. For first-time visitors to Ubud, this serene trail is a perfect way to experience a little peace and quiet if you’re feeling the Ubud overwhelm!
Why You Should Visit Campuhan Ridge Walk
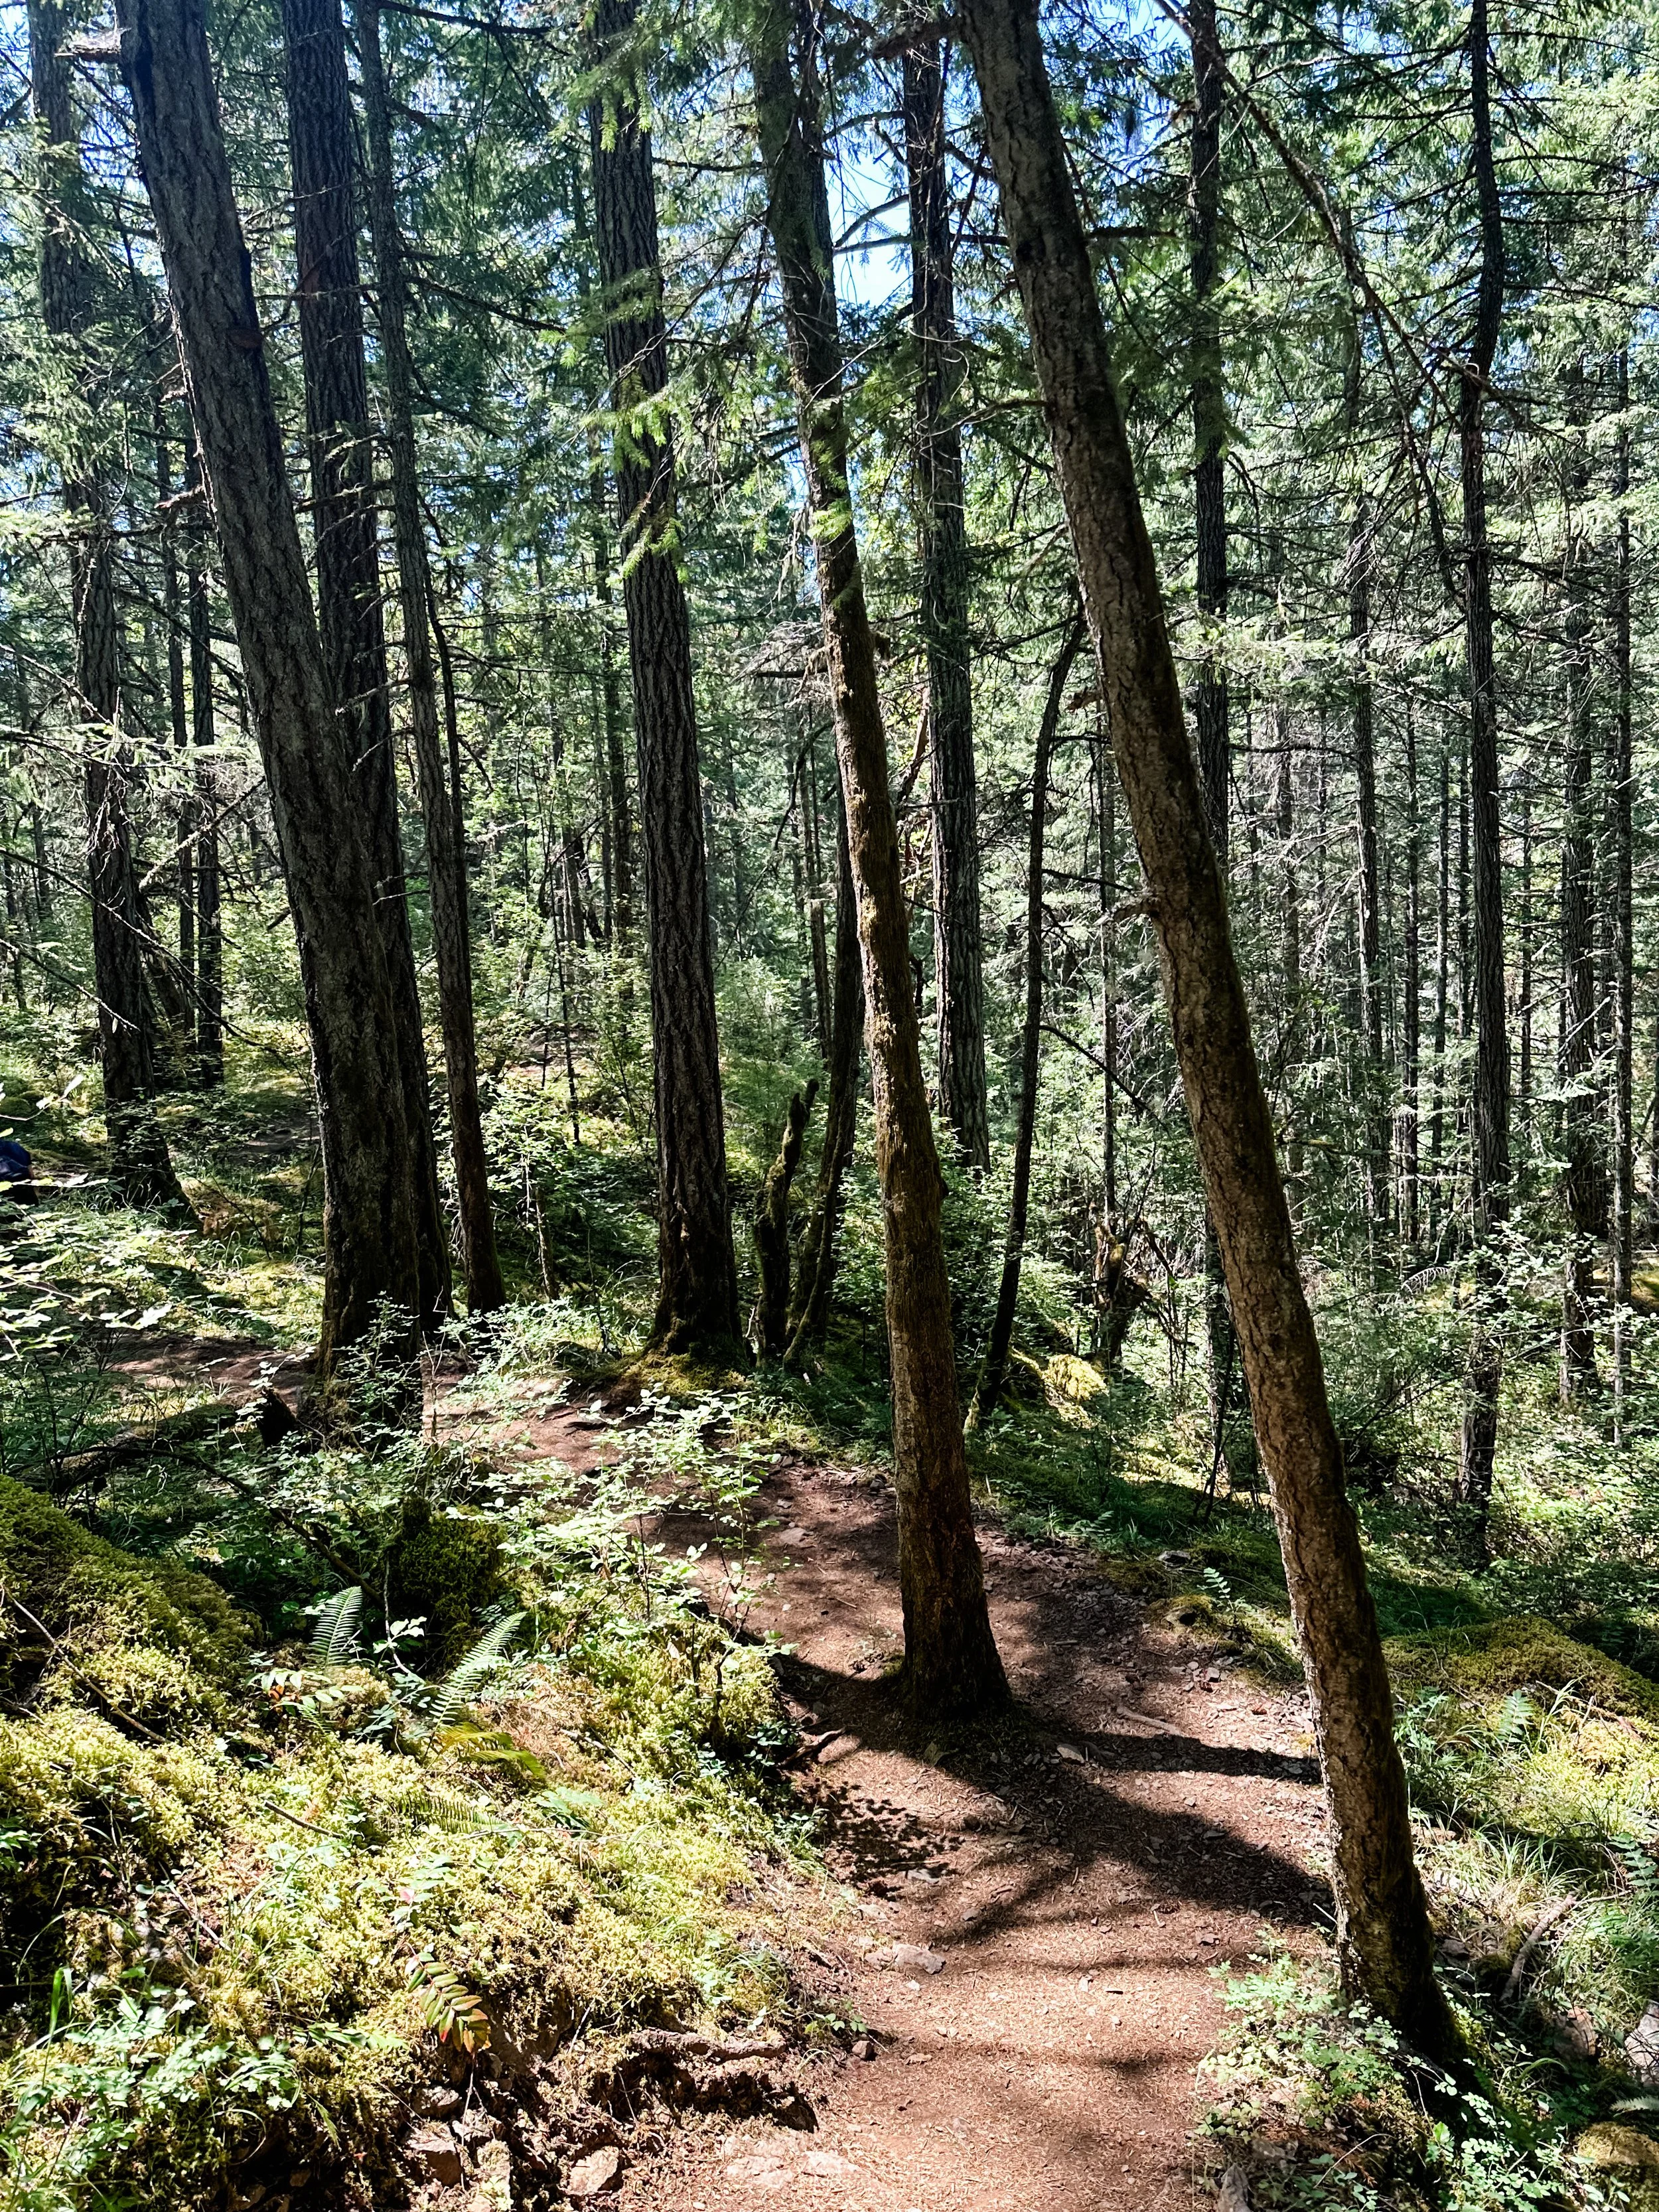
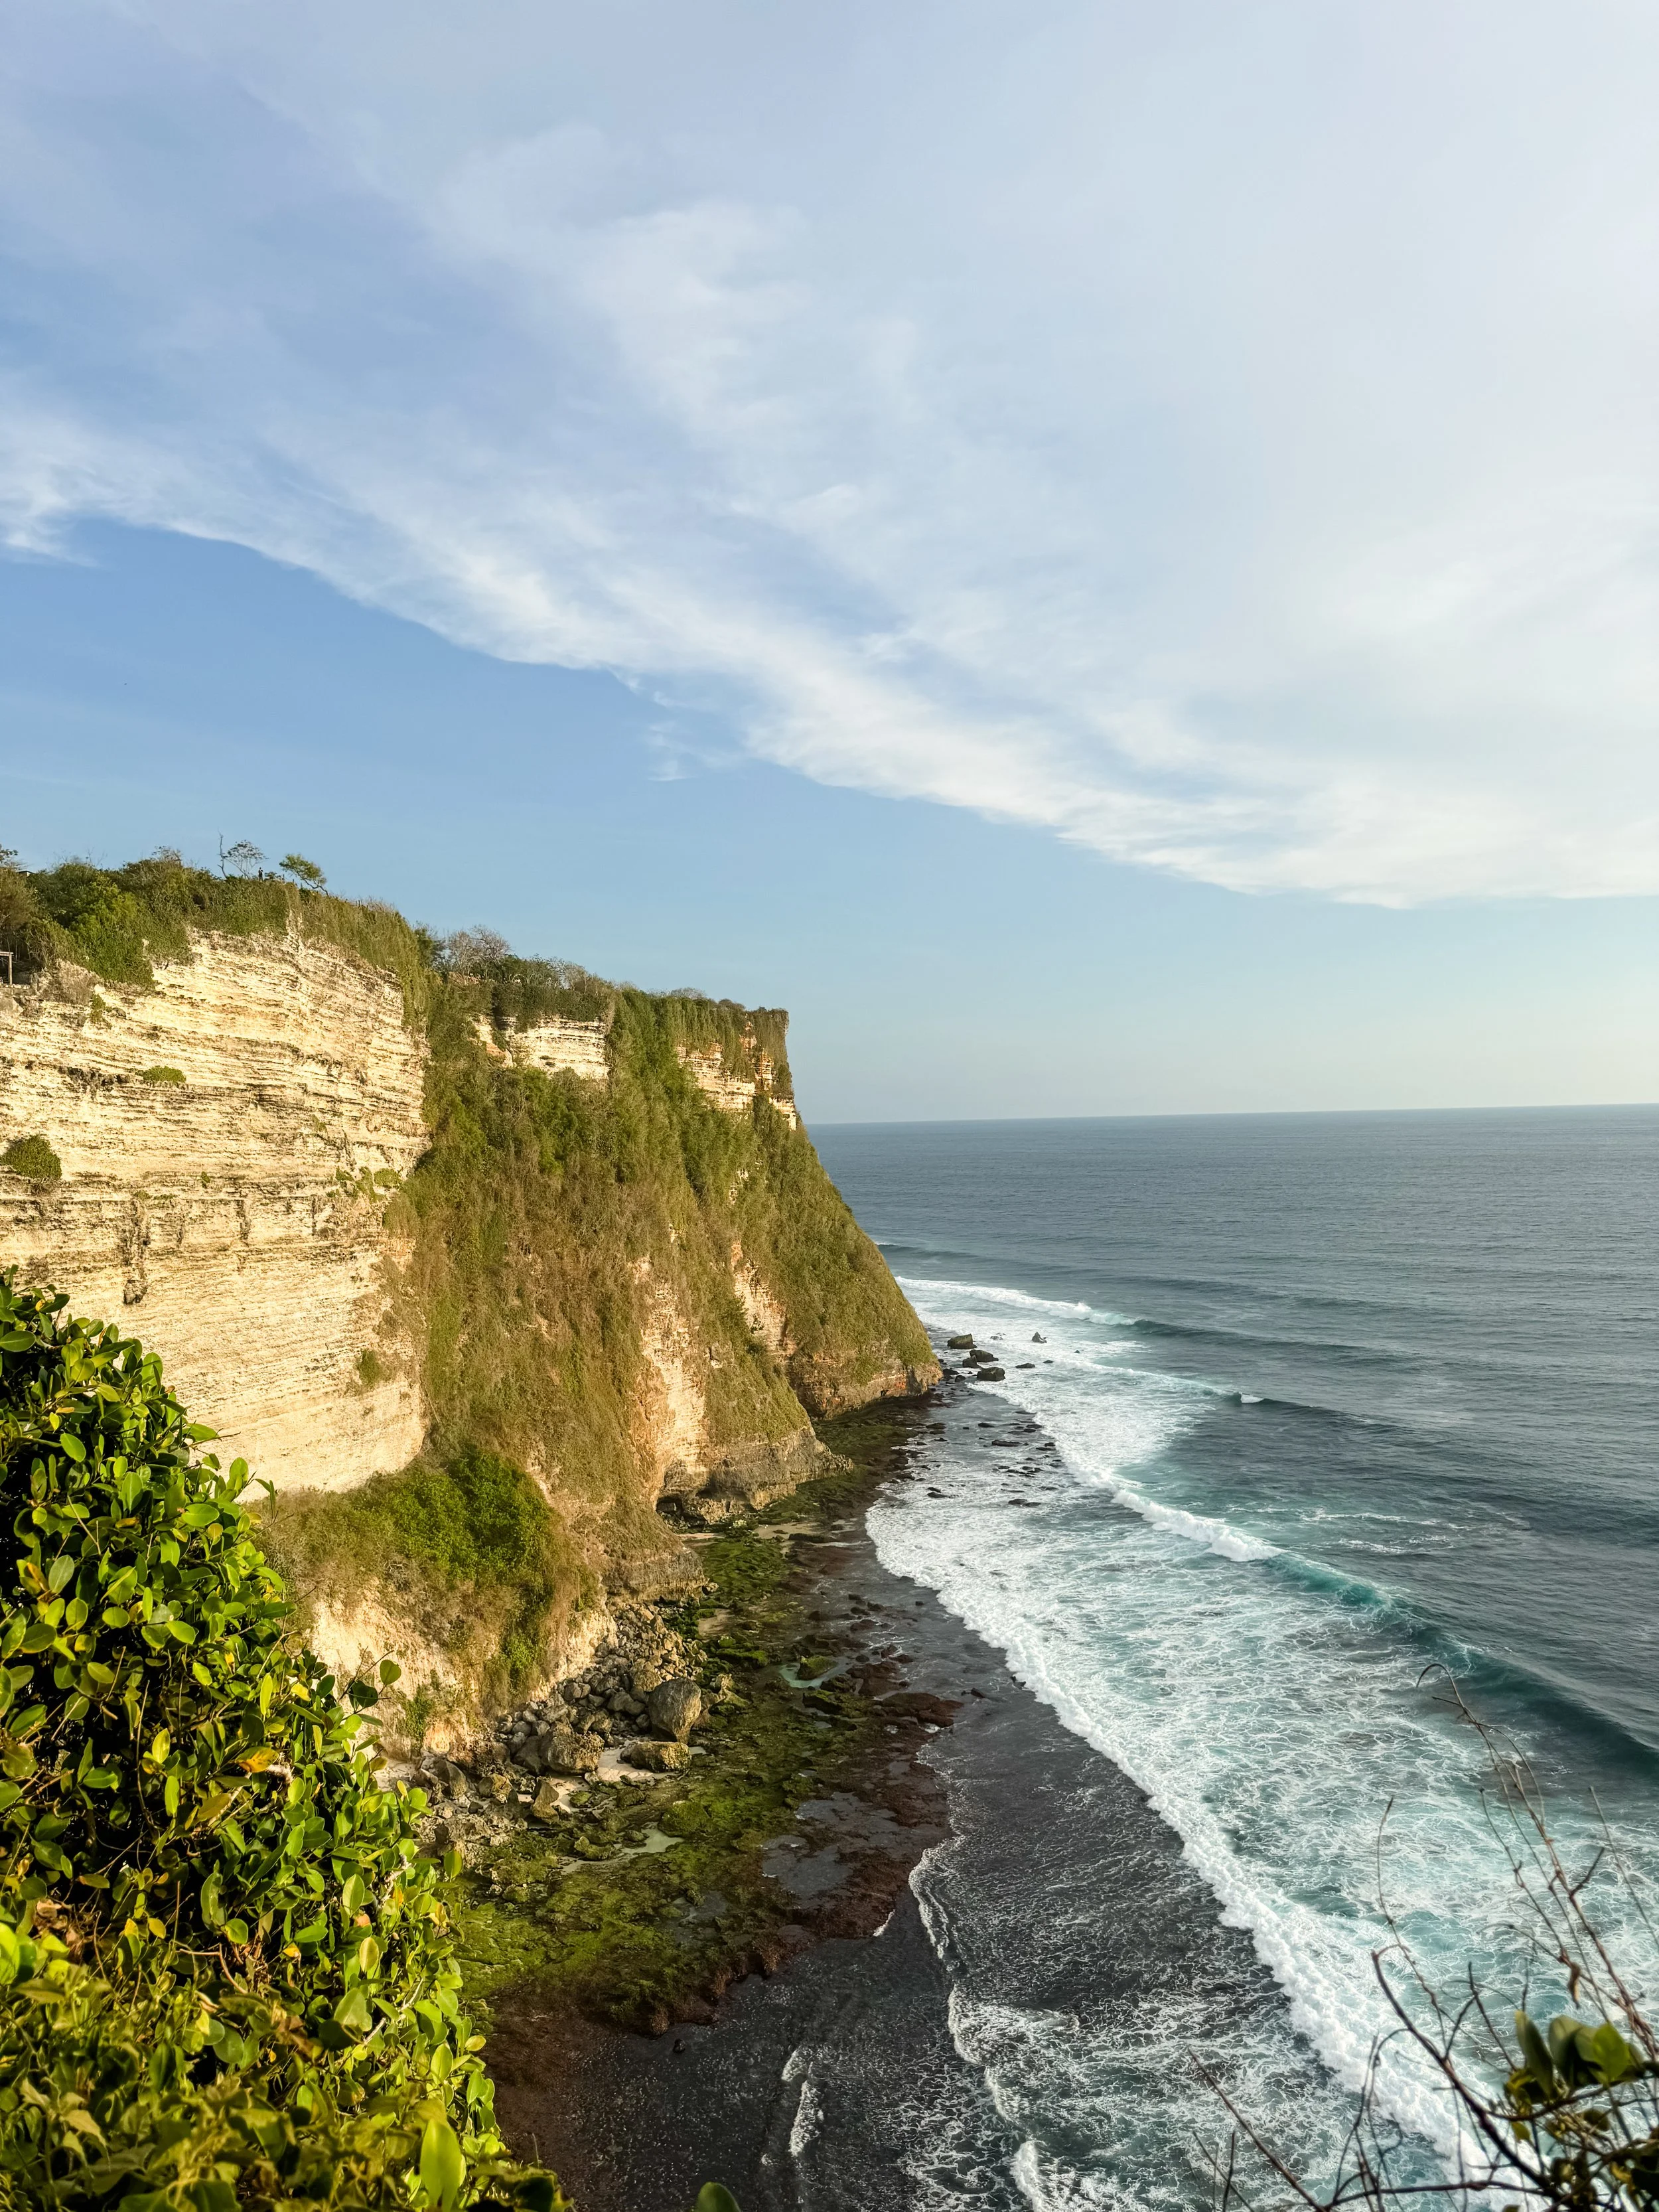
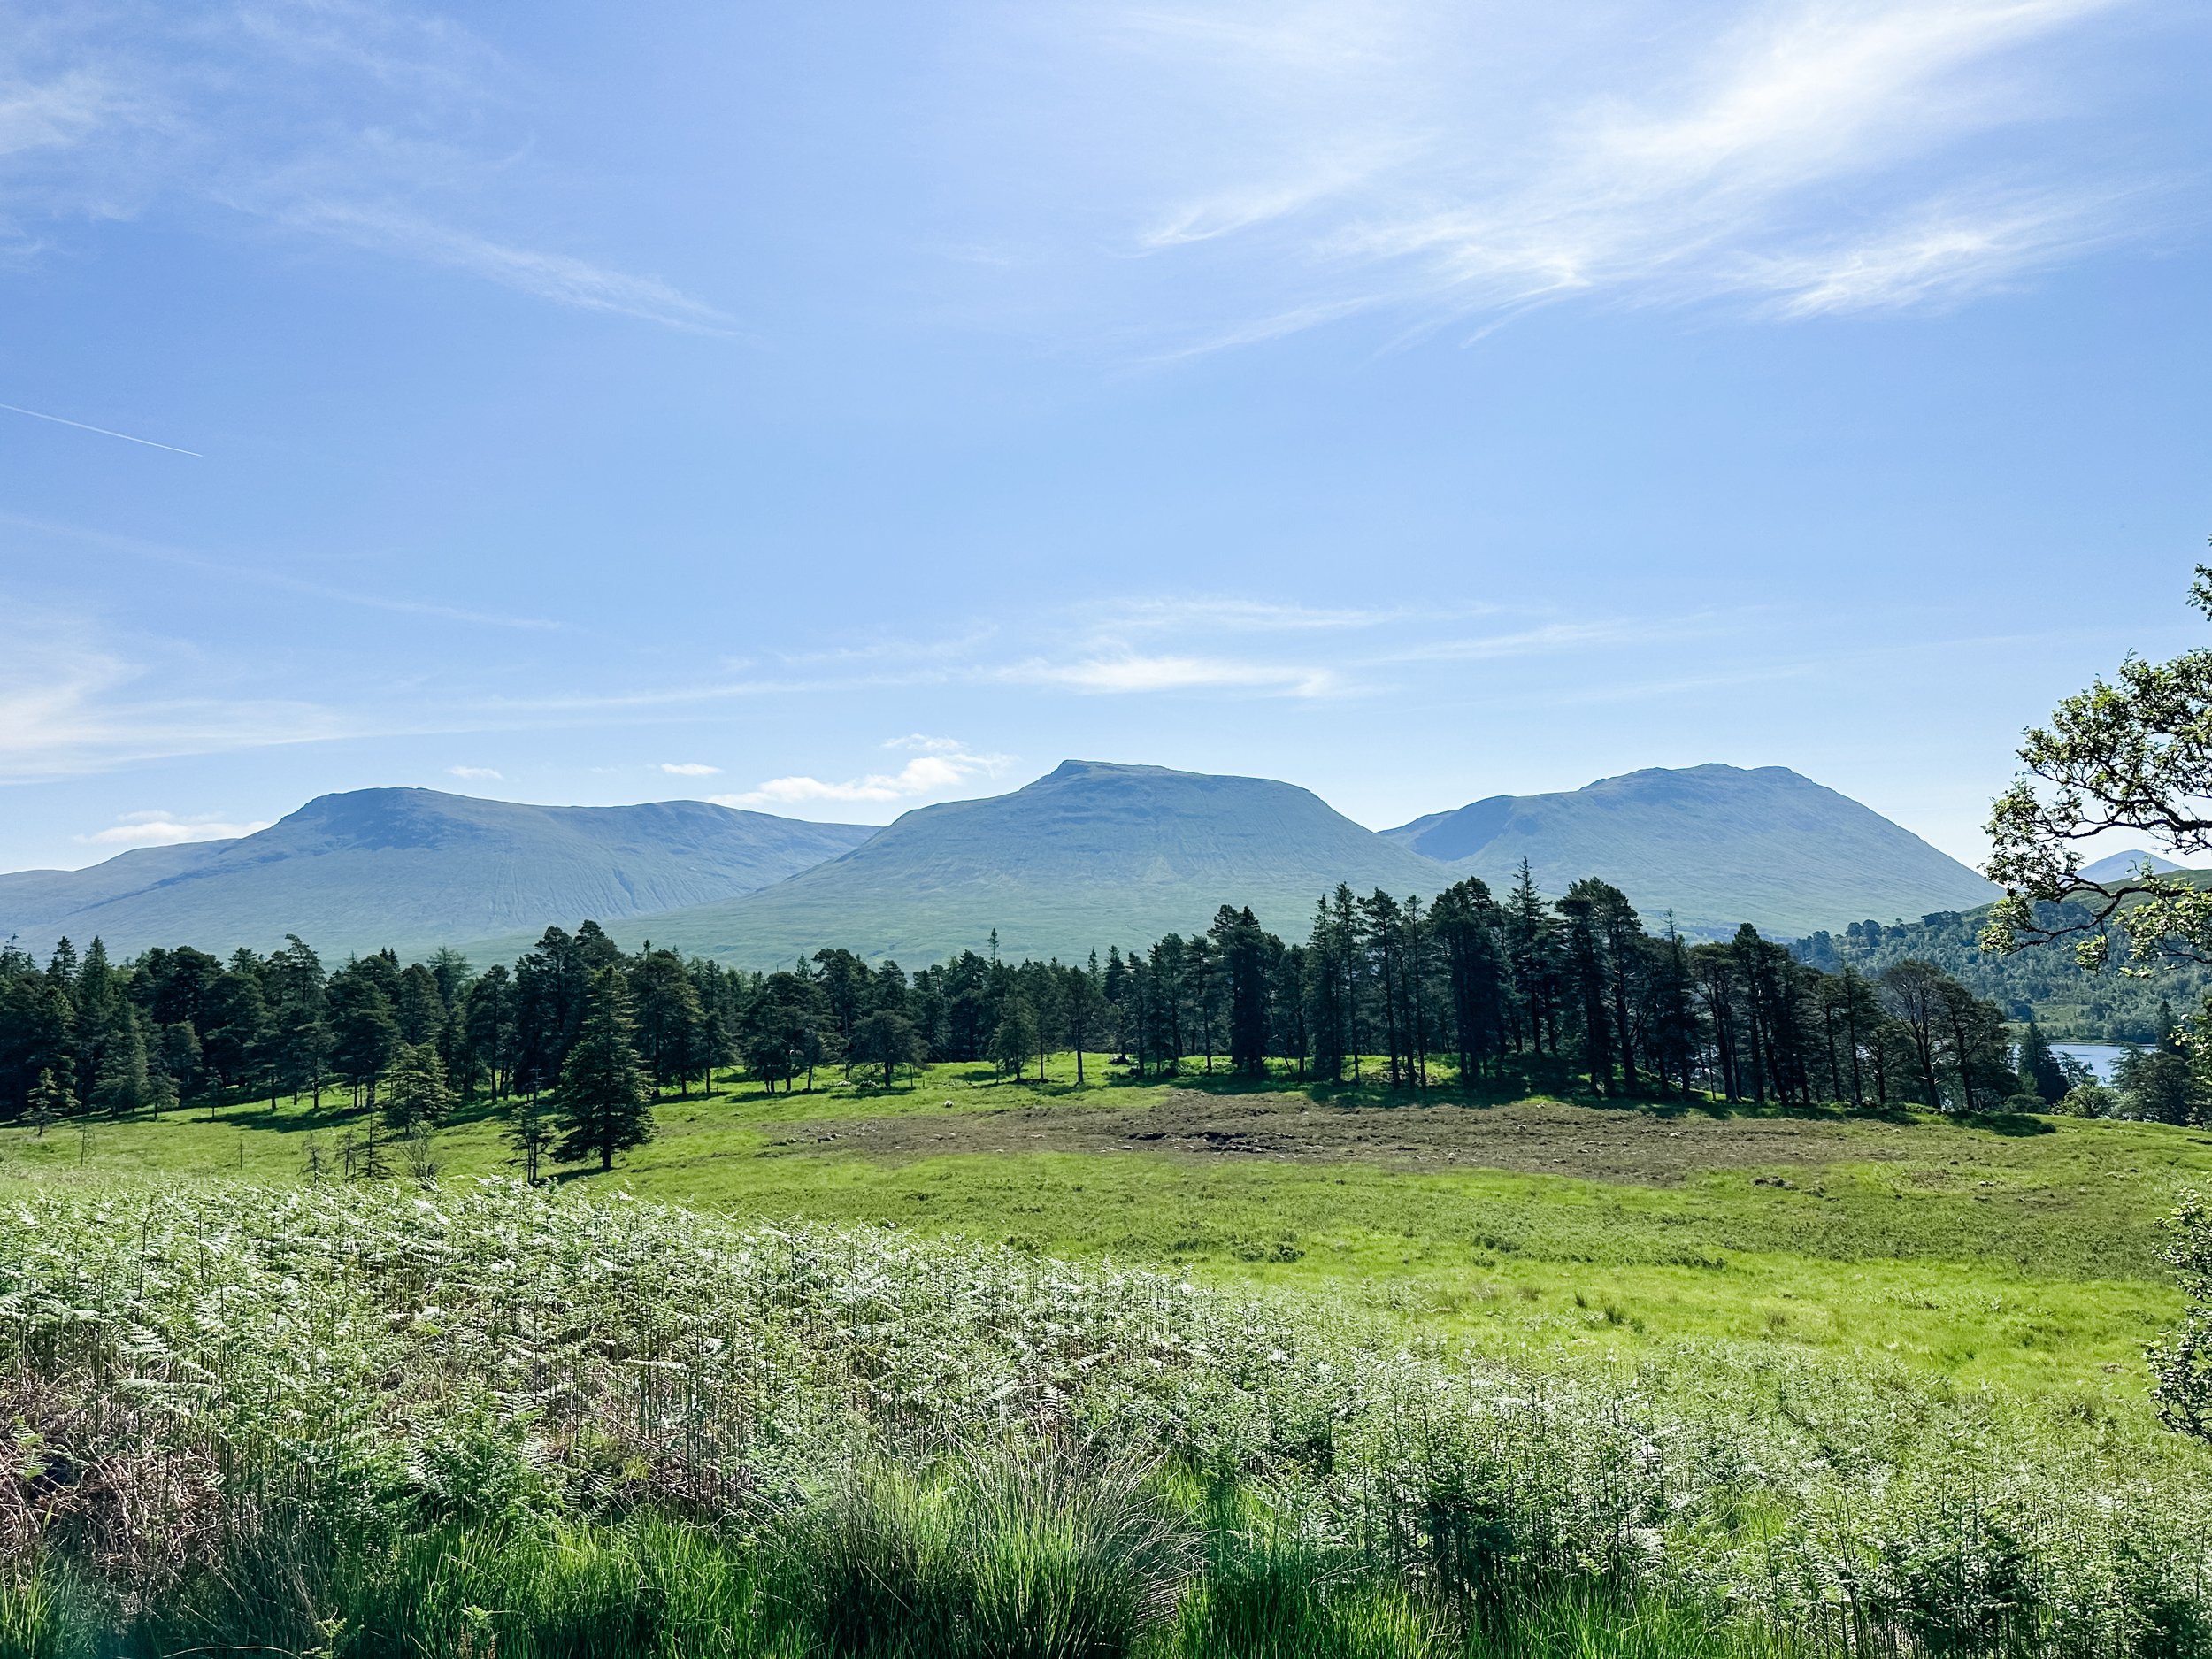
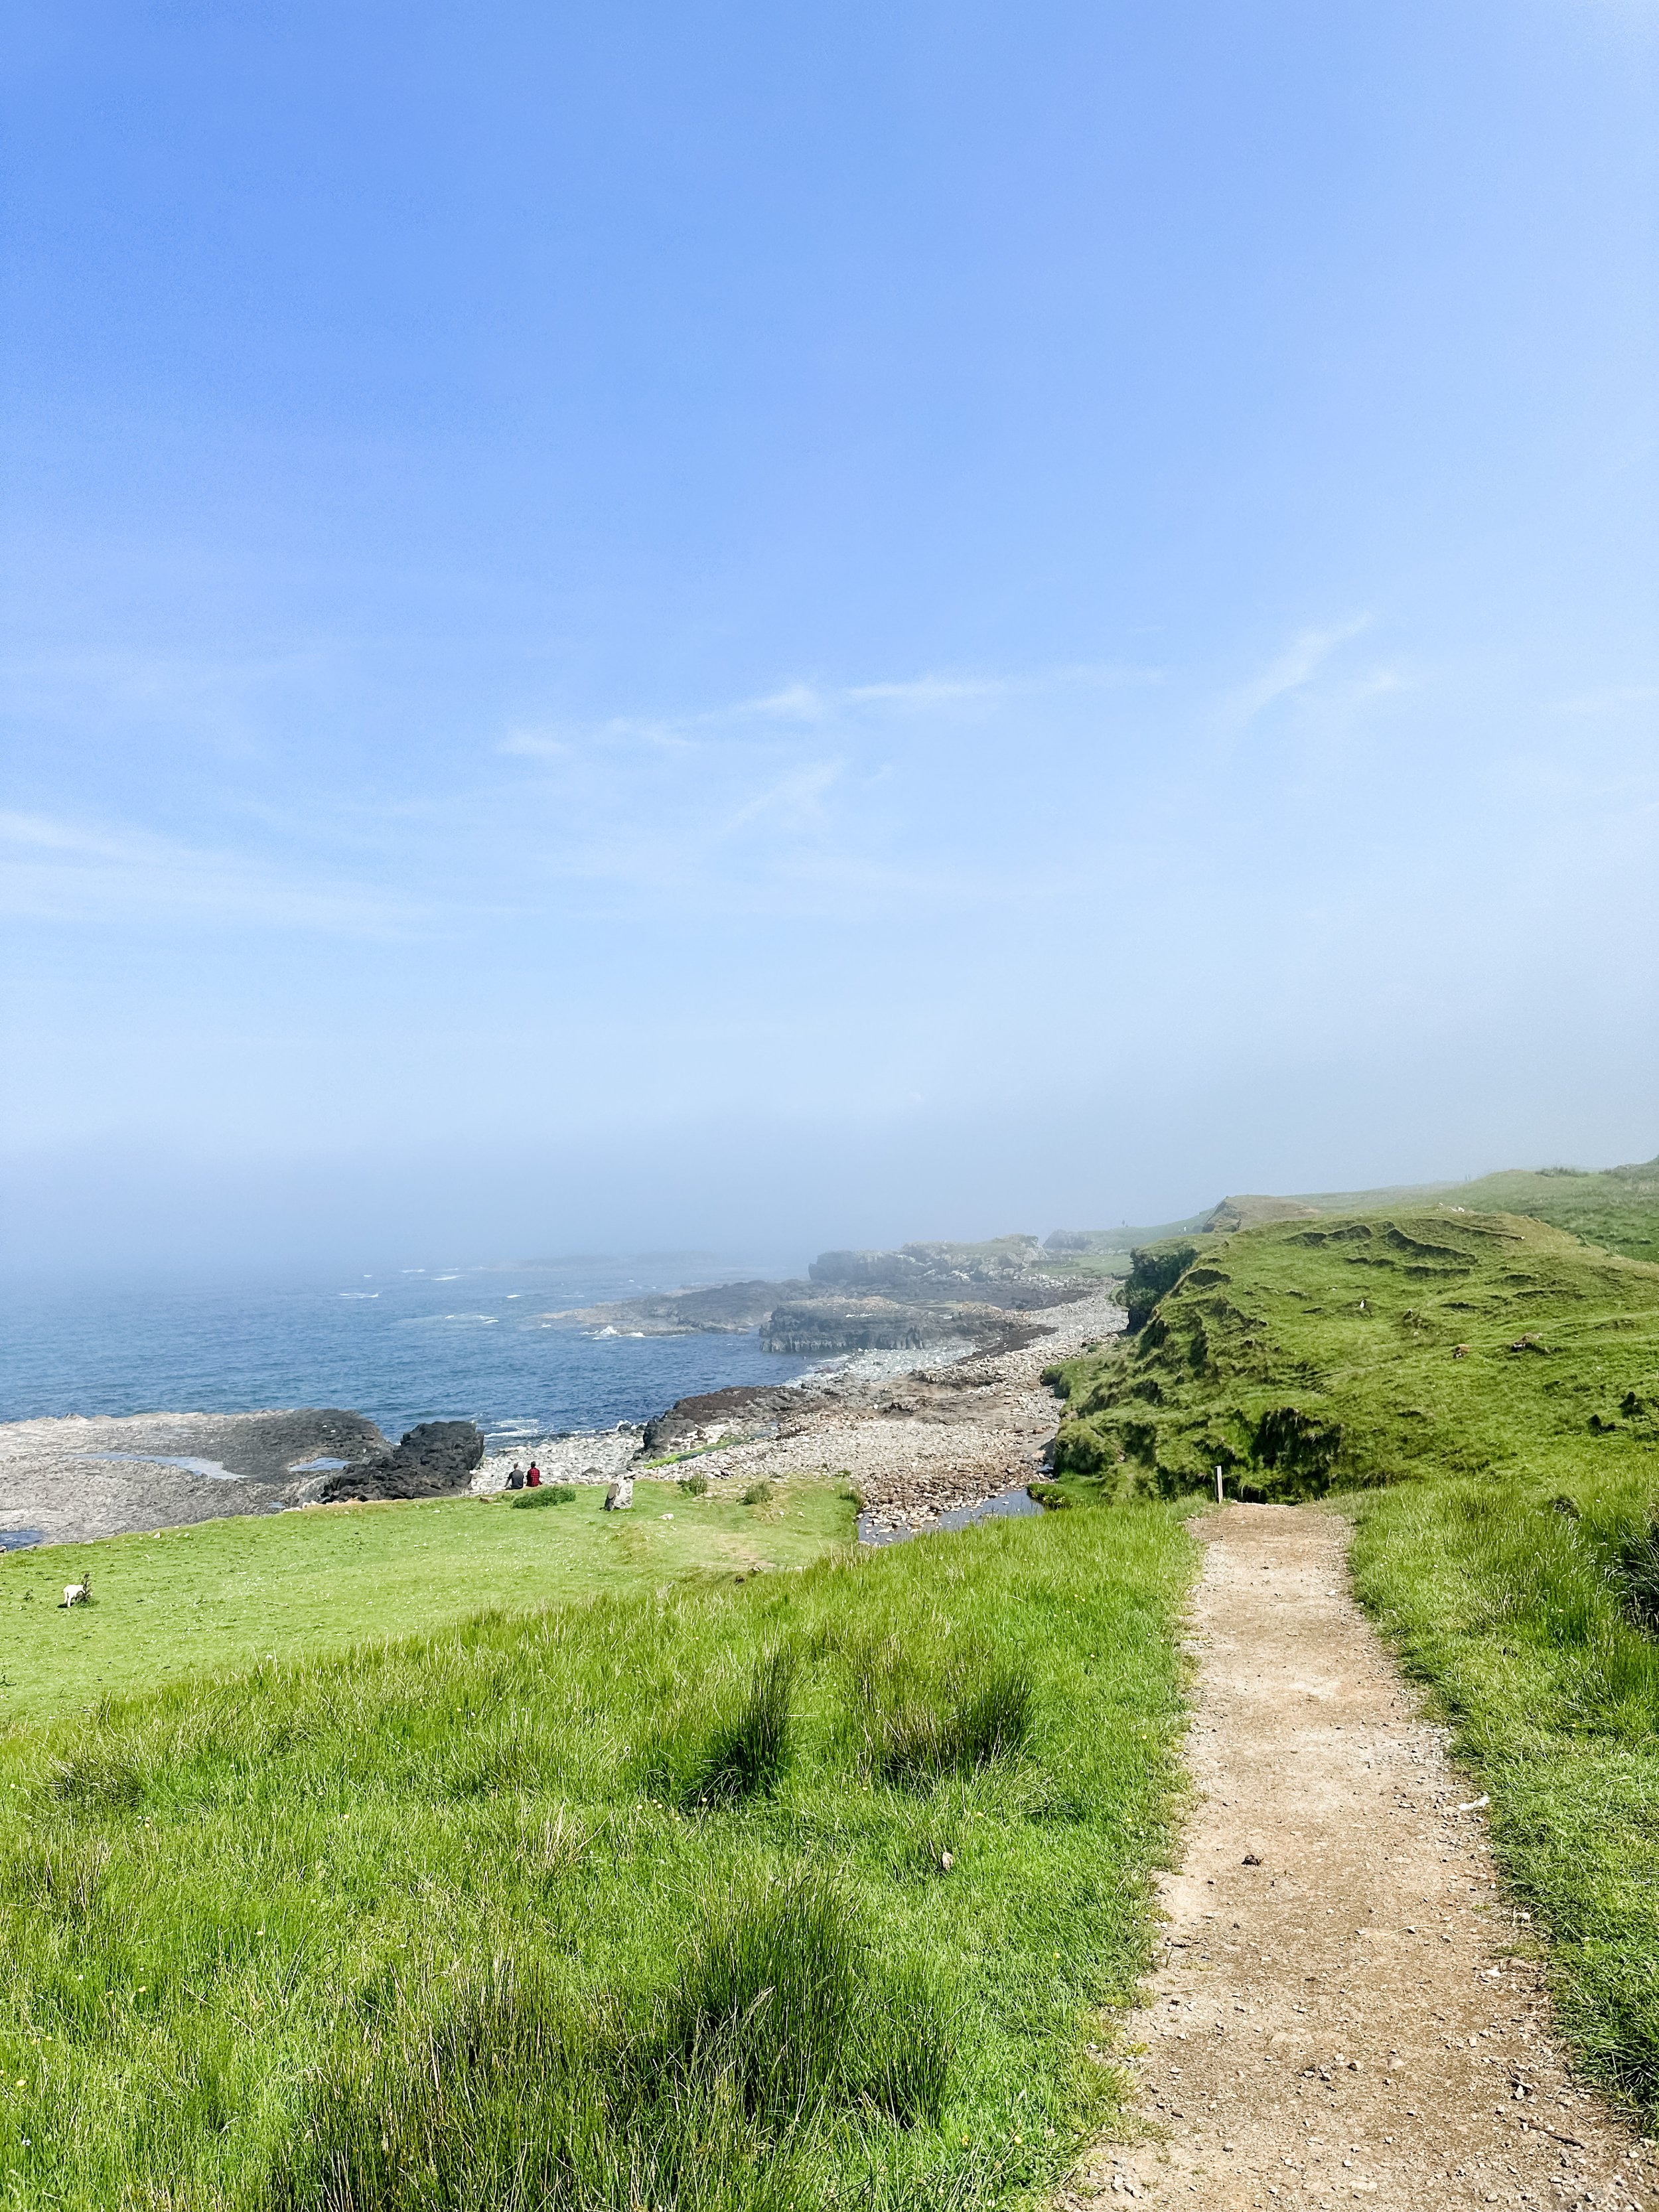
The Campuhan Ridge Walk stands out because of its tranquility. Despite being located just a stone’s throw away from the heart of Ubud, the ridge feels worlds apart. As you walk along the path, you’ll be surrounded by rolling green hills, palm trees swaying gently in the breeze, and a wide, open sky.
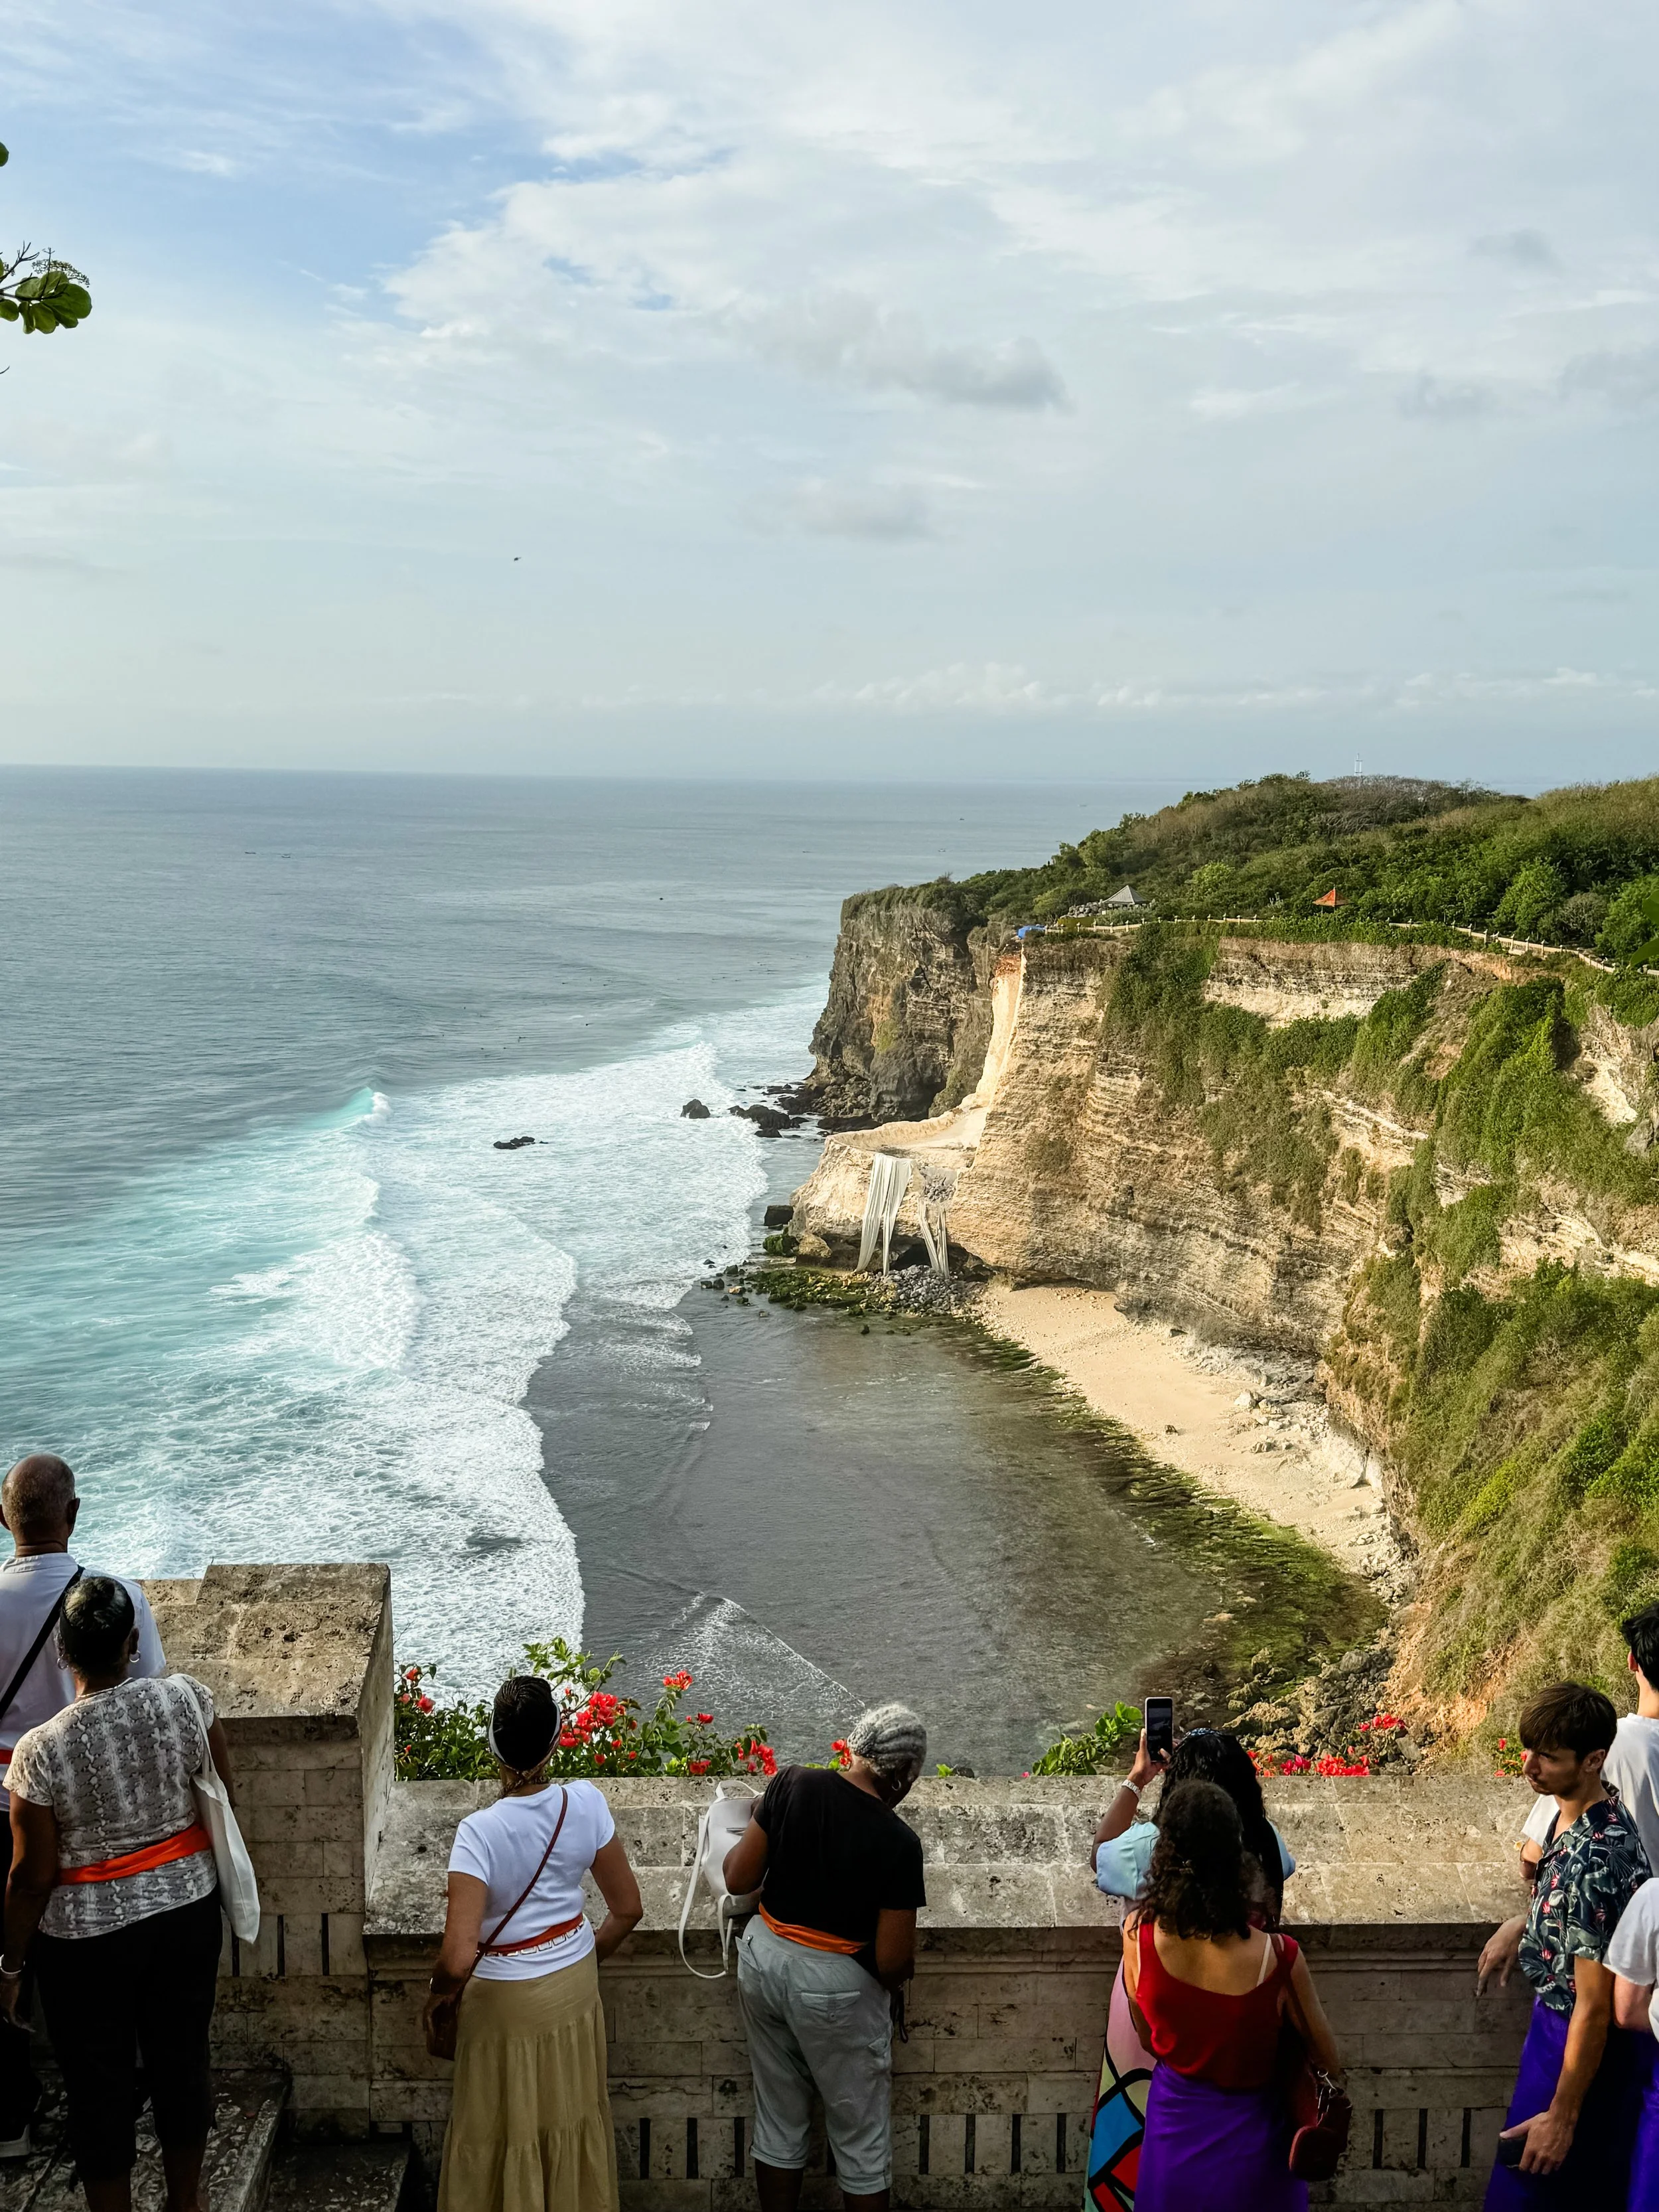
It’s especially magical at sunrise or sunset when the golden light bathes the ridge. The morning brings a refreshing coolness, while the sunset highlights the stunning vistas over the valleys and rice fields below. Whether you’re looking for a leisurely stroll, a moment of mindfulness, or a way to kickstart your day with light exercise, Campuhan is the perfect place to do it.
How to Find the Campuhan Ridge Walk
One of the reasons this spot remains relatively uncrowded is because it can be a bit tricky to find. But don’t worry, here’s a simple guide to get you there!
1. Start at the Warwick Ibah Villas: The easiest landmark to use is Warwick Ibah Villas. You’ll see a small, inconspicuous sign for the Campuhan Ridge Walk at the entrance of this luxurious hotel, but you don’t need to go inside. Instead, follow the signs left leading toward the Gunung Lebah Temple.
2. Head Down to the Temple: From the Warwick Ibah entrance, walk down the hill and to down tte small stairs on the right and cross a small bridge. As you cross, look out over the river below and enjoy the first glimpses of Bali’s natural beauty. After the bridge, you’ll see the peaceful Gunung Lebah Temple to your left.
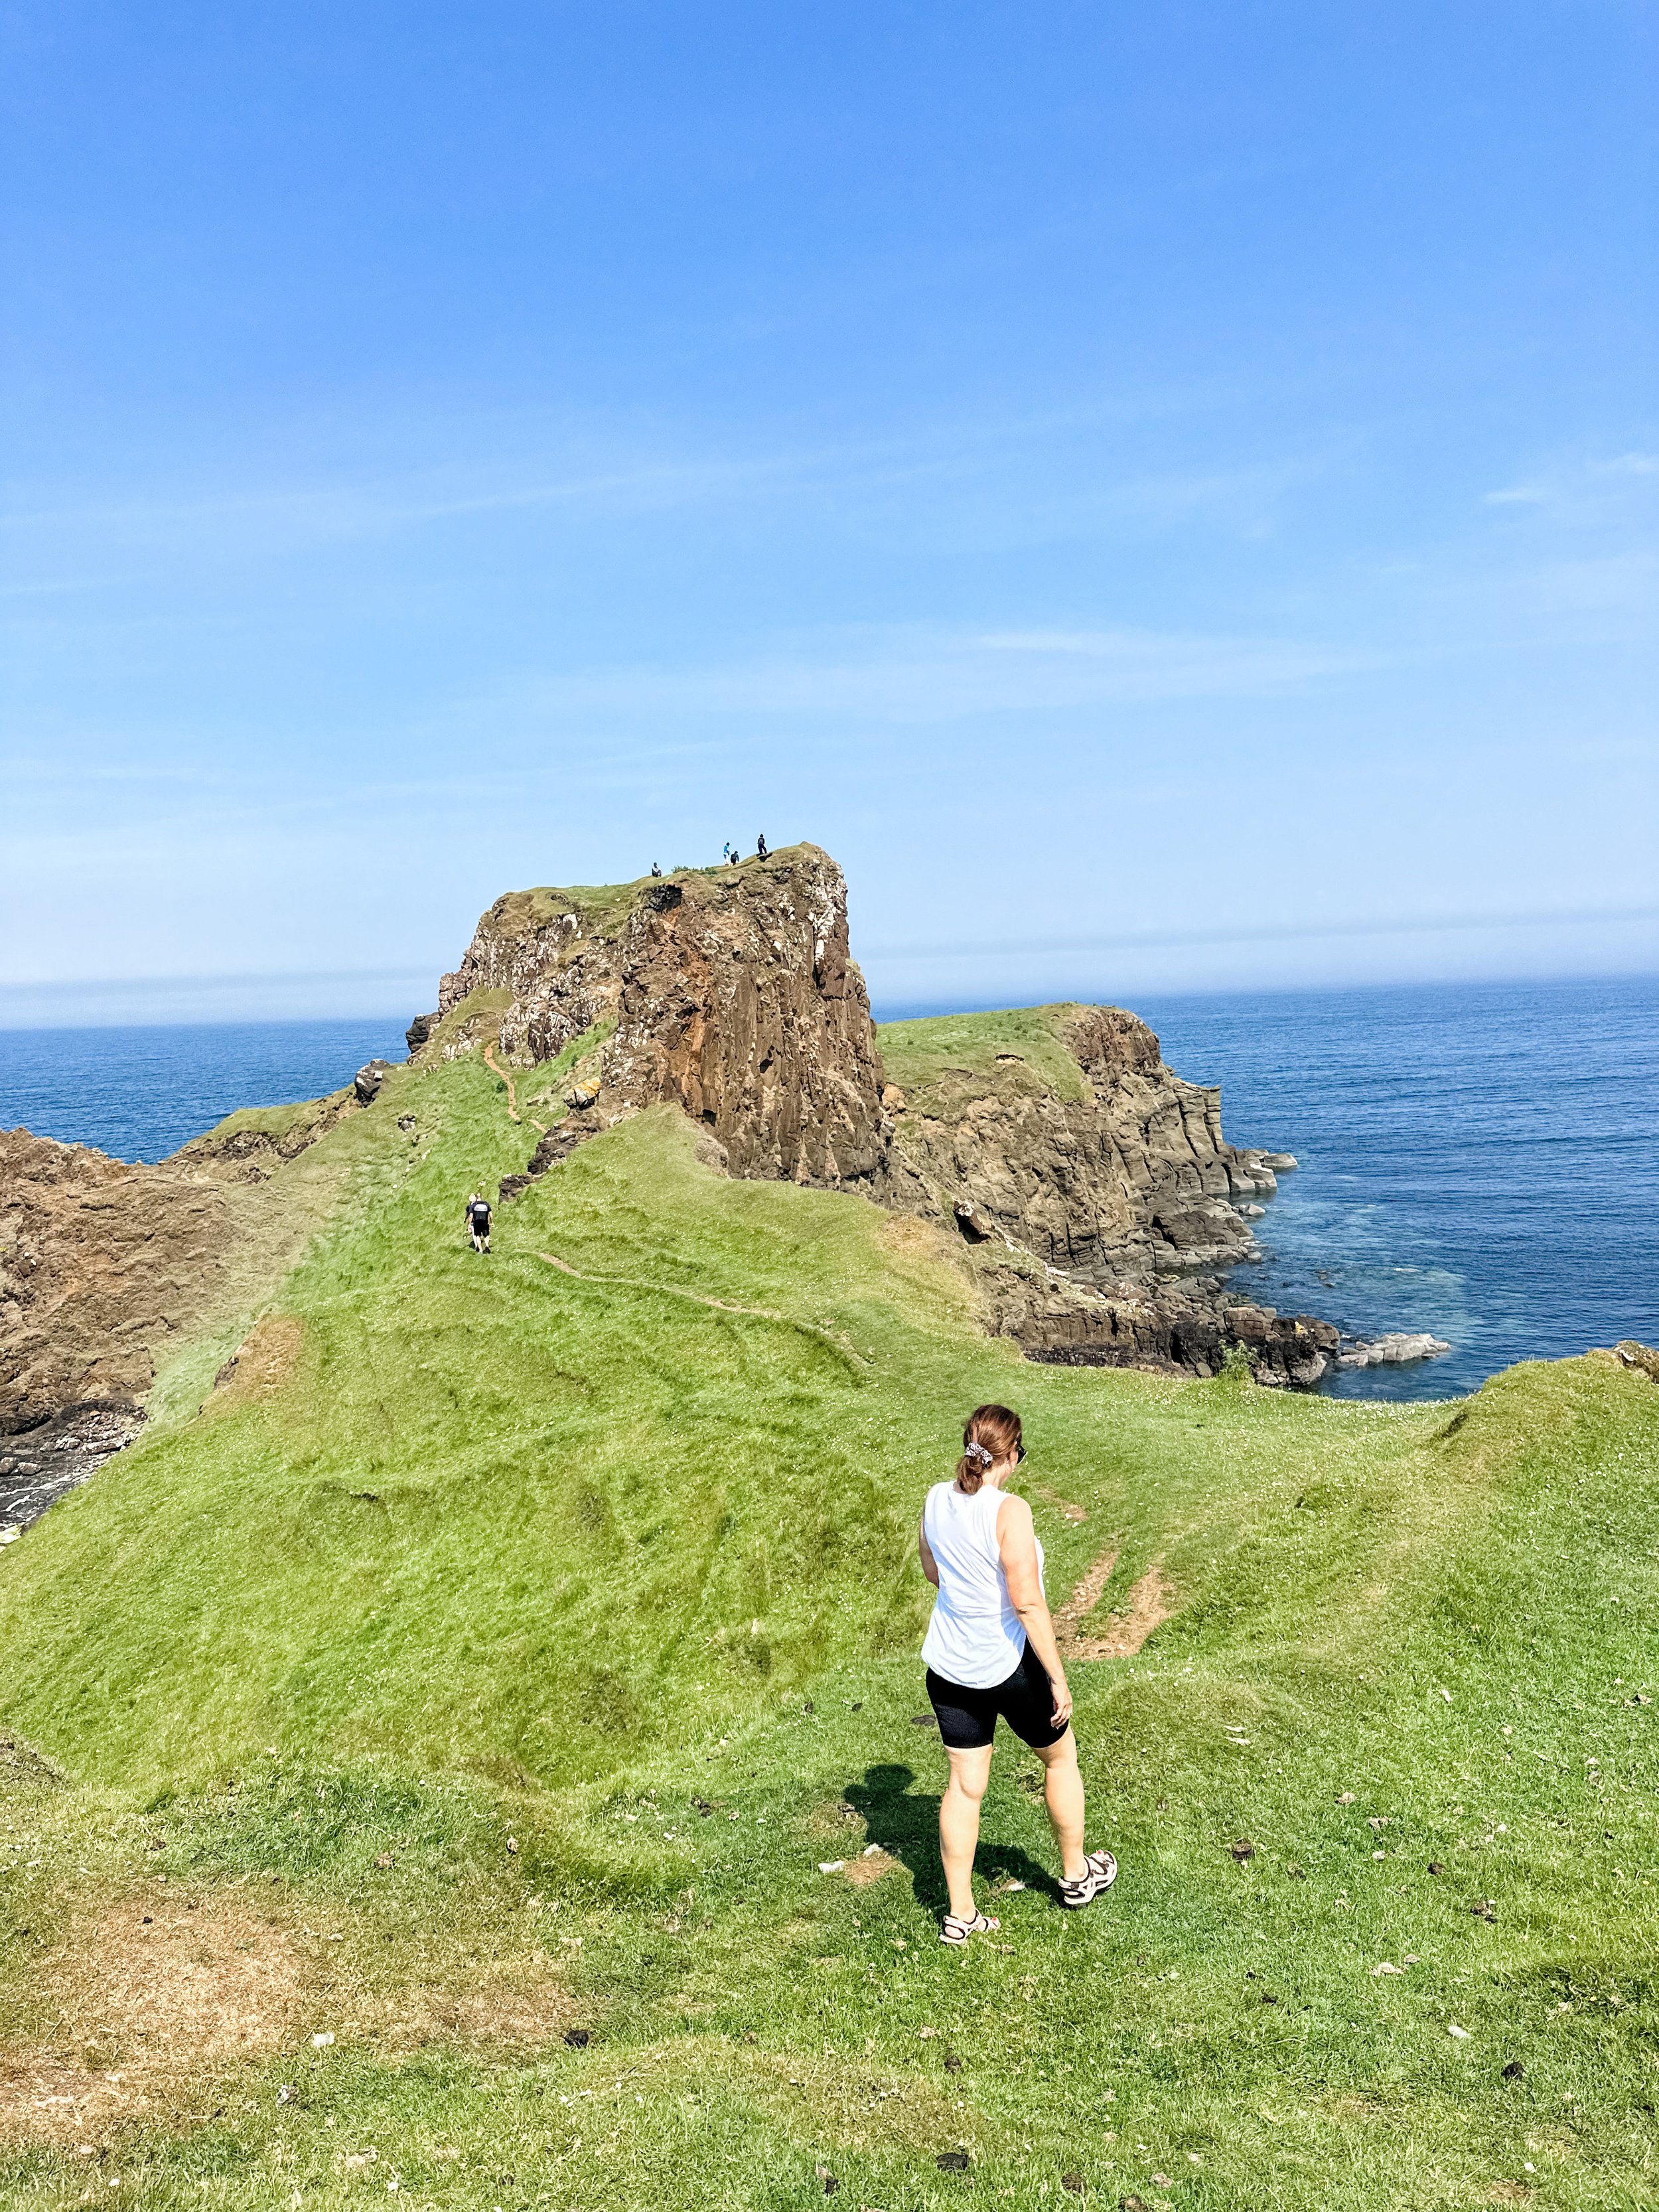
3. Turn Right and Begin Your Journey: Continue walking past the temple and take the small path that veers to the right. This is the beginning of the Campuhan Ridge Walk. As soon as you leave the temple behind, you’ll notice the town’s sounds fade, replaced by the gentle hum of nature.
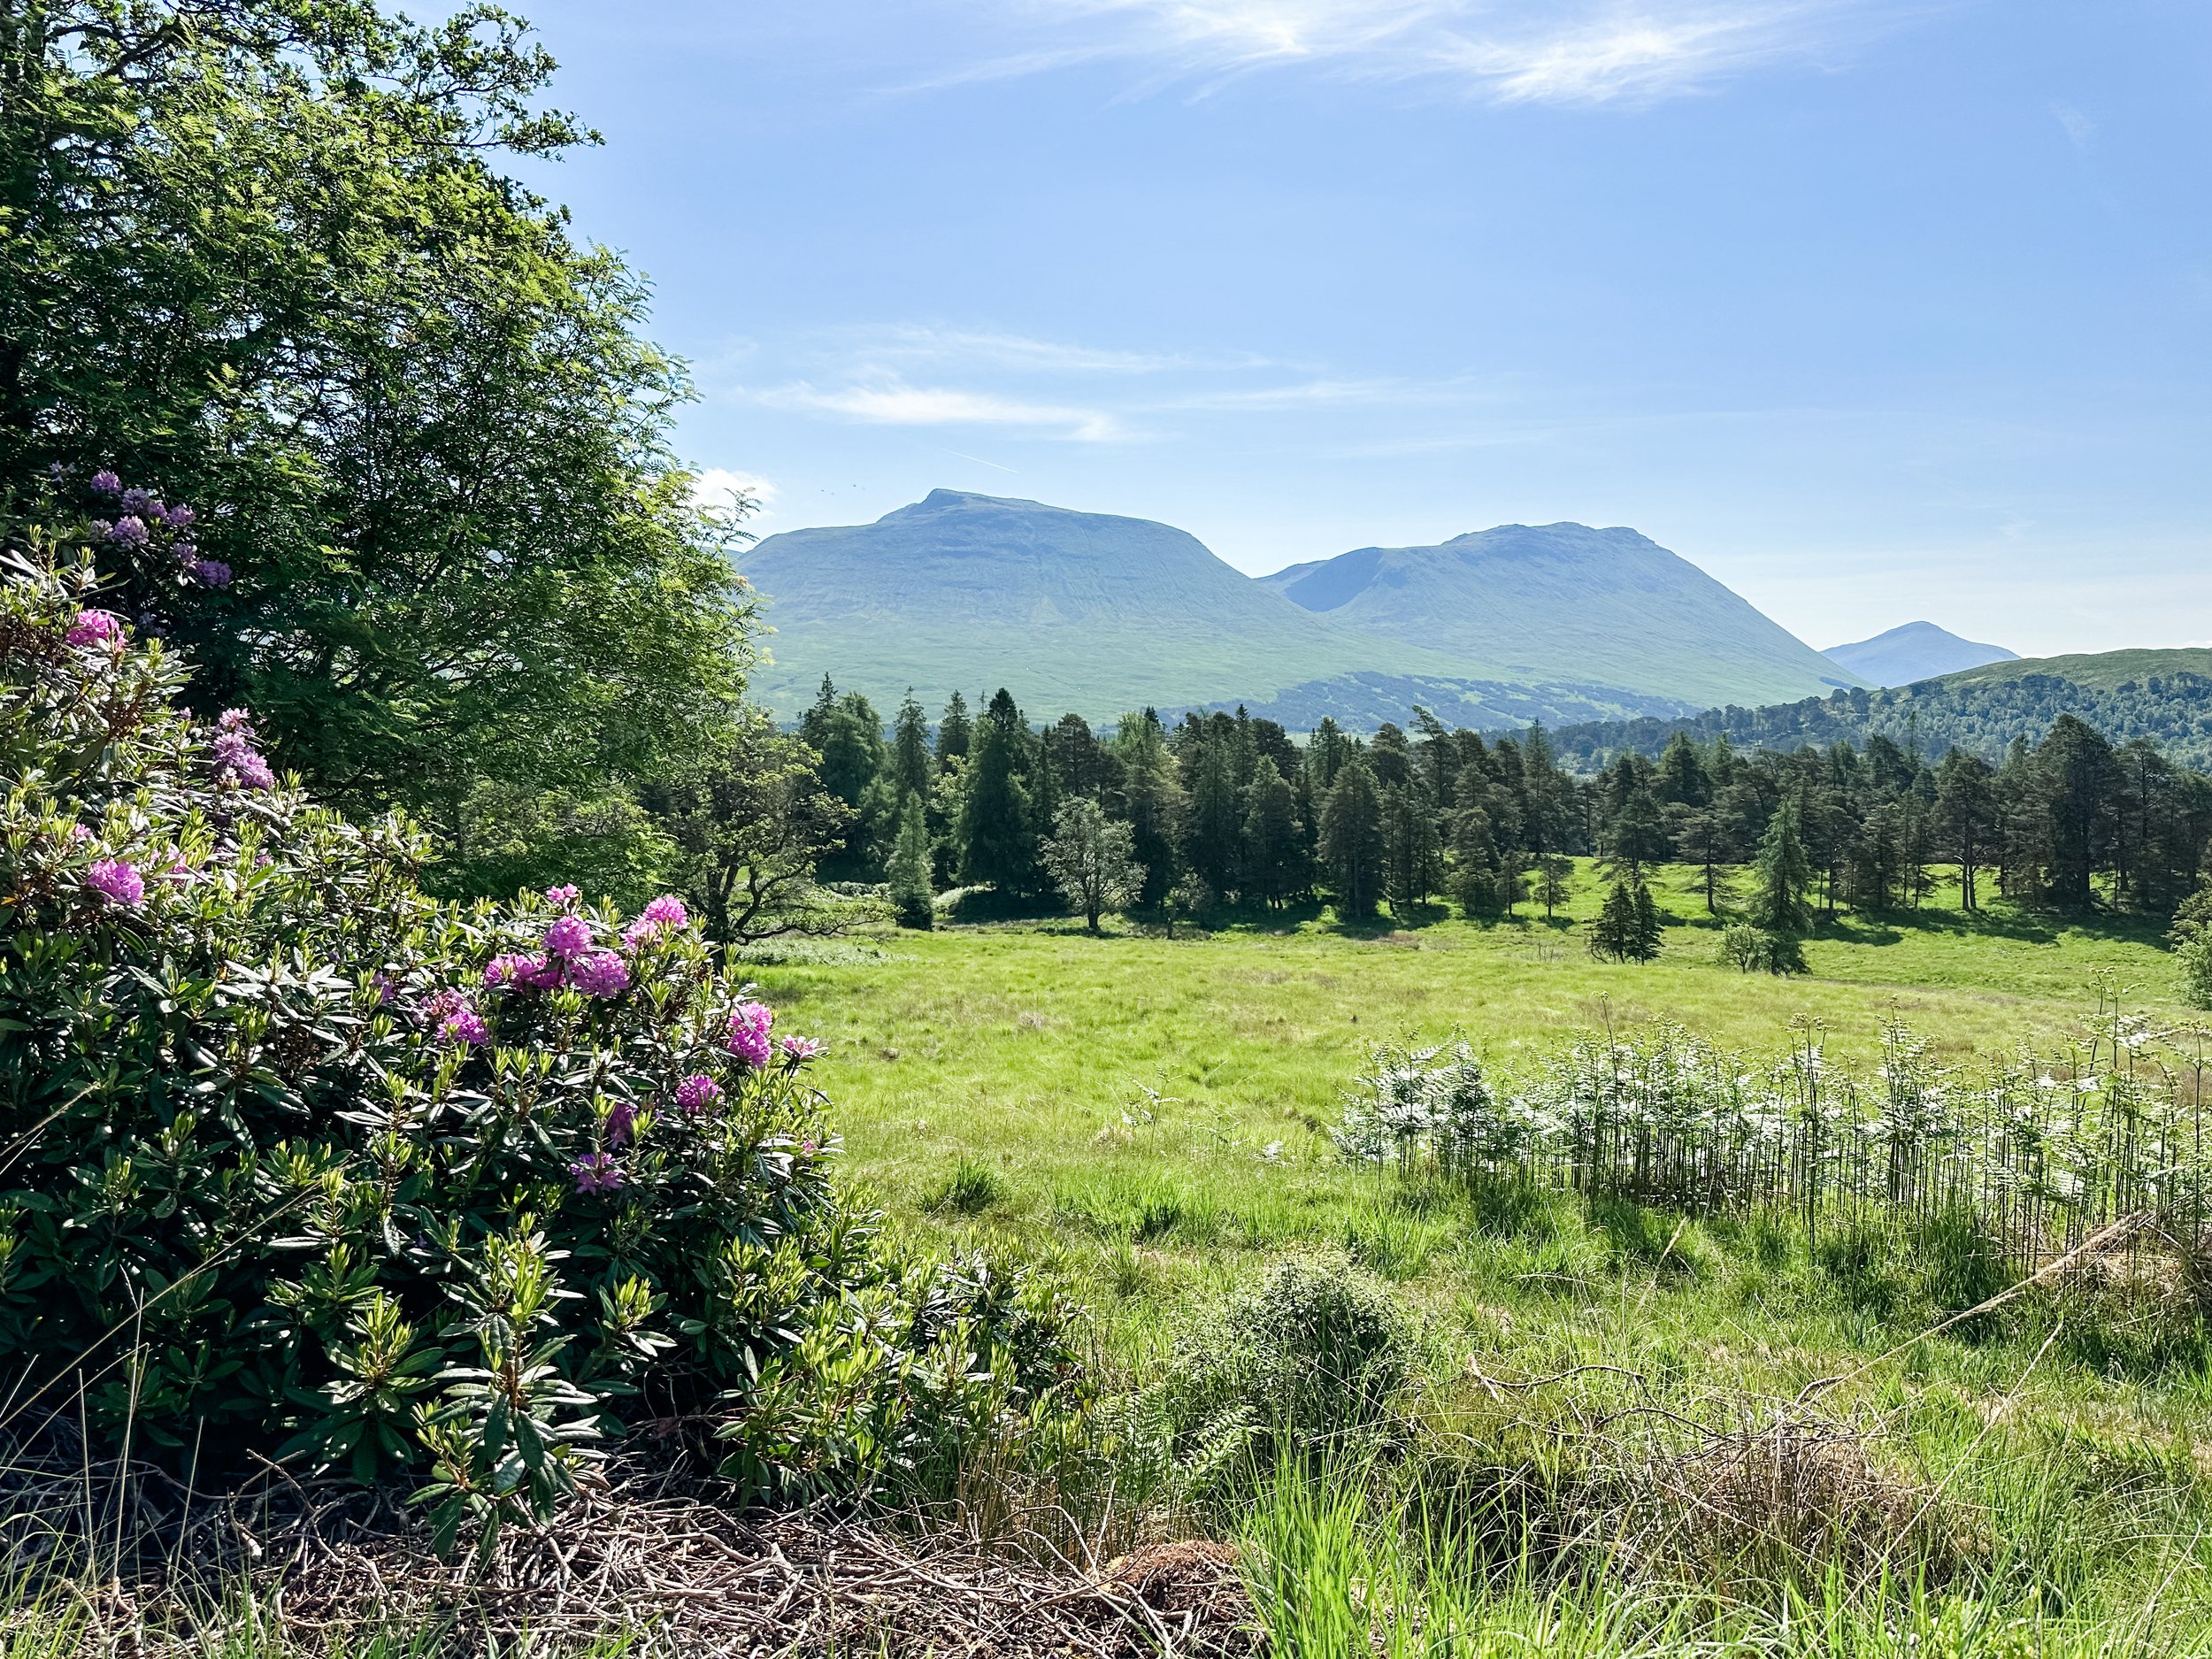
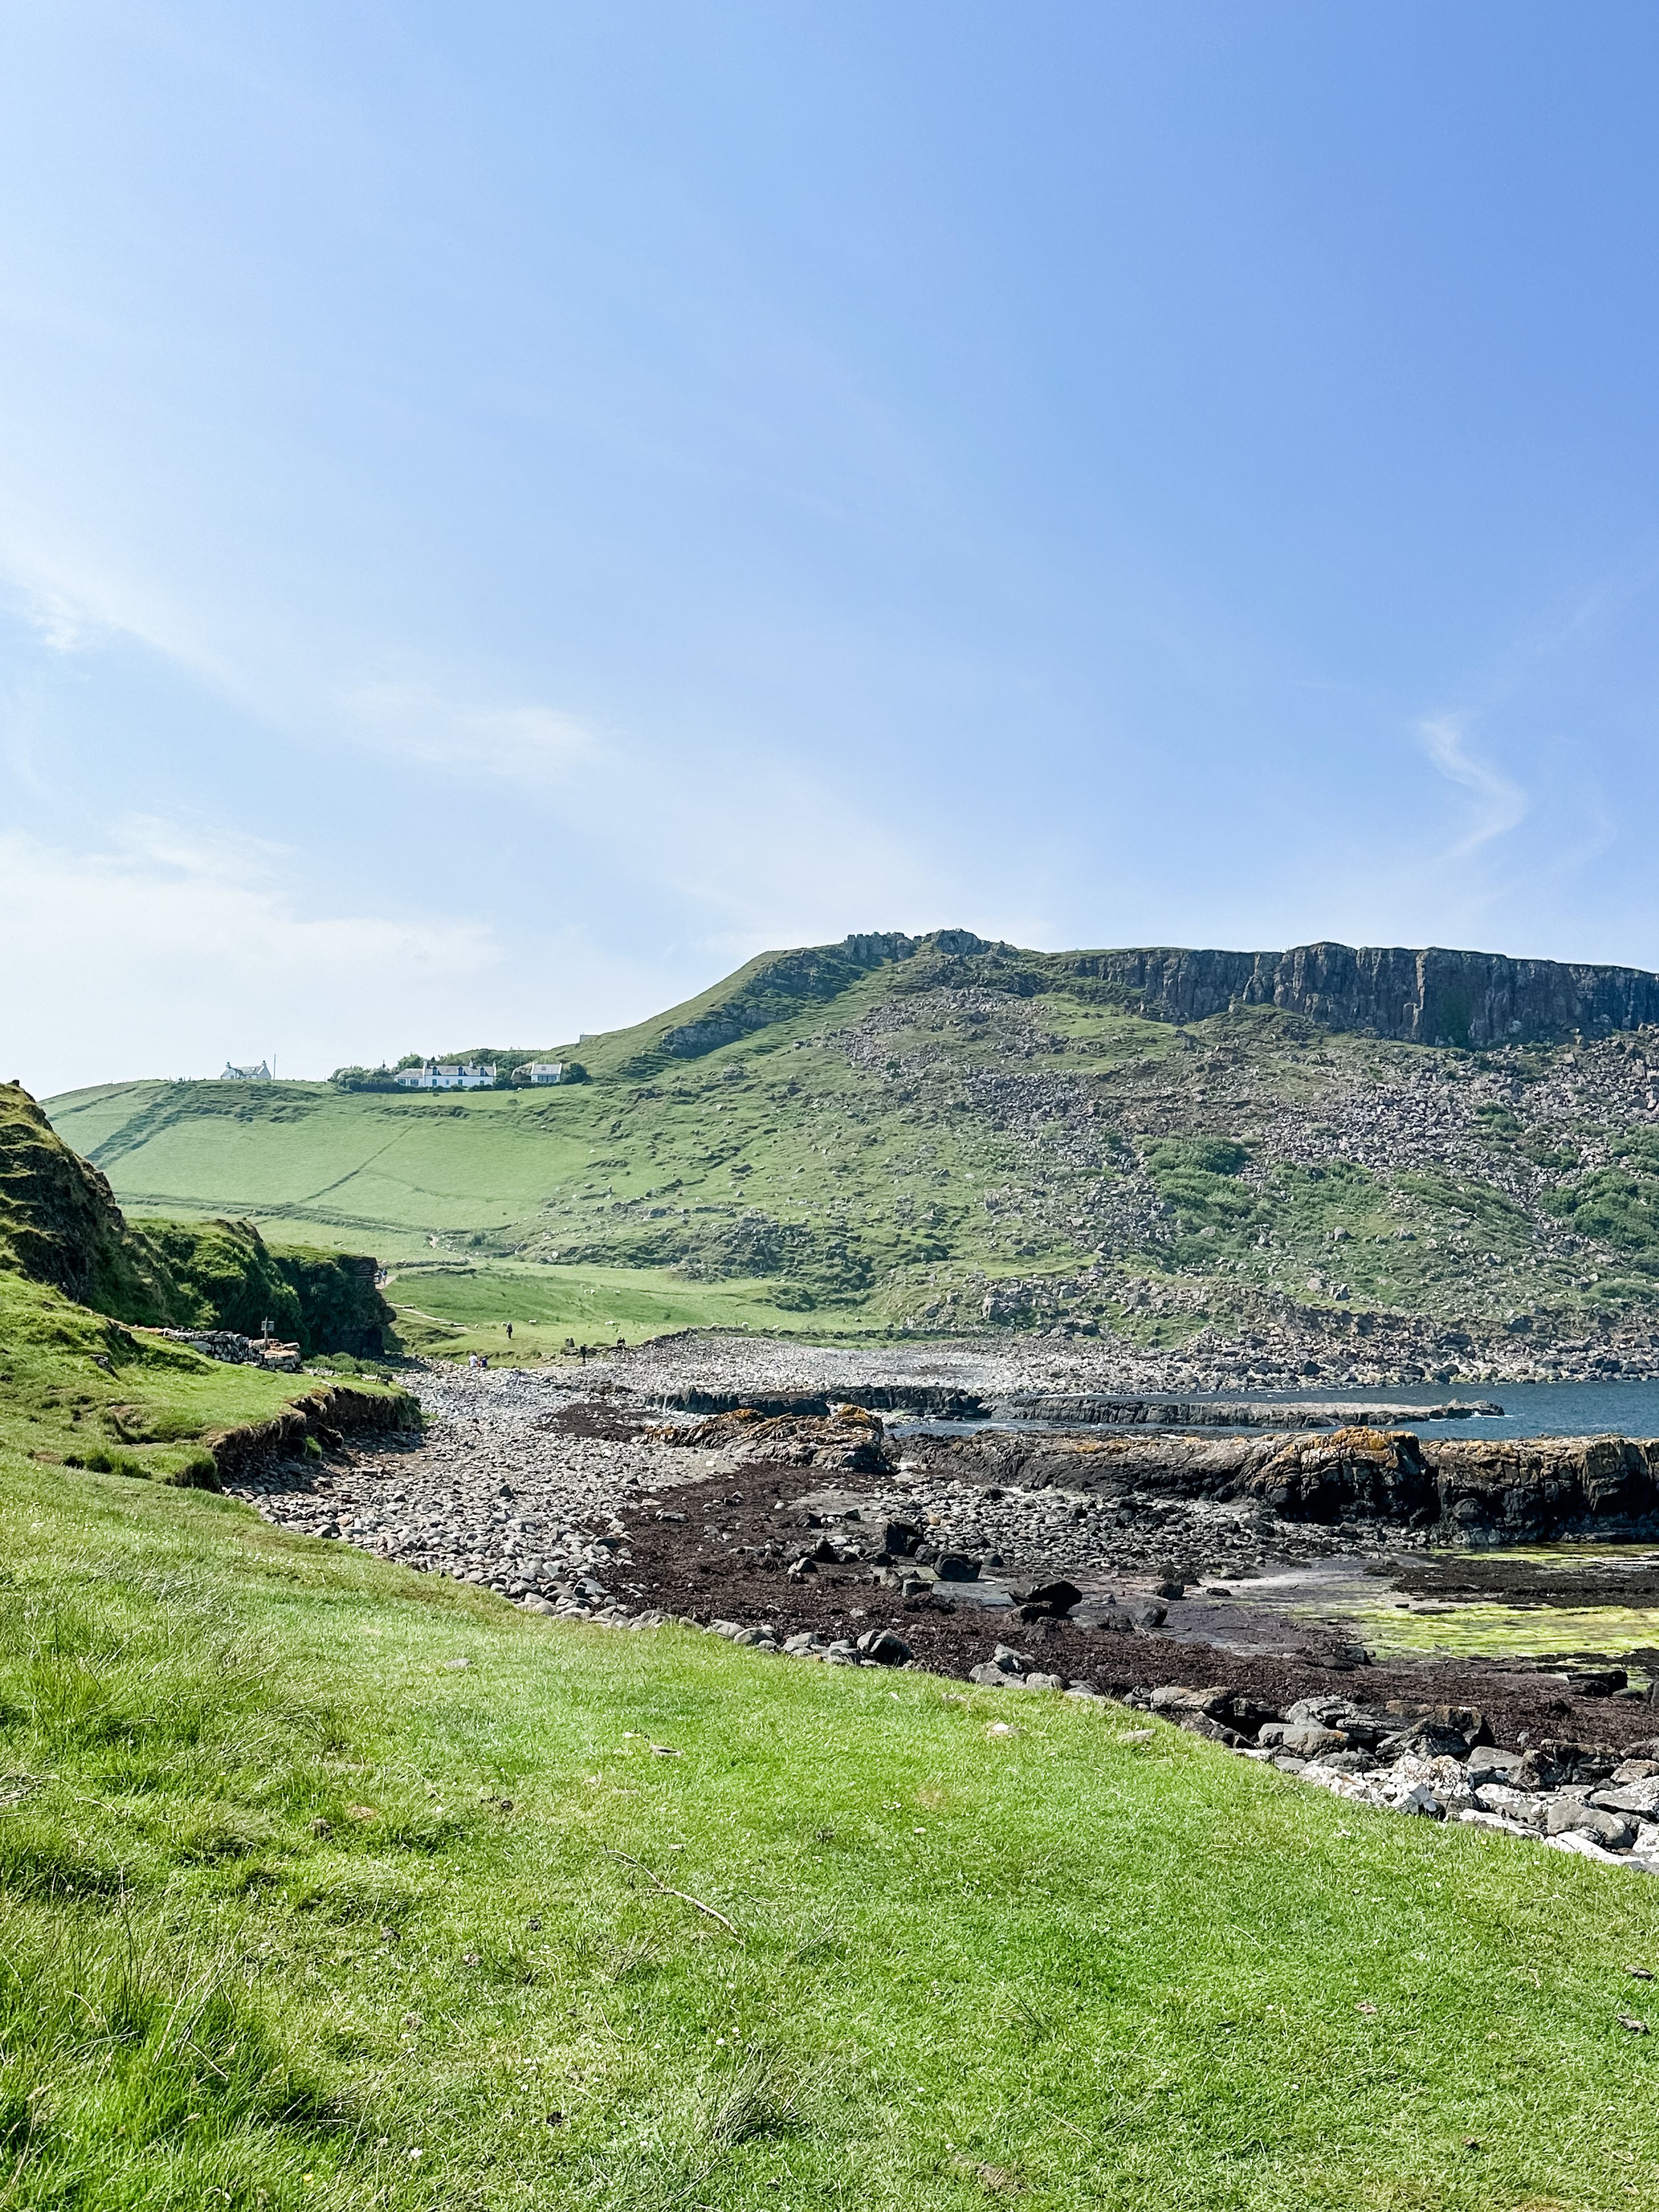
4. Enjoy the Scenic Views: After just a few minutes, you’ll find yourself surrounded by greenery with sweeping views of the valley. The paved path stretches for about 2 kilometers, making it an easy and enjoyable walk for people of all fitness levels. You’ll pass through grass-covered ridges, and if you’re lucky, you may catch local farmers tending to the rice fields below. Just be careful on the path as it is uneven so you need to watch your footing.
A Few Tips for Your Campuhan Ridge Walk:
• Best Time to Visit: Go early in the morning or late in the afternoon to avoid the heat and enjoy the ridge at its quietest and most picturesque.
• What to Bring: Wear comfortable shoes, bring water, and apply sunscreen—there isn’t much shade along the path.
• Extend Your Walk: At the end of the ridge, you’ll find small cafes and local warungs where you can rest and enjoy a fresh coconut or a smoothie. I carried on for quite a ways as I loved this little village first thing in the morning.
Why Campuhan Ridge Should Be on Your Ubud Itinerary
For first-time visitors, Ubud can feel overwhelming with its bustling streets, vibrant markets, and constant activity. The Campuhan Ridge Walk provides a perfect balance, offering a quick yet meaningful escape into nature. Its close proximity to the town center makes it easy to fit into any itinerary, while the peaceful surroundings make it a place of restoration.
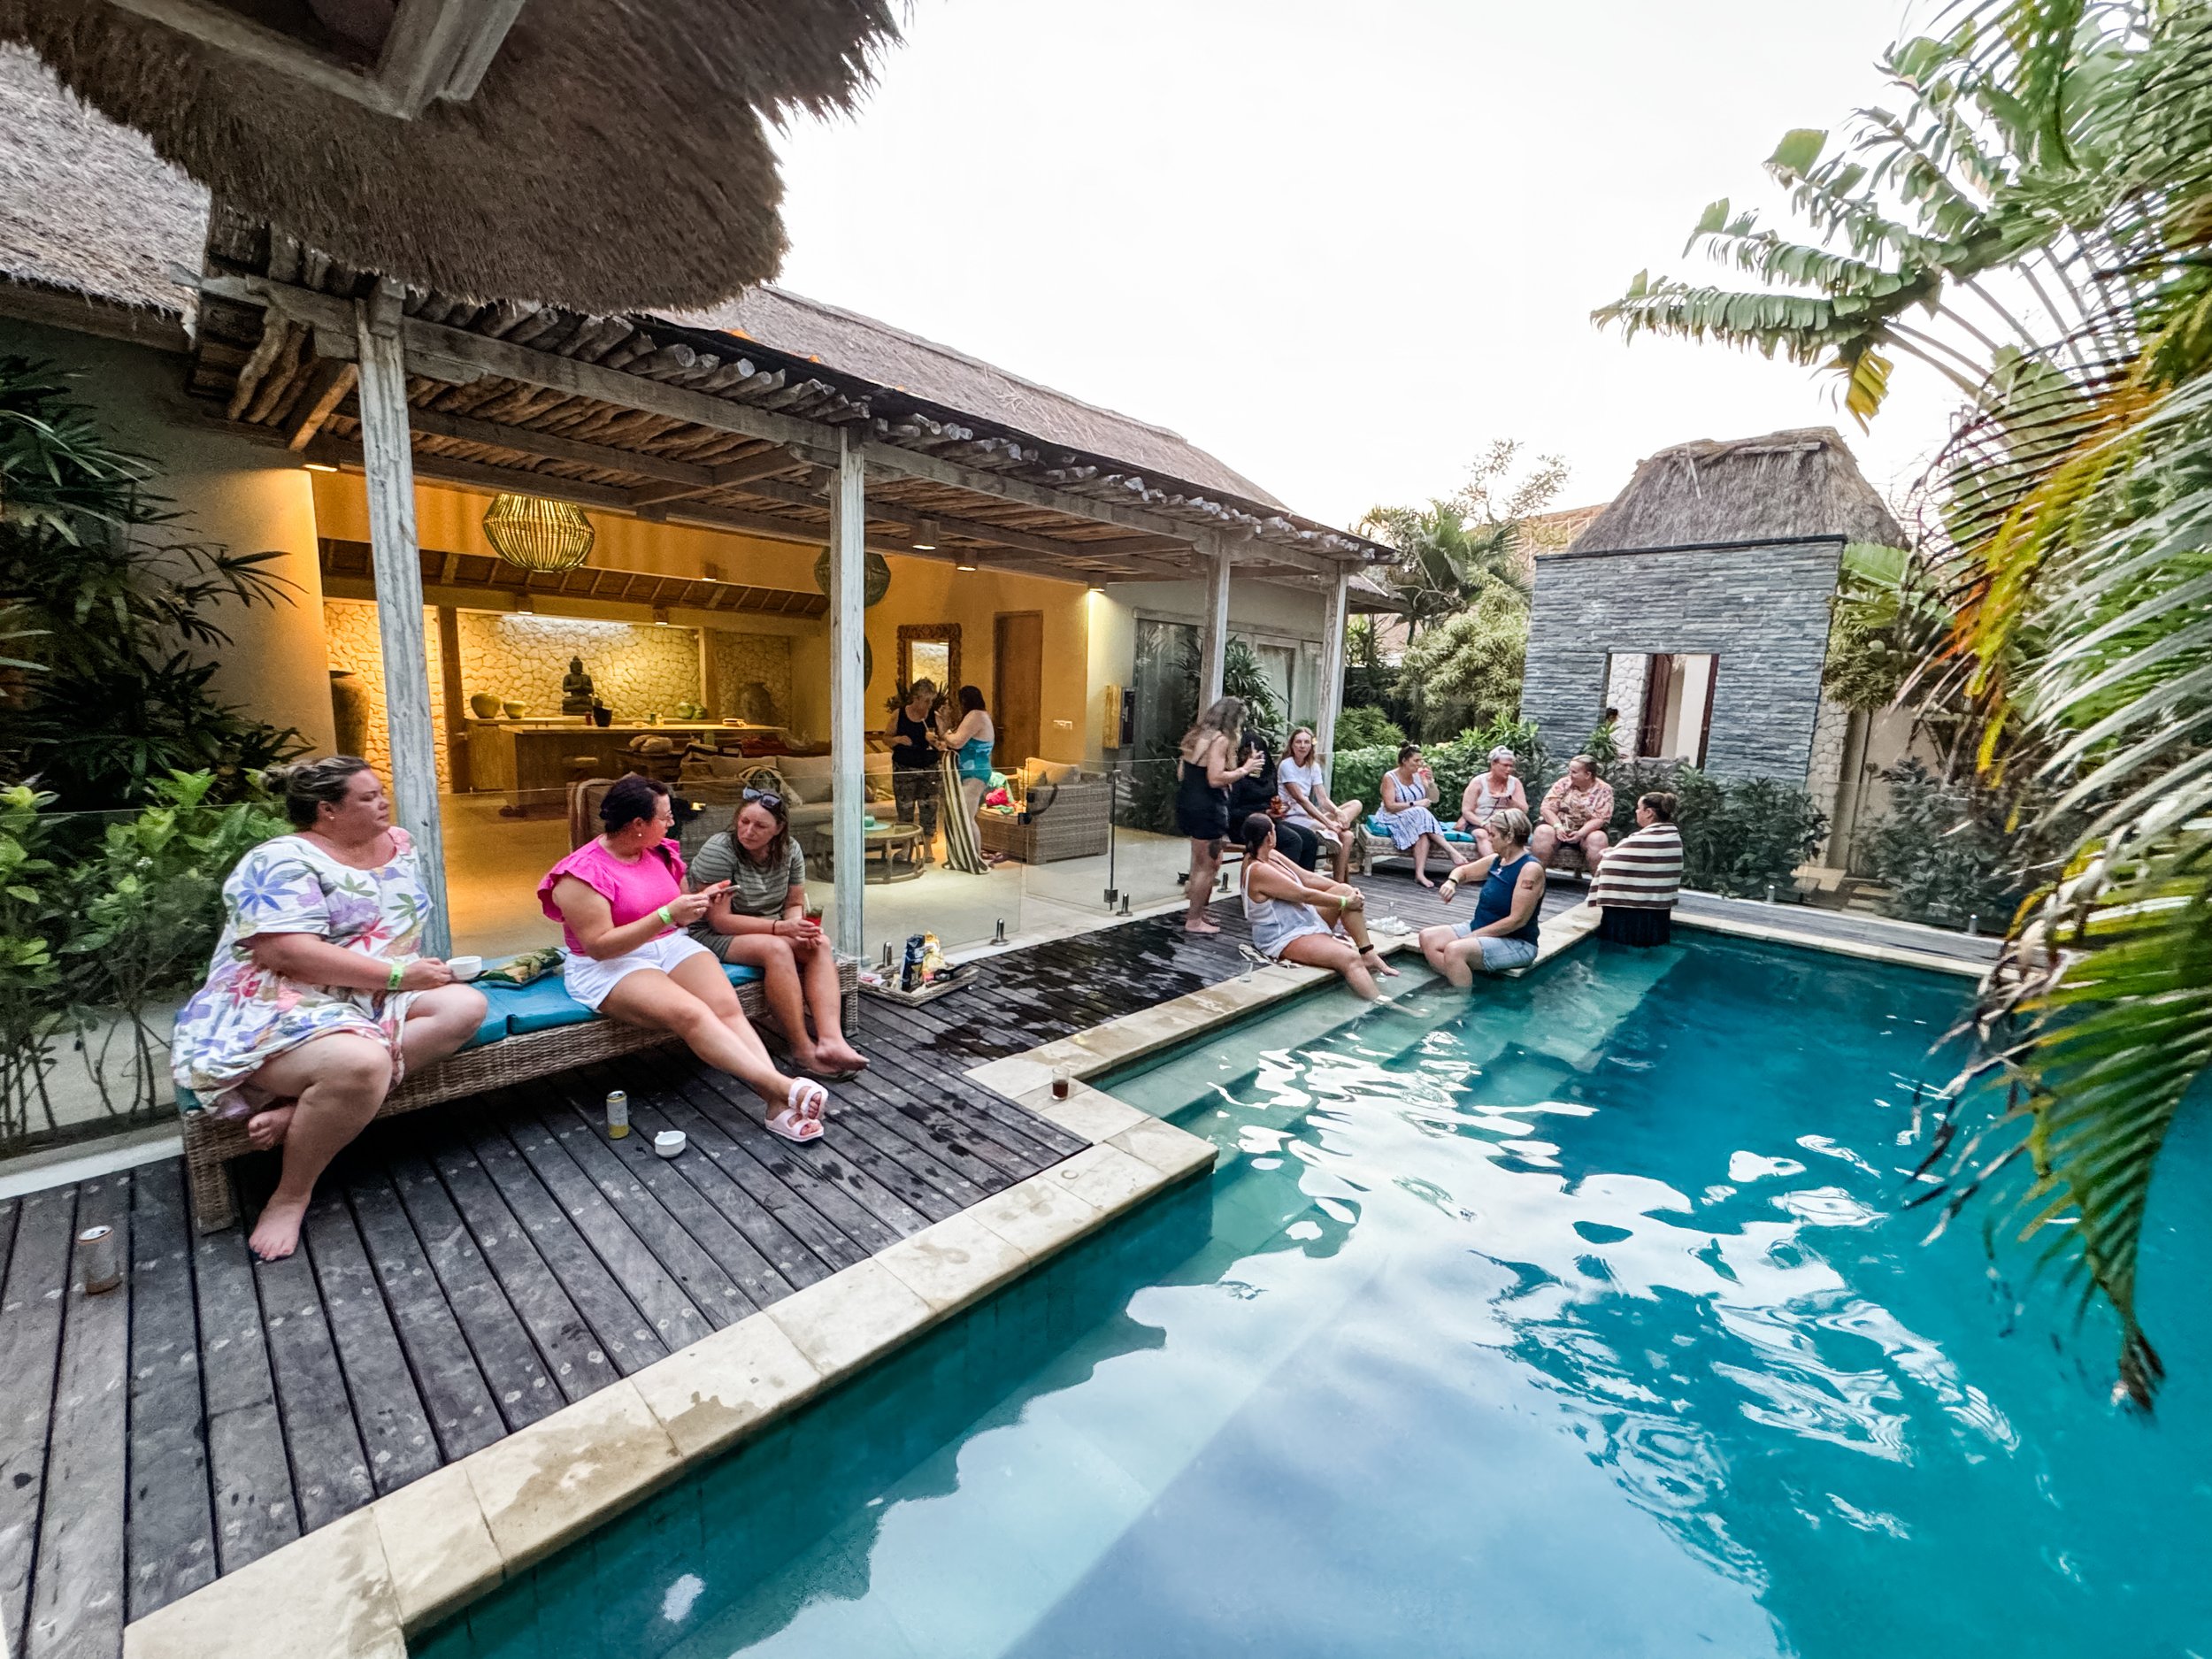
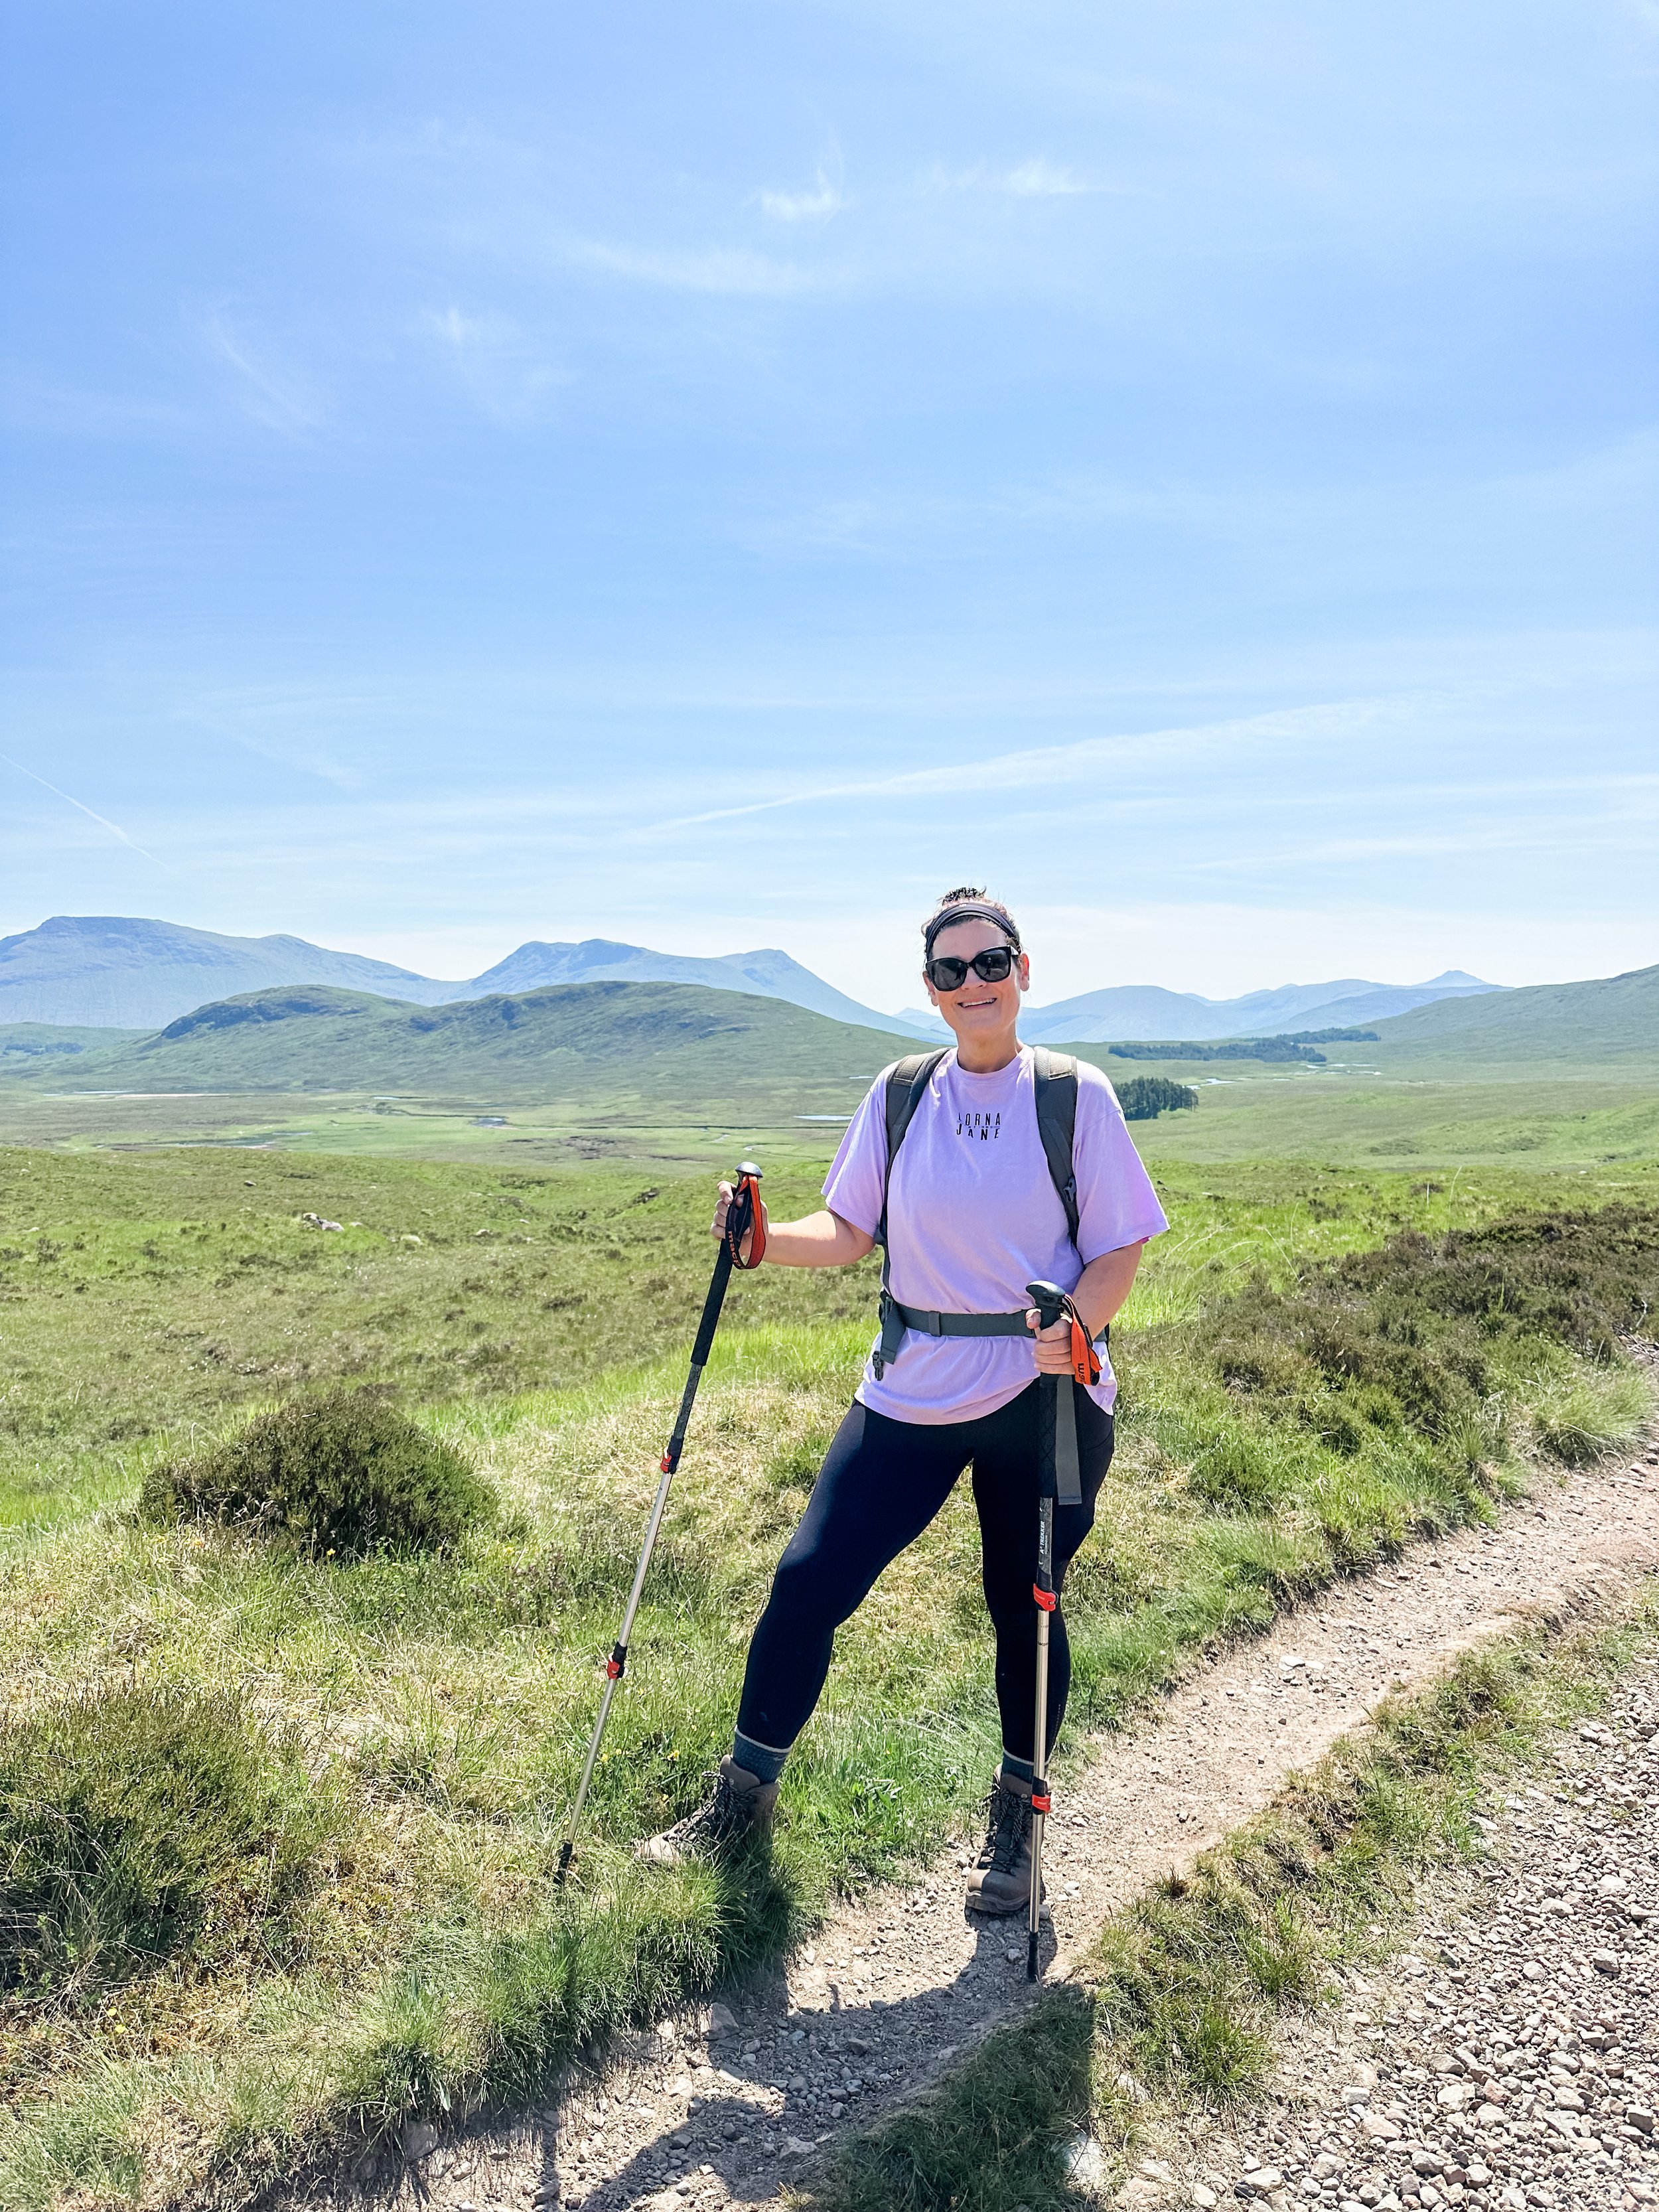
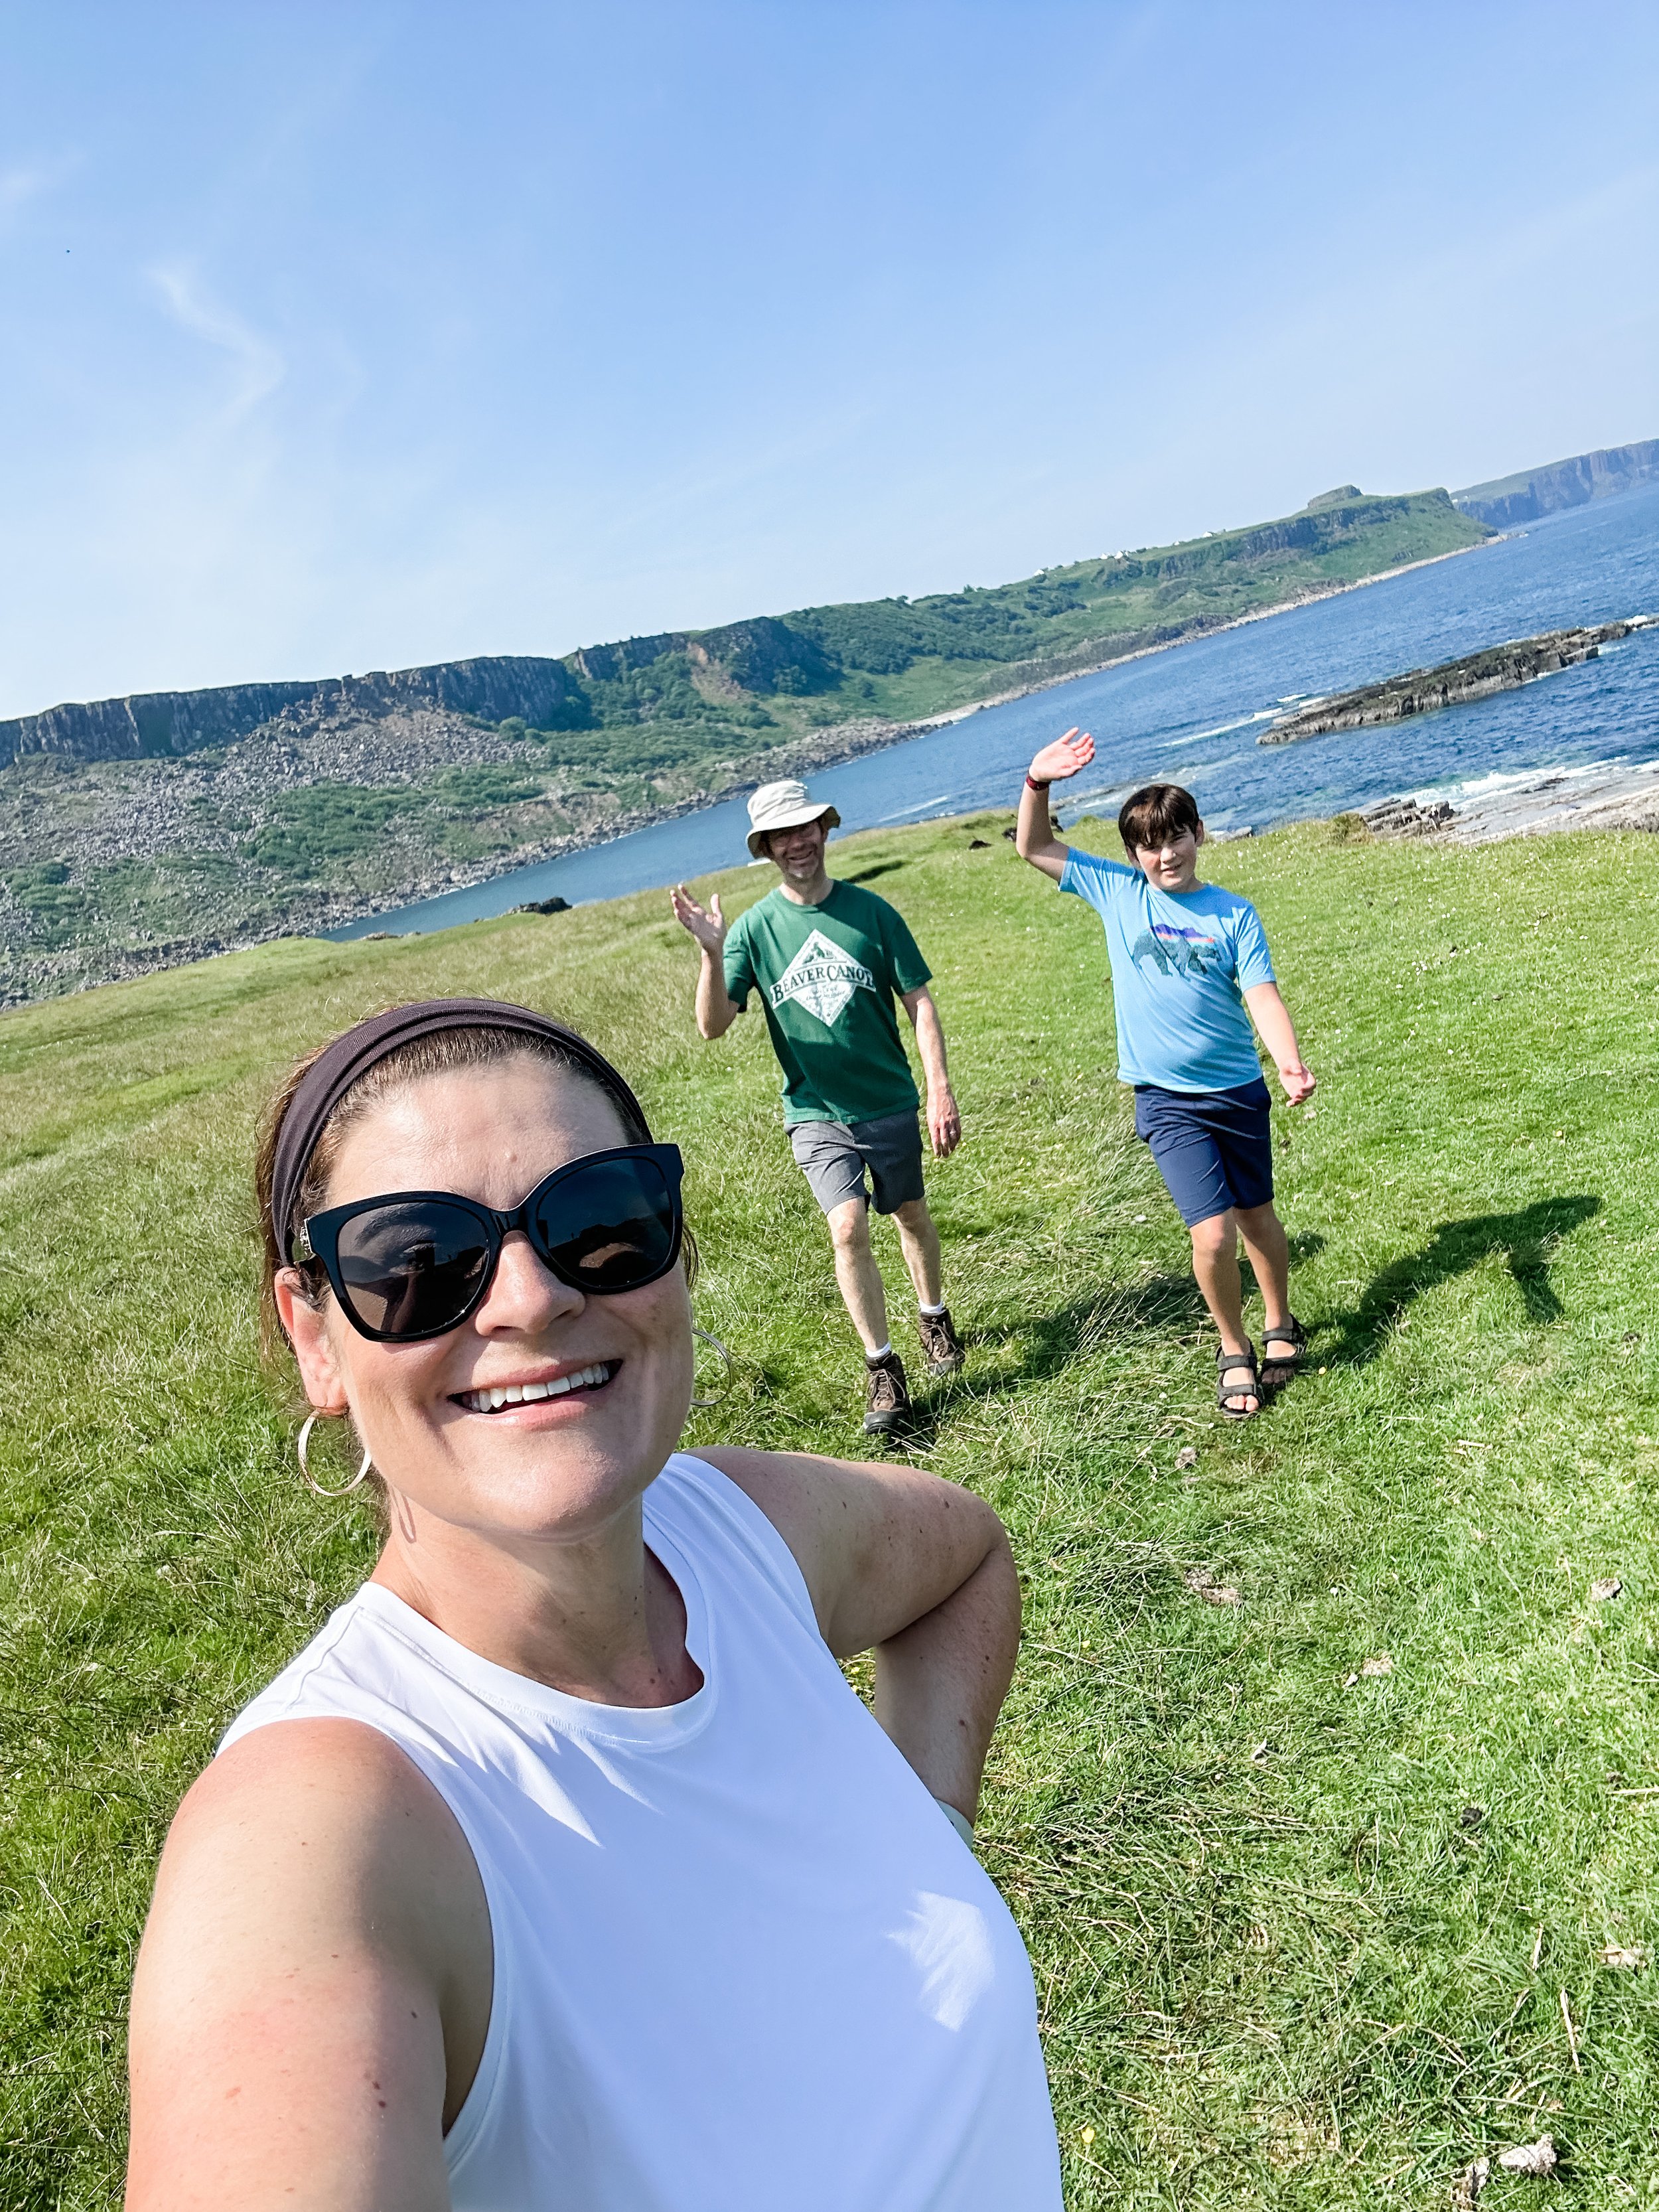
Planning to explore more of Bali’s hidden gems? As part of my Women’s Wellness Adventures, I lead small groups on enriching journeys to destinations like Bali, combining wellness, adventure, and connection. Join my private Facebook group, Justine’s Journeys, or follow me on Instagram to see upcoming trips and travel tips!