Low Carb, Protein Packed & Bariatric Friendly Lasagna
Pretty proud to say yesterday I made one of the best lasagna’s I’ve ever had! This is pretty big considering Lasagne is my favourite food, and I’ve had them a lot. BUT, I normally don’t make at home, seeing as my husband is allergic to dairy. Since having weight loss surgery I don’t eat a lot of pasta, so decided I would make a bariatric friendly version that I could portion out and store in the freezer for when I need an easy meal.
After having a bit of a look online at various ways to make a low carb lasagna, I decided to combine a few things I’d seen and come up with my own version. It’s a bit softer than a regular lasagne, and next time I’ll add another zucchini and wrap layer… but here it is, let me know what you think!
Ingredients

2 courgettes, thinly sliced lengthwise
1 tablespoon olive oil
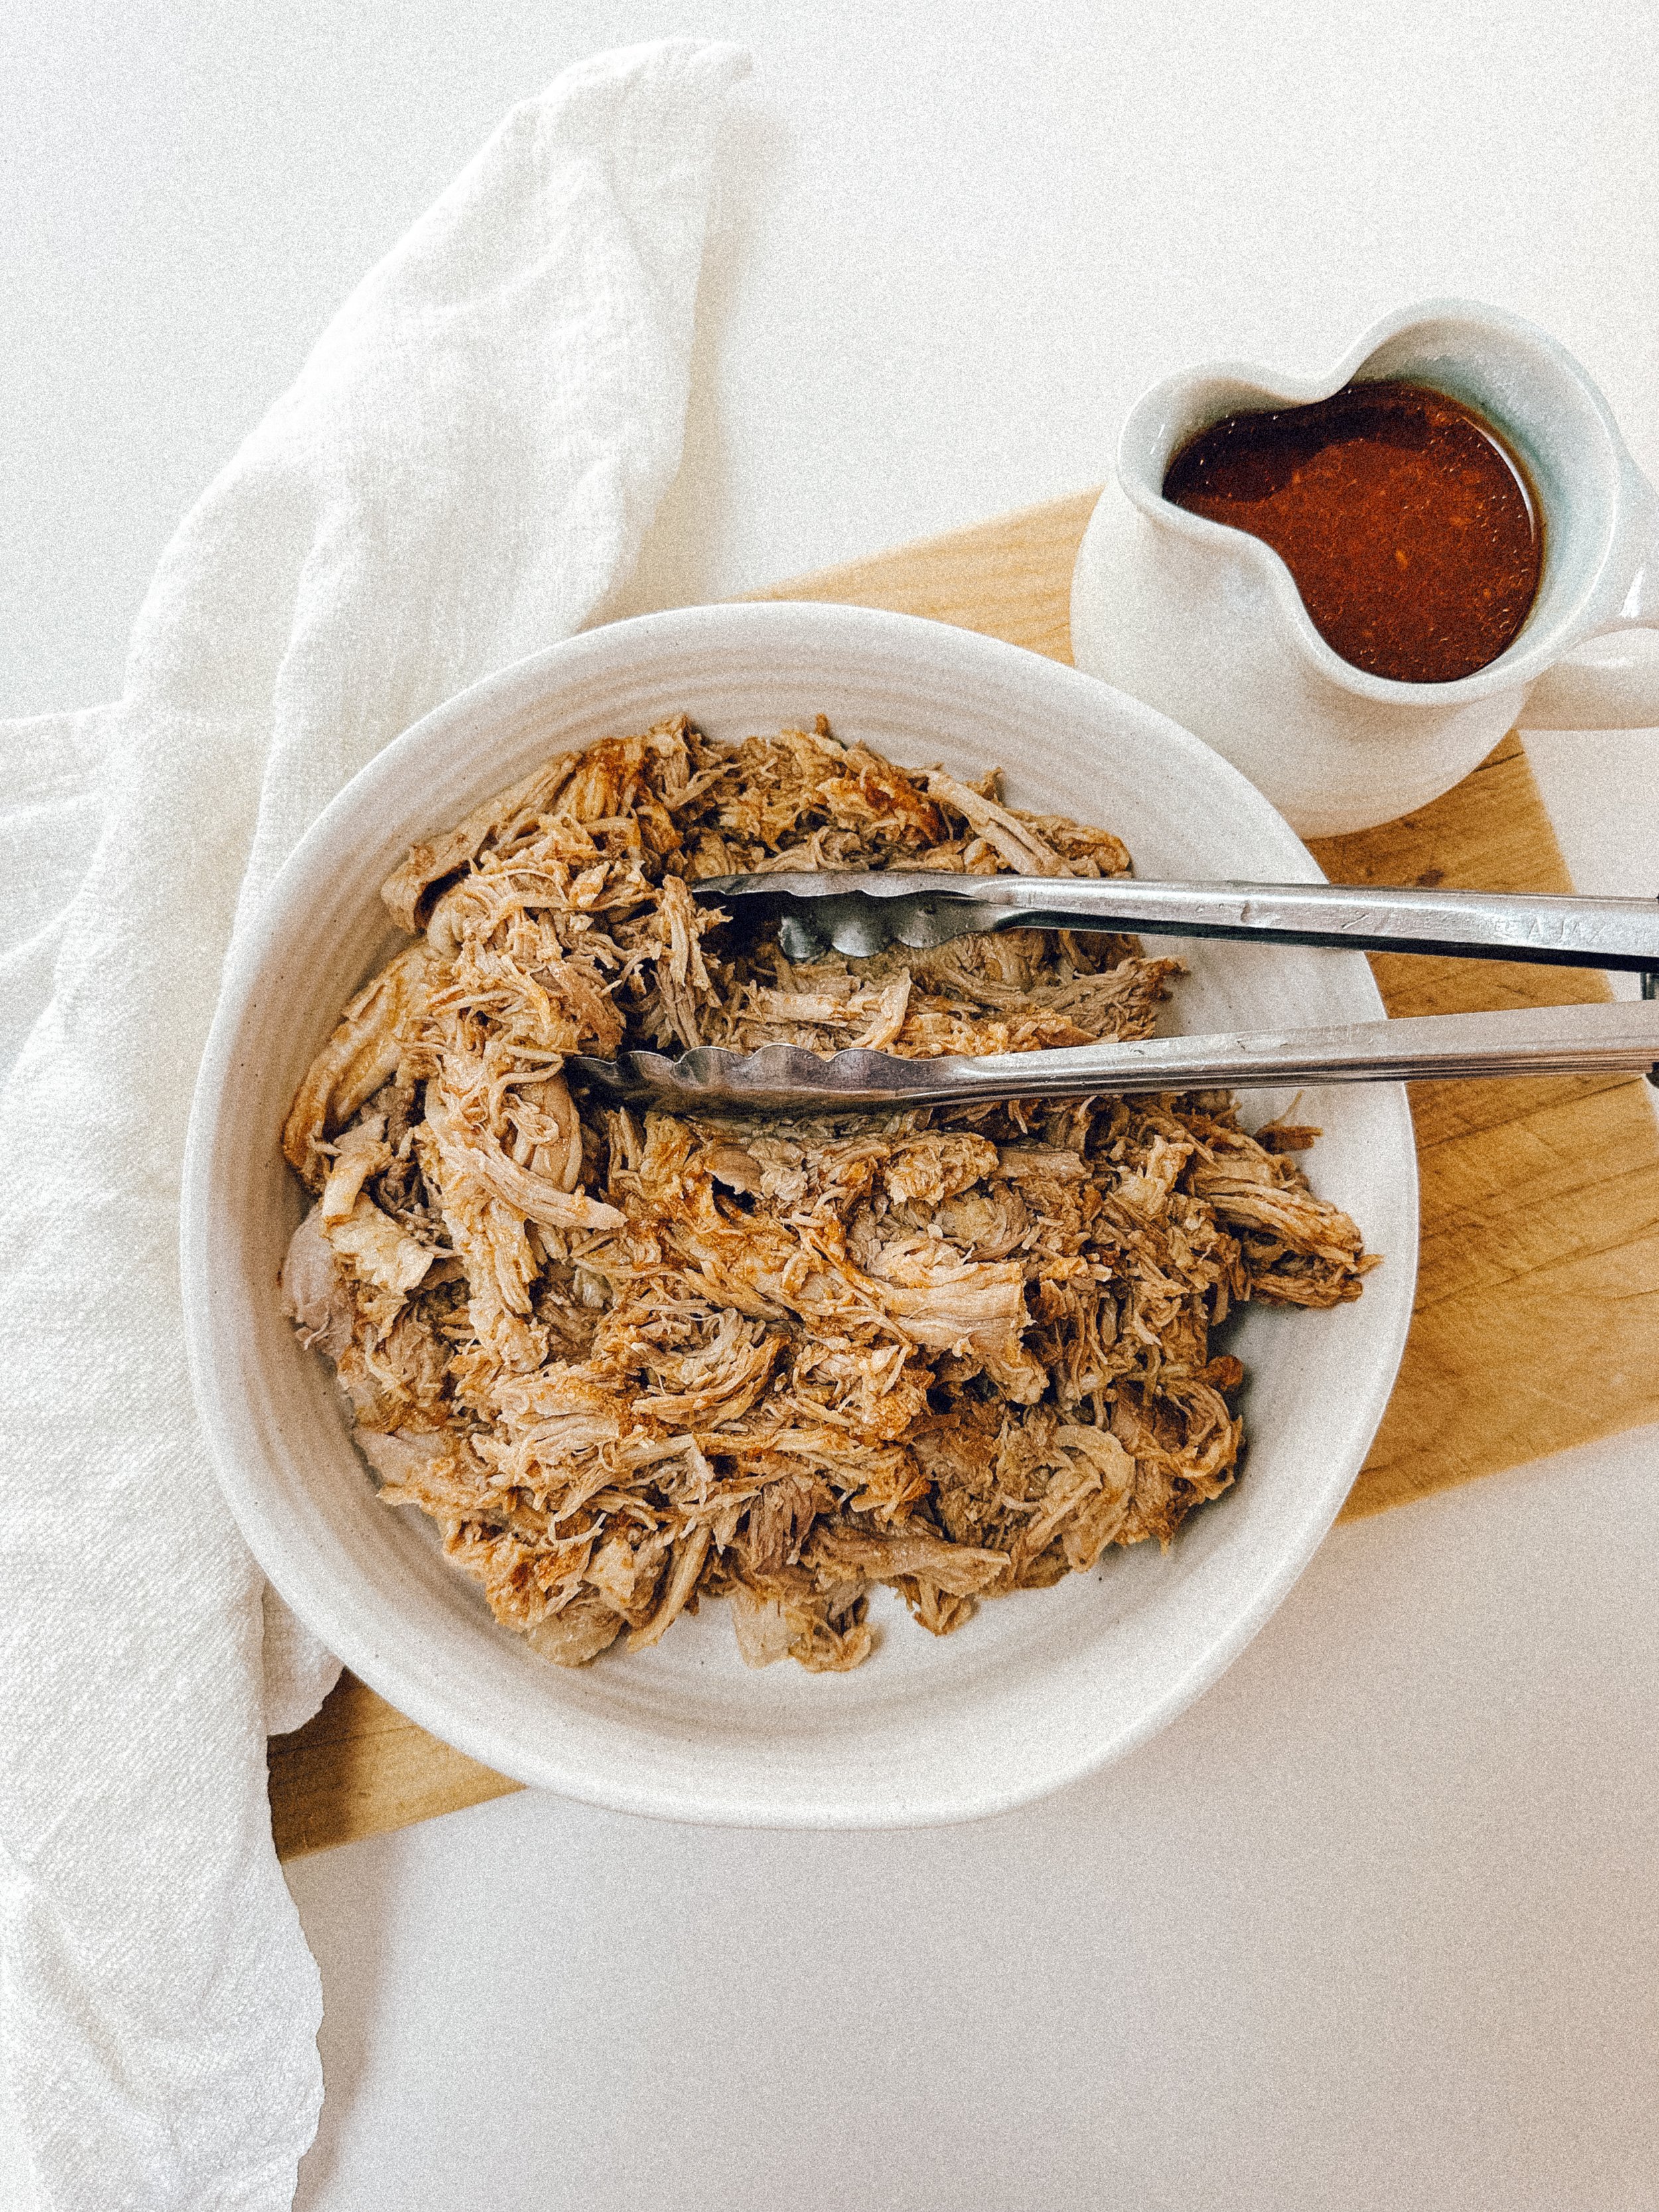
800g-1kg ground beef / mince
1 small onion
1 pack keto / low carb wraps
1 Bottle Pasta sauce (I used a herb style one)
250g tub ricotta
1 tsp salt
1/2 tsp nutmeg
1/2 bag baby spinach
1 egg
2 cups grated edam cheese
Method
Fry off onions. Once clear add mince and pasta sauce, let simmer for 10 mins
Thinly slice courgette & dab with paper towels to remove excess moisture - set aside
Mix ricotta, egg, salt and nutmeg together to make a white sauce, season with salt
Cut wraps into smaller pieces to mimic pasta sheets
Layer courgette into bottom of baking dish, then add a layer of beef followed by a layer of the ricotta white sauce
Arrange wraps on top to cover, then add a layer of spinach, cheese, beef & white sauce
Top with cheese then cover with foil.
Bake at 180 degrees for 30 mins
Bake a further 10 mins with no foil and it will brown up nicely