healthy recipe

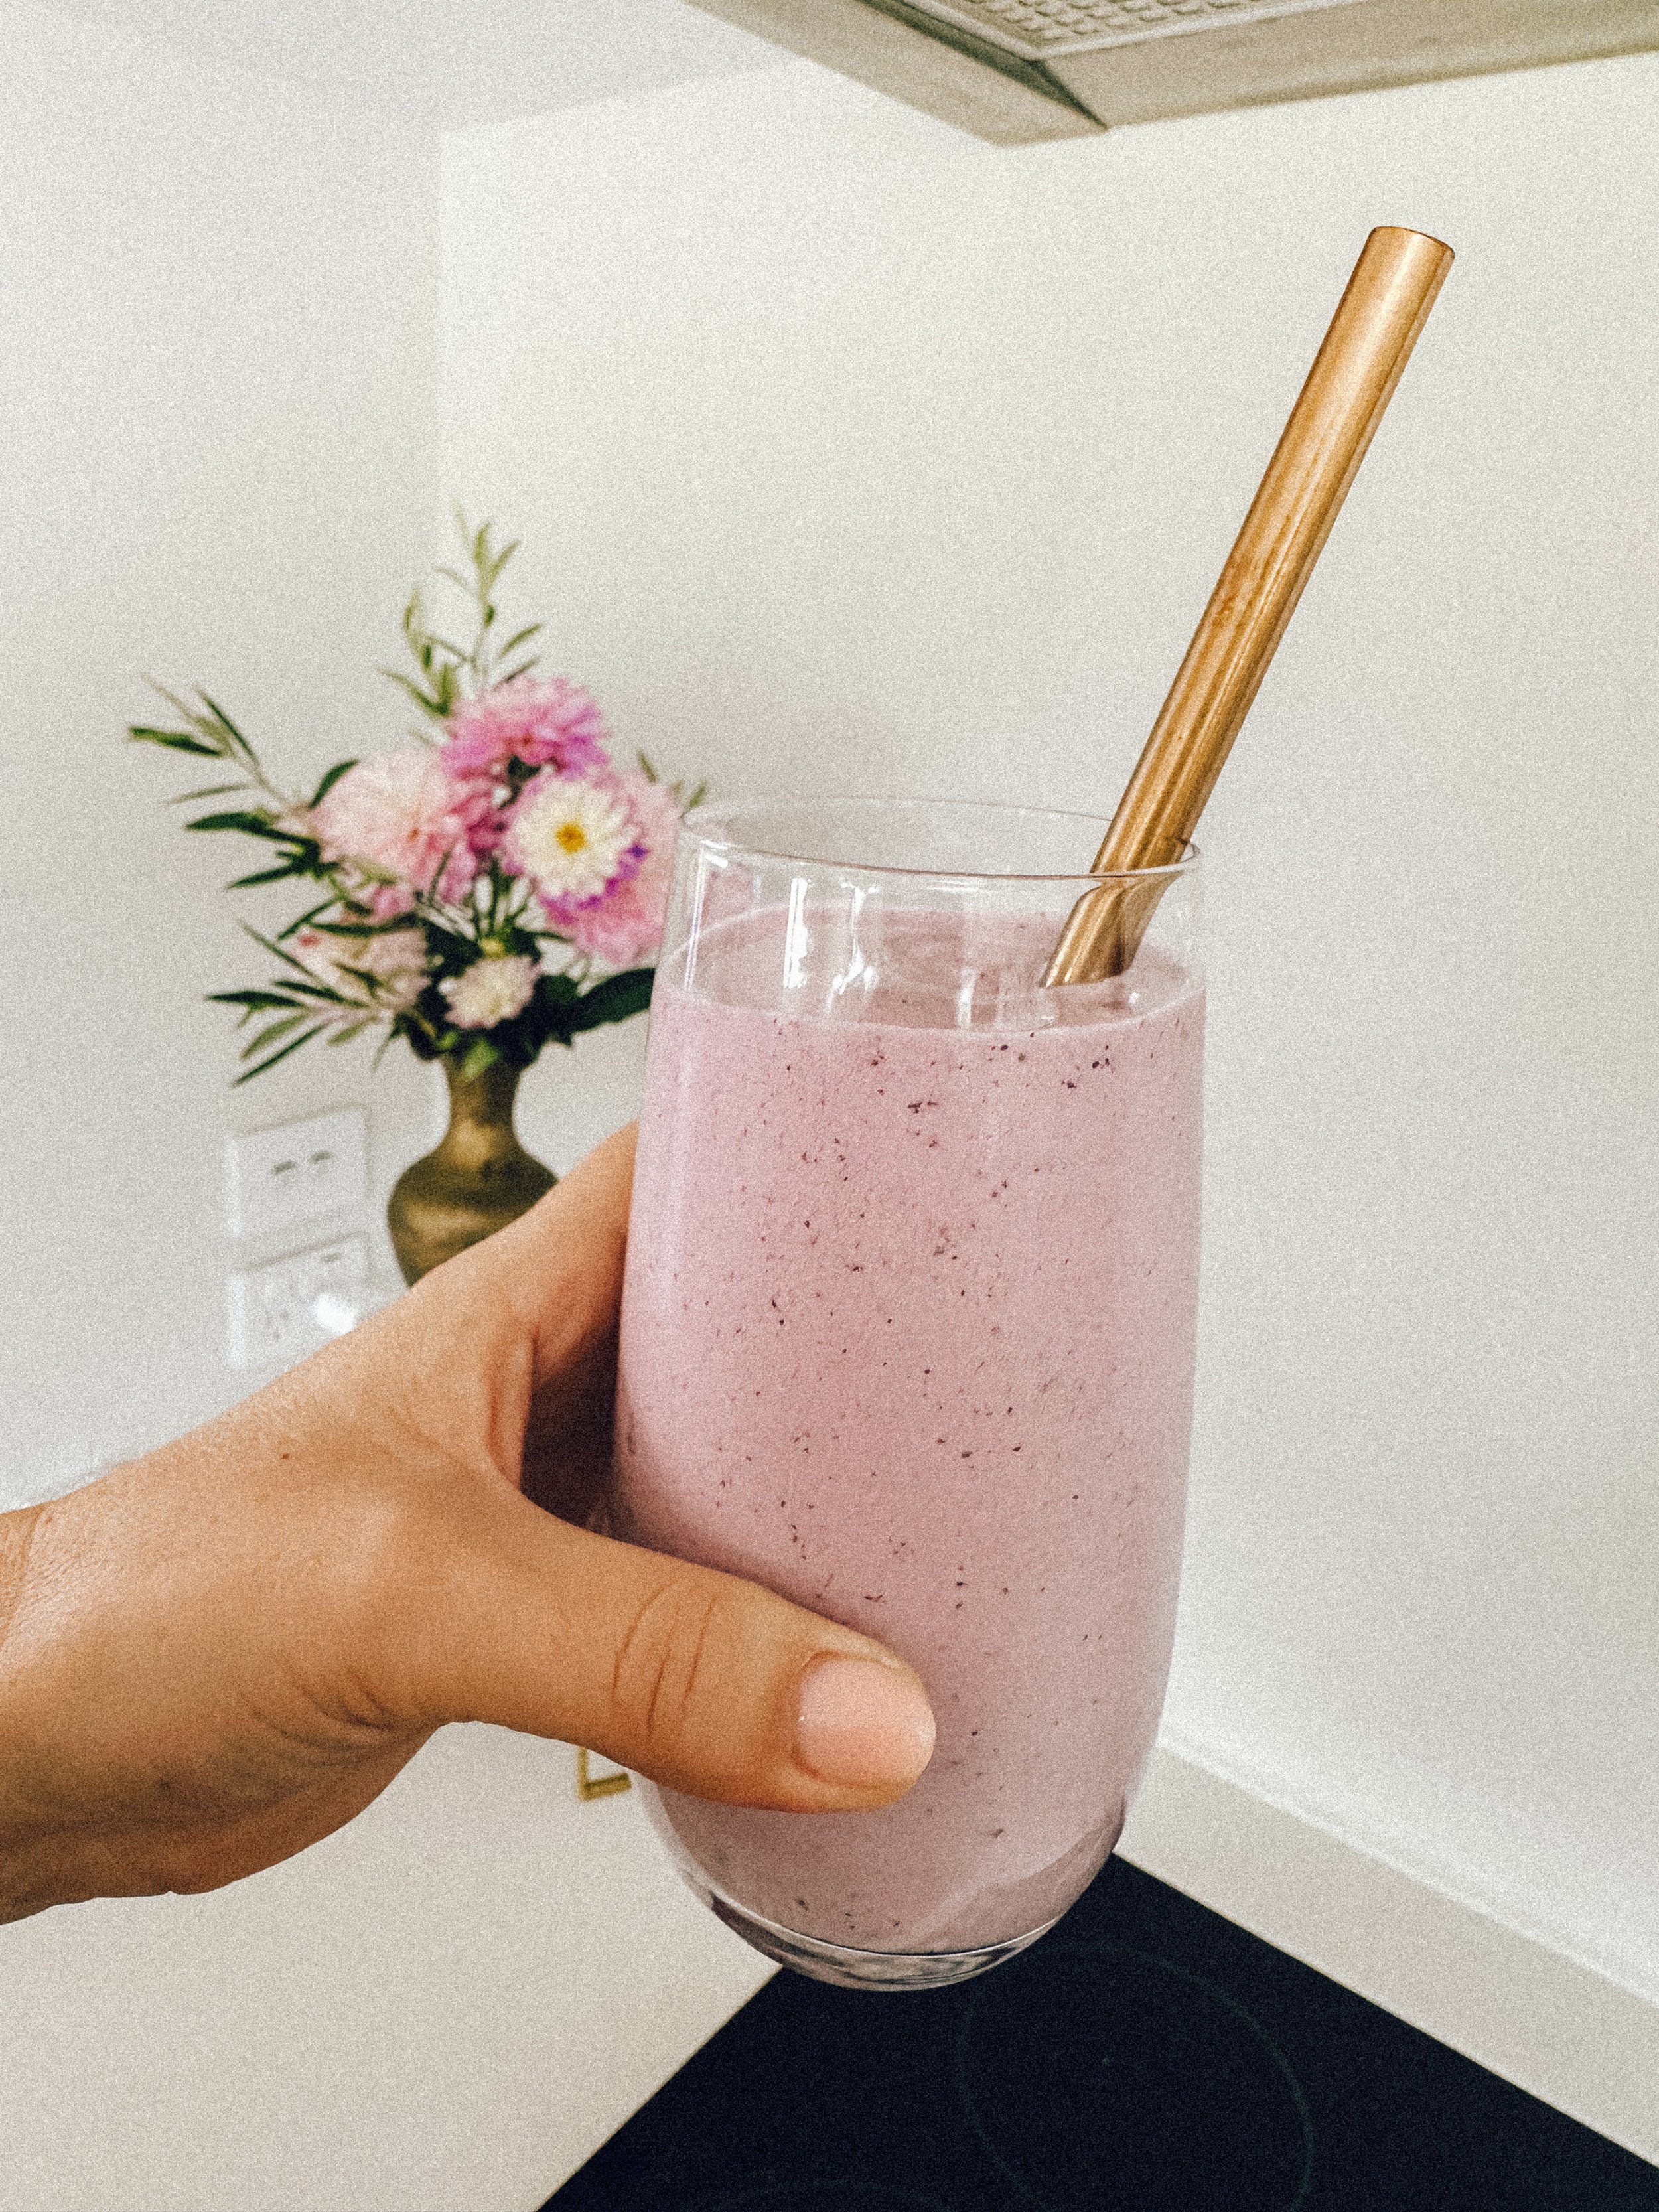
Aiden's Epic Berry Protein Shake

I cannot take all the credit for this one. I’ve been making berry smoothies for Aiden for years, but recently he’s been requesting them which has coincided with taking a more active & interested role in his own health & diet. This has all stemmed from being pretty serious about his sport. He’s been learning about the different food types, why protein is important for his muscles and recovery.

So, we have taken his fave berry smoothie and made a few tweaks to up his protein for post workouts or games and the result is SO SO delicious I just had to share with you. It’s extra thick and creamy, the texture is amazing thanks to a few secret ingredients. Don’t miss adding the zucchini to this, as it really adds so much creaminess and you can’t taste it at all.

Berry protein Shake

Ingredients

200ml milk (any kind)
1 small - medium banana, fresh
1/2 cup mixed frozen berries
2-3 pieces of frozen mango
2-3 pieces of frozen zucchini (trust me!)
Small handful cashews
3-4 pieces of ice (don’t overdo it or the shake will end up icy)
2 scoops NZ protein vanilla protein powder

Method

Pop all of your ingredients in a blender and blend for at least 45 seconds and then serve!

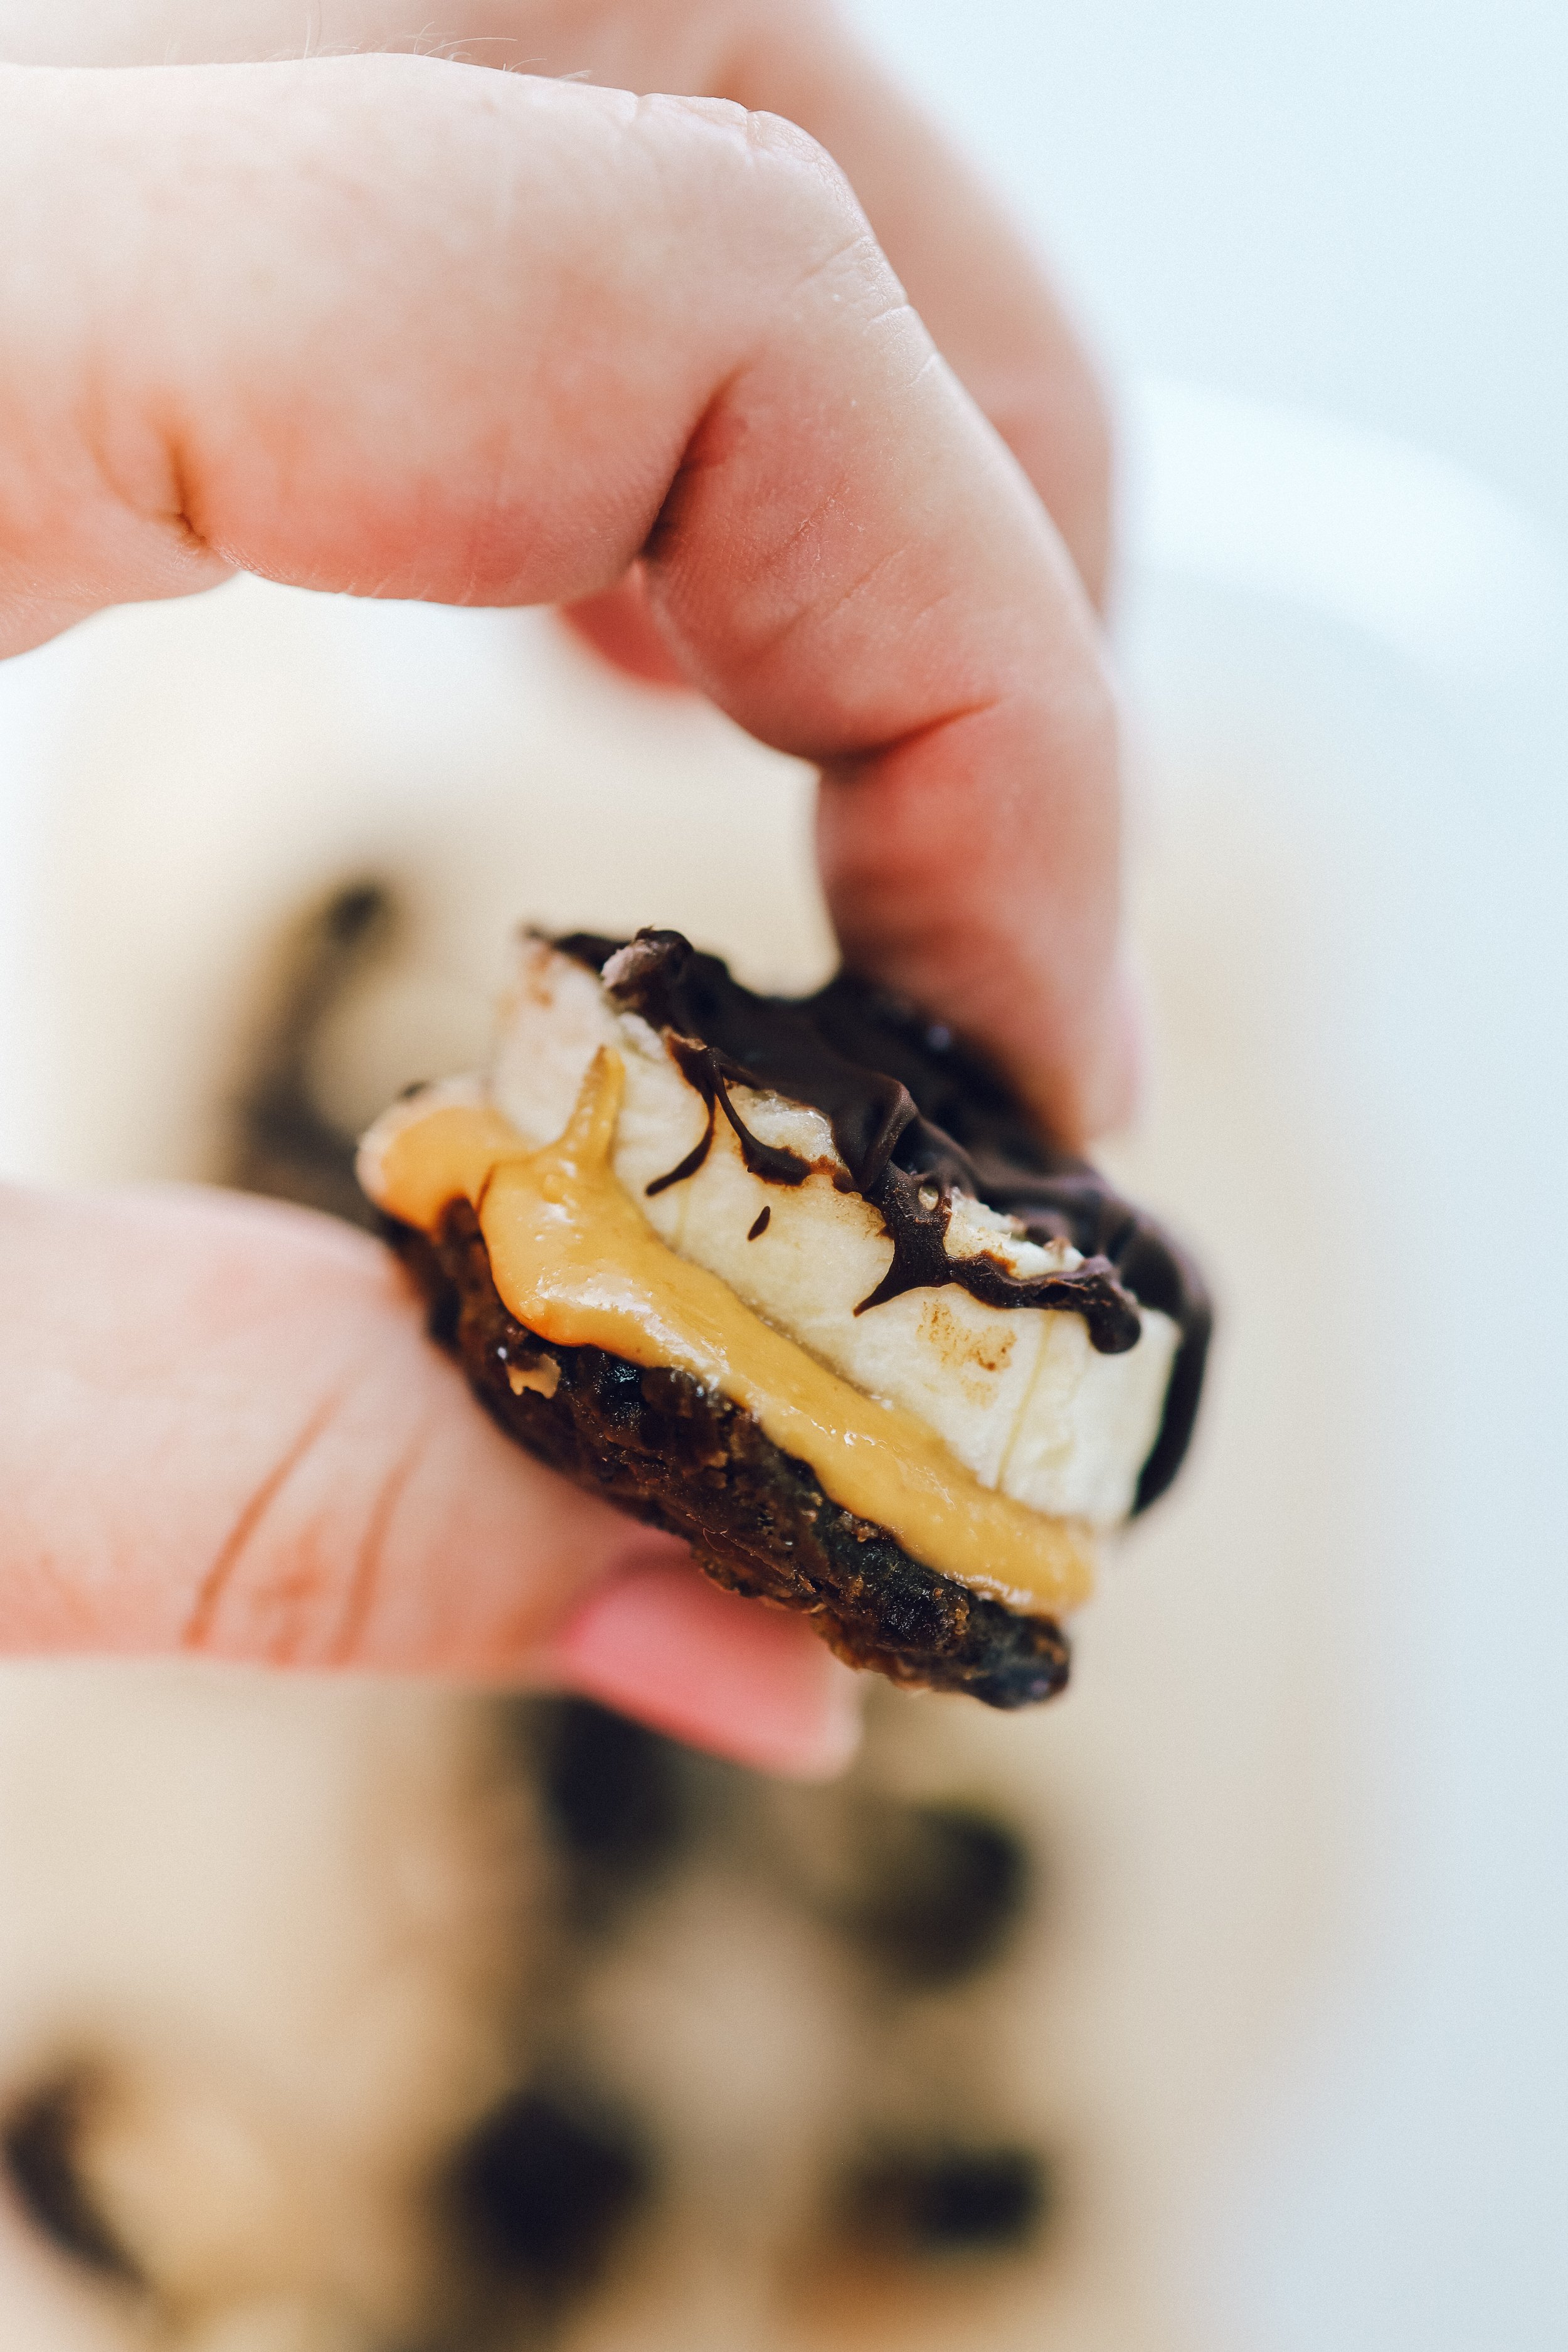
Date, Banana & Peanut Butter Chocolate Bites

Here’s a really quick and easy recipe for if you want something sweet in the freezer that requires no baking or blending! Only takes about 10 mins and they are super delicious. It’s super basic, which is why I like it. There are a few renditions you can make, like these Chocolate Dipped Date & Peanut Butter Bites (which omit the banana) but I like having the creaminess of the banana in there. I will say the better quality the dates the better! Medjool are best.

Date, Banana & Peanut Butter Chocolate Bites

Ingredients

1 Banana
Medjool Dates
Peanut Butter
Sugar Free Dark Chocolate

Method:

  1. Take your dates and flatten with the back of a spoon to make a base and lay out on some baking paper

  2. Once flattened, top with 1/4 tsp of your favourite nut butter (I use smooth peanut butter but crunchy is also good to add in more texture)

  3. Slice your banana and place 1 piece on top of the peanut butter. Squish it down a little so it sticks together

  4. Take your dark chocolate (I use sugar free) and melt in the microwave in 30 second bursts, then drizzle all over the top of your bites

  5. Place in an air tight container in the freezer and take one out whenever you need a sweet treat!

Meal Prep: Blueberry Cheesecake Baked Oats

Ok so we can all thank late night instagram scrolling for this one. Although I saw it, thought I saved the recipe and then didn’t and have struggled to find again and had HALF a screenshot of the recipe, but it’s ok as I just ran with my terrible memory (but also pretty good knowledge of baked oats) and think I nailed it first go. So, credit to the lovely lady with the British accent for the Inspo… and half the recipe 🤦🏻‍♀️

Quite honestly this is like eating cake for breakfast. But it’s HEALTHY cake. We have so much good stuff going on here - the goodness of oats which are a slow releasing carb, plus banana for potassium, blueberries with all their amazing properties and of course protein to help keep you full for longer. Honestly, try it at least once and let me know what you think! Keep in mind these quantities are specifically for meal prep that will last you the week. OR, you can share with your family and get a day or two out of it.

Blueberry Cheesecake Baked OatS

Ingredients

2 cups rolled oats (I used Scotch oats)
2 bananas
60g protein powder
I used NZ protein whey protein, gourmet vanilla
420ml calci trim milk
You can sub any milk alternative, I like calci trim as it’s higher in protein than regular milk
1 tsp baking powder
1 cup frozen blueberries
1 tsp maple syrup or honey
6 TBS high protein yogurt or greek yogurt

Method:

  1. Mash bananas into bottom of a dish roughly 20 x 30cm (preferably one that has a lid)

  2. Add oats, baking powder & protein powder

  3. Pour in milk and mix everything together

  4. In the microwave, heat your blueberries and maple syrup or honey for 1 min to soften them up.

  5. Place spoonfuls of the blueberries on top of your batter, and then do the same with the yogurt

  6. Get a spoon and swirl together the yogurt, blueberries and yogurt - but don’t fully mix them together. You want it to be only just mixed so you can nice clumpy parts of yogurt and blueberries

  7. Place in the oven for 40 mins at 180 degrees.

  8. Once out of the oven, let cool a little and cut into 6 serves. Pop your lid on and place in the fridge.

To Serve:

  1. Take out one serve daily, warm in the microwave and add a little fresh yogurt on top. I also add a drizzle of peanut butter. SO GOOD!


Sticky Date Overnight Weetbix You Have To Try!

Ok, I’ve cracked the code. I have tried quite a few variations of overnight weetbix and this one is HANDS down my favourite one. It is caramely and cinamony and delicious. YUM!
My Banoffee High Protein Overnight Weetbix is also super yum if you’re looking for another version to try - but I have to say this one is my favourite.

You can easily make it high protein by making with high protein almond milk, or calci trim (which is naturally high in protein) plus use high protein yogurt.

Ingredients

  • 2 Weetbix crushed

  • 1/2 cup milk of choice (I used calci trim)

  • 1/4 tsp cinnamon

  • 2 tsp maple syrup

  • 2 dates, diced

  • 1/2 cup vanilla yogurt (I used high protein yogurt)

Method

  1. Mix all ingredients except fo the yogurt together in a bowl & then spread into the bottom of a small container or jar

  2. Layer yogurt on top

  3. Top with a sprinkle of cinnamon and weetbix

  4. Cover and refrigerate overnight

    If you’re making for the family, multiply the ingredients by the number of people and make a slab of it! Place in a baking dish or pyrex to rest overnight.

High Protein Banoffee Overnight Weetbix

Overnight weetbix is all the rage on TikTok, and I’m here for it. Normally the only thing I’d make with weetbix is a chocolate weetbix slice, but this is also a great option… and a much healthier one! I first started having a version of this a few years ago following my gastric bypass surgery as it’s great for puree stage, but this version is a lot better with more textures and flavour. Making it a high protein version will also mean it will keep you full for much longer. I have a few variations I’m working on, but for now enjoy my High Protein Banoffee Overnight Weetbix!

Ingredients:

  • 2 Weetbix​ crushed

  • 1/2 Cup So Good High Protein Almond Milk

  • 1/2 cup high protein vanilla yogurt

  • 1/2 small banana

  • Chopped nuts

  • Smooth peanut butter or create your own peanut butter drizzle by mixing peanut butter with Maple Syrup to sweeten it up, and a little bit of hot water.

Method:

  1. Crush your weetbix and mix with almond milk, spread into the bottom of a small container or jar

  2. Put a layer of slice banana on top, and then some peanut butter drizzle & yogurt

  3. Drizzle a little peanut butter and chopped peanuts, and some crushed weetbix if you’d like some extra crunch on top

  4. Cover and refrigerate overnight

    If you’re making for the family, multiply the ingredients by the number of people and make a slab of it! Place in a baking dish or pyrex to rest overnight.


Banana & Peanut Butter Protein Bircher

A few months ago I discovered a delicious bircher recipe from Two Raw Sisters. It’s very similar to the overnight oats recipes I have here on my website already, but I decided to give it a go for something new and loved it! In my opinion, it’s the raisins /cranberries and spices that make it. Because I have very specific protein goals, I’ve made a few tweaks to their recipe and wanted to share because it’s been a hit in our household.

I like to make up a double batch so that breakfast is sorted for 2 days running, and it’s just one less thing to think about in the morning. The below serving is for 1, just double it for 2 people or quadruple to make breaky for 2, for 2 mornings. You get the idea. If you don’t have protein powder, don’t stress, it will work just fine without, I just like to add more protein to breakfast to make me full for longer.

You can totally eat on it’s own as it’s super yummy as is, but I like to add some yogurt for extra creaminess, fresh banana and maybe a little PB or berries for some tang.

Protein Tips: I use the Vanilla protein powder from NZ Protein, it’s a whey based protein and is non grainy and delicious. The other option I always have is tasteless protein from Feel Good Protein which is a collagen base. To up the protein I use calci trim milk (as it’s higher than standard milk), but you can sub for a DF alternative or whatever milk is your fave. The peanut butter is also going to add some protein in there for you.

Serves 1

Banana & Peanut Butter Protein Bircher

Ingredients
1/2 cup oats (I used Scotch Oats)
3/4 cup calci trim milk
1 TBSP chia seeds
1/4 tsp cinnamon
1/4 tsp ground ginger
1/2 banana mashed
1 TBSP peanut butter
1 TBSP vanilla protein powder
handful raisins for cranberries

Method

Mix all ingredients together in a bowl, cover and pop in the fridge to thicken overnight. Top with your fave toppings or eat as is.

If you’re wanting something warmer for winter, try my Scottish Porridge or Baked Oats.


Choc Banana Protein Shake

ohhhhh what to say. I love chocolate, and I love banana. I recently had an epic choc banana protein shake out and decided to recreate at home. It has become one of my fave go to's!

You can use vanilla protein or chocolate. I don't have chocolate in the house, so I use cacao to create the chocolately goodness.   If not thick enough, add more ice and get it tasting super creamy and just like a chocolate thickshake!

Enjoy!

Choc Banana Protein Shake

1 cup almond milk
1 cup ice
1 banana
2 TBS vanilla protein powder
1.5 TBS cacao powder
1 TBS chia seeds
1 tsp maple syrup

Blend until completely smooth & top with some coconut shavings and cacao nibs for some crunch. 

chocproteinshake

An Overnight Oats Recipe You Should Try!

One thing I love about winter, is hot oats / porridge in the morning when it's cold outside. With it getting a bit cooler in the mornings, I decided to start experimenting with overnight oats as I'd seen a few Instagram stories about how easy they are.  They actually couldn't be any easier!  Once you get the quantities right, they are also pretty hard to beat for creaminess and taste.

My absolute favourite thing is that these are made in advance, so in the morning you just grab them out of the fridge and heat if desired. You can actually make several days worth in advance if you like and have a weeks worth of breakfasts good to go.  The flavour combo's are also endless and kids love them.  This week we have had banana & vanilla, feijoa & pear (feijoa is a fruit found in New Zealand) and peanut butter with banana. All have been great.  The recipe I'm sharing with you today is a plain base that you then just add your fruit to it, or have it on it's own, it's great as is.

I suggest saving your jars and use a wider neck if possible.

Versatile recipes are the best, and you can adapt this one to suit your dietary requirements.  I make it dairy free (also vegan) by using plant based coconut or almond milk & coconut yogurt, but you can totally make it with full fat milk or yogurt.  To make itgluten free, use gluten free oats.

All the ingredients ready to mix - oats, almond milk, coconut yogurt, chia seeds, bananas, maple syrup & vanilla[/caption]

Simple Overnight Oats

1/2 cup rolled oats
2/3 cup coconut or almond milk
2 TBS pain or vanilla coconut yogurt
1 TBS chia seeds
1 TBS pure maple syrup
Protein Powder (optional)
Vanilla essence

For Banana & blueberry: add 1/2 chopped banana and a sprinkle of blueberries
For Feijoa & Pear: add 1/4 pear chopped and flesh of 2 feijoa's
For Peanut Butter & banana: add 1/2 chopped balance + 1 TBS peanut butter

Place all ingredients in a bowl or straight into the jar and mix. Place in fridge to set for at least 4hrs.

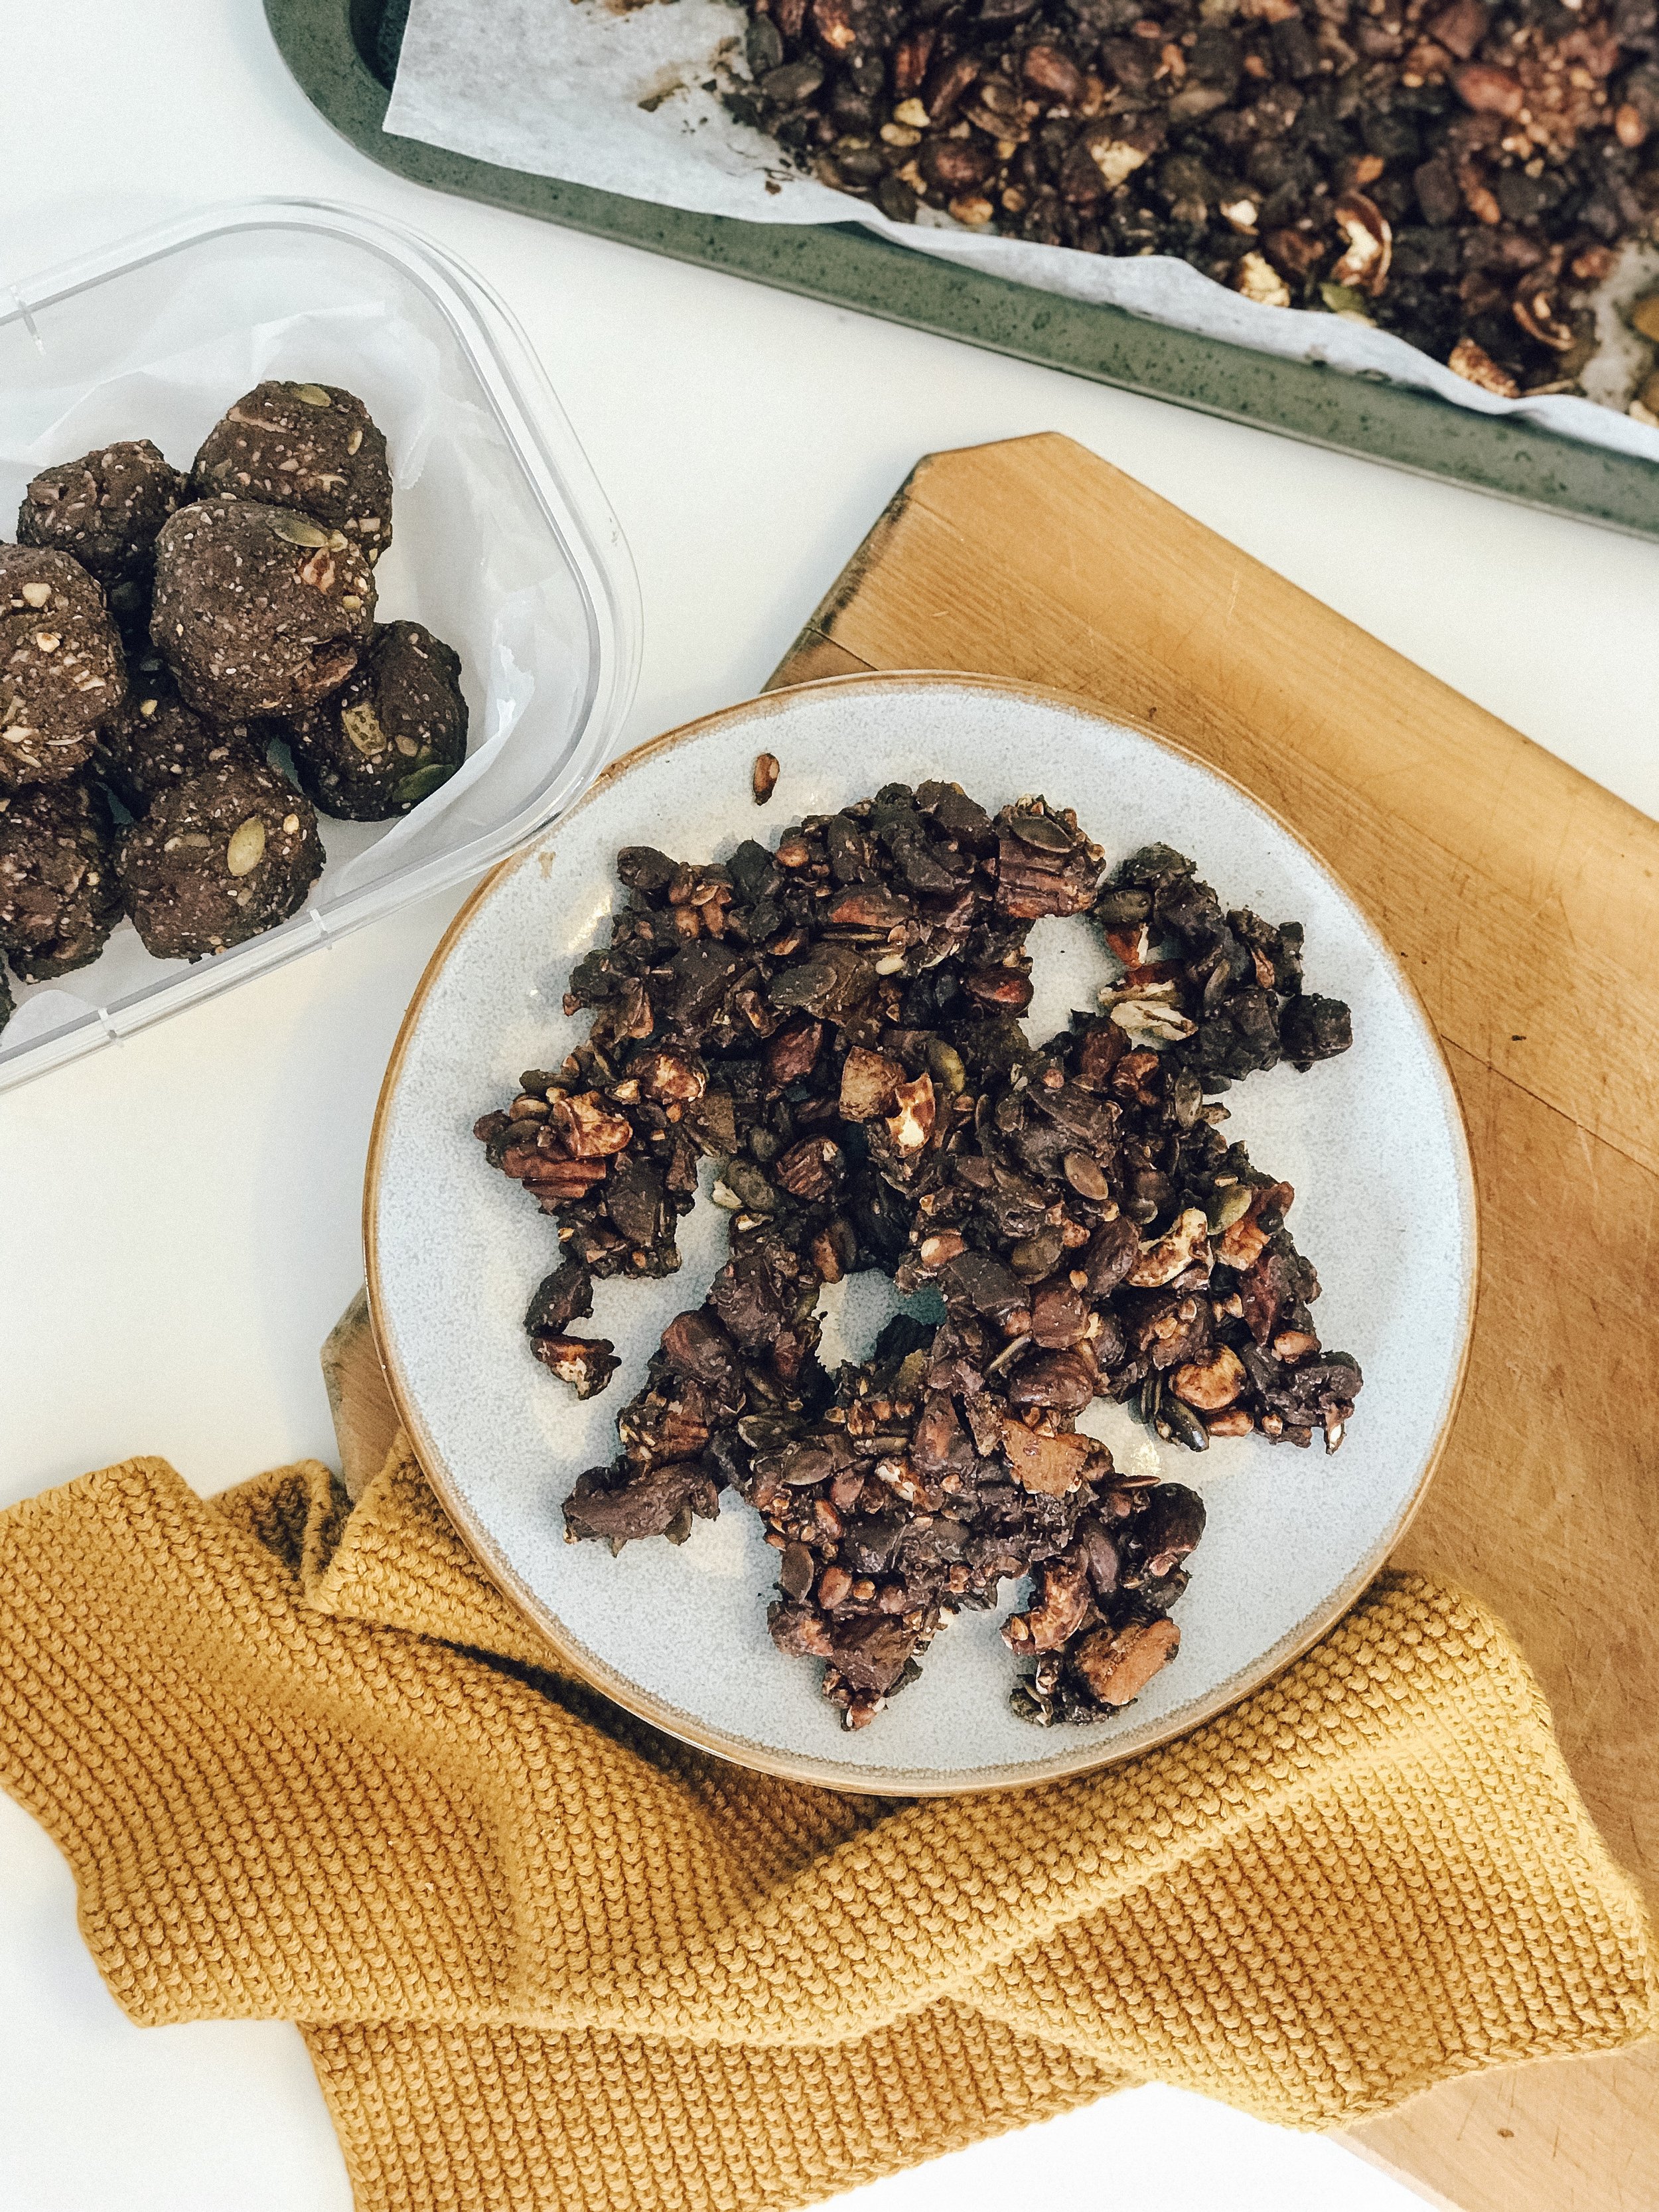
Nut & Seed Chocolate Bark

IMG_5798.jpeg

Behold a genius creation! Ok so maybe I’m overselling it and I’m sure this is nothing new, but it’s new to me and I love it! Truth be known, I got the idea to do this because a nut mix I had in the car got overheated the other day and the little dark choc pieces melted to create one big piece of nutty chocolate - it was yum.

I can down half a bar of chocolate in no time, and although there are some great dark chocolates that are relatively low in sugar, I wanted to make the chocolate go further and up the nutritional content. I always have a supply of nuts and seeds so I decided to get creating with a healthy blend of nuts, and melt down the chocolate to bind it all together (combined with a little coconut oil to help). The result is delicious.

It was pretty easy, and you can mix it up depending on what you have in your pantry.

Ingredients

I used a variety of the following to line a baking tray;

Almonds
Cashews
Pecans
Pumpkin Seeds
Pinenuts
Buckwheat groats
Cacao Nibs
Dried Cranberries
Dried Apricots
1/2 block dark chocolate low in sugar like Whittakers
1 TBS coconut oil

Add some extra goodness like a seed blend (LSA for example) or some chia seeds. I added in 2 TBS of The Wholesome Co’s stress and mind blend.

Roughly chop all of the nuts, lay on a tray lined with baking paper. Add in seeds, buckwheat and cacao nibs. Chop apricots and add.

Melt down chocolate with coconut oil and pour over top. Make sure all of your nut mix is covered and place in fridge to set! Once hard, break up with your hands and place into air tight containers.

IMG_5797.jpeg

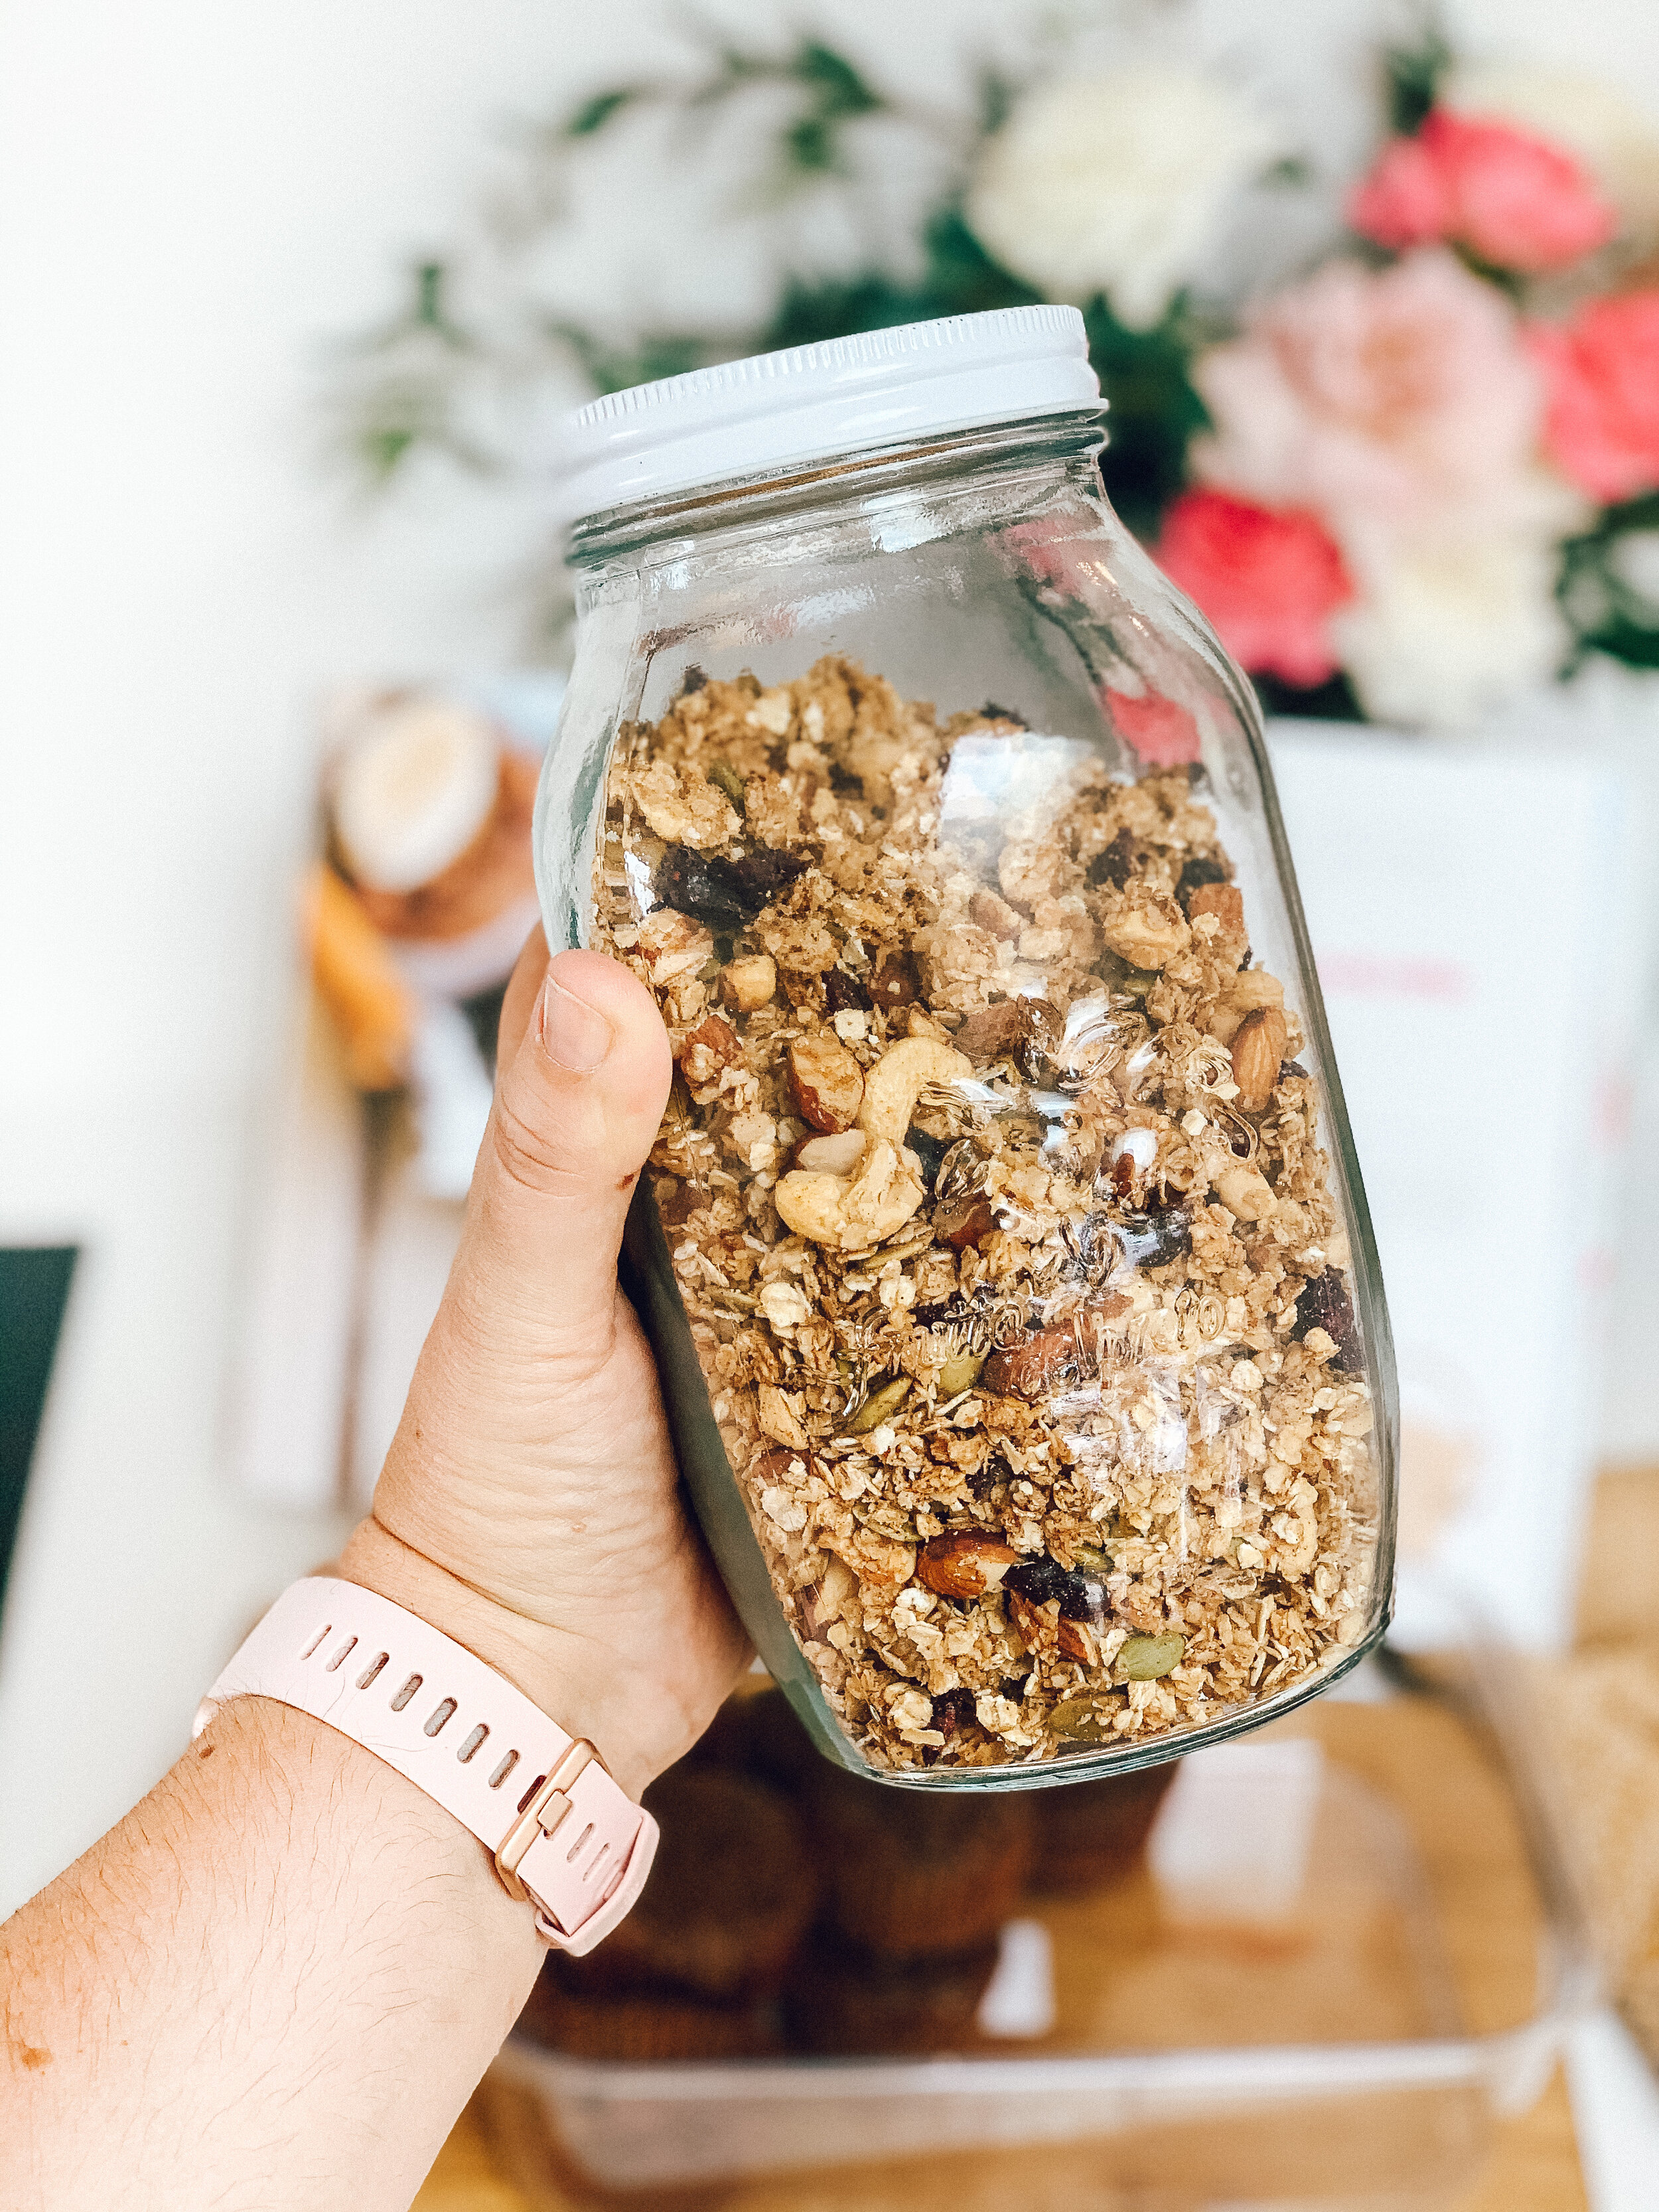
Coconut Granola

3 cups rolled outs
1/4 cup coconut oil
1/4 cup coconut (flakes or desiccated)
1/2 cup chopped almonds
1/2 cup chopped raw cashews
1/3 cup pumpkin seeds
1/2 cup dried cranberries
1 tsp cinnamon
1/4 tsp salt
1/2 cup maple syrup or honey

  1. Preheat the over to 180 degrees and line baking tray with baking paper.

  2. In a large bowl, mix the dry ingredients together

  3. In a separate bowl, mix the coconut oil, honey or maple syrup and vanilla

  4. Pour the wet ingredients over the dry ingredients and mix well to combine

  5. Place on the baking tray evenly and bake for 20 mins until golden brown

  6. When cooked, take out of the oven and leave untouched for 45 mins, then add cranberries. Store up to a month in an airtight container.

IMG_3876.JPG

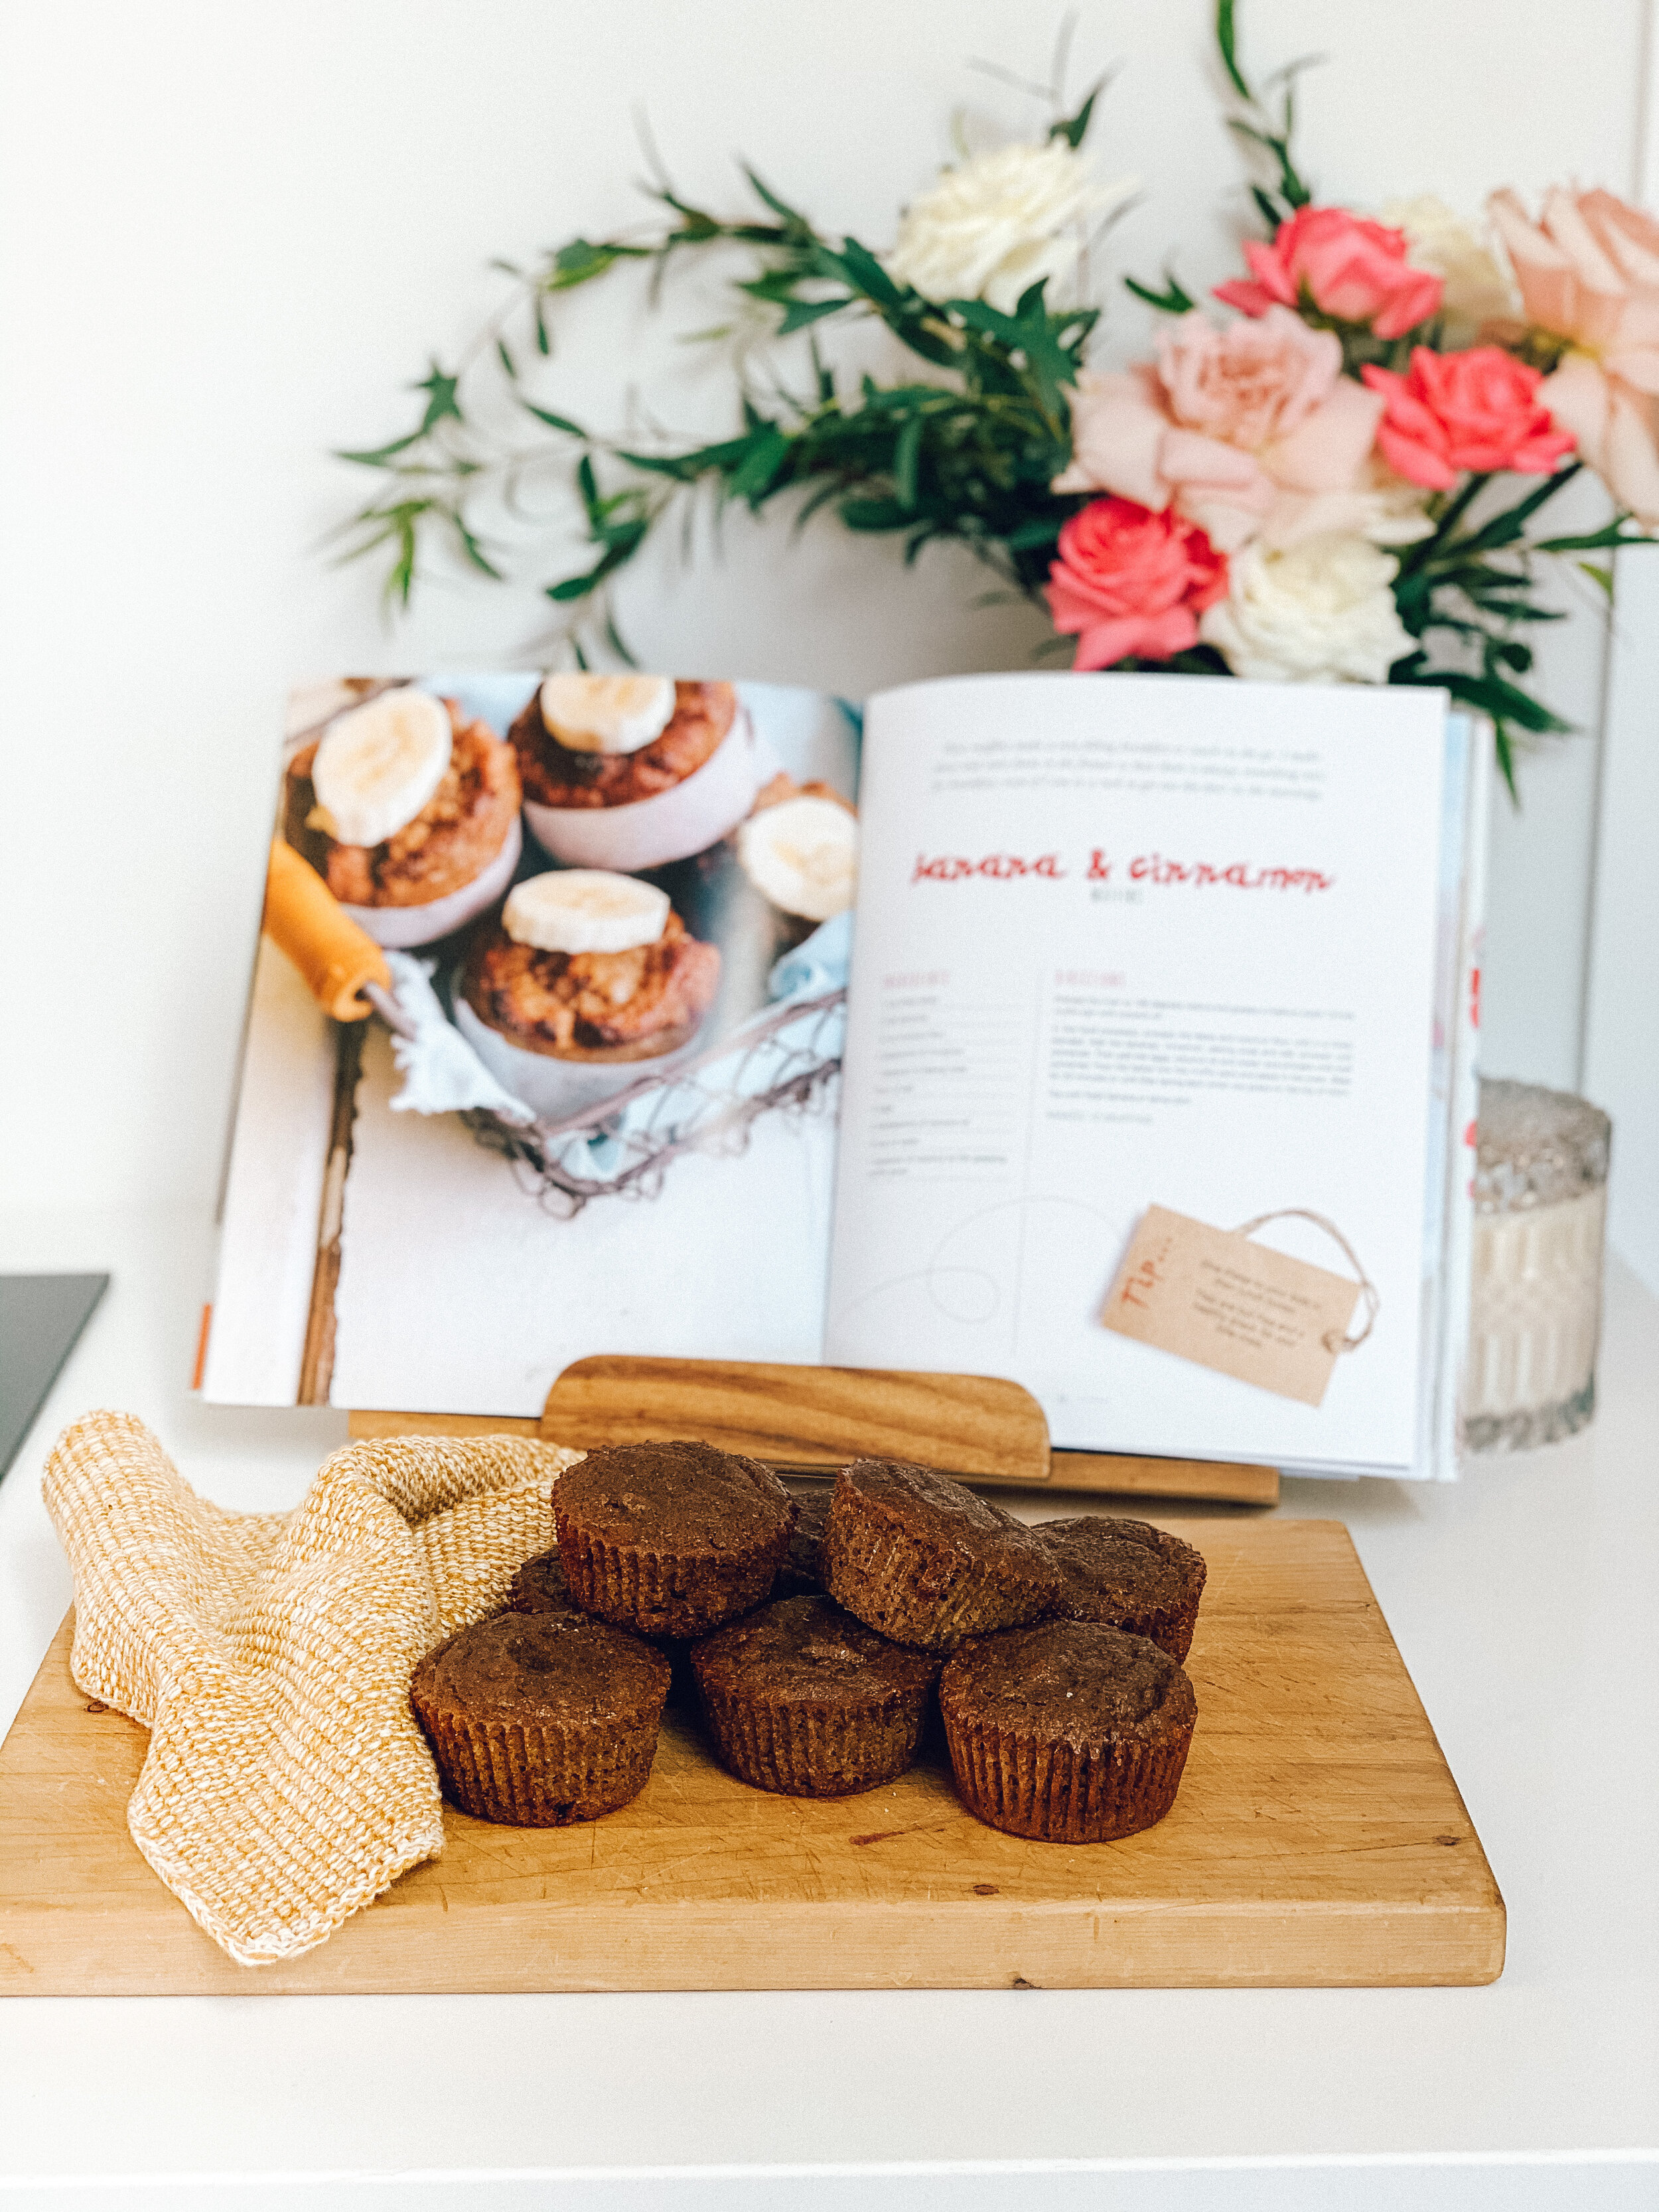
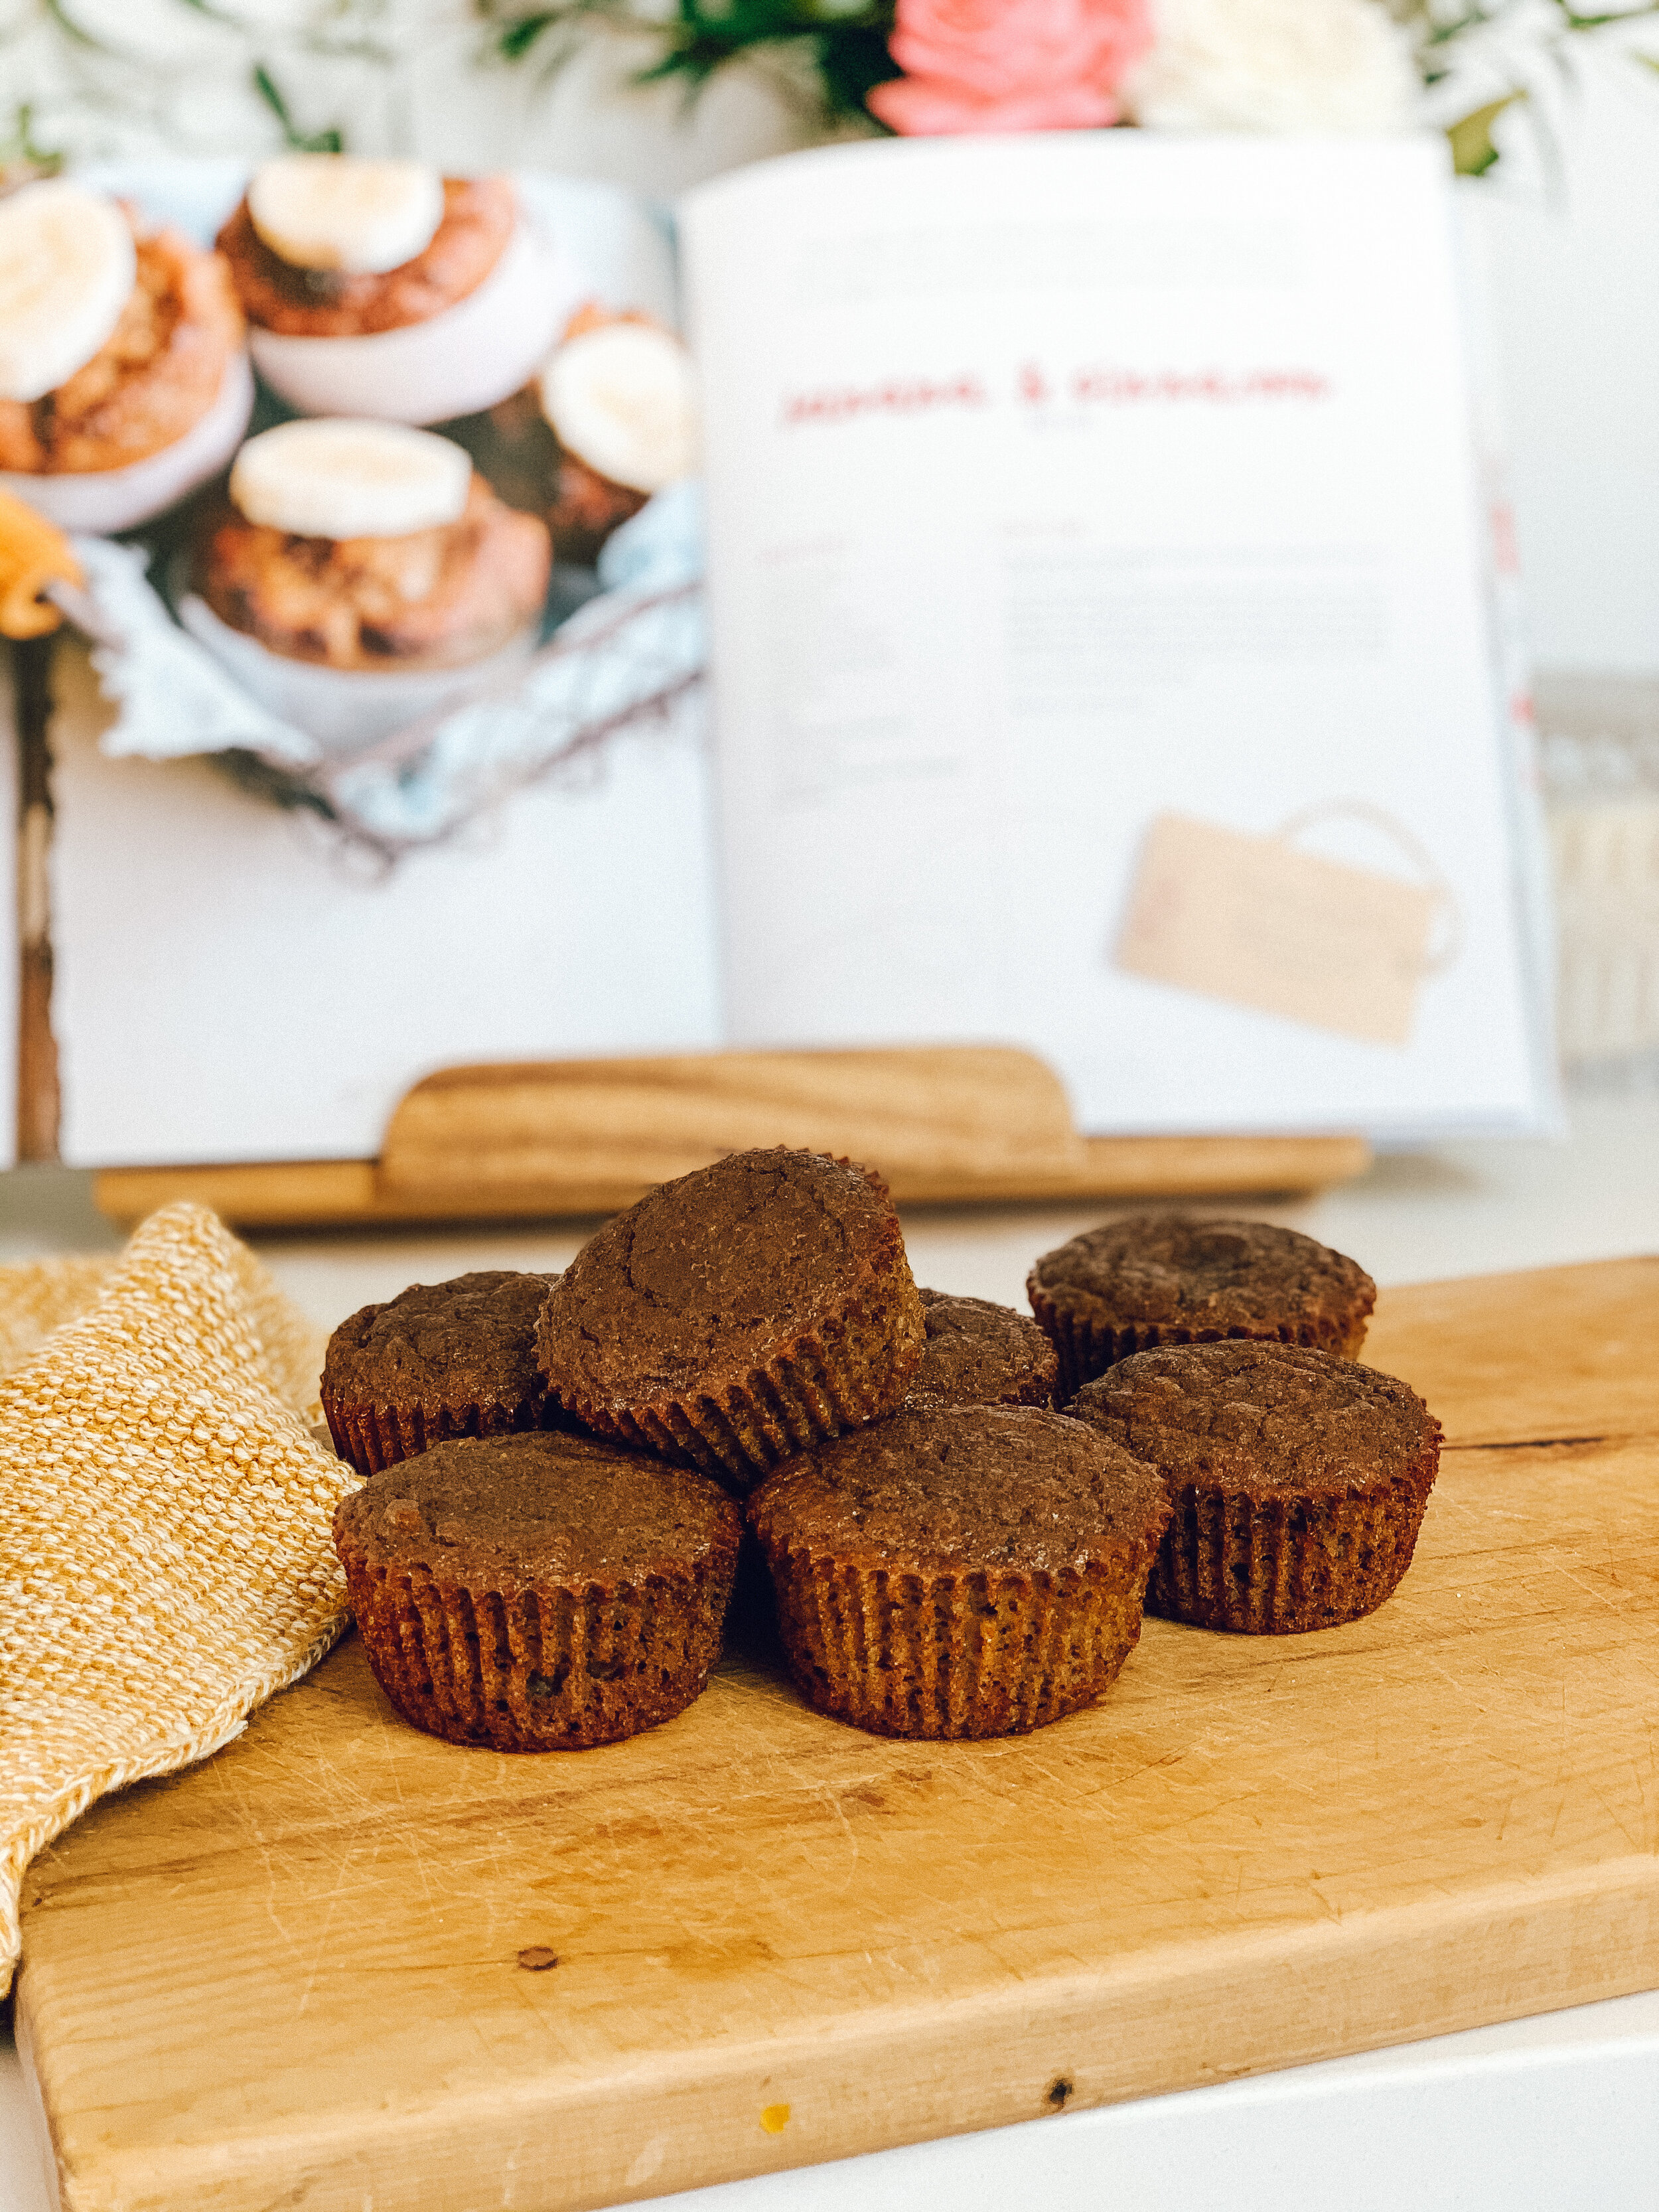
Banana & Cinnamon Muffins

IMG_3825.JPG

This recipe comes courtesy of Caralee Fontonele’s Real Food Pledge Cookbook, it’s a new favourite in our house!  These muffins are moist and delicious! They are is DF / GF & Refined Sugar free. Best of all they are SO quick and easy as they are made in the blender, perfect for baking with kids too,.

Caralee’s 3rd cookbook is out soon and is available for preorder, pop onto her website for details!

Ingredients

1 cup dates
2 ripe bananas
4 eggs
1/2 cup coconut flour
2 tsp cinnamon
1 tsp baking soda
Pinch salt
2 TBS coconut oil
1/2 cup water

Preheat oven to 180 degrees celsius and line your muffin pan with liners.

In the food processor, process the dates and coconut flour until it is finely blended. Add the bananas, cinnamon, baking soda and salt ; process until combined. Then add the eggs, coconut oil and water and process until well combined. Pour the batter into the muffin pans and place in the oven.
Bake for 20 mins or until they spring back when you press on the top of them.

Variation: add some frozen blueberries or dark chop chips!

IMG_3819.JPG


Raw Lemon & Raspberry Mini Cheesecakes

IMG_1155.jpeg

I have absolutely saved the best for last team! This is a recipe I created from scratch and it’s my all time fave. These perfect little cheesecakes are delicious – you will never want to eat regular cheesecake again!  It is perfect for a summer treat and made with wholesome ingredients. They are gluten free, vegan and refined sugar free.   Just remember to soak your cashews the day before, but otherwise a very easy recipe.

Male these for your family for Christmas and they love you for it!

Ingredients

Base:

1 cup cashews

1 cup almonds

½ cup coconut

½ cup soaked dates

1 TBS maple

Lemon Filling:

2 cups of cashews, soaked overnight

400 grams coconut cream

½ cup pure maple syrup

½ cup cacao butter, melted

Juice of 1 lemon

Zest of 1 lemon

1 teaspoon vanilla bean paste

Pinch of salt


Method:

For the base, soak your dates in boiling water for 10 mins. 

Combine the nuts and coconut in a blender and blend until fine.
Drain the dates and add to the blender along with the maple syrup and blend until combined.  The mixture should hold together well and be sticky.

Spoon one table spoon at a time into silicon cupcake trays, press down with the back of the spoon and then pop in the fridge while you make the fillings.

Make the filling:
To make the filling, add all of your lemon filling incredients into the blender and blend until smooth and glossy, approx 3-5 minutes.

Pour into molds to about half way, leaving room for the raspberry layer on top. Return to fridge.

To make the raspberry layer, add 1 cup fresh or freeze dried raspberries to your lemon filling and blend for a minute, or until completely blended.  Pour into your molds, filling to the top. Sprinkle freeze dried raspberry on top. 

Set in the freezer up to 4 hours, or overnight. 

IMG_1162.jpeg

IMG_1168.jpeg

Halloumi, Asparagus & Avocado Salad

This week I went over to my friend Annalee’s house to teach her this amazingly delicious and super easy recipe. Annalee is a makeup artist & vlogger from New Plymouth, her kitchen is honestly heaven! It makes me so excited to build our house and my dream kitchen! Asparagus is still in season, and so is avocado - and I’m pretty sure halloumi is Annalee’s favourite food, so, match made in heaven!

Halloumi, Asparagus & Avocado Salad

Photo 8-12-18, 2 22 53 PM.jpg

1 small block halloumi cheese
1 bunch asparagus
1 avocado
1 bag spinach
2 free range eggs
Cherry tomatoes
1/2 red onion

Heat a pan over medium heat with a drizzle of olive oil and 1 heaped tsp butter, when heated, add in slices of halloumi cut approx 1/2 cm thick. Pan fry until browned on each side - watch while it cooks as it will burn easily.

Add a little more oil and butter to the pan in order to pan fry your asparagus. Fry for approx 3-4 minutes. Should be nice and crunchy. Season well.

Hard boil your eggs in boiling water for 10 mins and then put in cold water to cool.

Once everything is cooked, lay a bed of spinach in a bowl and then add in all of your other ingredients on top.

For the dressing mix together:
Juice from half a lemon
3-4 TBS olive oil
1 TBS wholegrain mustard
1/2 TBS mayonnaise if you want to make it creamy

Photo 3-12-18, 11 51 09 AM.jpg
Photo 8-12-18, 2 22 56 PM.png
Photo 3-12-18, 12 01 47 PM.jpg


Raw Chocolate Tart

And we have a winner. When I think about yummy Christmas food, I think of chocolate. Am I right? I have always loved baking for my family at Christmas time and usually something with chocolate is in the mix. When coming up with my menu for this baking series, I knew there needed to be something in there for chocolate lovers everywhere.

rawchocolatetart3

This recipe is gluten free, dairy free, vegan & refined sugar free. Oh, and also surprisingly easy.
Remember to soak your cashews at least 4hrs in advance of making! The longer you soak them, the creamier the mixture will be.

Serve with fresh strawberries or raspberries.

Ingredients:

Base
2 cups natural cashews
1 cup almonds
1/2 cup pitted dates
3 TBS cacao
2 TBS pure maple

Chocolate Filling
2 cups (250g) raw cashews (soaked for minimum 4 hrs)
1 teaspoon vanilla paste
1 tablespoon lemon juice
½ cup coconut oil, melted
50g cacao butter, melted
1 teaspoon maca powder (optional)
1/3 cup pure maple syrup
100ml (about 7 tablespoons) nut milk of choice
¾ cup raw cacao powder

Method:

The cashews for the filling need to be soaked for a minimum of 4 hours (recommend longer).

To make the base, place all of the dry ingredients (nuts and cacao) into your blender and blitz until crumbly. Add your drained, soaked dates and maple and blitz again until the mixture is combined. Mixture will be sticky. Pop your base into a tart tin and press into the base and up the sides. Place in the fridge while you make the filling.

To make the filling, place all ingredients back in your blender and mix until smooth, this will take anywhere from 3-7 minutes depending on your blender. Pour the filling over your base and place in the freezer to set.

Serve with strawberries or raspberries along with some plain coconut yogurt.

Can be stored in an airtight container in the freezer for up to 3 months.

rawchocolatetart
rawchocolatetart2

Boysenberry & Banana Smoothie Bowl

Now that summer is here, or at least feels like it is, we are going to be making Smoothie Bowls on the regular at our place. I love coming up with new flavour combo’s based on what I have in my cupboard or freezer.

Photo 13-11-18, 12 37 56 PM-6.jpg

This is my absolute new fave, and with the boysenberries, it’s high in vitamin C!

There are a few important things to remember - first, you need a good blender. If you have a bullet or smaller blender you may not get the result you are after, or it just might take a while. You have to BLEND BLEND BLEND! Secondly, I used to just throw everything in and blend all at once, but I do think it works out better if you add the liquid in slowly as it’s blending. Makes it harder to add too much and end up with a smoothie.

Make sure you add lots of good stuff on top, especially crunch!

PS. The immune blend mentioned below is a health blend from The Wholesome Co.

Boysenberry & Banana Smoothie Bowl

1.5 frozen banana
1 Cup frozen boysenberries
1TBS chia seeds
1/4 cup liquid
Optional:
1 TBS Acai powder
1 TBS The Wholesome Co Immune Blend

Method:

The key is in the blending, add only a tiny bit of liquid and start to blend, adding more slowly as it mixes. Once you get nice and smooth and to your desired consistency, you’re done!


Photo 13-11-18, 12 42 32 PM-4.jpg