Healthy Oaty Choc Chip Banana Bread

I’m a sucker for banana bread. I LOVE it. I have several recipes for different variations, but this is the first flourless one I’ve ever made and I have to say - it might be my favourite. It’s made with Oats instead of flower, making this a filling alternative.
This recipe is super EASY and has only 6 ingredients! It’s also one of those ones where everything gets thrown into a blender, which are always great time savers. This recipe is also bariatric friendly for those 6 months post op (earlier if you are ok with having higher carbs) and low calorie. If you’re watching your protein, add 30g of protein powder to the recipe to up the protein content.
Hot Tip: I do think with this recipe that it is best on day 2 and 3. It holds its shape a little better and the flavours really sink in. It’s mouth wateringly special!!
If you want to try out my Banana Dark Choc Loaf made with coconut and almond flour, check it out HERE.

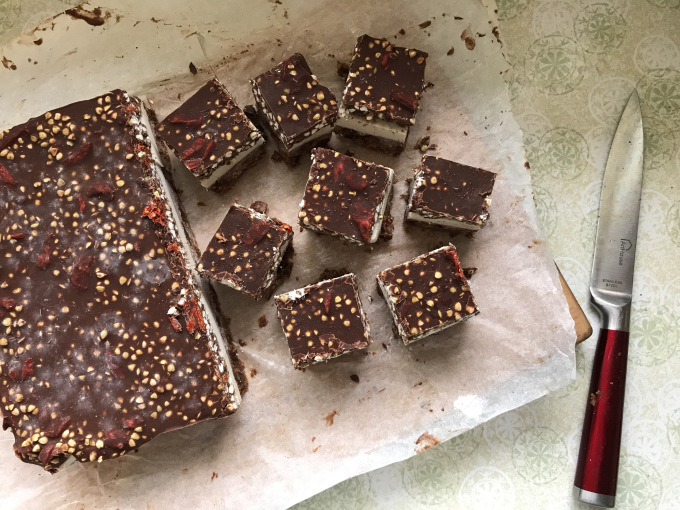
Full of oaty goodness and sweet choc chips
Oaty Choc Chip Banana Bread
2 cups rolled oats
3 large bananas
2 eggs
1/4 cup sugar free maple syrup (or regular)
1 teaspoon baking soda
1/2 cup sugar free or regular choc chips
Optional - 30g protein powder
Method:
Preheat oven to 180 degrees fan bake
Place all ingredients except for chocolate chips into a blender and blend for 20-30 seconds until smooth
Mix in chocolate chips
Place batter into a loaf tin. I added extra sliced banana on top to make it look pretty!
Bake for 35 - 40 mins depending on your oven
Nutritional Info:
10 serves, PER SERVE
153 calories / 5.4g protein / 13.8g carbs / 5.8g fat
with protein powder: 166 calories / 7.8g protein / 14g carbs / 6g fat