

Justine's Scottish Porridge
Simply delicious porridge inspired by our trip to the Scottish highlands!
OK, lets just start off by saying that this is probably not MY recipe, some Granny in Scotland probably makes it JUST LIKE THIS so I don’t claim that I’m the first person to have this exact recipe. After all, this recipe came about after visiting Scotland and becoming obsessed with their utterly delicious porridge and then coming home and trying to recreate it. I think i’ve come close - although nothing will ever beat the porridge in Kinlochleven at the Tailrace Inn, Day 3 into hiking the West Highland Way. I decided after being in Scotland already for 4 days that it was time to try porridge, and it was on offer for breaky, so I ordered it.

Porridge at The Tailrace Inn
What was delivered to me by the young man was one of the most delicious things I’ve ever tasted in my life, I was in utter disbelief that THIS was porridge? The same beautiful oaty flavour, but the texture was out of this world. It was so so creamy, like pudding. So of course, I called out to said young man and said please will you ask the kitchen how they made this?!! So off he went embarrassed, and came back with a very rough method on how to make the bowl of deliciousness - in the microwave. There were no quantities, or even what kind of oats to use but just that they had used oats, with milk, honey and a good pinch of salt.
Upon returning to NZ, I tried again and again only to have to clean out the microwave on a daily basis, so took to the stove top where I felt I could better control the experiment (hahaha I tell you, we are getting technical). I realised after days of dissapointment that I was using the wrong oats, so started experimenting with a few different kinds.
The recipe I’m sharing with you today is my personal favourite and I believe the best version.
I’m going to also give some topping suggestions and an alternate recipe in case you can’t find the same kind of oats. So lets do it! Here is my recipe, for a single serve, multiply by however many people you are feeding.
Justine’s Scottish Porridge

My porridge recreation, with toppings of course!
Ingredients & Method
Overnight, soak 1/4 cup steel cut oats* in just enough water to cover them
In the morning, place in a pot with 1/2 cup milk or milk alternative
Add 1 TBS honey and a big pinch of salt
Bring to simmer on a low to medium heat stirring with a wooden spoon for 5-10 mins or until desired consistency is reached. Add more milk as needed.
If you’re next level like me you can buy a spurtle which is an ancient Scottish porridge stirring wooden instrument, but any old wooden spoon will suffice 😂
* if you can not find ‘steel cut oats’, ‘Scotch Oats’ are also good. They are a bit chunkier so I cook them a little longer to get the creaminess, but they are yum. Still soak overnight.
To Serve:
To serve traditionally just pour into a bowl with some honey swirled on top. I myself am all about the toppings, so add a little honey, yogurt, bananas, blueberry and peanut butter - utterly delicious.
Hot tip - I also do hear that a lot of Scottish Grannies add a dash of cream to serve and this makes it ultra creamy.
Alternatives:
Banana & Blueberry Porridge
Make as above, but in the final stages add in a handful of blueberries and some mashed banana so they too go hot. I then top with honey, yogurt and peanut butter but plain is also good.
Dairy Free / Plant Based Porridge
I made this version last week for hubby and we all had it, SO GOOD!
I used the Scotch oats for this version, and subbed the milk for Almond milk and topped with a sprinkle of brown sugar.

Peanut Butter & Chocolate Baked Oats
Oats like you’ve never tasted them before!
Woweeeeee this one’s a goodie! I was going to say that this is a breakfast recipe, but last night I had it for dessert, so I’m tempted to say it’s a enjoy-any-damn-time-you-like recipe. It’s crazy good and hit’s the spot ANY time of day if you ask me.
Now, if you’re not a fan of peanut butter, don’t fret! You can add whatever you like to this. Today Aiden had with frozen raspberries baked in and gave it a 9/10. High praise from a 10yr old with very discerning taste.

Peanut Butter & Chocolate Baked Oats
Ingredients
1/2 cup oats
1/2 tsp baking powder
1 banana
1/4 cup almond milk (sub for any kind of milk you like)
1 TBS maple or rice syrup
1 1/2 TBS Cacao
* to make protein oats, use 1 1/2 TBS of Dose & Co’s Choc Protein Powder
1 TBS peanut butter (optional)
* sub for raspberries, blueberries, apple or chocolate chips
Method:
Combine all ingredients except peanut butter in a bowl, then transfer to a ramekin for baking.
Add peanut butter in the centre before popping in the oven.
Air Fryer: Bake 15 mins at 180 degrees
Oven: Bake for 20 mins at 190 degrees
Hot Tip! If you have an air fryer, it’s amazing in there and gets a great crust.
Best enjoyed with a dollop of yogurt on top!


An Overnight Oats Recipe You Should Try!
One thing I love about winter, is hot oats / porridge in the morning when it's cold outside. With it getting a bit cooler in the mornings, I decided to start experimenting with overnight oats as I'd seen a few Instagram stories about how easy they are. They actually couldn't be any easier! Once you get the quantities right, they are also pretty hard to beat for creaminess and taste.
My absolute favourite thing is that these are made in advance, so in the morning you just grab them out of the fridge and heat if desired. You can actually make several days worth in advance if you like and have a weeks worth of breakfasts good to go. The flavour combo's are also endless and kids love them. This week we have had banana & vanilla, feijoa & pear (feijoa is a fruit found in New Zealand) and peanut butter with banana. All have been great. The recipe I'm sharing with you today is a plain base that you then just add your fruit to it, or have it on it's own, it's great as is.
I suggest saving your jars and use a wider neck if possible.
Versatile recipes are the best, and you can adapt this one to suit your dietary requirements. I make it dairy free (also vegan) by using plant based coconut or almond milk & coconut yogurt, but you can totally make it with full fat milk or yogurt. To make itgluten free, use gluten free oats.
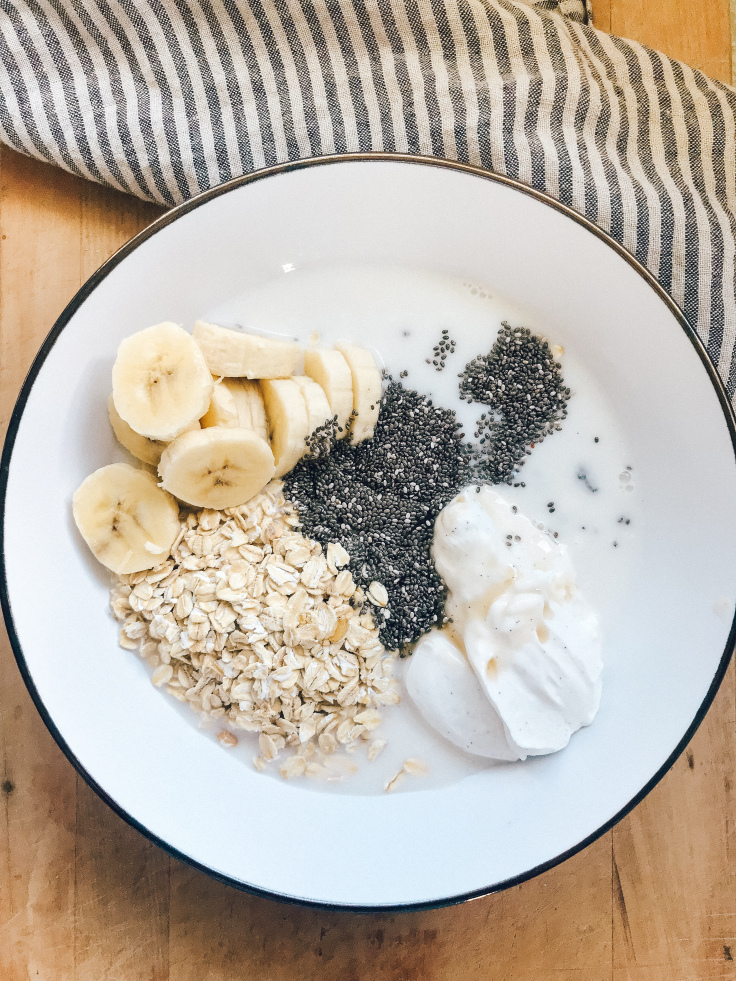
All the ingredients ready to mix - oats, almond milk, coconut yogurt, chia seeds, bananas, maple syrup & vanilla[/caption]
Simple Overnight Oats
1/2 cup rolled oats
2/3 cup coconut or almond milk
2 TBS pain or vanilla coconut yogurt
1 TBS chia seeds
1 TBS pure maple syrup
Protein Powder (optional)
Vanilla essence
For Banana & blueberry: add 1/2 chopped banana and a sprinkle of blueberries
For Feijoa & Pear: add 1/4 pear chopped and flesh of 2 feijoa's
For Peanut Butter & banana: add 1/2 chopped balance + 1 TBS peanut butter
Place all ingredients in a bowl or straight into the jar and mix. Place in fridge to set for at least 4hrs.

Quick & Easy Raw Salad
A spring and summer staple, quick and easy raw salad!

This is hands down one of my favourite salads. It’s so good it was featured in Issue 4 of Mood Magazine! I meal prep this most weeks in summer and just have it in the fridge ready to add greens and protein to, or have it on it’s own. The great thing is it is also very versatile, if you don’t have an ingredient, I wouldn’t worry about it, just throw in something else or leave it out, just make sure you include some nuts and seeds as this is what adds your fibre and protein.
I’ve also included my all time favourite salad dressing, a creamy tahini & lemon dressing down below.
Quick & Easy Raw Salad
1 cup chopped Broccoli
1 cup chopped Cauliflower
1 grated carrot
1/2 cup finely chopped curly kale
1/2 cup cranberries
1/4 cup pumpkin seeds
1/4 chopped almonds
1/4 cup pine nuts
2 cups baby spinach
Combine all ingredients except spinach in a bowl to combine
Lay a bed of spinach on a plate or bowl and add raw salad
Drizzle with Tahini & lemon dressing
Tahini & Lemon dressing
2 tbsp hulled tahini
2 tbsp olive oil
2 tsp lemon juice
1/4 tsp lemon zest
1 tbsp maple syrup (add more if desired)
Season with salt
1 TBS water if too thick
Add everything to a small bowl and mix until it comes to a smooth consistency.

Banana & Dark Chocolate Loaf

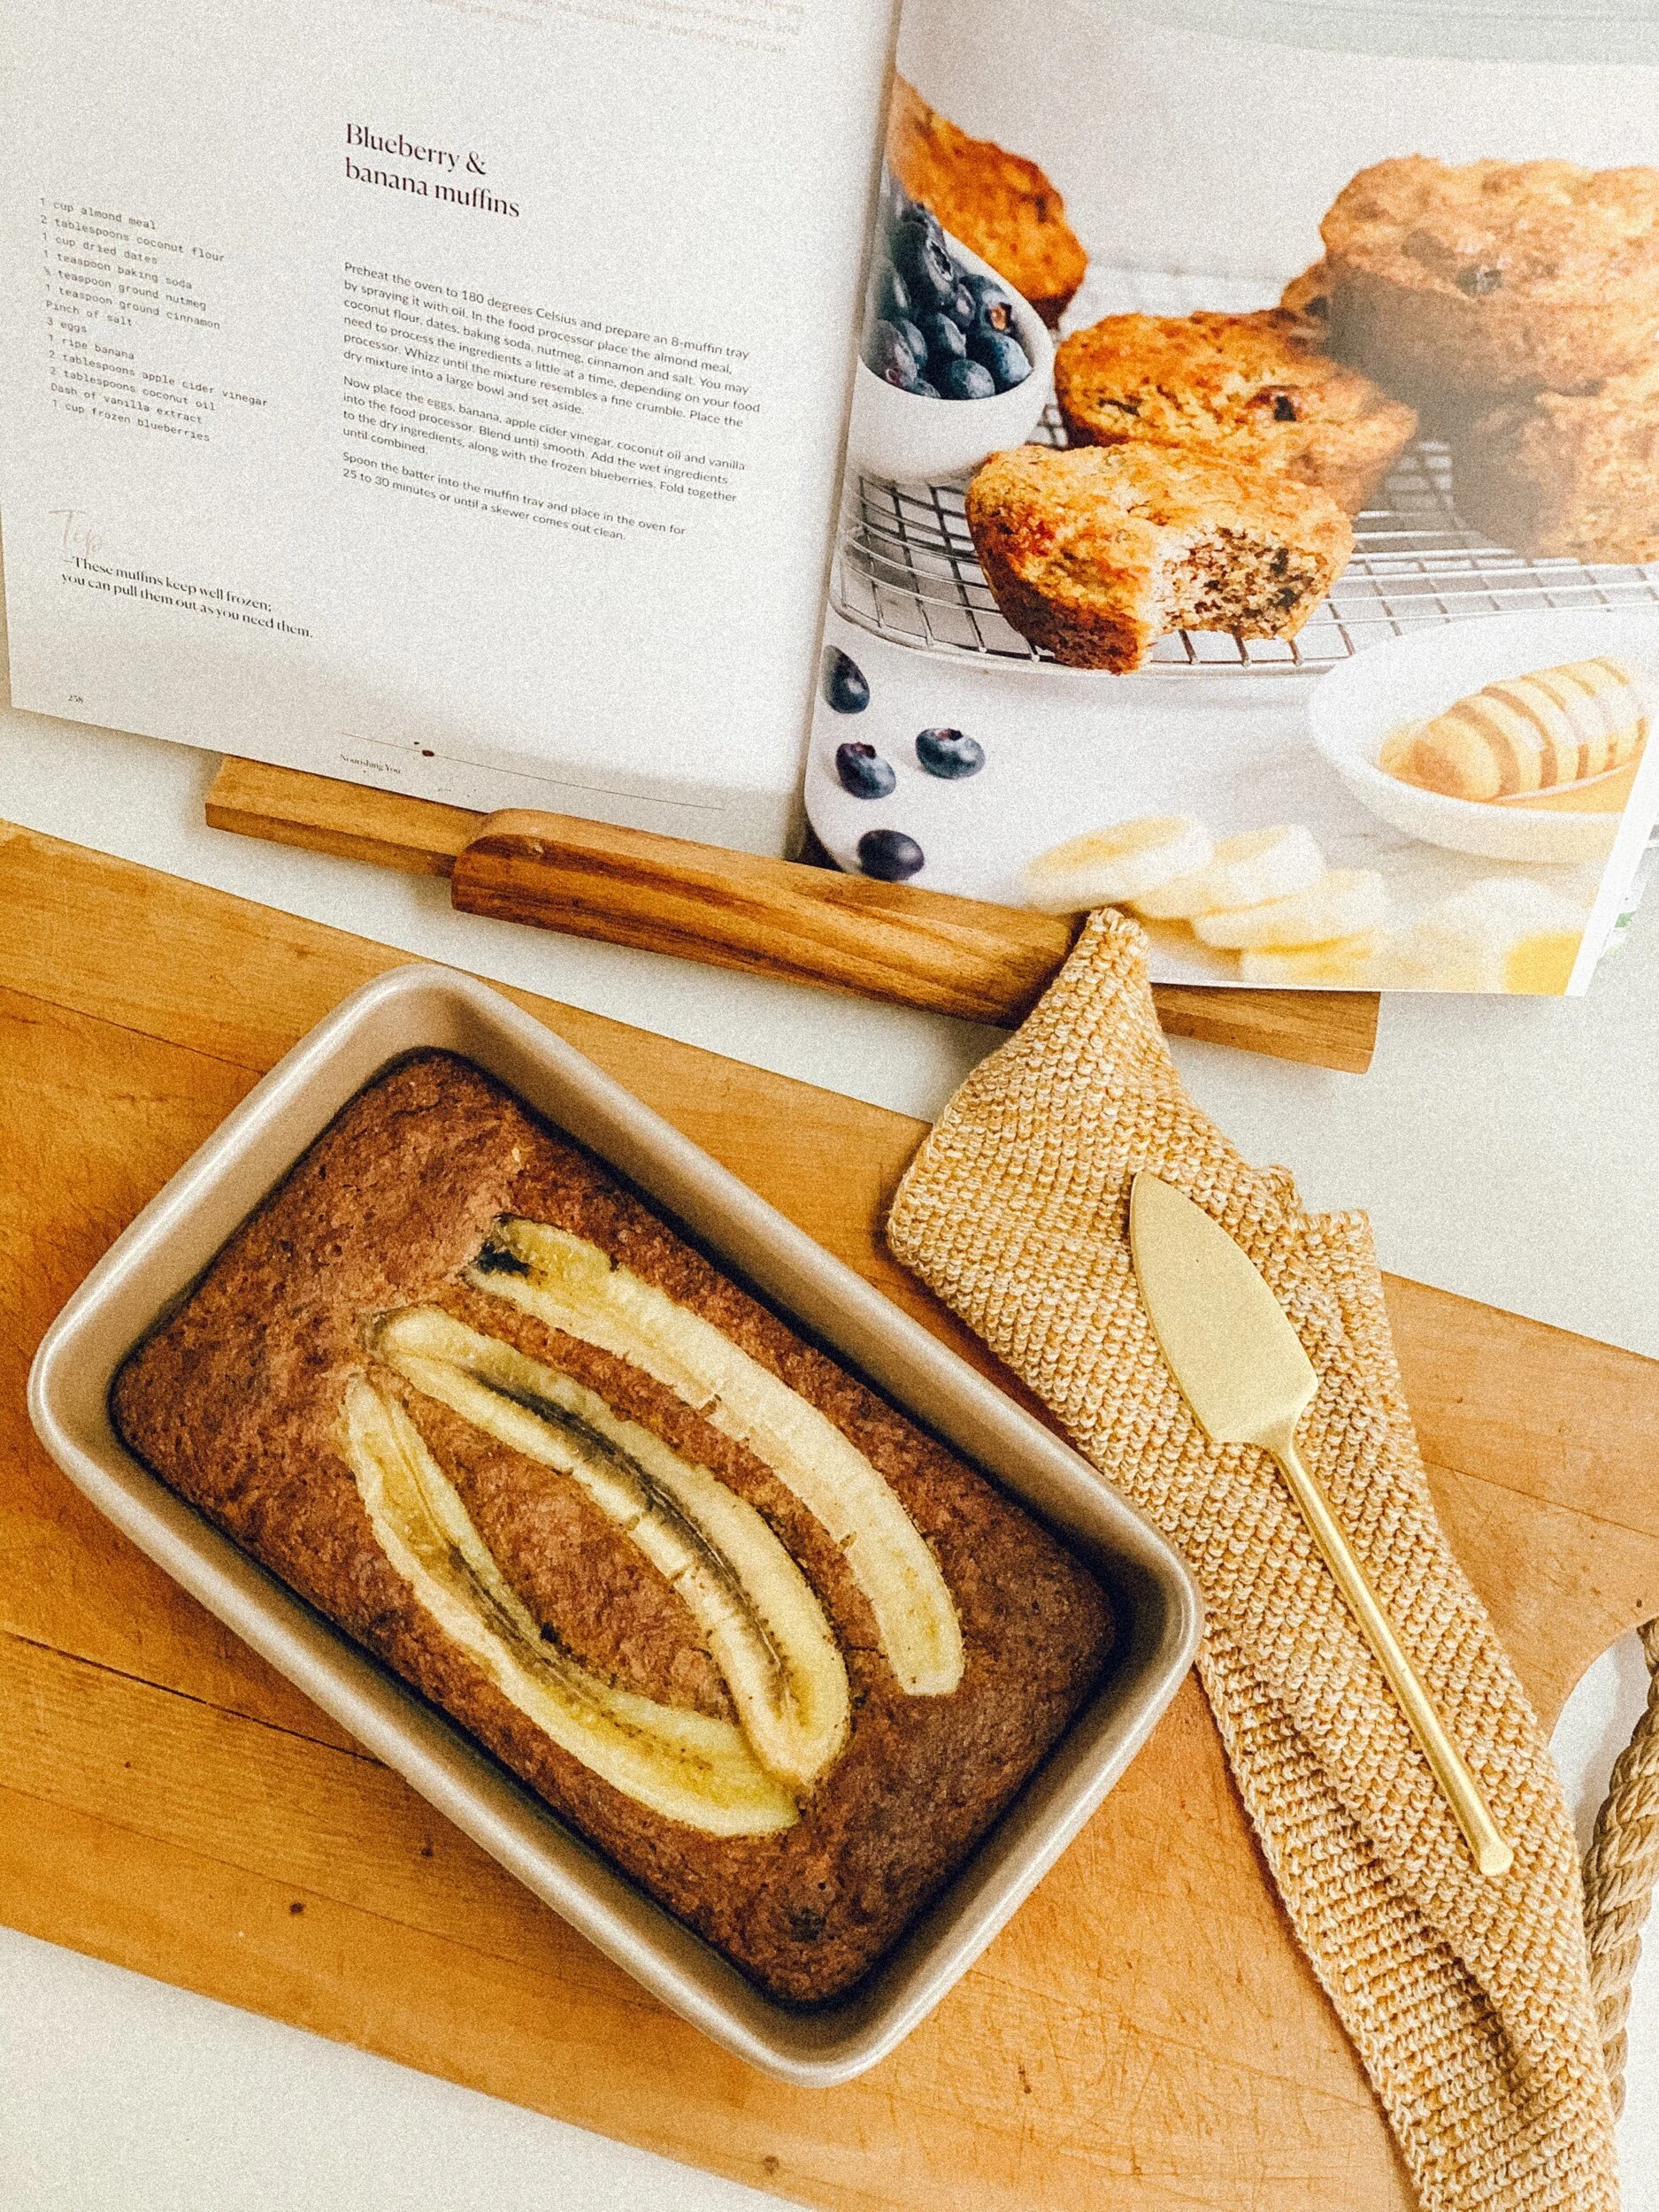
Another favourite recipe from my friend Caralee Fontenele’s latest cookbook Nourishing You, I have adapted these Banana and Blueberry Muffins into a Banana & Dark Chocolate Loaf. It is so delicious and a firm favourite in our household for lunchboxes or an afternoon tea treat.
If you want to swap out the dark chocolate (although Im’ not sure why you would), it is also really yummy with diced apple.
The best part about this recipe? It’s made in a blender and is so quick!
Ingredients:
1 cup almond meal
2 tablespoons coconut flour
1 cup dried dates
1 teaspoon baking soda
1/2 teaspoon baking powder
1 teaspoon cinnamon
1/2 teaspoon mixed spice or nutmeg
pinch of salt
2 eggs
1 ripe banana (plus another for on top)
2 tablespoons apple cider vinegar
2 tablespoons melted coconut oil
Dash of vanilla
5 square dark chocolate chopped roughly
Preheat oven to 180 degrees and prepare your loaf tin by greasing with oil.
Place all of your dry ingredients (except for chocolate) into the food processor and process until the mix resembles a breadcrumb. Depending on your blender you may have to do this in a few batches.
Once done, place the dry mixture in a large bowl.
Now add all wet ingredients to food processor and blend well. Once processed, add to your dry ingredients and fold in the chocolate as well.
Bake in the oven for 25-30 mins or until a skewer comes out clean.

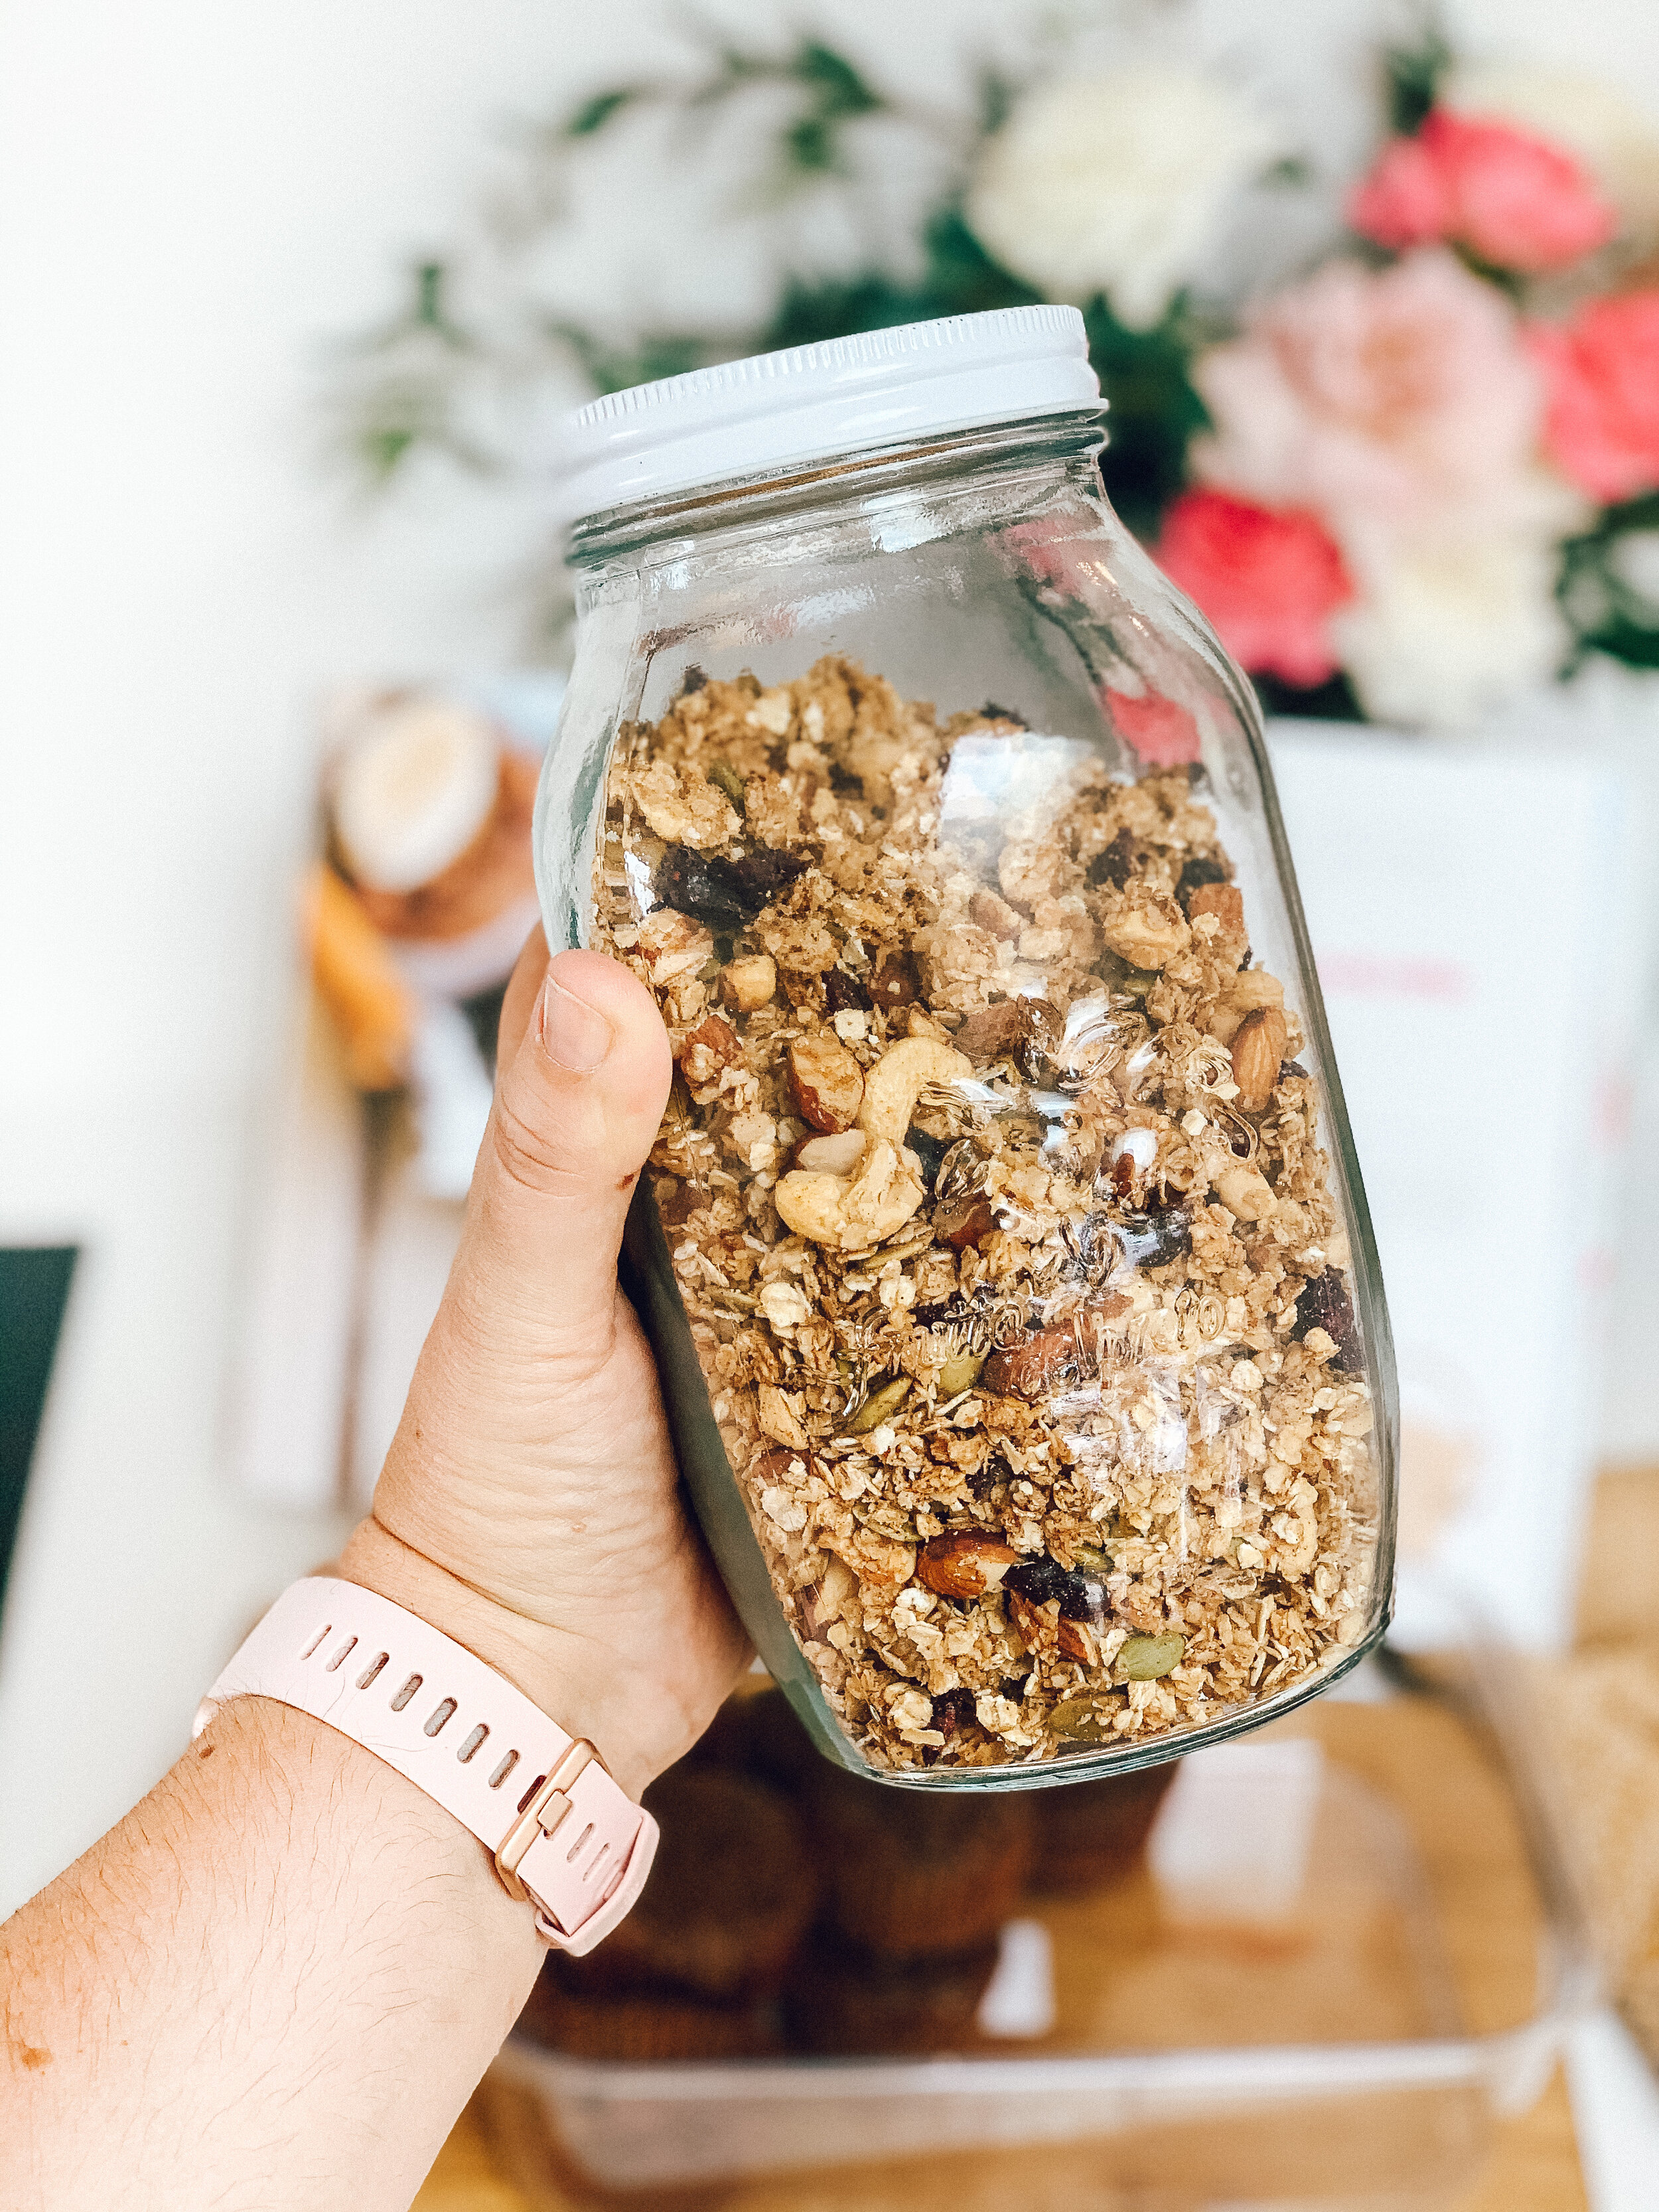
Coconut Granola

3 cups rolled outs
1/4 cup coconut oil
1/4 cup coconut (flakes or desiccated)
1/2 cup chopped almonds
1/2 cup chopped raw cashews
1/3 cup pumpkin seeds
1/2 cup dried cranberries
1 tsp cinnamon
1/4 tsp salt
1/2 cup maple syrup or honey
Preheat the over to 180 degrees and line baking tray with baking paper.
In a large bowl, mix the dry ingredients together
In a separate bowl, mix the coconut oil, honey or maple syrup and vanilla
Pour the wet ingredients over the dry ingredients and mix well to combine
Place on the baking tray evenly and bake for 20 mins until golden brown
When cooked, take out of the oven and leave untouched for 45 mins, then add cranberries. Store up to a month in an airtight container.
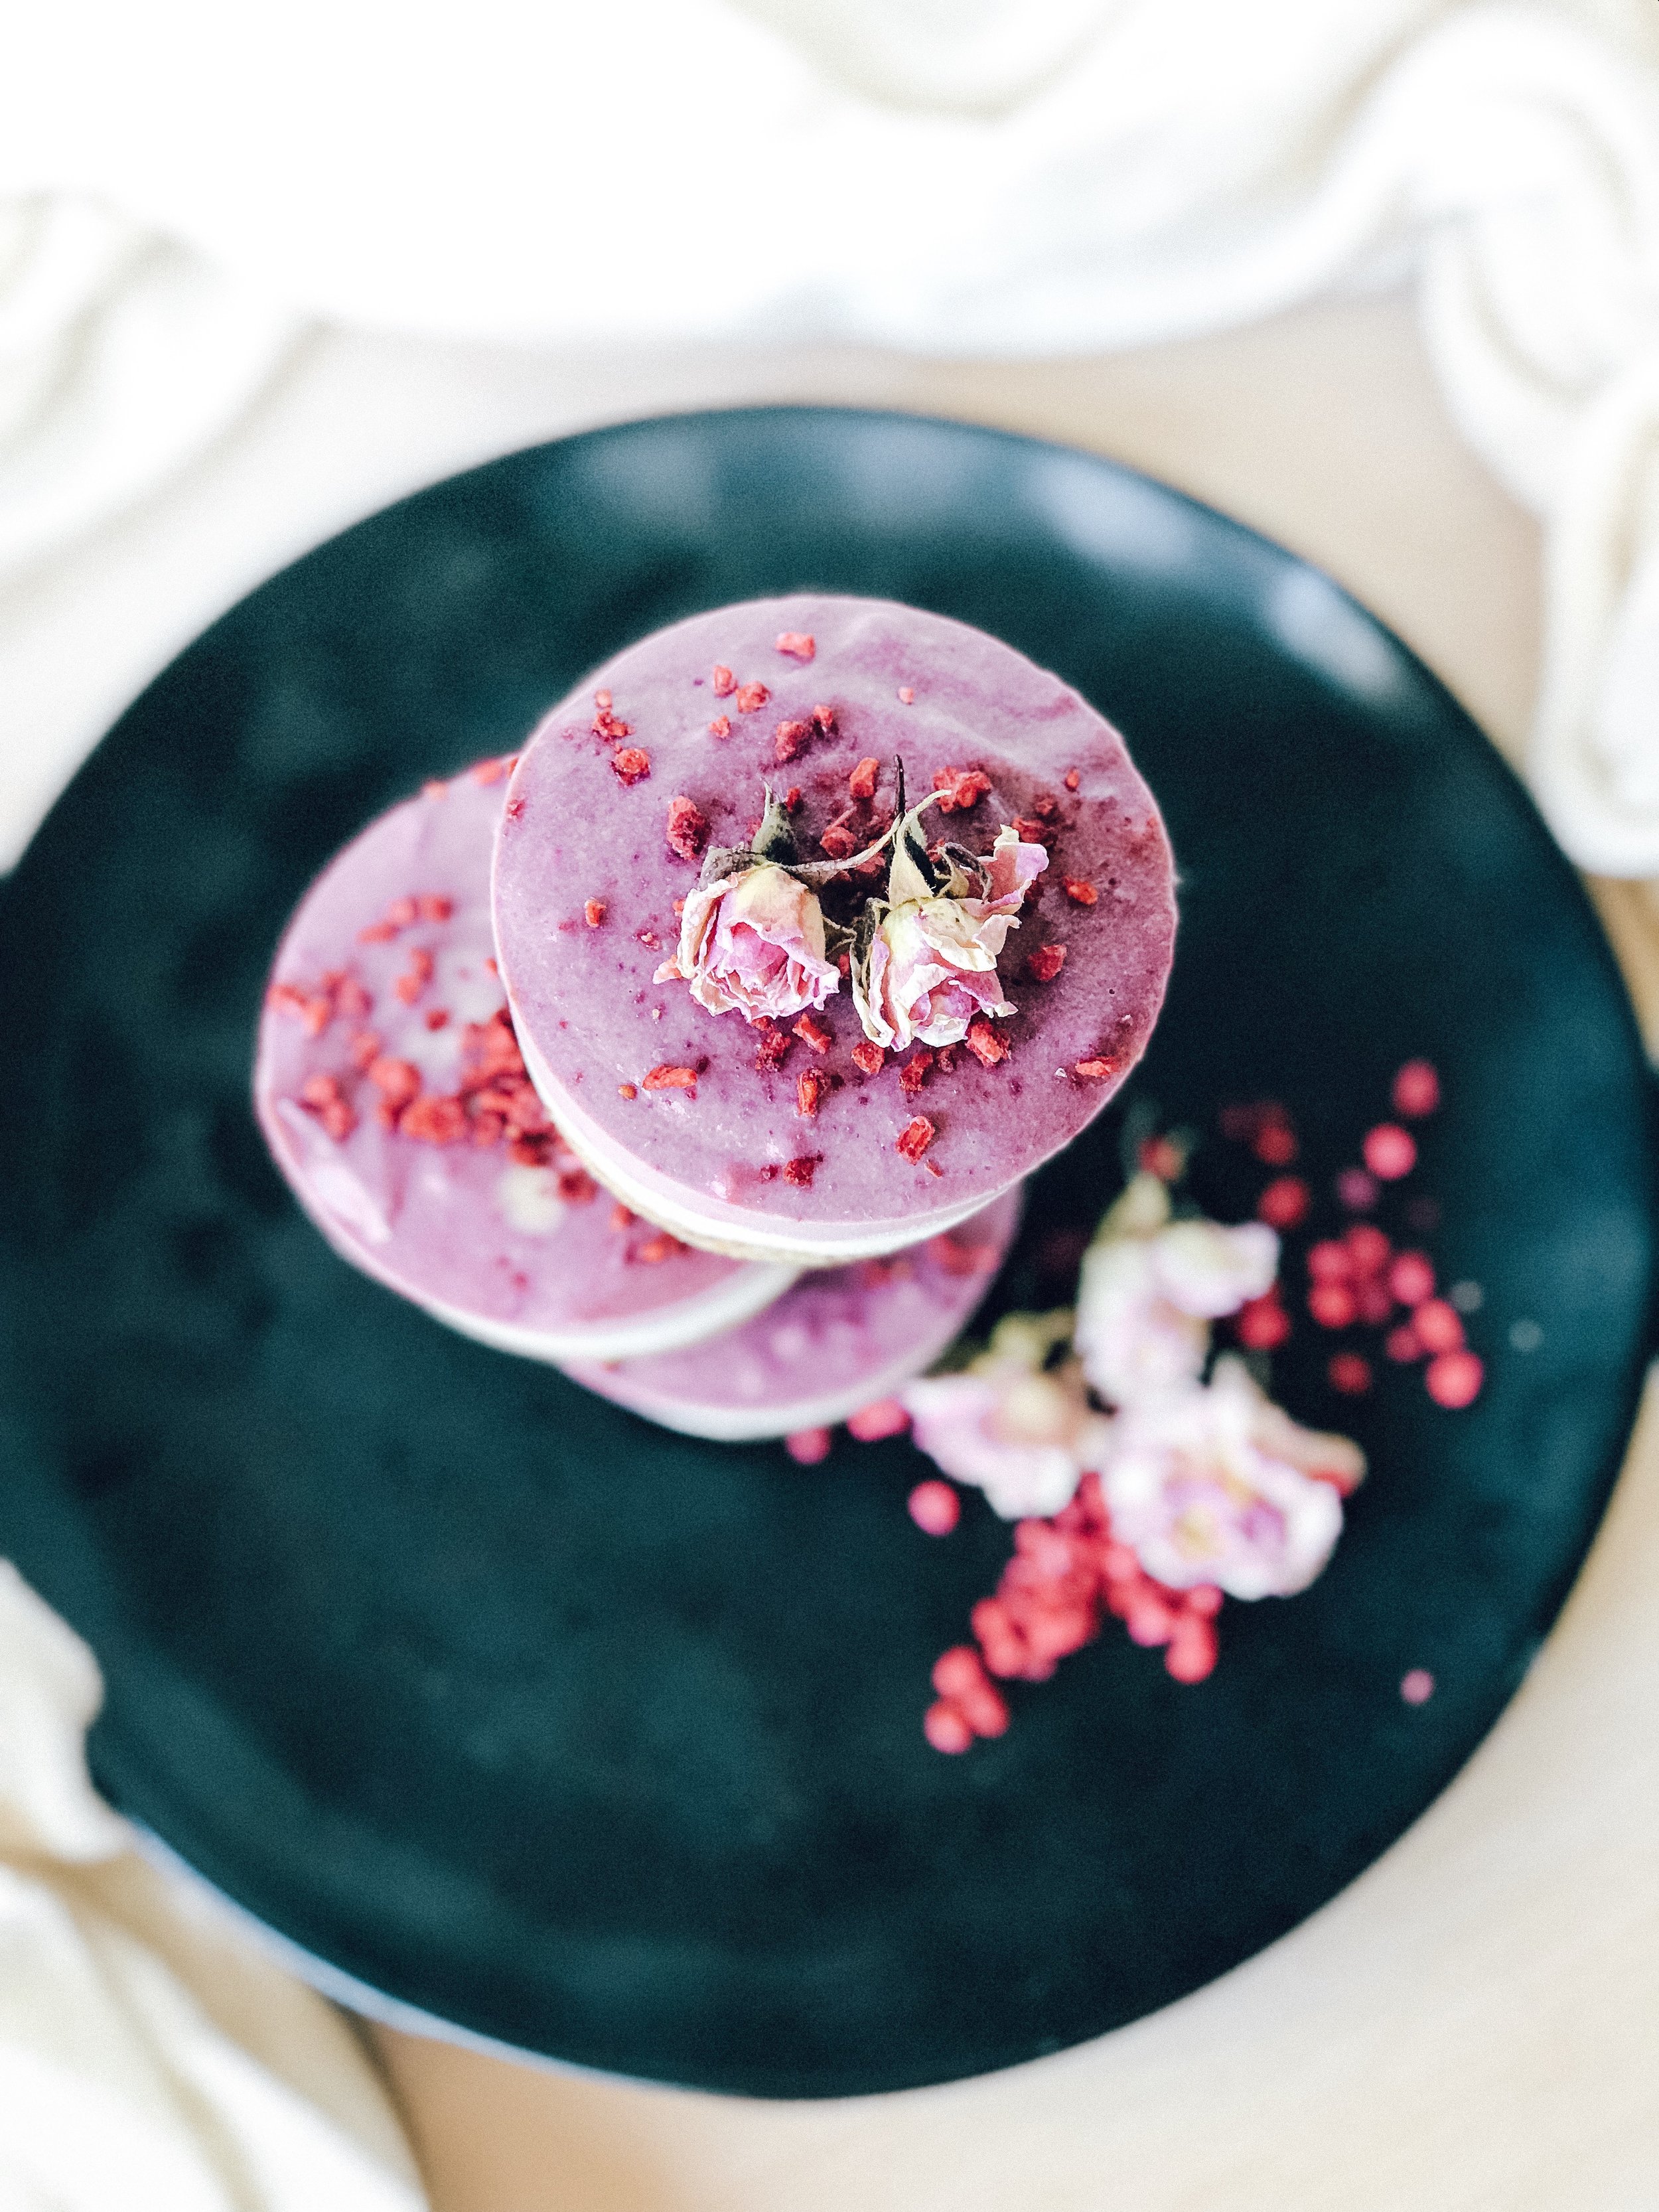
Raw Lemon & Raspberry Mini Cheesecakes

I have absolutely saved the best for last team! This is a recipe I created from scratch and it’s my all time fave. These perfect little cheesecakes are delicious – you will never want to eat regular cheesecake again! It is perfect for a summer treat and made with wholesome ingredients. They are gluten free, vegan and refined sugar free. Just remember to soak your cashews the day before, but otherwise a very easy recipe.
Male these for your family for Christmas and they love you for it!
Ingredients
Base:
1 cup cashews
1 cup almonds
½ cup coconut
½ cup soaked dates
1 TBS maple
Lemon Filling:
2 cups of cashews, soaked overnight
400 grams coconut cream
½ cup pure maple syrup
½ cup cacao butter, melted
Juice of 1 lemon
Zest of 1 lemon
1 teaspoon vanilla bean paste
Pinch of salt
Method:
For the base, soak your dates in boiling water for 10 mins.
Combine the nuts and coconut in a blender and blend until fine.
Drain the dates and add to the blender along with the maple syrup and blend until combined. The mixture should hold together well and be sticky.
Spoon one table spoon at a time into silicon cupcake trays, press down with the back of the spoon and then pop in the fridge while you make the fillings.
Make the filling:
To make the filling, add all of your lemon filling incredients into the blender and blend until smooth and glossy, approx 3-5 minutes.
Pour into molds to about half way, leaving room for the raspberry layer on top. Return to fridge.
To make the raspberry layer, add 1 cup fresh or freeze dried raspberries to your lemon filling and blend for a minute, or until completely blended. Pour into your molds, filling to the top. Sprinkle freeze dried raspberry on top.
Set in the freezer up to 4 hours, or overnight.


Raw Hazelnut & Strawberry Tart
Raw Hazelnut & Strawberry Tart
Wowsa. Things just got serious. How good is this tart?! I love the soft colours and flavours in this tart. It’s not overpowering and silky smooth. Strawberries sing Christmas to me. We love to go strawberry picking at our local farm, they are incredibly sweet and juicy. Fresh strawberries are a must in this recipe, and don’t forget to save some for on top.
Like all of our other Christmas recipes, this can be made in advance and frozen for up to 3 months. I’ve made mine, and it’s packed in a container in the freezer ready to defrost Christmas Day.
Raw Hazelnut & Strawberry Tart
Hazelnut Base:

2 cups hazelnuts
1 cup cashews
1/2 cup pitted dates (soaked for 15 mins first)
3 TBS cacao
3 TBS maple syrup
2 tsp Macca powder (optional)
Strawberry filling:
2 cups fresh strawberries (don’t use frozen)
1 cup cashews, soaked overnight
½ lemon, zest
½ lemon, juice
2tbsp maple syrup
1tsp vanilla paste
1 can full fat coconut milk, refrigerated overnight
1/3 cup coconut oil
To make the base, blitz all of your nut & dry ingredients in a blender until crumbly. Add your pitted dates & maple syrup & blitz again. Should be a nice firm texture. Spread into your tart tin (no need to line) and smooth up the sides a little so that you will have a nice tart case when taken out of the mold. Place in the fridge while you make the filling.
For the filling, rinse the soaked cashews and place into blender. Add strawberries, lemon zest, juice, maple syrup and vanilla. Scoop the solid part from the can of coconut milk, add to the blender and blend until smooth. Slowly add melted coconut oil and blend until just incorporated.
Pour your filling onto the base and put in the freezer to set, at least 4 hours.
I like to press cut strawberries into the top so they set in, or you can leave plain and garnish with fresh strawberries and crushed hazelnuts.
This will store in the freezer for up to 3 months or fridge for 2 weeks.


Raw Peanut Butter & Chocolate Cheesecake

I've been wanting to attempt a raw / vegan cheesecake for ages. Whenever I have them out somewhere I always think they taste incredible, but for some reason they intimidated me.
Lets break it down though. Really, all we have here is a base (all in the blender), filling and a simple ganache on top, not dissimilar to all the other slices I make.
With friends coming over tonight it was the perfect excuse. The hardest part was actually deciding on flavour - next time I will go for blueberry, but for my first try I decided on Peanut Butter using my fave PB from Pics. I spotted this recipe on Julia & Libby's website a while back, all I did was make a few adjustments with the topping, opting for a chocolate ganache layer on top. I also made some peanut butter and cacao bliss balls to go on top, which I will post the recipe for tomorrow.
It gets all the ticks from me - it's refined sugar free, choc full of protein with all of those nuts, it's vegan (completely dairy free) and gluten free.
So lets do this! Honestly, it was easy and it's SO SO decadent and delicious, perfect for a special occasion or slicing and popping in the freezer to eat piece by piece!
Peanut Butter & Chocolate Cheesecake
Crust
1.5 cup almonds
½ cup raw peanuts
8 medjool dates, pitted and soaked for half an hour in warm water.
1 tablespoon coconut oil, melted
1 tablespoon cacao powder
Pinch of salt
Filling
2 cups of cashews, soaked overnight
400 grams coconut cream
½ cup maple syrup
½ cup peanut butter, melted
1/2 cup cacao butter, melted
Juice of 1 lemon
1 teaspoon vanilla bean paste
Pinch of salt
Chocolate Ganache
3/4 cup coconut milk
1 block dark Ghana whittakers chocolate chopped into chunks
Instructions
Line spring form tin with baking paper. Place all crust ingredients into food processor and pulse until grainy-mixed texture. Press crust down into cake pan evenly and place into the freezer.
Place all cheesecake ingredients into food processor and blend until smooth and creamy. Spread evenly on top of base using a knife or spatula. Place in the freezer for 3 or more hours.
Once the cake is set, make your ganache. Place your coconut milk in a pot and heat on low until it starts to steam - don't let boil. Once hot, take off the heat and mix in your chocolate which will melt slowly. Fold until the ganache goes glossy
Pour your ganache over top of the frozen cheesecake. I used a squezzy bottle but you can do this however you like.
Cake is best stored in the freezer.


The Best Raw Chocolate & Salted Caramel Slice!
I have been experimenting with buying raw treats over the past 7 months and discovering a whole new world of amazing refined sugar free treats. I've made some as well as I love to have a little stash in the freezer! I must confess that pretty much all of the slices I have tried have been really really good - both made and bought, much better than I expected. If you've ever doubted that raw can be as good as 'the real thing', then you absolutely need to try and see for yourself!
Of all my experimenting, the one that always gets me, no matter where I buy it from, is a caramel & chocolate slice or peanut butter and chocolate protein slice. Holy moly, caramel made from dates and coconut cream is out of this world good.
After dabbling with a few basic raw recipes I decided it was time to try the cream of the crop - a trip layer caramel slice. It's delicious, utterly drool worthy and not as hard as I expected. Want to give it a go? Here's the recipe, adapted from The Merrymaker Sisters. I'm gutted I didn't get any photos side on, and to be honest mine was a bit slapstick as I was in a rush - but in an ideal world, you should be three definite layers.
PS - Remember this is a treat and not something you should go crazy on. Although refined sugar free, these types of slices are still high in natural sugars, so something you should eat in moderation. Good luck with that! Pop it in the freezer so that you don't get tempted to eat all at once.
Salted Caramel Choc Slice
For The Base
1/2 cup cashews
1/3 cup almond meal
3 tbs. coconut oil
2 tbs. cacao powder
1 tbs. 100% maple or rice malt syrup
For The Caramel Filling
1 1/2 cups dates
1/2 cup coconut milk
1/2 cup coconut oil
1/2 tsp. Himalayan pink salt
For The Choc Topping
1/2 cup coconut oil
2 tbs. cacao powder
1 tbs. 100% maple or rice malt syrup
1/2 tsp. pink Himalayan salt (optional)
Method
Line a 20 x 10 cm (8 x 4 inch) loaf tin with baking paper.
For The Base
Place all the base ingredients in to a food processor (we use our Vitamix). Whiz until well combined, it will be a little sticky and crumbly.
Press this mix in to the prepared tin, ensure it is pressed evenly.
Place the tin in to the freezer to set
For The Caramel Filling
Using the food processor (don't worry about washing it) place all the caramel filling ingredients and whiz until completely smooth (it will take around 5 minutes).
Pour this delicious mixture over the top of the base and return to the freezer.
For The Choc Topping
Using the food processor (again, don't worry about washing it) add the raw cacao, coconut oil and maple syrup, mix until completely smooth.
Pour the choc topping over the caramel filling, shake the tin slightly to even it out. I gave it a bit of a swirl!
Sprinkle with Himalayan pink salt if you like things extra salty.
Return to the freezer for about 1 hour or until completely set.
Once set, cut into slices and store back in the freezer!
